New YouTube channel – New Video
Posted: February 11, 2023 Filed under: Alcohol Ink, baby blue leaf embossing folder, Branch 9 die, cricut, Dies, grafix, Moda Scrap, my designs, ornate tile embossing folder, Paper Rose, Penny Black, Pink & Main, scripty, silhouette birds, so extra supporting sentiments, Stampin Up, thank you squares, Tim Holtz, Tutorial | Tags: cricut, grafix, grafix craft plastic, Penny Black creative dies, Penny Black stamps, Ranger Alcohol Ink, Stampin Up, Tim Holtz 6 Comments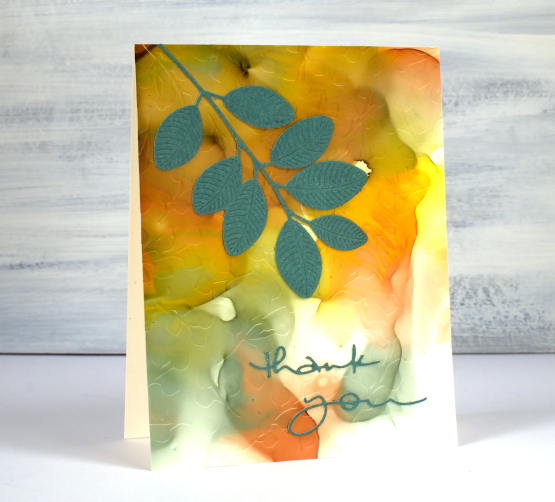
If you have been visiting this blog for a while you will know I had a youtube channel for many years. In 2022 after ten years of adding videos and gathering a community of 7000 subscribers my channel was deleted. In recent weeks I have started again with a new channel and some videos ‘from the archive’. My new channel is called Heather Telford Art and I would be very happy if you decided to like, subscribe and tell your friends! There is content on there that you may remember from the last few years and starting today there is new content also! The new ‘2 for 1 Alcohol Ink Panels’ is freshly filmed for my new channel and I hope it will be the first of many!
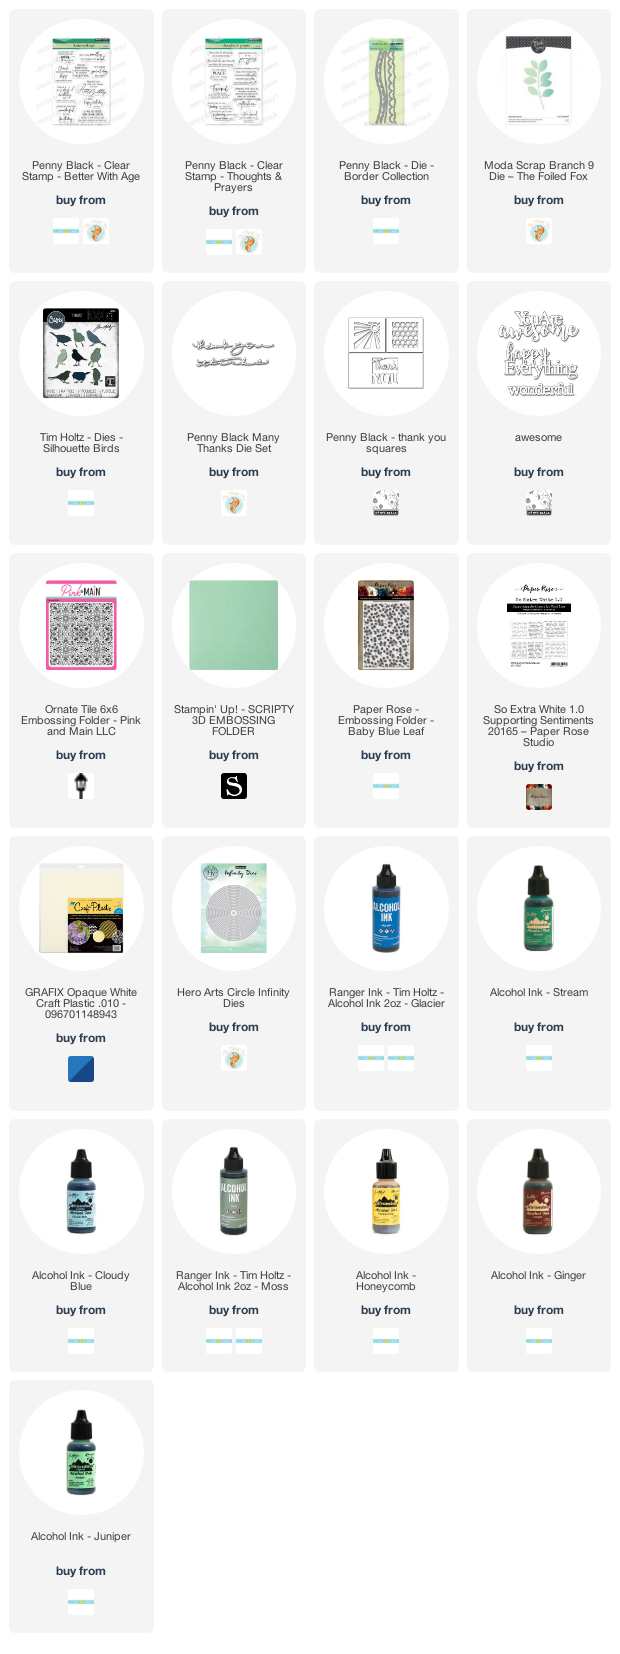
There are quite a few photos in this post because, well, this is a 2 for 1 technique and I created three panels which of course became six panels and one was cut in half so there are seven cards to show you in this blog post! Grab a cup of tea. I have added a linked supply list at the very bottom of this long post.
As well as a new youtube channel I am also a new Cricut owner. The stencil used on the card below was designed by me and cut on my Cricut. It is available as a cutting file from Echidna Studios etsy store.
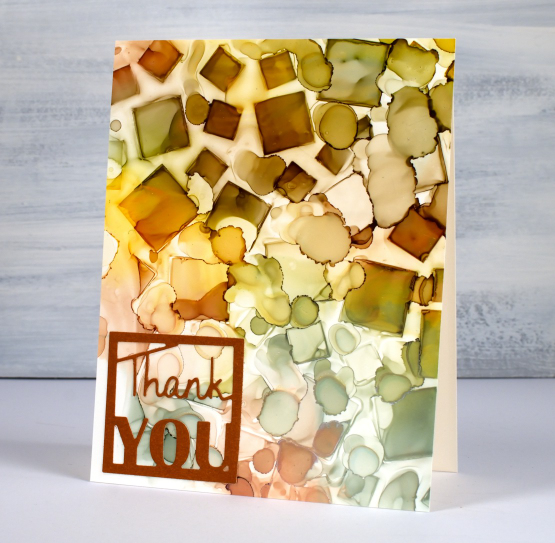
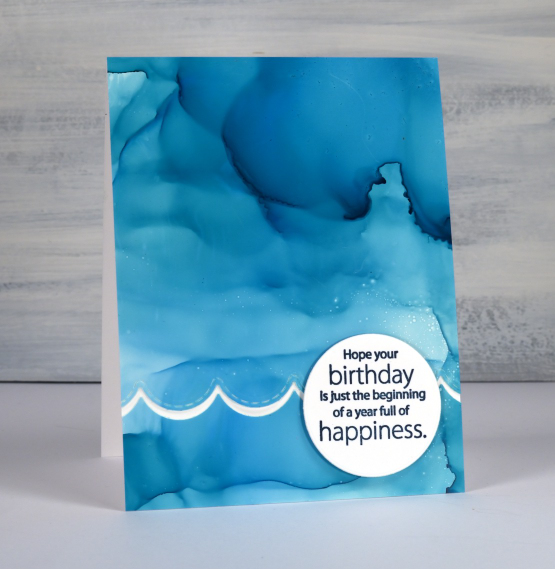
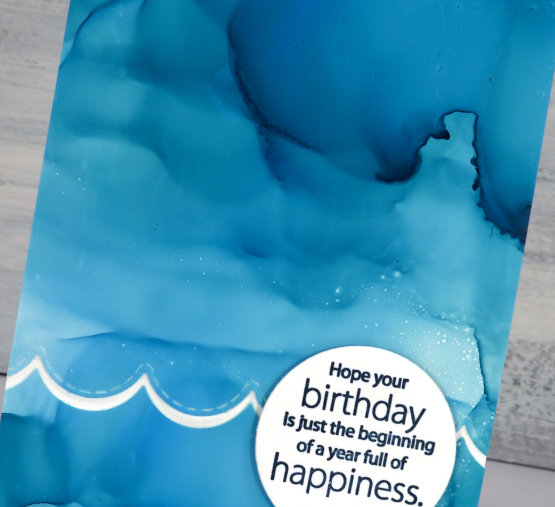
Most of the 2 for 1 smooshed panels I left as a full card fronts adding only a sentiment or some die-cutting. As the panel below reminded me of the ocean, the PB wavy scallop border seemed a nice touch.
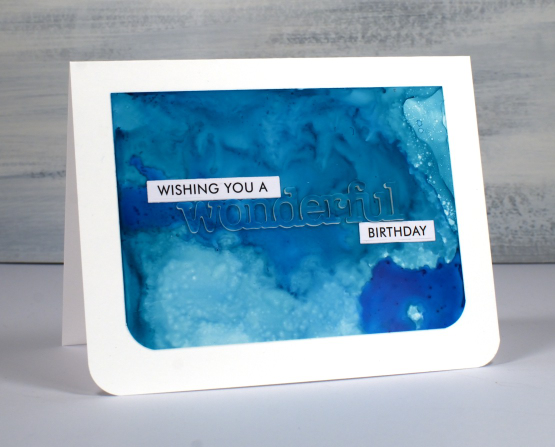
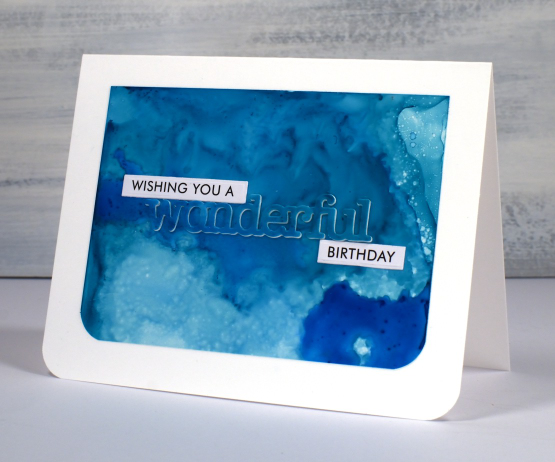
The panel below is a half panel from the first one I showed on the video. I love the patterns from the isopropyl alcohol ink spray even though they don’t stay distinct. Even when die-cutting the word from the panel I couldn’t leave it off so I popped it up. Not so funny story: I guess I haven’t popped up a die cut word in a while because I flicked those little shapes inside the letters into the garbage when I poked the word from the die. So yes, I had to hunt through my garbage to complete the card.
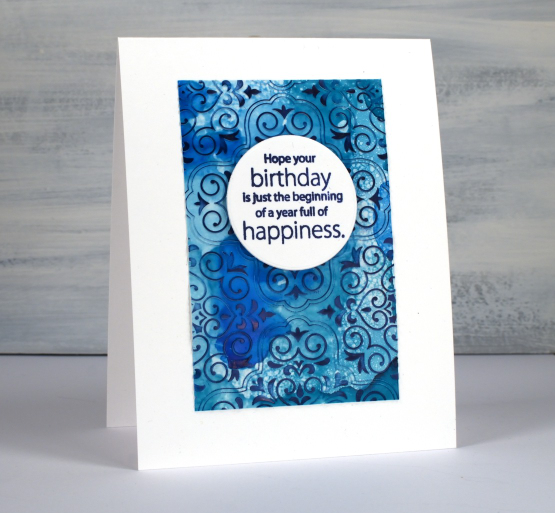
I don’t know why I hadn’t tried it before but seeing how well Grafix craft plastic responds when put in an embossing folder has been a revelation! I thought it might crack but it doesn’t so you can have the subtle impression of your embossing folder on a panel or the bold inked pattern as I’ve done on the card below. Sentiments in circles might be a little fad I go with for a while too; they look cute!
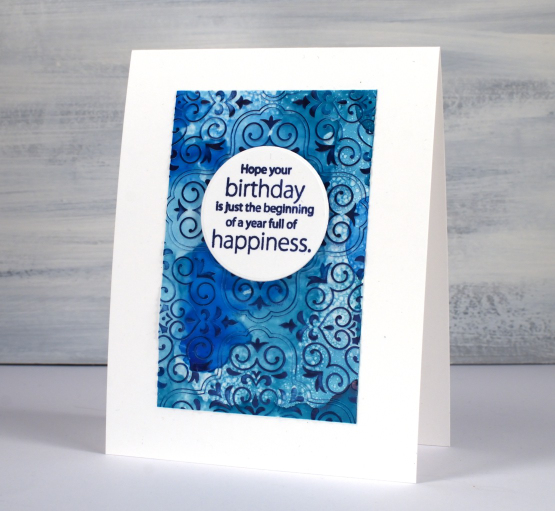
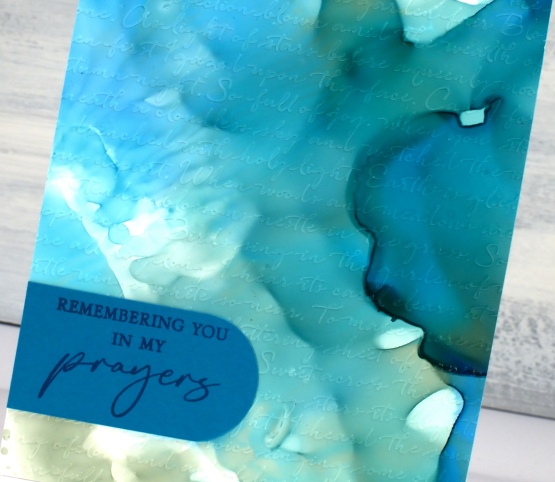
You can see the soft look of embossed script on the panel below, especially in the close up. This detailed embossing folder is from Stampin’ Up and is called ‘scripty’. I don’t think it is available anymore but you might something similar.
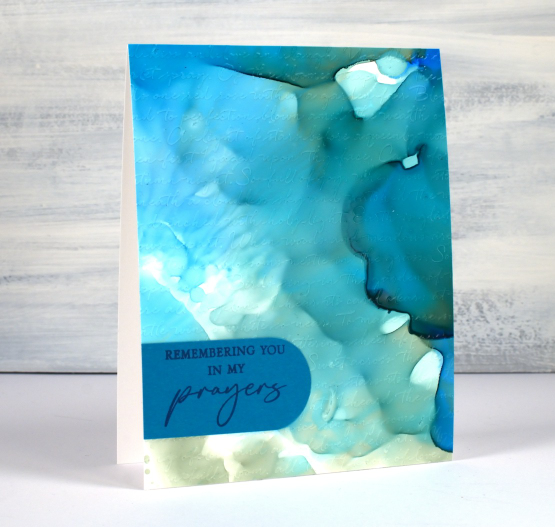
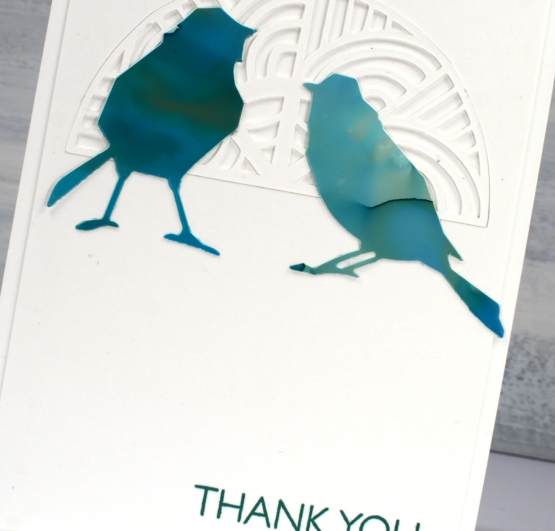
For this final card I cut six little birds from the panel and played with layouts for quite a while. I ended up just using two which means I have four birds in hand for another project. (pun definitely intended)
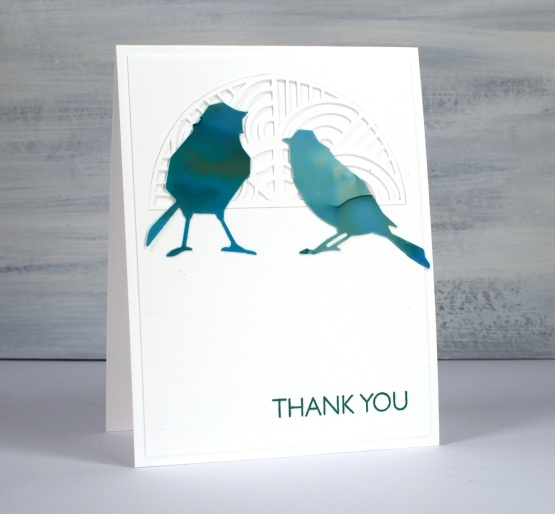
The intricate half circle cut out behind the birds is also one of my new cricut cutting files but more about that in another post. If you got this far, you’re a champion. Thank you for supporting me here on my blog and I would love to see you over on youtube as well.
(Compensated affiliate links from Foiled Fox, Scrap n Stamp)
Blossom Birthday
Posted: February 7, 2023 Filed under: Alcohol Ink, blossom stencil, Darkroom Door, grafix, Stencils | Tags: craft roulette, Darkroom Door stamps, Darkroom Door stencils, grafix, grafix craft plastic, Ranger Alcohol Ink 4 Comments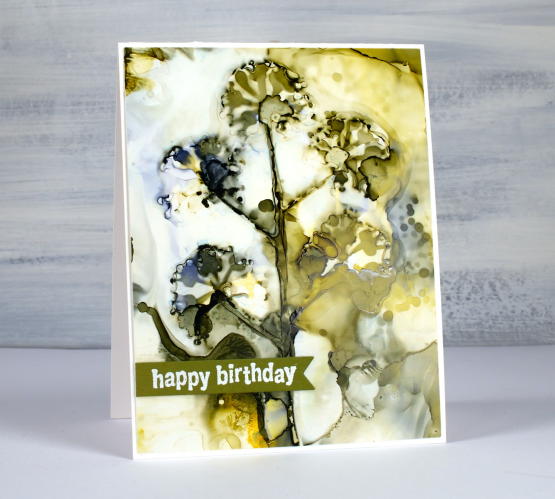
Yes, I have more alcohol in projects! Like gel printing, alcohol inks are quite addictive. When you work with them on plastic film (such as grafix craft plastic or yupo) you can keep changing the design with the addition of more ink or isopropyl alcohol. You can also remove ink with isopropyl. Depending on the amount of staining from whichever colours you choose you can even get the plastic white again to start fresh. I think that is why there is always on more thing I want to try when experimenting with alcohol inks.
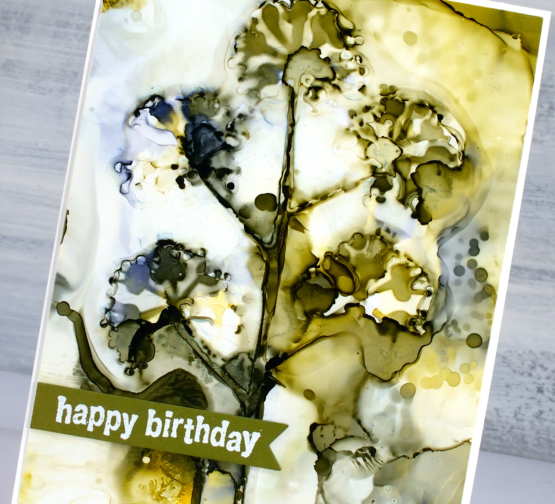
Last year I posted a video where I used a stencil to create a pattern on craft plastic with alcohol inks. I used a more open stencil that the one featured today but the process is similar. The Darkroom Door stencil ‘blossom’ has a lot of plastic surrounding the blossom cut out. When laid on the wet alcohol ink there is contact with most of the craft plastic panel and only a small area where the alcohol ink is drying in the air. This means you need way more patience as you let the ink dry under the stencil.
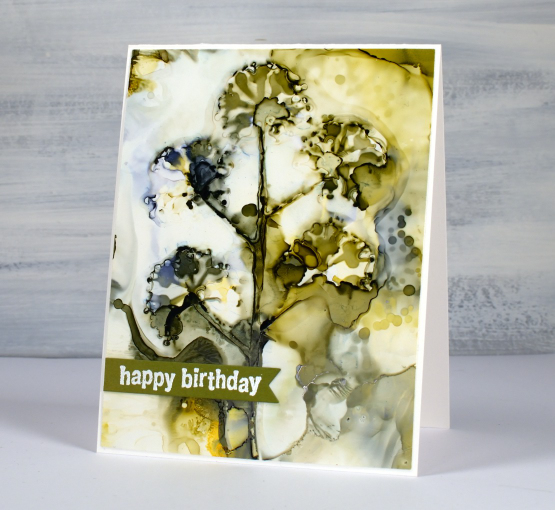
Not all my experiments with stencils work but I love the way this one ended up with distinct flowers and soft background. I finished the card with a sentiment from the DD ‘all occasions’ stamp set embossed in white on olive cardstock.
In other news I will be on Craft Roulette on Friday February 10 which is three days away! Craft Roulette is a live improv card making challenge on YouTube. I have no idea what kind of card I will be making, I only find out what the parameters are while I am on the show. Hope you can drop in a join the chat on Friday 7:10 pm EST
(Compensated affiliate links from Foiled Fox, Ecstasy Crafts & Scrap n Stamp)
Deer and Alcohol Ink Skies
Posted: January 20, 2023 Filed under: Alcohol Ink, grafix, leap of joy, Penny Black | Tags: grafix, grafix craft plastic, Penny Black creative dies, Ranger Alcohol Ink 8 Comments
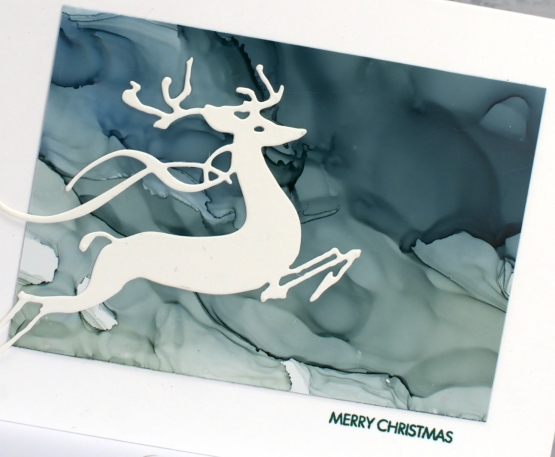
I know it is yet another alcohol ink sky post! If you look closely at the panel below you will see one of the things I love about alcohol inks and dye inks and that is the separation of pigments when a colour is diluted. It is more obvious in some inks that others but you can see it in the eggplant ink below. There is purple, grey, blue and shades of maroon. So yummy!

The panel above was diluted with isopropyl alcohol more that the panel below but I definitely used it on both to move the inks around.
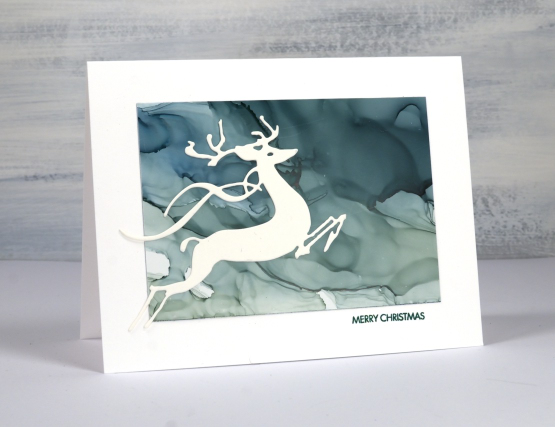
To complete the cards I die cut the PB deer from white cardstock and add small simple sentiments. Small sentiments are my favourite; I think I’ve mentioned that before.
I think my next post might not be alcohol inks! Stay tuned!
(Compensated affiliate links from Foiled Fox & Scrap n Stamp)
Alcohol Ink Sky Baubles
Posted: January 17, 2023 Filed under: Alcohol Ink, around town, Dies, grafix, Penny Black, trees and hills | Tags: grafix, grafix craft plastic, Penny Black creative dies, Ranger Alcohol Ink, Taylored Expressions 10 Comments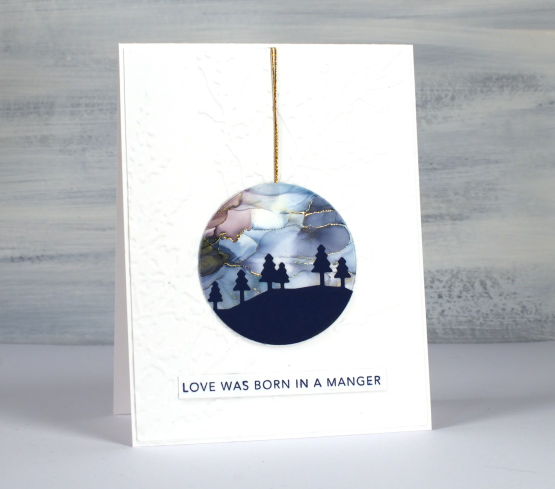
Yes, I have a few more alcohol ink skies to share. This time I have layered navy die-cuts over the alcohol ink panels and cut them into circles so they look like Christmas tree baubles. These ones were already cut and ready in my pile of possibility I just had to find suitable backgrounds and add cord and sentiments.
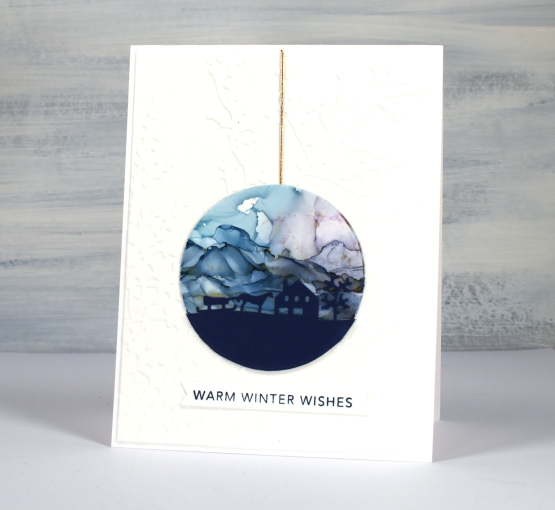
The skies were part of a big panel, alcohol ink on white craft plastic and there are some hints of gold here and there. Some is from gold alcohol ink but there are also threads of gold foil pressed onto the panel.
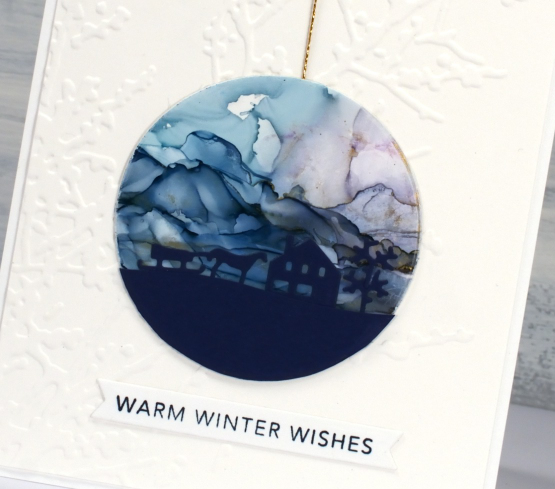
The backgrounds are embossed panels; sorry I don’t know the name of the lovely branch one, it doesn’t belong to me so I’m not sure who made it. The dies are Penny Black, ‘trees & hills’ and ‘around town’.
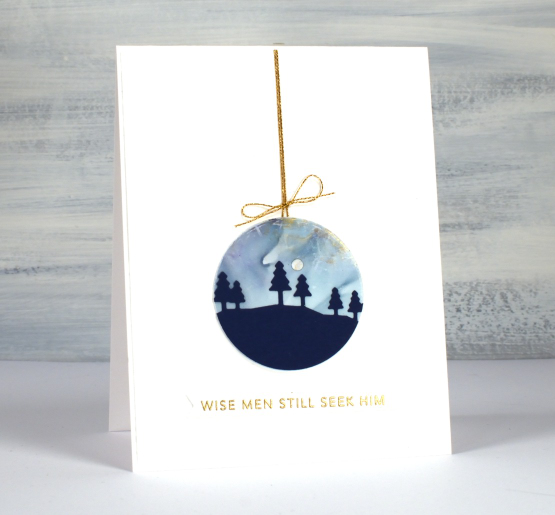
I added some gold cord and Taylored Expression sentiments to finish them off.
(Compensated affiliate links from Foiled Fox & Scrap n Stamp)
Alcohol Ink & Trees
Posted: January 13, 2023 Filed under: Alcohol Ink, grafix, Penny Black, Taylored Expressions | Tags: Foiling, Penny Black stamps, Ranger Alcohol Ink, Taylored Expressions 9 Comments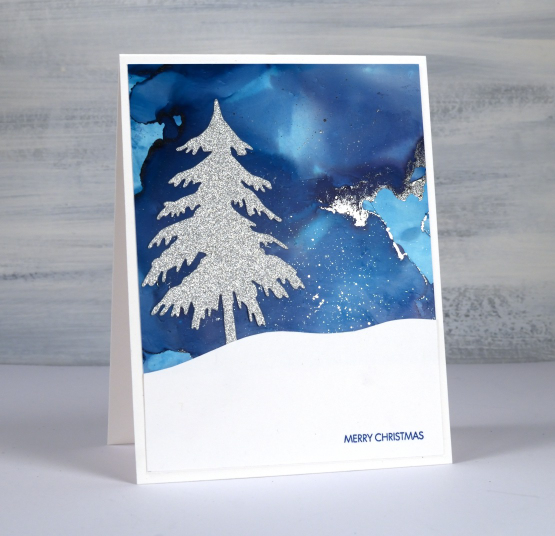
I have another alcohol ink sky to show you today paired with a very sparkly tree. I don’t own the tree die or the sparkly silver paper but this tree was a leftover from a class I attended and it looks so pretty against the blue sky. It is hard to capture on camera but there are lines and dots of silver foil on the alcohol ink background.
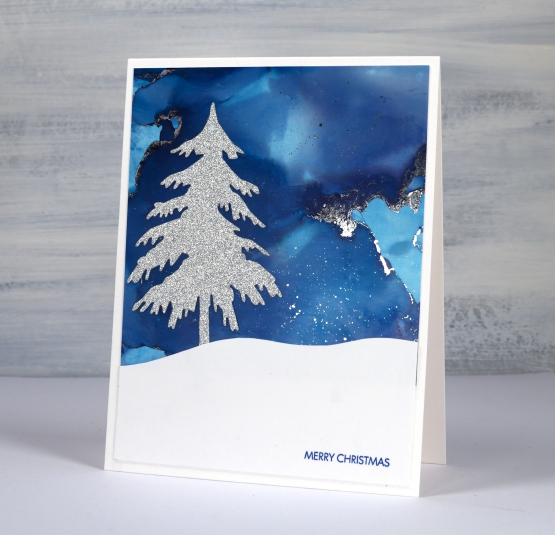
When playing with alcohol inks on yupo or craft plastic you sometimes end up with areas of thick sticky ink. You can dilute and move it with isopropyl alcohol or you can press foil on it while it is still a bit tacky. Once again I cut a snowy hill by hand and added a Penny Black sentiment.
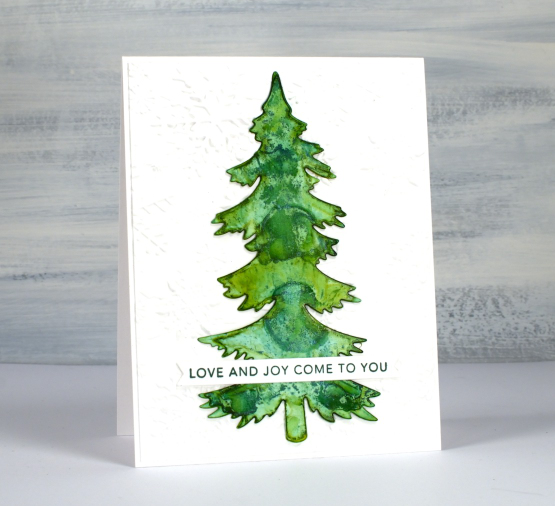
On this second card the tree is the coloured instead of the sky. I cut the tree from white craft plastic and added alcohol inks (both original and pearl formula) to another piece of craft plastic so I could then press the tree onto the alcohol inks to make a pattern and pick up the ink.
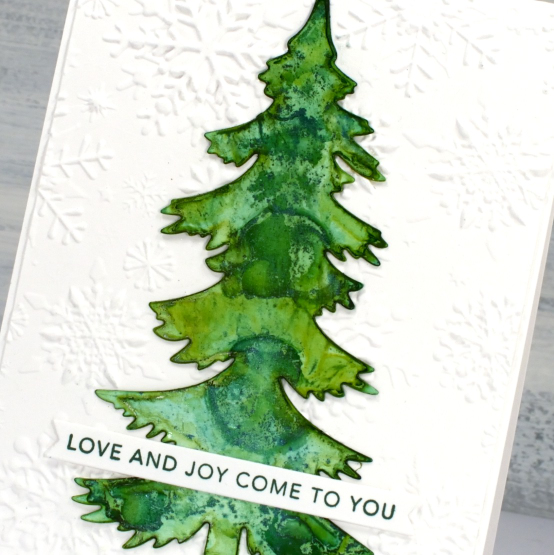
I attached the tree to an embossed background and added a Taylored Expressions sentiment. There are a few more alcohol ink Christmas cards still coming. I am happy to have inspired a few of you to look at your stash of panels to see what you might be able to turn into backgrounds and skies.
(Compensated affiliate links from Foiled Fox & Scrap n Stamp)
Alcohol Ink Winter Skies
Posted: January 12, 2023 Filed under: Alcohol Ink, Dies, Penny Black, tall trees, Taylored Expressions | Tags: grafix, grafix craft plastic, Penny Black creative dies, Ranger Alcohol Ink, Taylored Expressions 11 Comments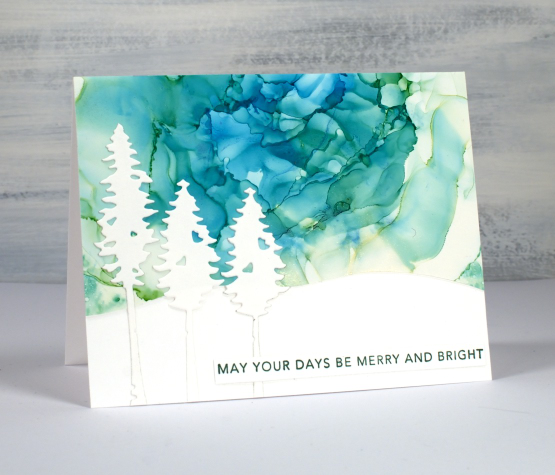
It is unusual for me to be making Christmas cards in January but the supplies are still handy and I will be happy to see the cards in October! I have a small stash of alcohol ink panels in my pile of possibility so the next few blog posts will feature those backgrounds paired with wintry scenery and Christmas greetings.
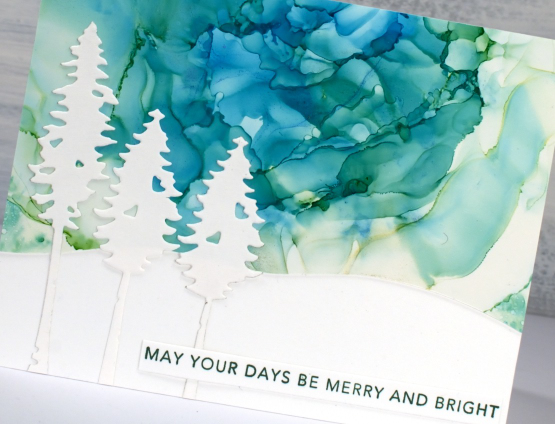
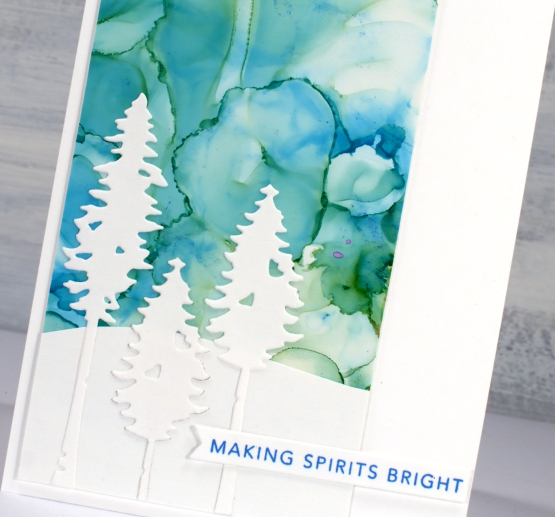
I’m sorry I can’t tell you exactly what techniques I used for these panels but it looks like I added blue and green inks to white craft plastic, added a generous amount of isopropyl alcohol then blew the liquids around the panel with a hand held air blower. I love the frilly ribbon look on the sky above.

I chose the wonderful ‘tall trees’ dies from Penny Black and hand cut some snowy hills from white cardstock. The sentiments are once again from Taylored Expression because they are so handy and neat!
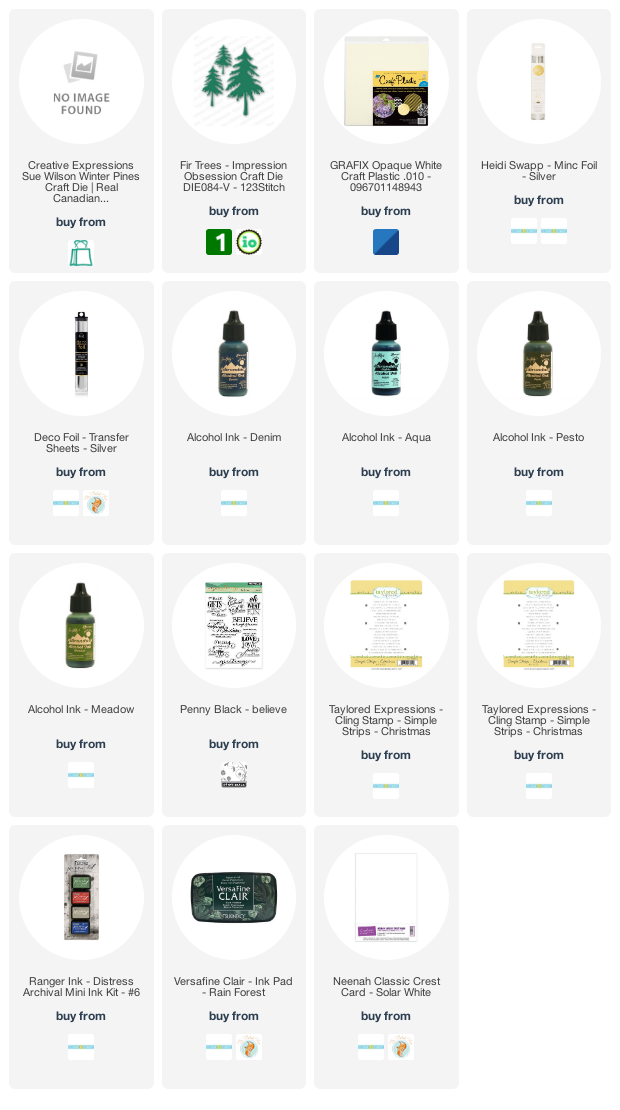
(Compensated affiliate links from Foiled Fox & Scrap n Stamp)
Cosy Cup of Cocoa
Posted: January 6, 2023 Filed under: Alcohol Ink, Echidna Studios, framed flowers stencil, gel press, Penny Black, tea set, The Crafter's Workshop, The Crafters Workshop | Tags: Echidna Studios, gel press, gel printing, Penny Black stamps, Ranger Alcohol Ink, Ranger archival inks 6 Comments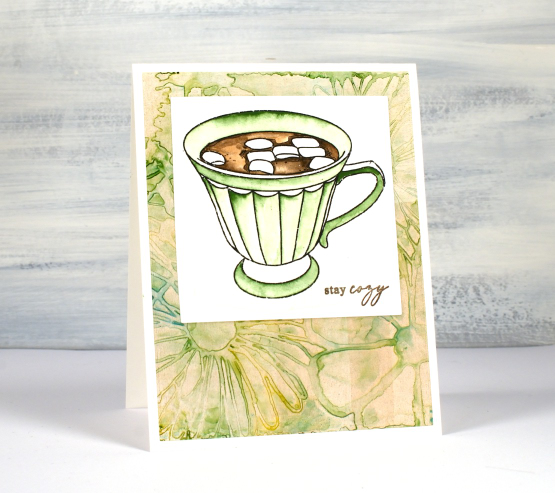
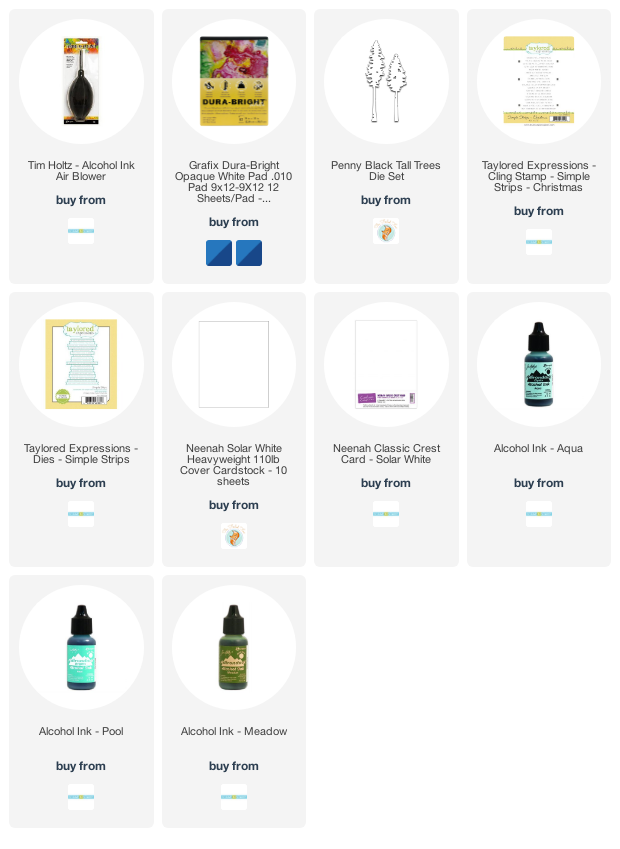
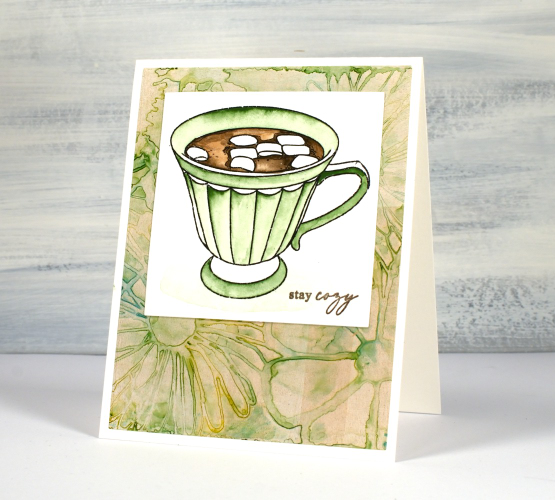
‘Tis the season for sitting by the fire, drinking hot chocolate and staying cosy. Since I last posted we have had snow, rain, ice and more snow! To create today’s card I paired a watercoloured Echidna Studios image with a alcohol ink gel print. I printed the cup from the ‘tea set‘ digital stamp set on hot pressed watercolour paper then painted it with Sennelier watercolour paints.
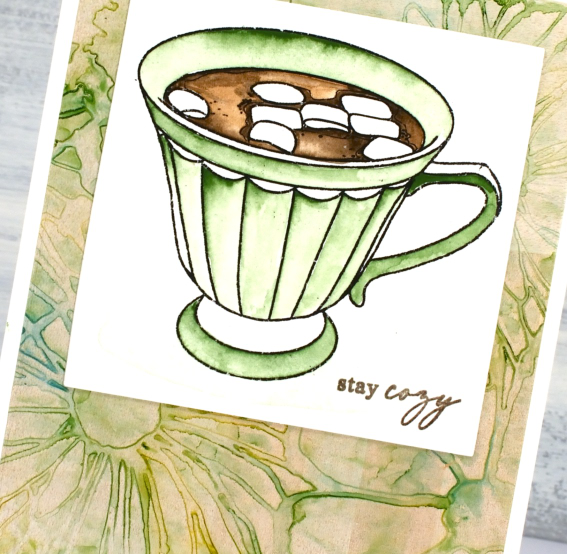
I added a Penny Black sentiment then framed it with a gel printed panel. It may seem like an odd combo of images but I like the way the colours worked together and it looked a little like a floral tablecloth underneath my cup image. I have only recently started using alcohol inks on my gel plate and discovered how the highly pigmented alcohol inks sometimes give me three or four prints from the one design. This pale one was either the second or third print pulled with paint after creating a colourful design on the plate with a stencil.
Hope you are staying cosy in the northern hemisphere or refreshed in the south. It is a strange thing to now celebrate my wedding anniversary and birthday in the bleak mid winter even though I was born and married in the height of summer! This weekend my husband and I are celebrating 33 years!
(Compensated affiliate links from Foiled Fox & Scrap n Stamp)
AI Brussel Sprouts video
Posted: February 18, 2022 Filed under: Alcohol Ink, Concord & 9th, grafix, simple serif alphabet dies, Tutorial | Tags: Concord & 9th, grafix, grafix craft plastic, pinata alcohol ink, Ranger Alcohol Ink, Tutorial, video 9 Comments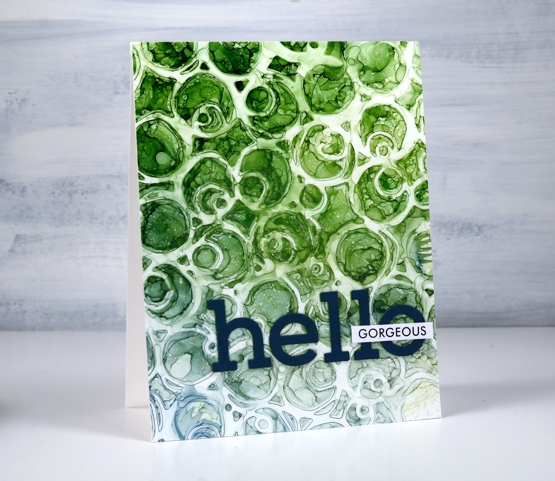
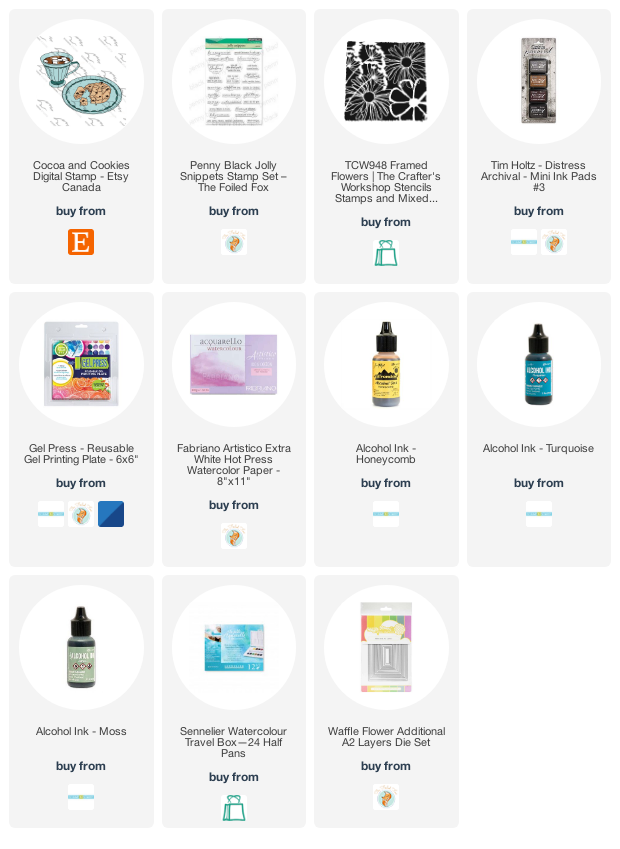
If you are a little baffled by the title of this post don’t worry no brussel sprouts were harmed or eaten or even incorporated into the making of this video! But would you agree that the little patterns formed inside the circles on the panel look a bit like brussel sprouts?
You will see in the video I didn’t set out to make a brussel sprout pattern; I actually changed track part way through the process. The video shows the technique I started with along with stencil technique I ended up doing. So it’s basically a 2 for 1 deal.
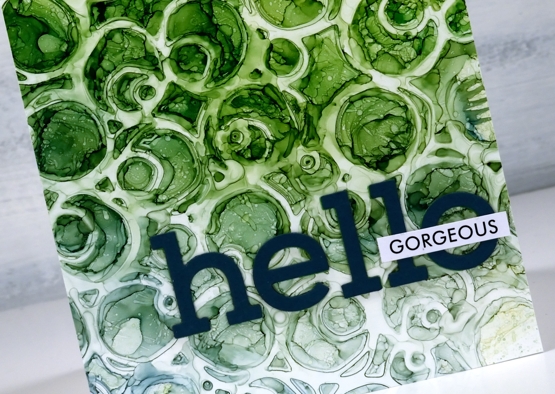
There are several ways to use a stencil with alcohol inks and this is just one. Make sure you check out Ardyth’s youtube channel for more ideas. I mentioned in the video that some alcohol inks tend to be a bit pushy and end up taking over a colour scheme. The lime green did so on this card but I’m glad there are some blues tones still visible at the base of the card.
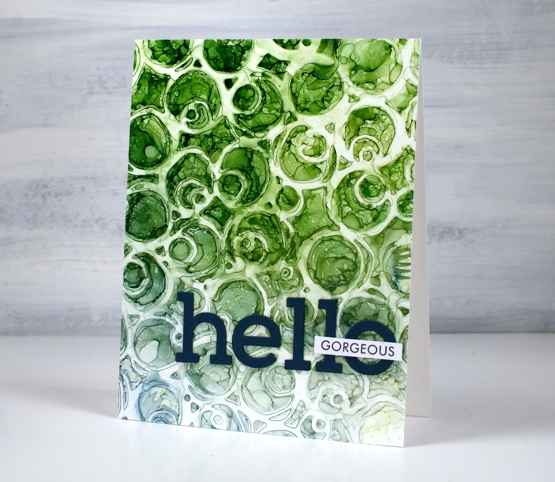
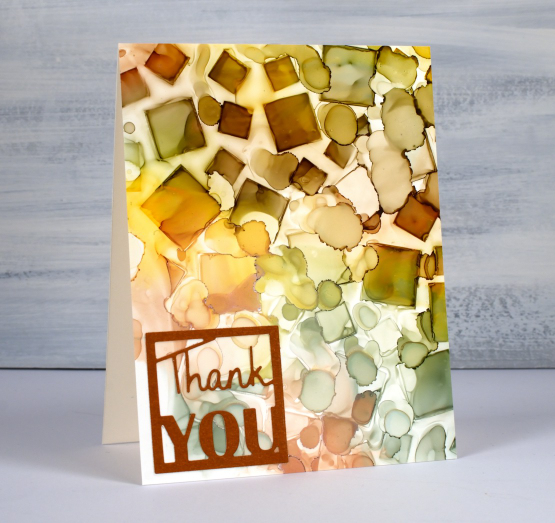
I finished the card with die-cut letters and a single word from Paper Rose Studio’s So Extra sentiment strips.
You can see other cards made using this technique here and here.
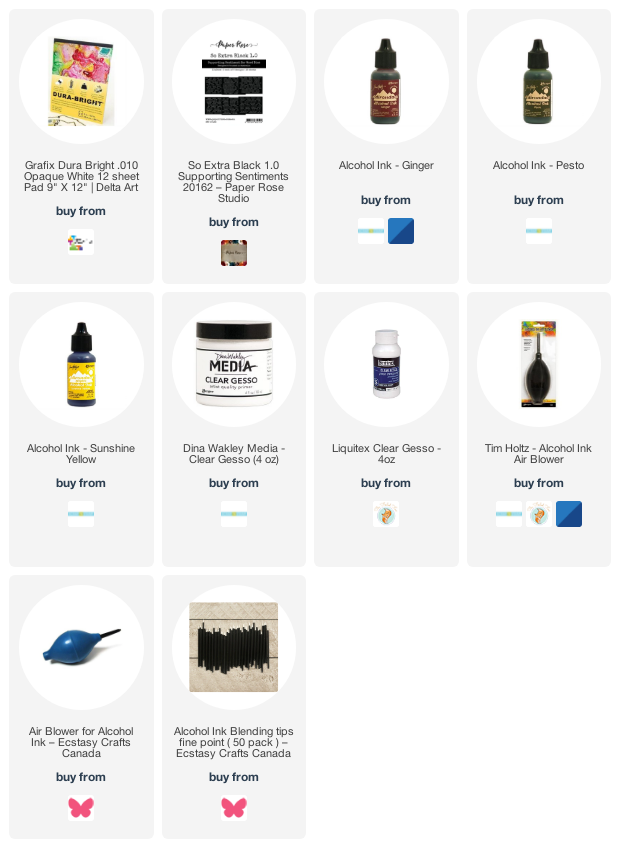
Supplies
(Compensated affiliate links used when possible)
AI + Stencils Blue Edition
Posted: January 31, 2022 Filed under: Alcohol Ink, crackle, Darkroom Door, geometric stars, grafix, mesh, MFT stencils, My Favorite Things, Pink Fresh studio, Stencils, tall flowers, Uncategorized, you are everything | Tags: Darkroom Door stamps, Darkroom Door stencils, grafix, grafix craft plastic, My Favorite Things, pinata alcohol ink, Pink Fresh studio, Ranger Alcohol Ink 11 Comments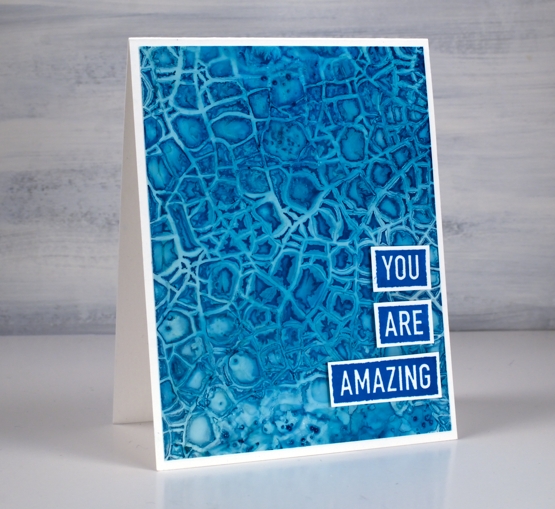
After success with one of my detailed stencils over an alcohol ink panel I tried a few more all with a mix of blue inks. The one above features the Darkroom Door crackle stencil over a mix of cloudy blue and stream inks.
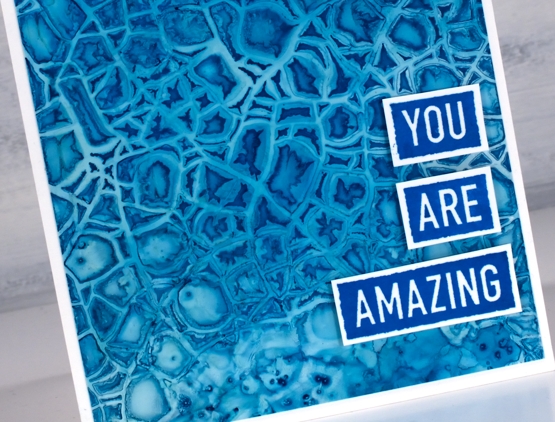
There is also a little bit of salt sprinkled on the panel where the stencil did not make consistent contact. This technique is definitely not for the impatient among us!
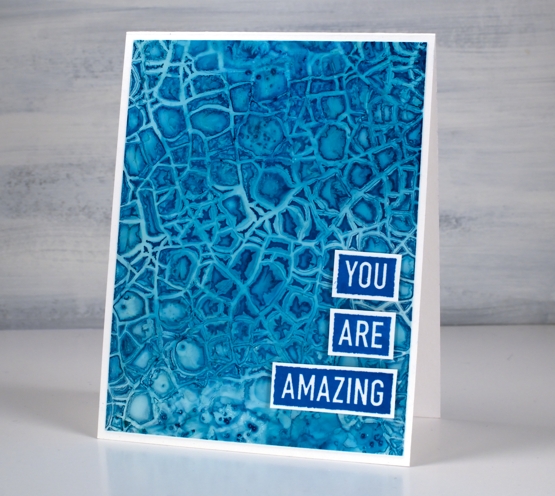
I am still working on Grafix white craft plastic and often starting over the top of a panel that already had ink on it. All the card bases are Neenah solar white.
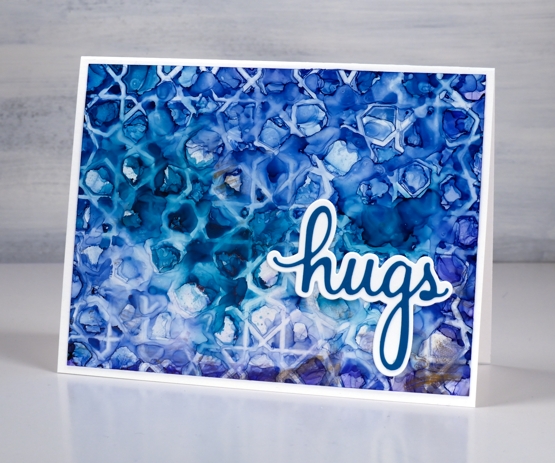
The stencil above is MFT geometric stars and I positioned it over a panel of denim and stream inks with some leftover copper as well. The ‘print’ is not very consistent but I like the way a distinct line is right next to a blurry pattern.
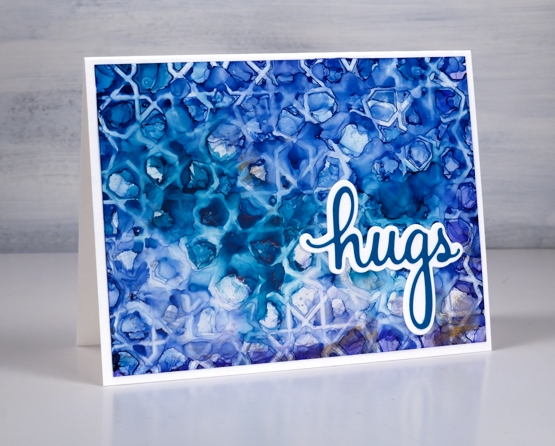
I finished this one off with a die from the Pinkfresh Studio ‘sending’ die set.
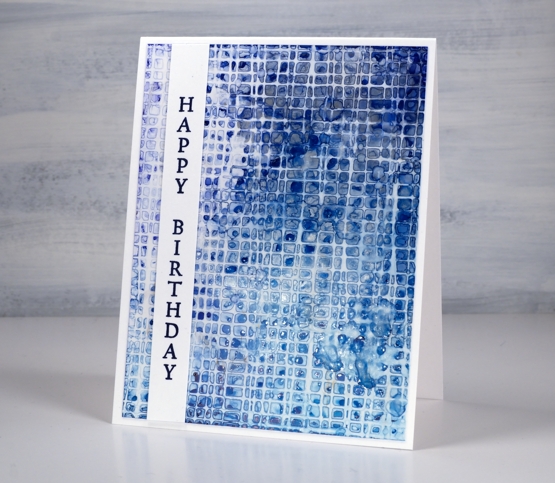
I worked with the DD mesh stencil a couple of times because it didn’t make consistent contact on my first attempts. I found if I taped it over the alcohol ink panel onto a piece of scrap cardboard I could bend the cardboard slightly to make sure stencil stayed pressed onto the wet alcohol inks. I just popped the piece in the right sized container to keep it bent while it dried.
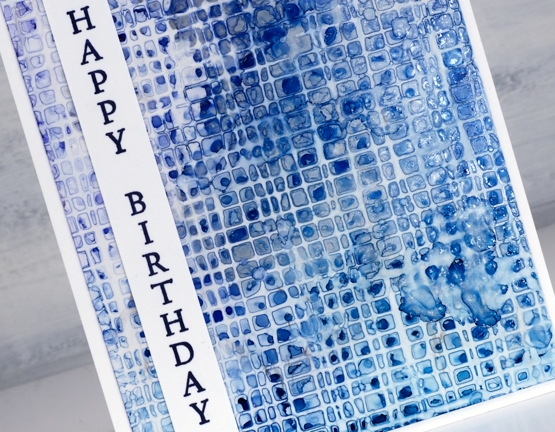
This one is a mix of denim, cloudy blue, silver and a tiny bit of stream down in the right hand corner. I added a sentiment from the DD ‘tall flowers’ set.
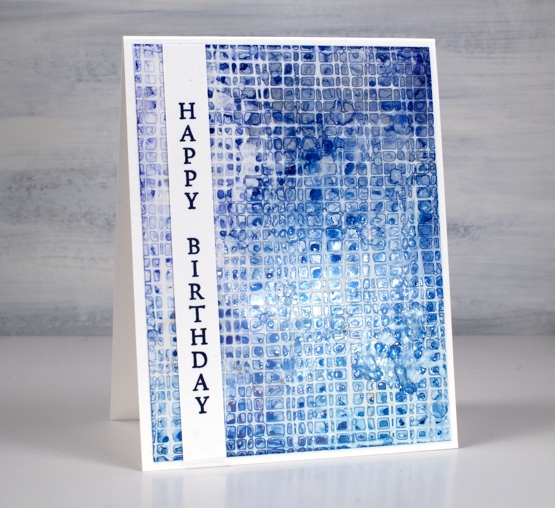
As you can see my fascination with this technique continues. I did pick up a couple more detail stencils the other day for this very purpose. I will also give it a try with some watercolour paints and paper. I’m sure the result will be different as the watercolour paints soak in but I think there could be a pretty and subtle pattern. Stay tuned!
Supplies
(Compensated affiliate links used when possible)
AI Abstract and Landscape
Posted: January 28, 2022 Filed under: Alcohol Ink, grafix, Paper Rose, so extra supporting sentiments | Tags: grafix, grafix craft plastic, Paper Rose, pinata alcohol ink, Ranger Alcohol Ink 6 Comments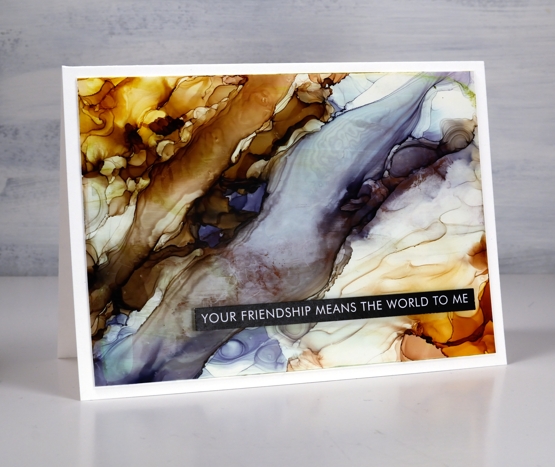
While trying the stencil and alcohol ink techniques earlier this week I also returned to techniques I’ve used before. The Grafix white craft plastic panel above was a grey & blue one which wasn’t very interesting. I added warm tones either side and using tilting and air blowing to create a pattern that looks a little like a rock cross section.
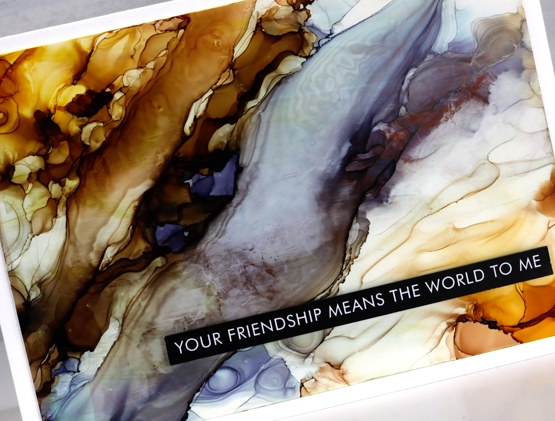
I used some clear gesso to seal this one but it did drag some colour and leave some texture lines so I wouldn’t recommend it as the best sealing solution. I could use a spray sealant but it is very, very cold outside so I’m not popping into the back yard to use aerosol cans right now!
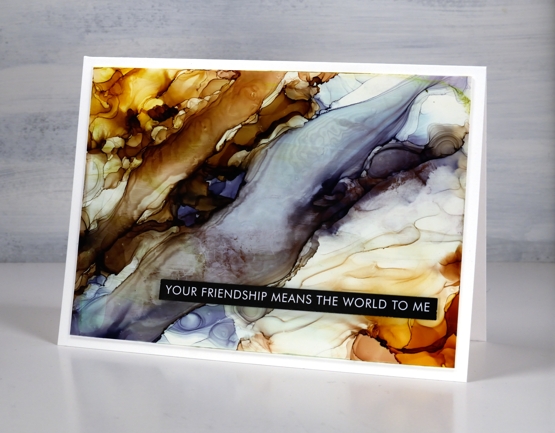
I would tell you the ink colours I used if I knew. I picked up a panel with ink from a previous session then start putting more ink here and there and in no time I saw colours and patterns appear with no idea which ink went where!
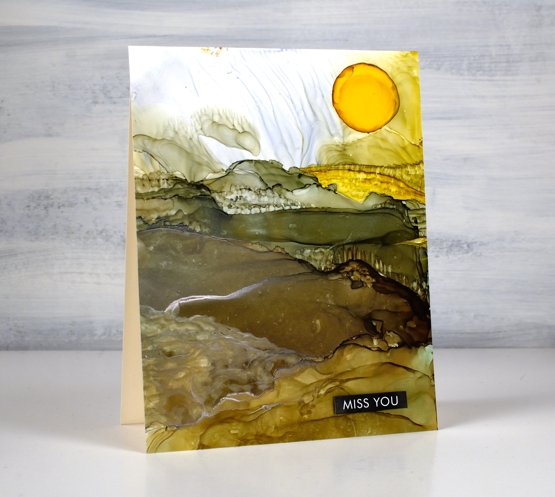
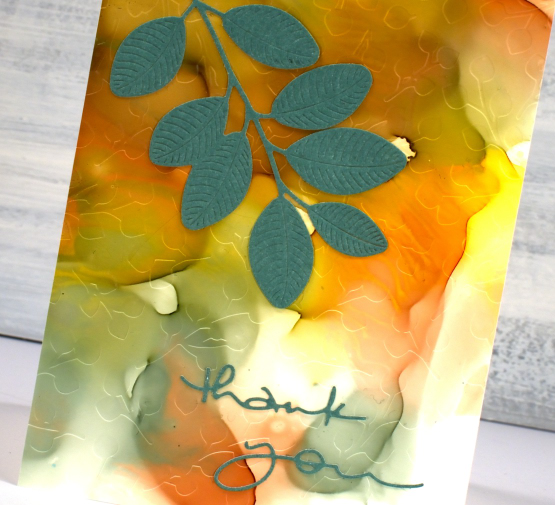
On this second panel I have a bit more of an idea of the landscape colours. I began with a previously inked panel and added pesto, ginger and sunshine yellow inks along with generous amounts of rubbing alcohol to move the inks.
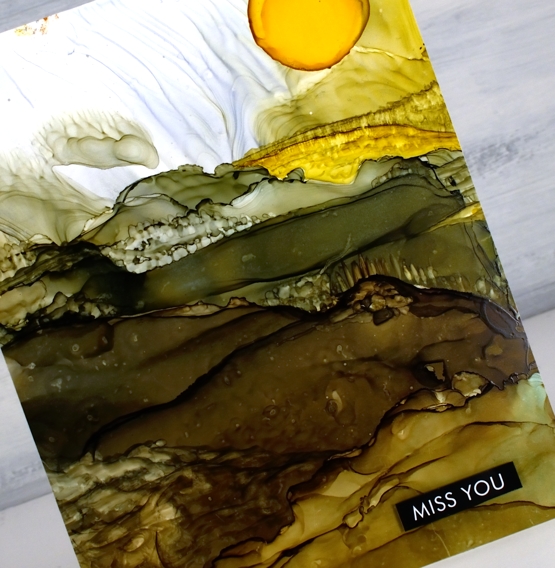
As I tipped the panel and used an air blower I was able to create stripes across the panel which looked a bit like hills. I feel like this is still a fluke for me; I wish I could give you exact instructions but it works sometimes and not others.
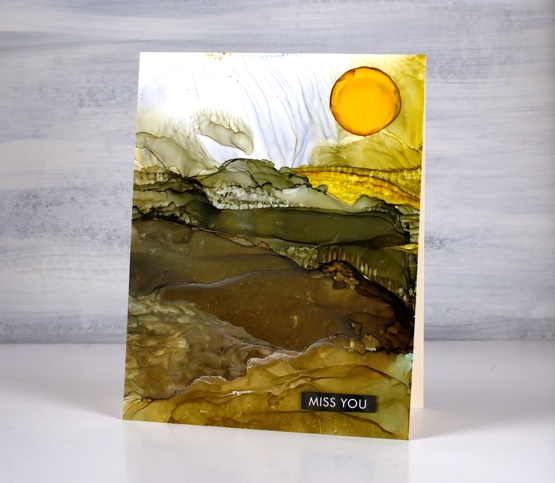
To add the look of trees and crops I used an alcohol ink paint brush and a very small amount of alcohol ink or isopropyl alcohol. I wanted to add texture to the ink that was already there rather than add more ink because when you add more ink it tends to displace the ink you already have on the panel. With this in mind I added a drop of sunshine yellow at the end to be the sun. It did not expand neatly in a circle so I used a paint brush which meant the sun was a bit larger than intended! I finished both cards with sentiments from the Paper Rose Studio ‘so extra supporting sentiments’ pack.
Alcohol ink art seems to be equal parts fabulous and frustrating but I will keep on persevering and see if I can come up with some processes I can recreate and share with you.
Supplies
(Compensated affiliate links used when possible)