
Birthday butterflies
Posted: March 31, 2023 Filed under: Brusho, Butterflies, Darkroom Door, this way | Tags: Brusho, brutus monroe embossing powder, Darkroom Door stamps 8 Comments
Darkroom Door has just released an amazing new collection of stamps so I will be showing off a few of them in the coming weeks. The narrow arrow stamp named ‘this way’ motivated me to pull out the brusho powders. Brusho is wonderful when used with embossed patterned stamps where the paint crystals can get trapped. I used both ultramarine and emerald green brusho on this card.

I embossed the ‘this way’ stamp in white powder on hot presssed watercolour paper then sprinkled brusho on top and spritzed water from above to get the colours activated. I also painted the black embossed butterflies with brusho but was a bit more strategic in my paint blending.

I popped some gold cord behind the butterflies and tucked a tiny DD birthday sentiment in as well. This slim border stamp is very versatile and in future posts I will be sharing how I used it with cars, motorbikes and a lighthouse!
(Compensated affiliate links from Foiled Fox, Scrap n Stamp)
Butterfly Gold journal page
Posted: January 19, 2022 Filed under: Art Journal, Butterflies, Darkroom Door, honeycomb, mesh, Mixed Media, Stencils, transfer sheet, Wings | Tags: Art Journal, Darkroom Door stamps, Darkroom Door stencils, Mixed Media 6 Comments
I have a new spread in the 6 x 6 art journal today though not a seasonal one this time. These pages include a couple of photos from a magazine along with some layering of stamped tissue paper, book pages, stamping and some transfers.
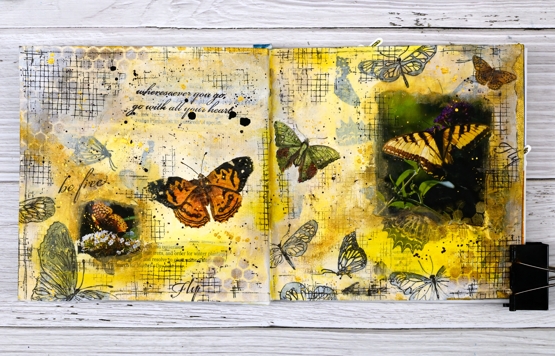
I began by stamping butterflies on white tissue paper in black archival ink then ripped up the paper before gluing it to the pages. I also ripped up some old book pages and accidentally ended up with a strip mentioning butterflies
Over the paper layers I painted with white gesso and acrylic paint before stenciling gold paint through the Darkroom Door honeycomb stencil.

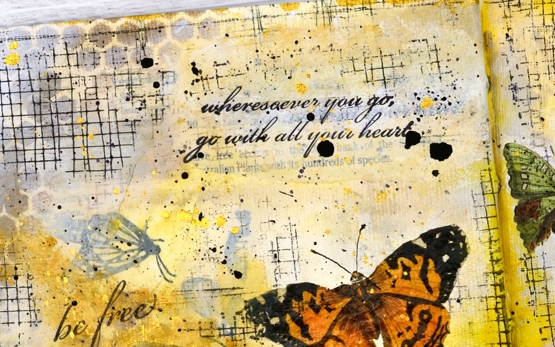
I glued the butterfly photos down and painted over the edges to soften the transition from journal page to photo. I used a black fineline pen to sketch over some of the stamped butterflies and added random texture using the DD mesh stamp.

The page was almost finished at this point but the two butterfly photos were at opposite sides of the spread with a lot of space in between. A visit to Crop A While ended up helping me out. I wasn’t there looking for anything butterfly related but after talking about transfer sheets Carole showed me the Vintage Butterflies sheet from ‘Dress my Craft’ and I had the final elements for this page.

I had not used transfer sheets in a very long time, they work just like the temporary flag tattoos my children applied to themselves on Canada Day years ago. Unlike the temporary tattoos these ones should stay stuck rather than gradually looking rattier and scrappier over a period of weeks!
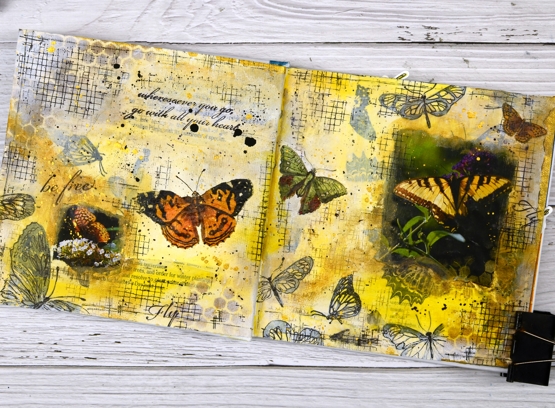
I used three of the transfer butterflies to create a visual path across the two pages then finished things up with quotes from the Darkroom Door ‘Wings’ set and of course some black, white and gold splatter!
Thank you for all the kind and generous messages about the cardinal card; it is always lovely to hear from you.
Supplies
(Compensated affiliate links used when possible)
Checkered Bookmarks
Posted: October 15, 2021 Filed under: bookworm, Butterflies, checkered, Darkroom Door, Stencils, tall flowers | Tags: Darkroom Door stamps, Darkroom Door stencils 6 Comments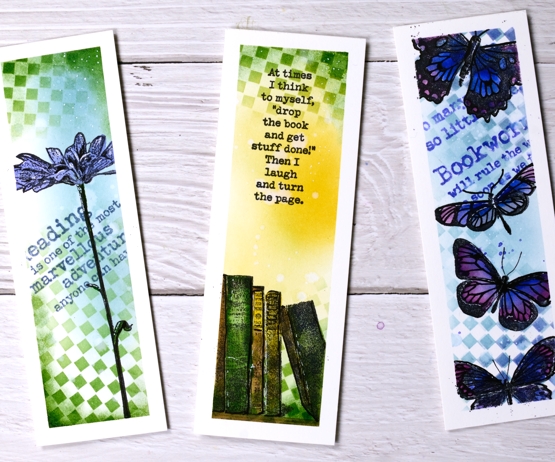
For a change and because I’ve seen a few beautiful stamped and painted bookmarks lately, I decided to make a few of my own. My preference is always a very flat bookmark. I have had fancier bookmarks over the years with layers and lace but I like the book to close nice and flat over the bookmark. These ones are one layer of hot press watercolour paper without even the raised surface of embossing.
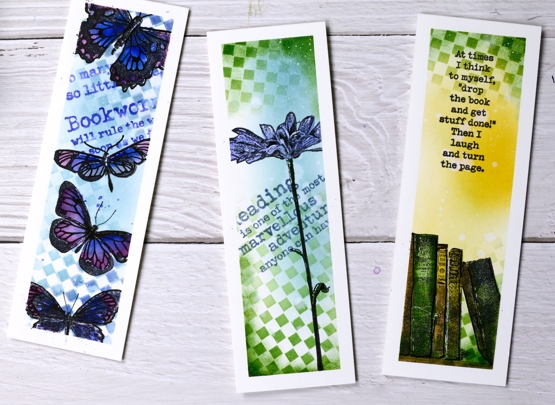
I taped a piece of watercolour paper to my glass mat using washi tape and the grid on the mat to keep the tapes even as they divided the panel into three strips. I blended distress inks through the Darkroom Door small checkered stencil onto the panel, two colours for each strip then blended more ink to fill the spaces. I chose a different theme for each bookmark but used reading quotes from the Darkroom Door ‘Bookworm’ set for each one. (all the stamps and inks are listed below)
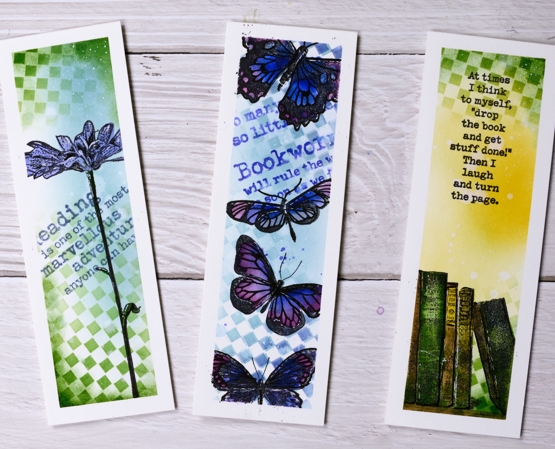
After painting over all the images with distress ink I used a black pen to darken the edges and a white gel pen to add highlights and dots.
I am always keen to hear book recommendations so feel free to leave them in the comments. Last time I asked several readers suggested authors who were new to me that I ended up reading and enjoying.
Supplies
(Compensated affiliate links used when possible)
Butterfly art journal page
Posted: September 15, 2021 Filed under: Art Journal, Butterflies, Darkroom Door, diamonds, French Script, gel press, Mixed Media, starry night, Stencils, Wildflowers Vol 1 | Tags: Art Journal, Darkroom Door stamps, Darkroom Door stencils, gel press, gel printing, Mixed Media 4 Comments
My art journal is a place where I experiment with new techniques and mediums. It’s also a place for taking ideas further after making a card or creating a gel print. For this butterfly themed page I experimented with layering. I don’t find layering easy so it is a good technique to be playing with in my journal. You can’t see all the layers clearly on this page but there are layers of rice paper under gesso as well as on top of it.

Another technique which I am just beginning to play with is sewing on cards and mixed media pieces. Rachel Greig from Darkroom Door is a master at it and provided loads of inspiration during her recent Artful August challenge. I have tried sewing on paper with my precious Pfaff sewing machine but it didn’t like it so a few weeks ago I bought a second hand machine especially for sewing heavy and unusual materials. The machine is an old one but it is very sturdy and hums along beautifully.

I began by tearing up a large gel print done on rice paper. It featured diamonds on one side and stars on the other, both patterns made with large Darkroom Door stencils. The colour scheme was blues, reds and gold. I glued the torn pieces around the edges with gel medium then painted over them with diluted gesso. After the gesso dried I stamped a few butterflies then added more gesso over the top.
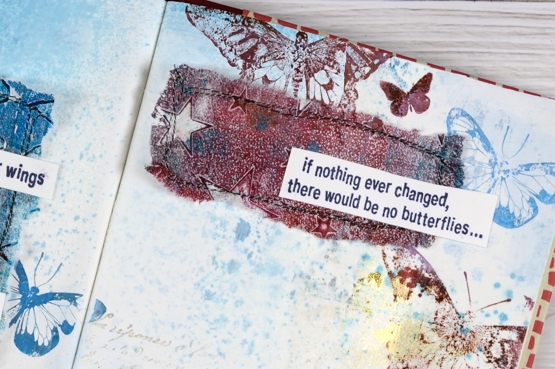
I spritzed over the pages with a faded jeans and broken china distress sprays, only enough to add a bit of speckle here and there, not so much as to cover the colour and pattern underneath. I stamped more butterflies from the DD butterflies set in colours similar to those in my gel print patches.
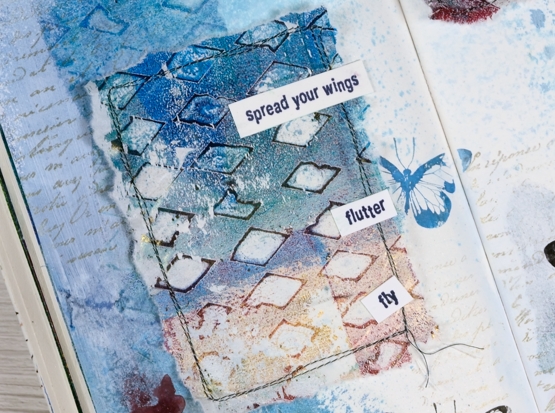
Once the stamping was done I sewed borders around two pieces of gel printed rice paper then glued them on the pages. I stamped, cut out and glued down sentiments from the DD wildflowers vol 1 stamp set.
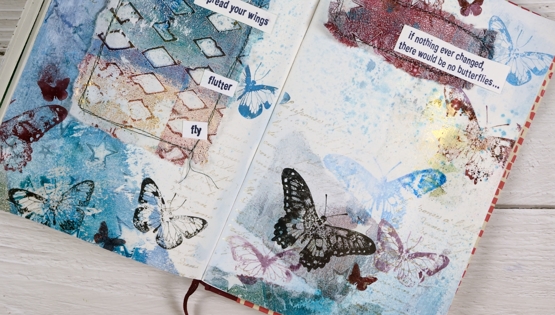
Oh, and I stamped the DD French script stamp a couple of times on each page in gold to co-ordinate with the gold on the gel prints. Not a ton of layering or sewing but I am learning how to paint over background layers just enough to make them fade but not so much that they disappear. I realise looking at these photos that the gel print on the left looks like a pocket… it’s not but that’s an idea for another page.
Supplies
(Compensated affiliate links used when possible)
Gel Printing with stencils + video
Posted: July 12, 2021 Filed under: Butterflies, classic cars vol 1, Darkroom Door, fragments, gel press, gelli plate, Heather lowercase stamp set, little swirls, Nature Walk, Paper Rose, Pink Fresh studio, so extra supporting sentiments | Tags: Darkroom Door stamps, gel press, gel printing, Paper Rose, Pink Fresh studio 7 Comments
In recent gel printing sessions I have used some of my intricate stencils from Paper Rose Studio. This stencil, ‘little swirls‘ makes a particularly beautiful background. I’ve been printing on a 6″x6″ gel plate with a 6″x6″ stencil but I cut the print down to make a 4¼” x 5½” card.

I used stamps from Darkroom Door’s nature walk , butterflies and happy birthday sets. (all linked at the end of the post). The process for making this type of print is shown in the video below.
After any gel printing session I usually have quite a pile of prints, some become cards but I am hoping to use more in my art journal. I have to be a bit more adventurous in tearing and layering and turning them into more than just a patterned print.
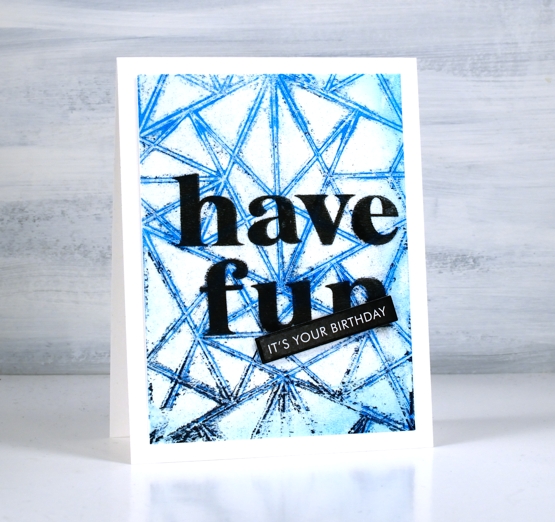
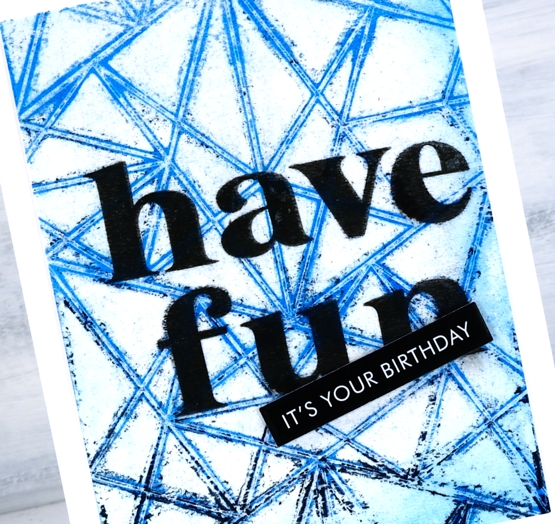
The making of the background above is included in the video. To turn it into a birthday card I stamped ‘have fun’ directly on the print then popped up a sentiment strip on top. The words are stamped in Gina K obsidian amalgam ink using the Pink Fresh Studio ‘Heather’ lowercase alphabet set.
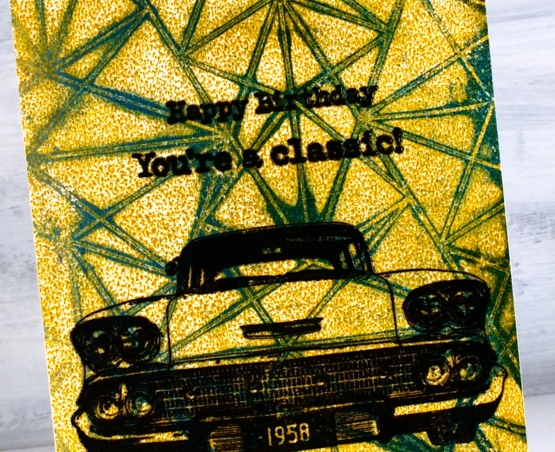
The making of the background below is also part of the video and you can see the mustard paint beaded on the surface of the gel plate making an allover pattern when printed. I didn’t necessarily want the beading but was happy when it ended up uniform. Paints of different brands perform differently on the gel press so experimentation is necessary to work out how much paint and which brands will give you the results you want.
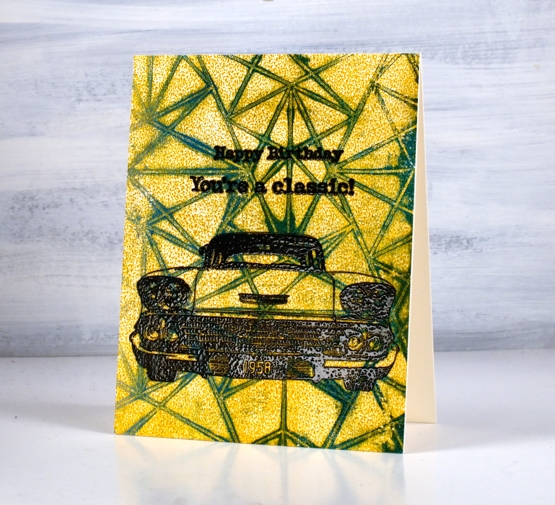
I turned this background into another birthday card by embossing a car from the Darkroom Door Classic Cars vol 1 set along with a sentiment from the same set plus one from the Happy Birthday set.
I also filmed some gel printing with a few textured surfaces from the recycling box; I’ll be sharing that video soon.
I’d love to hear how you use your gel prints; I’m always open to ideas.
Supplies
(Compensated affiliate links used when possible)
Ferns & friendship
Posted: July 17, 2020 Filed under: Brusho, Butterflies, Darkroom Door, gelli plate, global postmarks, Leaves, mesh | Tags: Brusho, Darkroom Door stamps, gel printing 4 Comments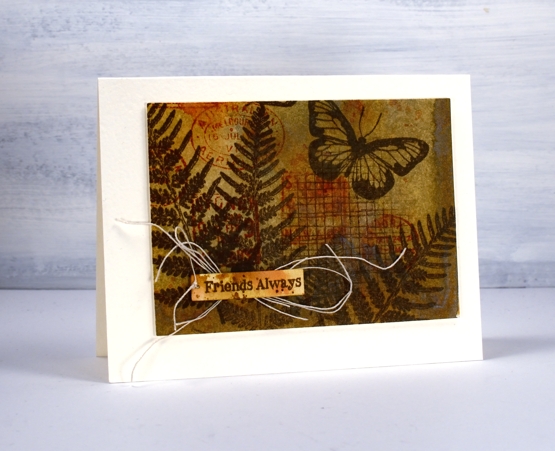
It is a long time since I had my gel plate out for monoprinting; I’m definitely keen, but for the last few months my time has been taken up by an exciting new project I’ll be sharing with you soon. I decided to go through prints from previous gel print adventures to make a few cards with Darkroom Door stamps.
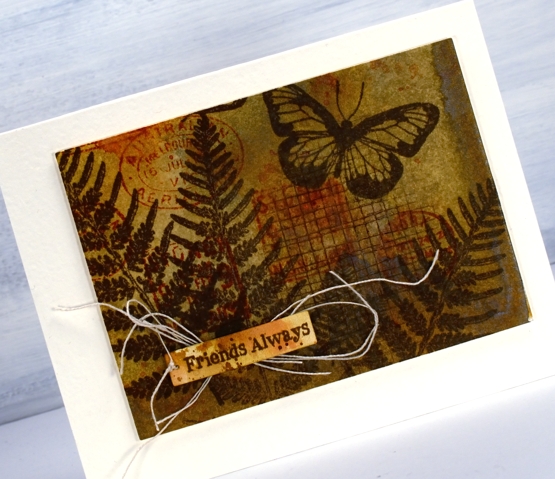
Most often I use acrylic paints on my gel plate but to make this natural coloured background I used water colour powders. I can’t remember which paint colours I used, possibly only one like sandstone which can give a range of browny orange tones. To turn the monoprints into cards I used stamps from DD sets ‘leaves’, ‘butterflies’ and ‘global postmarks’. I also used the small ‘mesh’ texture stamp.
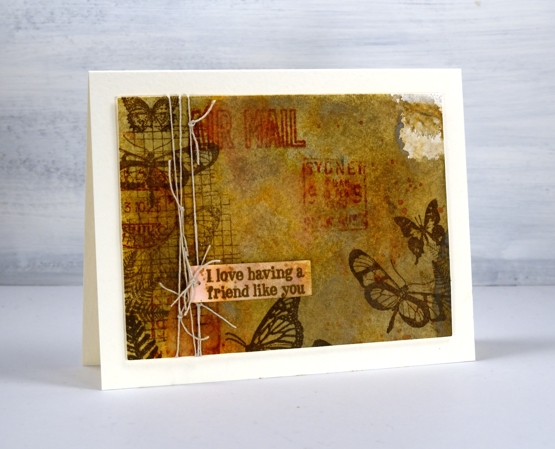
I stamped in ‘vintage sepia’ versafine ink, brushed corduroy and rusty hinge distress inks. Initially I stamped the sentiments from the ‘friendship’ sentiment strips on watercolour paper scraps but they looked too stark and clean so I splattered and swiped some ink on them so they blended into the background a bit more.
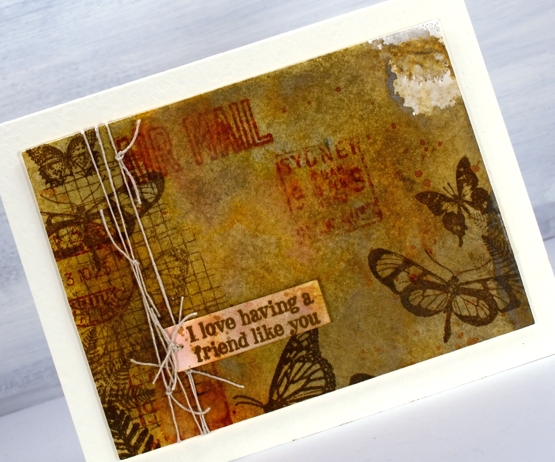
I also added some linen thread which worked with the natural tones and the postal images. I popped up the panels with a couple of cardstock layers on white luxe textured card bases.
Supplies
Mesh stencil butterflies
Posted: September 3, 2018 Filed under: Butterflies, mesh | Tags: Darkroom Door stamps, Nuvo embellishment mousse, Ranger Distress inks, Ranger Distress stains 6 Comments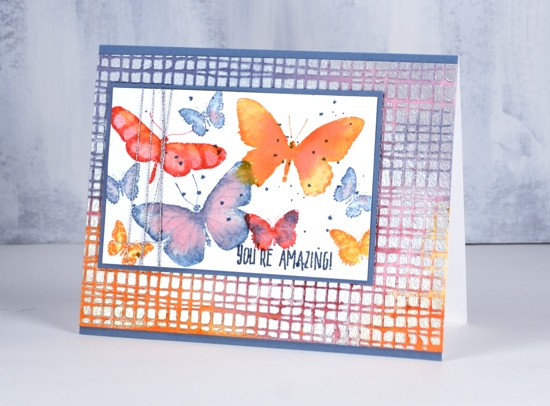
There is plenty of texture on today’s card, more than most of my projects. The pretty shimmer which is only just apparent in the photos is from Nuvo pure platinum embellishment mousse. I pressed it through the Darkroom Door mesh stencil onto watercolour paper. Once the mousse had dried I added distress stains over the mousse. It soaked into the paper but was easily polished off the mousse.
To create the butterfly panel I stamped with the same colour inks as previously used stains. After stamping the butterflies in one colour I blended with water and added drops of another colour to make them all all two tone. You can also see some dots of blue because I love a little splatter here and there.

I completed the card with a sentiment, some silver cord and co-ordinating blue mats.
Supplies
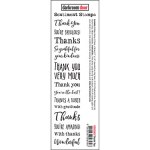
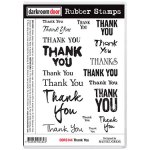
Stamps: Butterflies, Thank you
Stencil: Small stencil mesh (DD)

Inks: spiced marmalade, festive berries, stormy sky distress inks
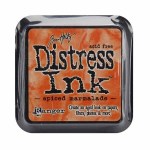

Stains: spiced marmalade, festive berries, stormy sky distress stains
Also: nuvo embellishment mousse, silver cord

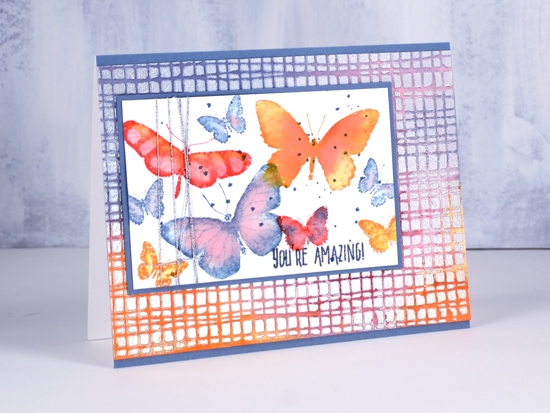
Bold & Beautiful Butterflies
Posted: April 23, 2018 Filed under: Butterflies | Tags: Brusho, Darkroom Door stamps, Kuretake Zig clean color real brush markers, WOW embossing powders 7 Comments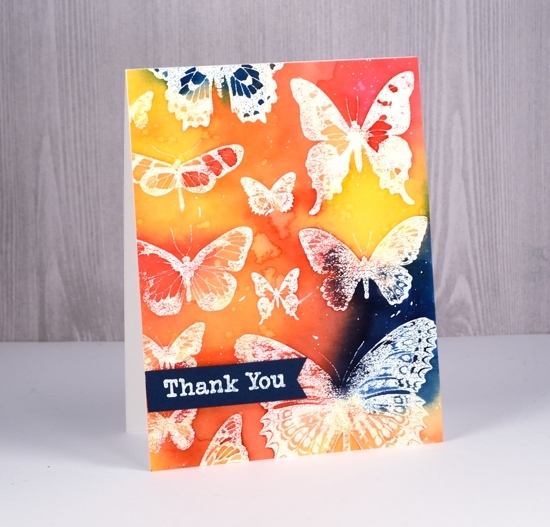
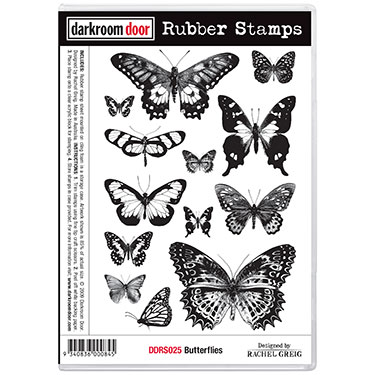
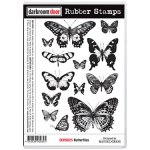
I have ‘Butterflies – Two Ways’ to serve up to you today. The butterflies in the both cards are from the Darkroom Door set, ‘Butterflies’. As the stamps from Darkroom Door arrive uncut I decided to stamp the whole sheet of butterflies a few times before I cut it into thirteen separate butterflies. I stamped it in versamark then embossed in clear powder on watercolour paper to make this card.
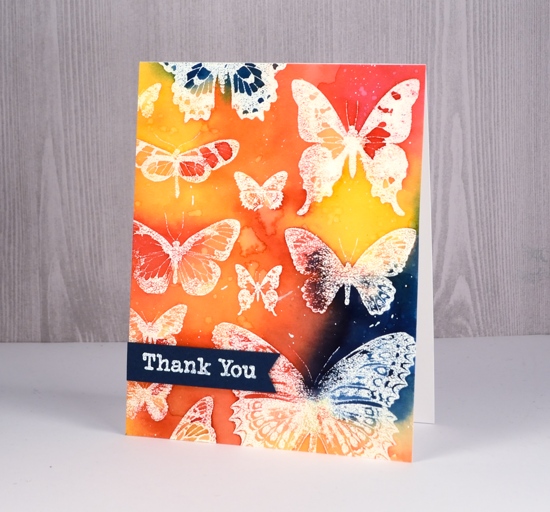
All the colour for this emboss resist design is from my beloved brusho paints. I mixed them in a palette rather than sprinkle and spritz and built up the colour with several layers. Working with prussian blue, yellow, rose red and orange brusho I was able to create some bold contrasts between the primary colours as well as with the white embossing. After completing the painting I dropped some water over the panel, let it sit then dabbed it up with a paper towel. The result is pale odd shaped watermarks. I also splattered some white gesso over the panel to break up the background colour a bit.
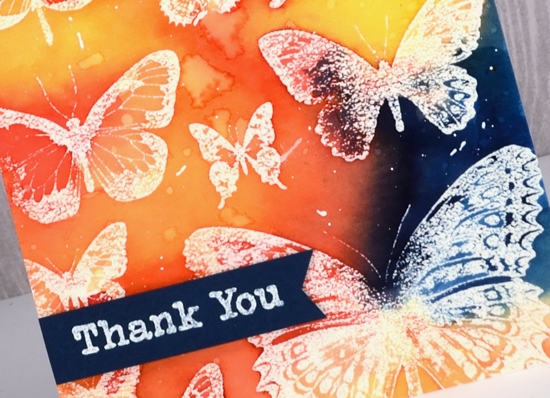
To finish the card I popped up a blue banner with a white embossed sentiment from the ‘Thank You’ set.
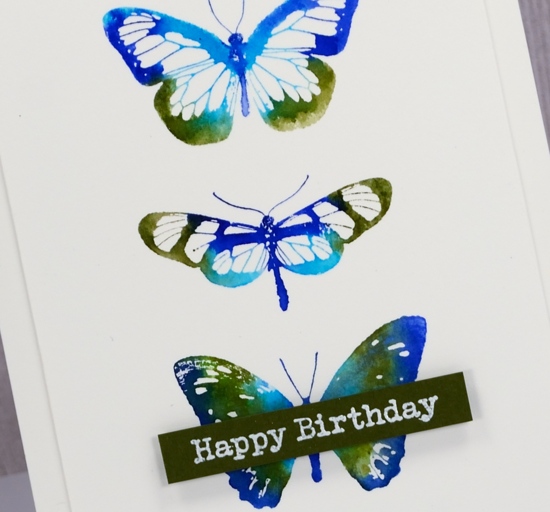
Then I went all minimal for my second card made once the set was cut into individual stamps. I have seen similar paintings and cards all over pinterest featuring three watercolour butterflies in a vertical arrangement. I decided to use zig clean color real brush pens to create the watercolour effect. The pens are pretty juicy so I had no trouble applying enough colour to blend nicely on the stamps and panel.
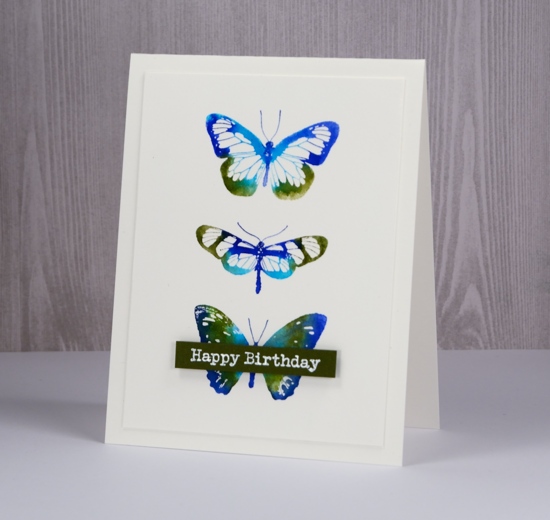
I limited my choice to light green, cobalt blue, blue and olive green, however as I write this post and look at the finished card I wonder if I actually used the light green. If I did I think it got overwhelmed by the darker colours. I applied the ink directly to the stamps, spritzed and stamped. That is it. I wanted the blending to occur on the stamp rather than spritzing the watercolour panel after stamping so the butterflies would keep their clean edges. I debated blending inside the butterflies but the white space in the wings looked pretty so I told myself I don’t need to blend everything.
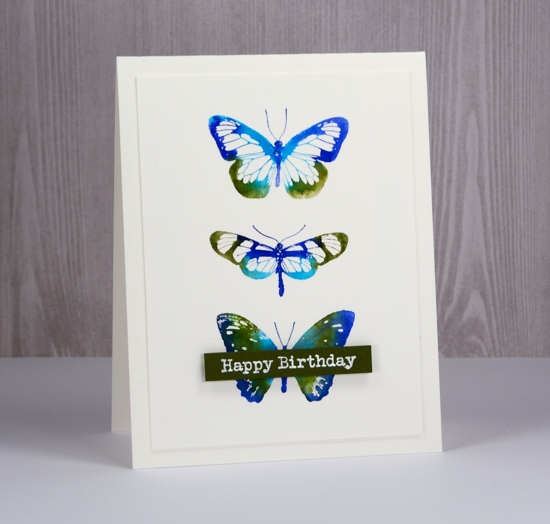
I trimmed the panel so it was ¼” smaller than the card base and once again added an embossed sentiment on a popped up banner.
Which do you prefer, colour & paint everywhere or a simple neat little butterfly trio?
Supplies
Stamps: Butterflies
Ink: versamark
Paint: brusho prussian blue, yellow, rose red, orange (bold card)

Markers: light green, cobalt blue, blue, olive green Kuretake Zig clean color real brush markers (CAS card)
Paper: hot pressed watercolour paper, dark blue cardstock, green cardstock

Also: white ep, dimensional tape, MISTI
Wings
Posted: January 31, 2018 Filed under: Butterflies, Classes, Coloured pencil | Tags: Darkroom Door stamps, Faber-Castell Polychromos Colour Pencil, Prismacolor pencils, Tsukineko Versafine inks 5 Comments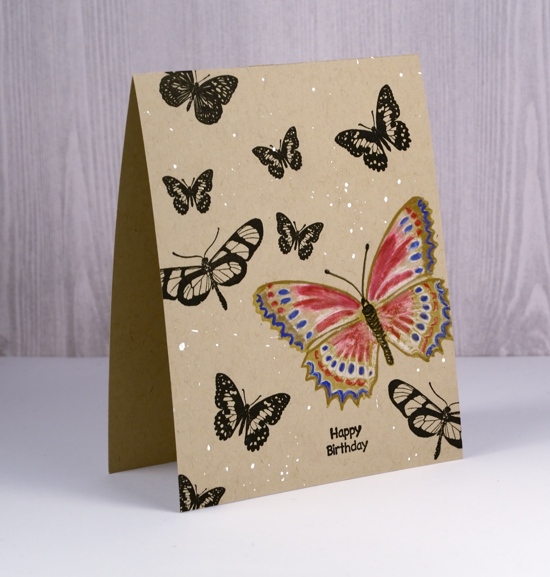
I spent a large chunk of today working on a future class, not the projects (the most fun part), but the photography, editing, promotional blurb, etc. While doing that I got inspired to combine the technique from the class next week with the theme from the class next month and this quick card was the result. I haven’t done a one layer card in a while and I rarely work with kraft cardstock so it was fun to change gear a little. I stamped butterflies from the Darkroom Door set, ‘Butterflies‘ in versafine onyx black and toffee inks then coloured the toffee one with coloured pencils.
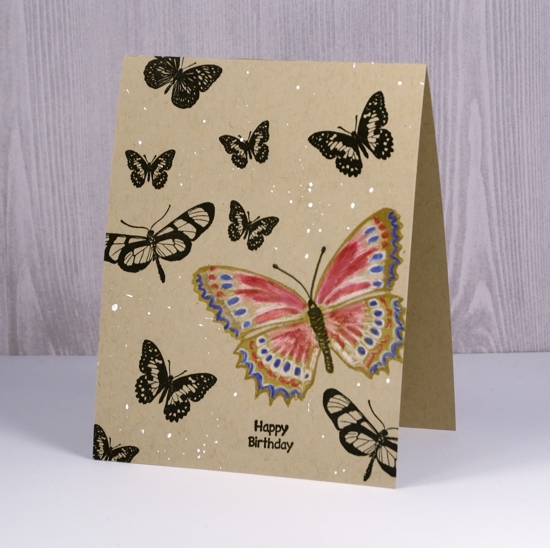
The white paint over the card front is part random splatter of copic opaque white pigment and part sigma white gel pen dots. The sentiment is from the DD set, Happy Birthday. I am always keen to participate in Kathy Racoosin’s 30 Day Coloring Challenge but never manage it on all thirty days. Today’s colouring did not take long, which is what she suggests, and it was fun to squeeze it in.


