Stencil & Watercolour wedding cards
Posted: March 27, 2026 Filed under: Classes, clematis burst stencils, Creative Expressions, cricut, Watercolour | Tags: Classes, cricut, Fabriano Watercolour Paper, Stencils 1 Comment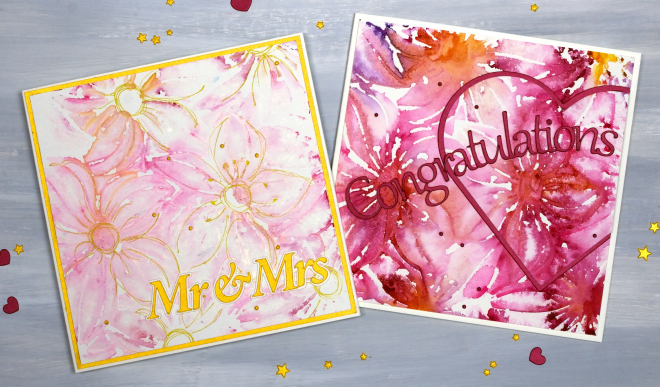
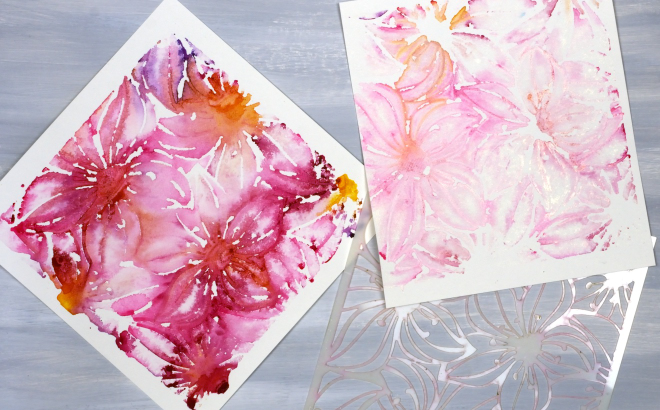
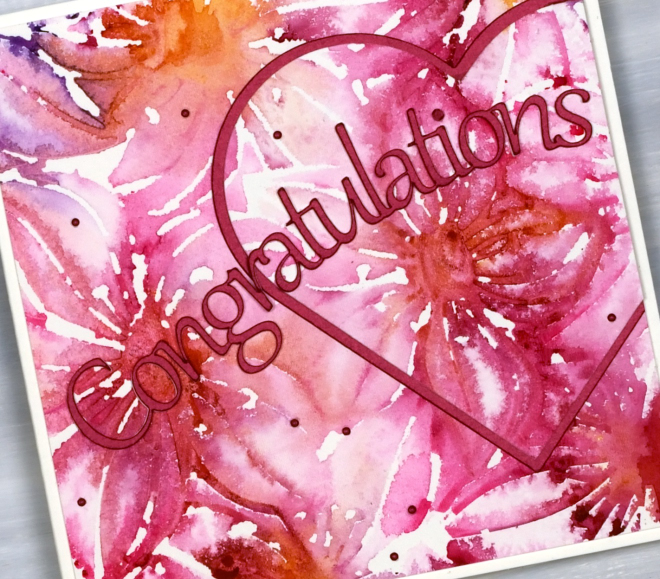
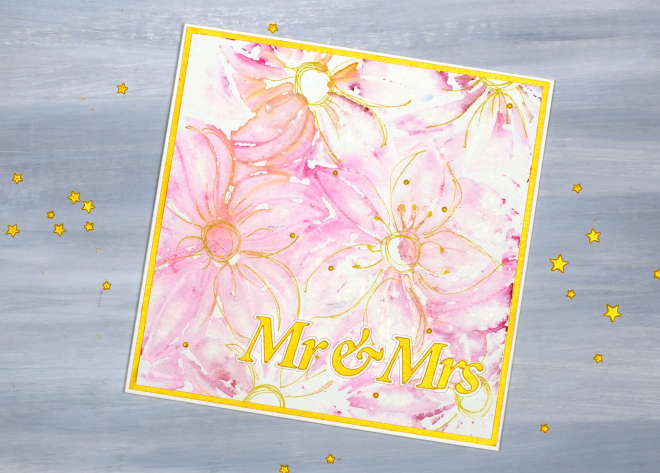
I’ve been creating quite a few patterned panels using stencils and watercolour while designing a workshop. There have been many experiments and most, but not all, have turned out quite well. You can see in the photo below the Creative Expressions square ‘Clematis Burst’ stencil beside two panels. The bright one on the left was the first impression and the one on the right the second impression using paint remaining on the stencil.
As I never seem to have any wedding cards on hand when someone asks for one I decided to make both panels into wedding cards, one bold and one subtle. I cut the sentiments on the cricut and also the large red heart
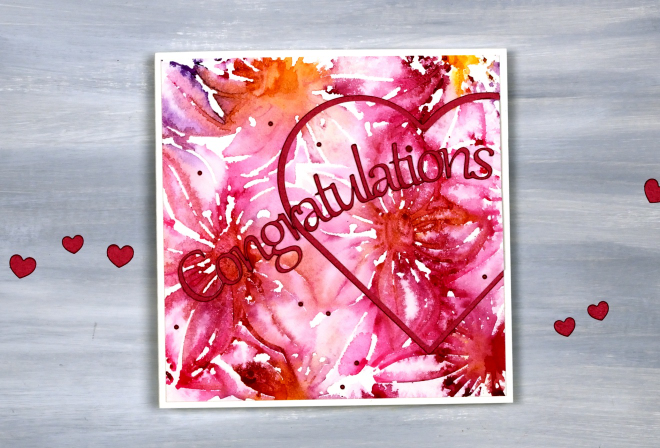
When you look closely you can see both ‘prints’ are loose and a bit messy but I don’t mind the impressionistic look!
I used a gold gel pen to add definition to the flowers on the lighter print, not every petal but enough to make sure they looked like flowers!
I am teaching a Stencils & Watercolour workshop here in Ottawa in late April and early May, you can find all the details on the CLASSES page.

January Calendar cards
Posted: March 10, 2026 Filed under: Calendar cards, cricut | Tags: cricut 5 Comments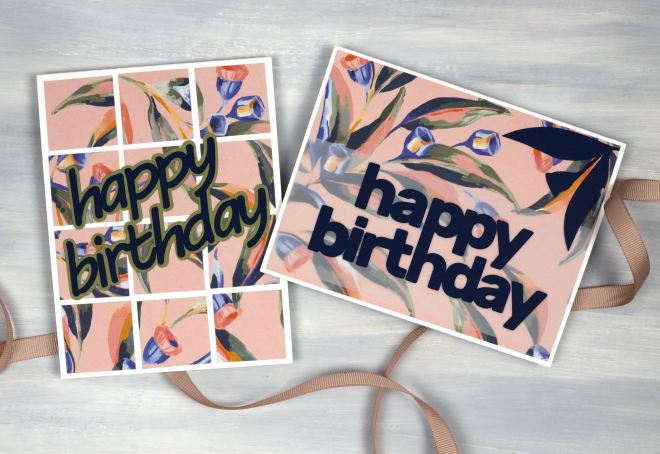
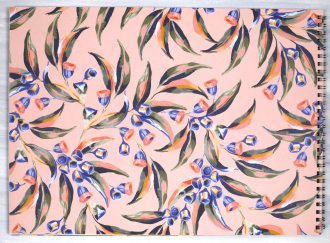
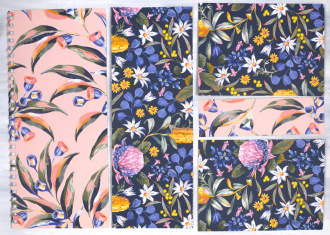
I’ve made a few more cards from the pages of the beautiful 2025 Earth Greetings calendar. I posted the cards made from the cover in a recent blog post. On the back of the cover was the January artwork by Jayne Branchflower featuring eucalyptus leaves and gum blossoms on a pink background.
I made two cards below from the remainder of the cover/January page, one large panel with a navy sentiment cut on the cricut layered over vellum so it would be more distinct. I also cut a couple of gum leaves and one gum blossom from navy cardstock to add a bit more interest to the card. I cut them with scissors so they are very simple and mimic the design painted by Jayne Branchflower.

By this time in my cardmaking I had a strip of the pink panel and a medium size square left which I was able to cut into twelve 1¼” squares which I arranged randomly across one more card base. The sentiment was also cut on the cricut from navy cardstock and a shadow from green.

As I continue to use what I have (UWIH) I am quite happy to have made six cards from one (two sided) calendar page. Although I will continue to make cards from calendar pages I am keen to work with other favourite techniques that haven’t been featured on the blog lately. I have a non-card related project I’m working on which also uses what I have on hand. I will hopefully share more of that one if I successfully complete it.
Calendar Cards
Posted: February 18, 2026 Filed under: border collection, Concord & 9th, cricut, Dies, online class, Patterned papers, Penny Black | Tags: Concord & 9th, cricut, Earth Greetings, online class, Penny Black creative dies 5 Comments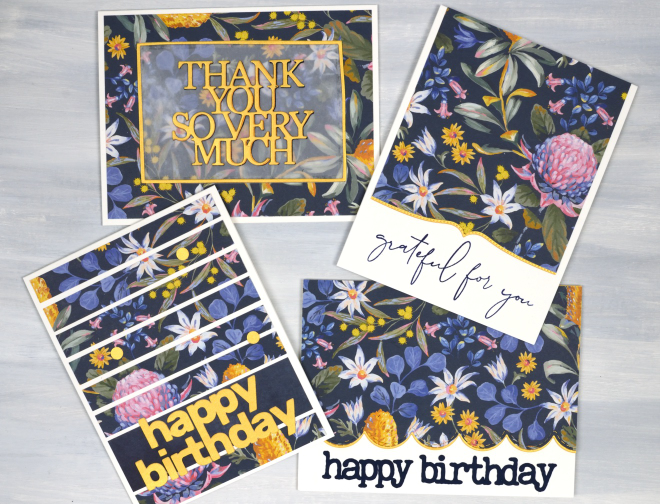
Here are some happy flowers to remind you of spring if you are still surrounded by snow like I am! Also to get you through winter there are details about a sale of my online classes at the bottom of this post.
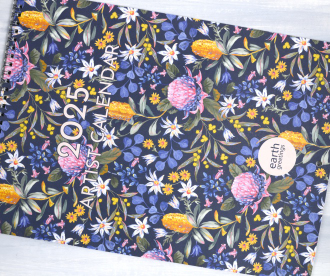
I received a beautiful Earth Greetings calendar last year from my brother and sister-in-law in Australia. I enjoyed the original artwork all year while also planning to turn the pages into cards once the year was over. I decided to start with the cover which features a beautiful floral design by Jayne Branchflower. The cover has the January artwork on the back so I used bits of each design, both painted by Jayne.
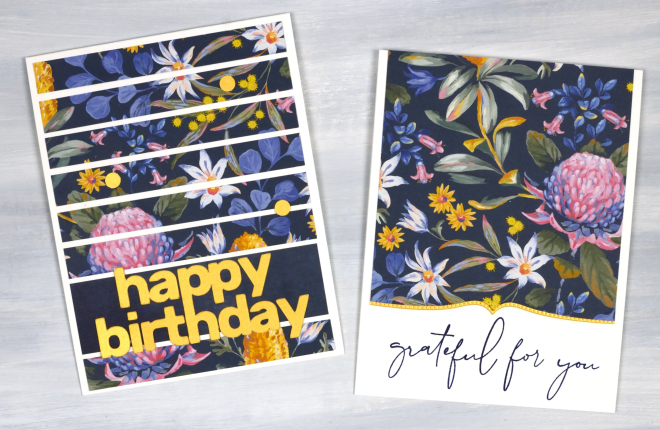
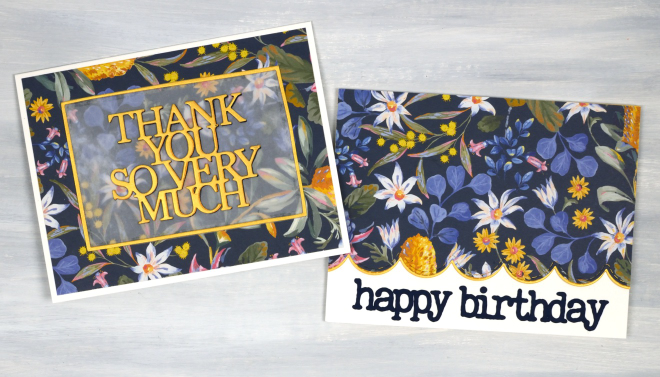
In this post I will feature the blue background panel covered in Australian native flowers such as waratah, bottlebrush and flannel flower. I created two portrait orientation cards shown below. The accents on all the cards are cut from gold cardstock to co-ordinate with the bottlebrush (callistemon) and wattle in the design. The greeting below left was cut on the cricut, below right features a Penny Black border die and a retired C&9 sentiment.
The two cards below I made in landscape orientation and used the PB Border Collection die to add a scalloped edge on the right along with a cricut cut sentiment. On the left I die-cut a PB sentiment, So Many Thanks, and lay it over duralar so it would be easier to see on the busy background. It is also stacked up on navy cardstock to give it a bit more prominence. I created the narrow gold border with WaffleFlower A2 rectangle dies. The cards in this post obviously do not have to be made with calendar pages; your own printed, drawn or painted papers would work, as would scrapbook papers or art papers. I am just having fun with calendar pages right now and hope I have inspired you to recycle and repurpose a few of yours!
All my online classes are on sale for 50% off. Just click over to https://heathertelford.podia.com/ to purchase.
This post includes affiliate links from Scrap’n’Stamp . If you buy through these links I receive a small commission at no extra cost to you.
Pretty Papers
Posted: January 21, 2026 Filed under: cricut, My Favorite Things, Patterned papers, Penny Black | Tags: cricut, My Favorite Things, Penny Black creative dies 7 Comments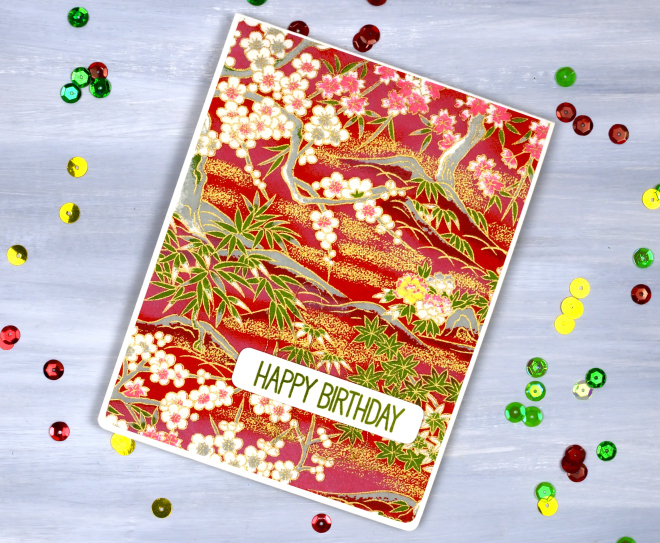
If you are anything like me you probably have a stash of pretty papers. Maybe they are scrapbooking papers or rice papers, perhaps they are pretty papers you made yourself by watercolouring or printing. I have quite the stash in all the above categories. So in the spirit of using what I have (UWIH), I pulled out some of the pretties and turned them into cards.
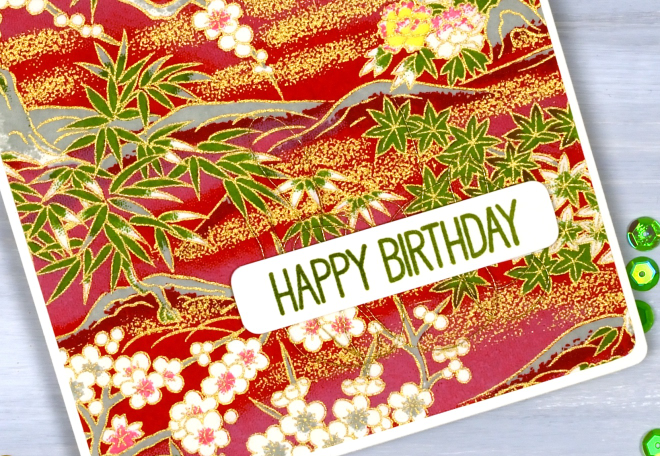
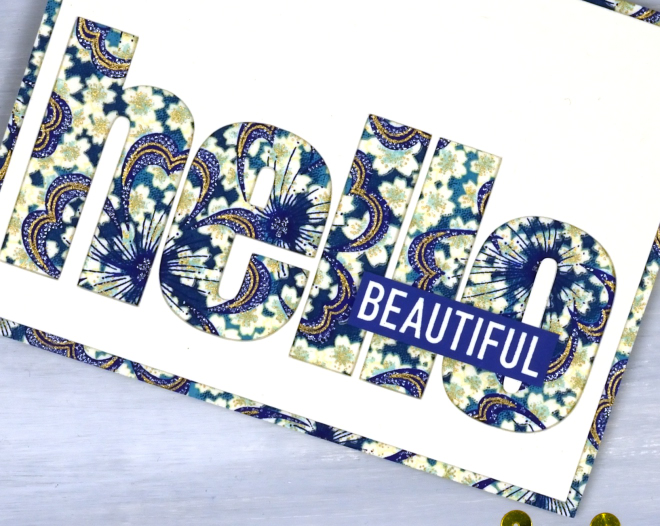
All the papers on today’s cards are rice papers featuring bold colours and gold details. They were a lovely gift from a lovely person. Because the papers are so beautiful I really didn’t do much to turn them into cards. (the red one, the bluey-green one, the blue floral one)
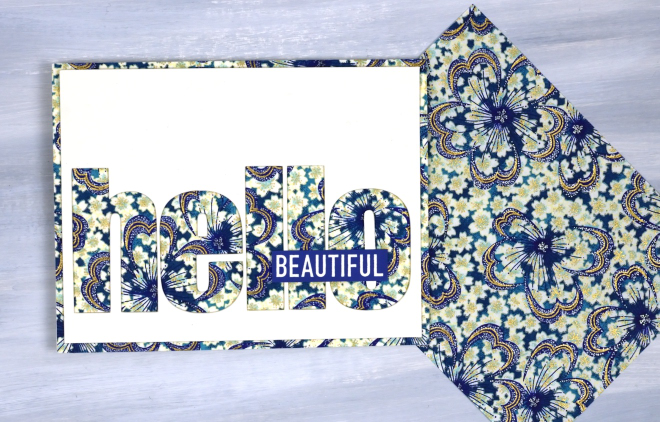
All the cards featured today use a panel that fills or almost fills a card front. I simply added sentiments and rounded corners to the red card and the bluey-green cards. For the hello card above I used the cricut to cut the word hello from a cream panel so the pretty paper would be revealed. I added the word ‘Beautiful’ from a Darkroom Door set, ‘You are Everything‘.
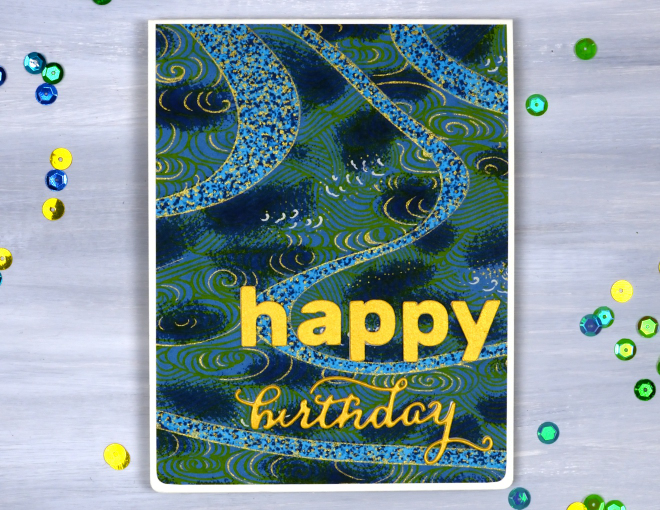
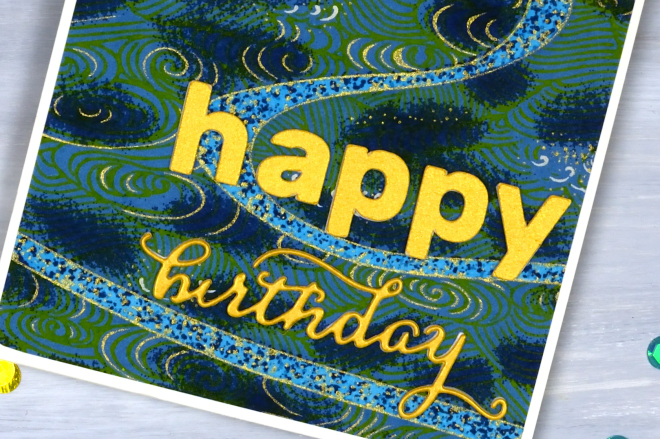
The word birthday below is die cut; the other letters are cricut-cut.
I like the finishing touch of rounded corners and have a corner rounder that I really like; it’s the Kadomaru PRO which gives me the choice or large, medium or small corners. What else do you do with pretty papers? I’d love to read your suggestions in the comments.
It’s been snowing
Posted: January 8, 2026 Filed under: Brusho, cricut, Darkroom Door, Echidna Studios, snow flakes, snowflake digital stamp set | Tags: cricut, Darkroom Door stamps, digital stamps, Echidna Studios, Fabriano Watercolour Paper 4 Comments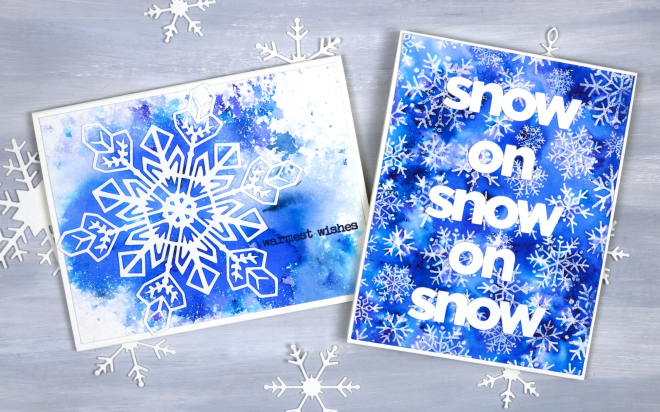
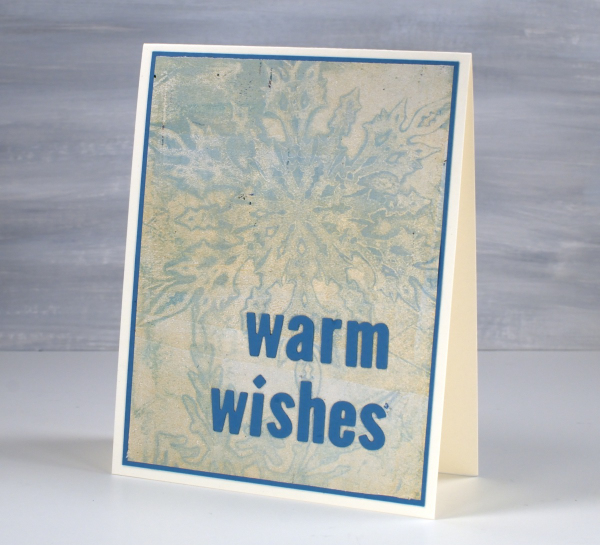
It’s been snowing quite a bit around here and we’ve had some very cold nights. A few of those nights happened to be while our furnace was not working but it’s fixed now and all is warm and cosy again! I am sending these out to a couple of friends who will totally get the snowy themed greetings, people who know about the beauty and length of a Canadian winter.
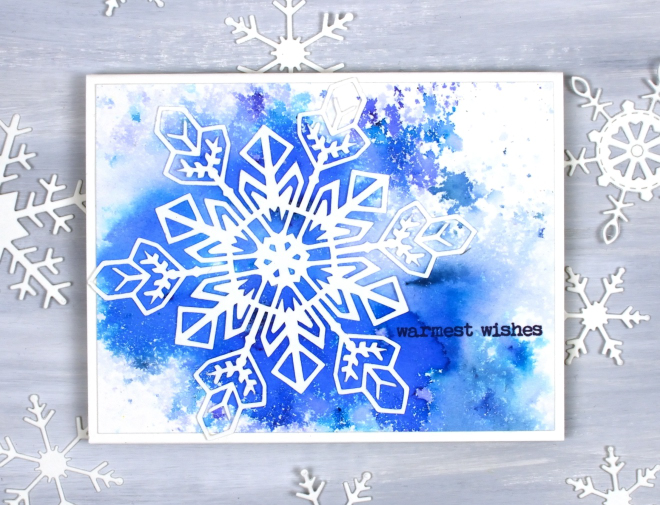
Believe it or not I did not create these cards at the same time but I’m pretty sure I ended up using the same supplies. The single snowflake card above was made with a watercolour panel I made years ago when experimenting with brusho. I probably sprinkled the brusho on watercolour paper then spritzed it with water until I was happy with the result. Even after you are happy with the result it can change as the paper and paint dry. I liked the panel so much I hoarded it, waiting for the right design. I am trying not to do that so much any more as I am very keen to Use What I Have (UWIH does not make a catchy acryonym so I am still playing with the category title). I paired the panel with one of my daughter’s snowflake designs available in the Echidna Studios etsy store as a print or cutting file. There are 6 snowflake designs in the set and I think they are beautiful.
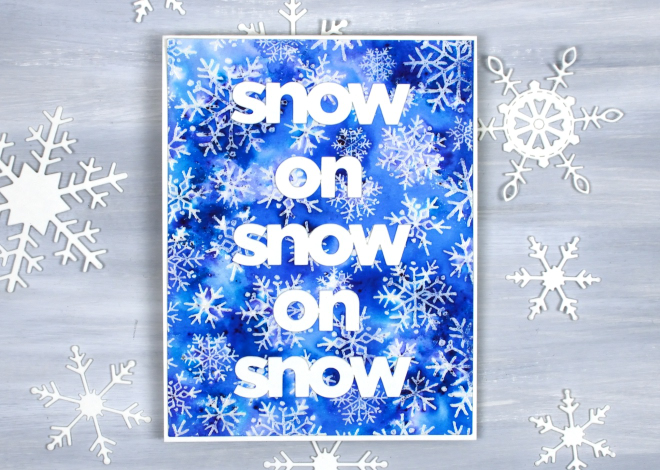
The second card was also made with brusho but I sprinkled it over an embossed panel. I embossed the Darkroom Door snow flakes background stamp with clear powder then covered it with brusho watercolour. I cut the words with my cricut to get a size that would show up on the busy background. Happy New Year and thank you for dropping in here.
HB shimmer on black
Posted: December 30, 2025 Filed under: cricut, Finetec paints, Hand drawn | Tags: cricut, Finetec artist mica watercolour paint, Hand drawn, Kuretake Gansai Tambi watercolour paints 2 Comments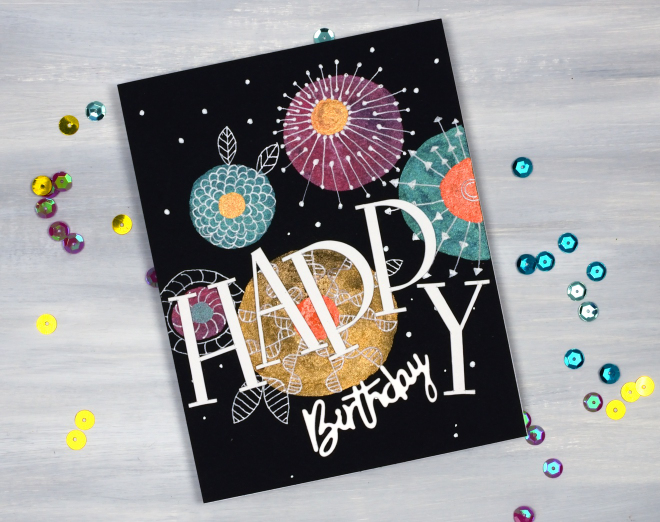
As I’ve mentioned before I have a ‘pile of possibility’ which is actually a box filled with panels that might be good for a future card or project. This painted and doodled panel came from that pile. I think I created it when I was teaching shimmer paint on black watercolour paper back in 2021!
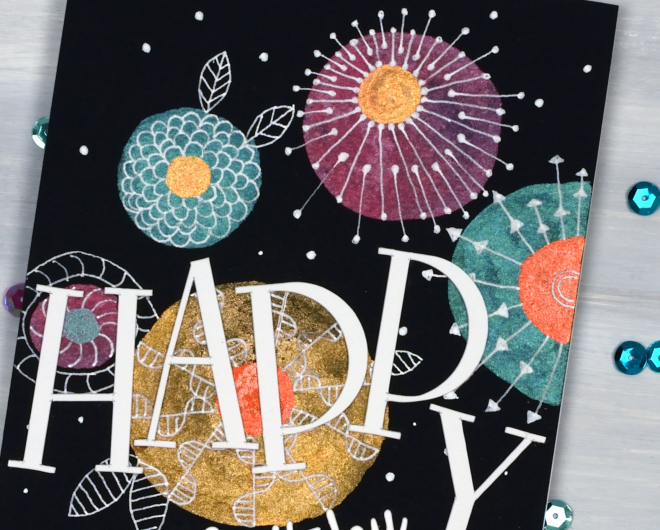
I have a selection of metallic paints, also called mica or shimmer paints from Finetec and Kuretake. They all work well on black and show up more dramatically than on white or pale coloured paper. My next bookmaking project will be an art journal made up of black watercolour paper pages so I’m planning to put my shimmer paints and markers to use along with opaque paints and markers.
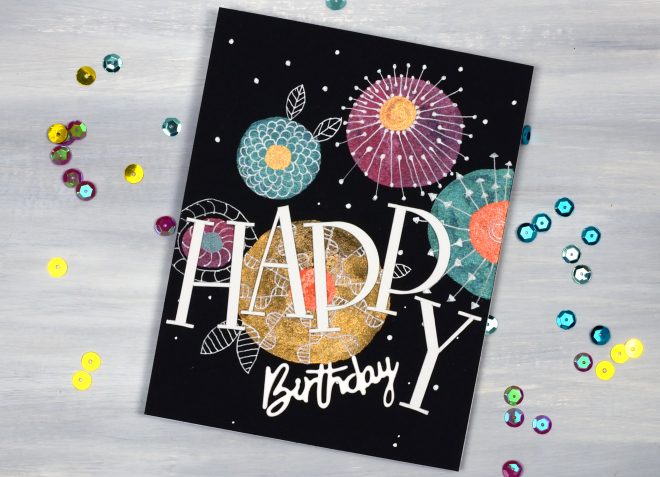
To turn this panel into a birthday card I doodled with white gel pens then cut the HAPPY letters on the cricut and paired them with a smaller die-cut ‘birthday’.
The Magic of Brusho
Posted: November 4, 2025 Filed under: Background Stamps, Brusho, contemporary, cricut, Penny Black | Tags: Brusho, brutus monroe embossing powder, cricut, Fabriano Watercolour Paper, Penny Black stamps 5 Comments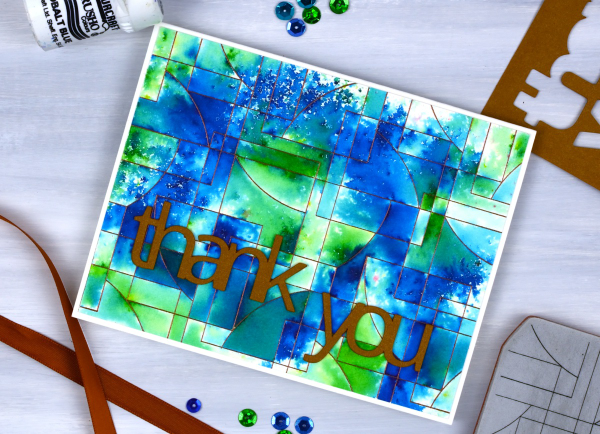
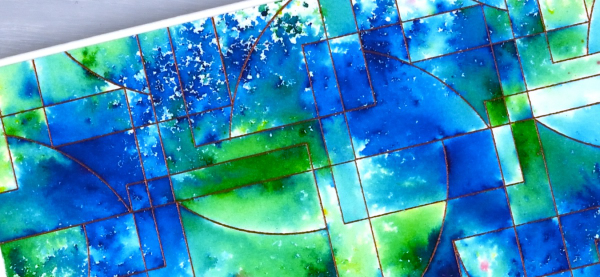
I’ve said it before but here is more evidence, Brusho watercolour paint powders make magic! I embossed the ‘contemporary‘ background stamp from Penny Black in a copper colour (I think it was ‘Penny‘ from Brutus Monroe) on hot pressed watercolour paper.
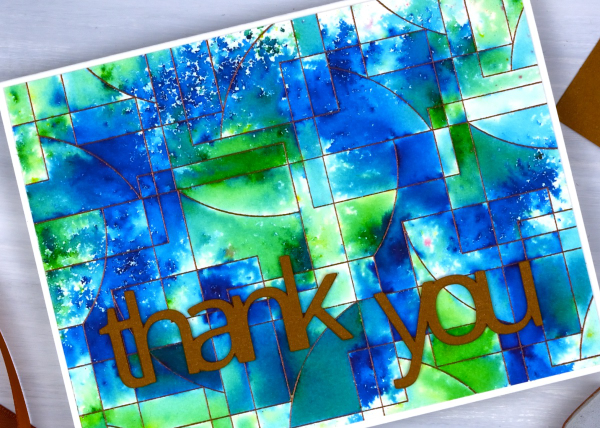
You can see the pattern in the background stamp is made up of curved and straight edged shapes. The embossing creates enclosed spaces on the panel and the the brusho powders get trapped in the spaces.
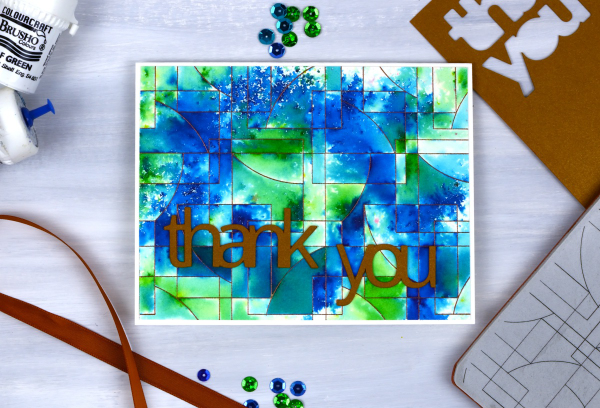
There are a couple of ways to trap brusho in an embossed design, you can spritz the embossed panel with water then sprinkle some brusho over the top, or you can sprinkle the brusho first then spritz. I often end up doing a bit of both. For this panel I think I spritzed some water first then sprinkled both blue and green brusho over the wet areas. My aim was to keep some sections blue, some green and others a mix of the two colours. I also wanted some areas to look speckled and other sections to look softly blended. Less water keeps things speckled; more water gives the paint more time to dissolve and blend.
I had some bronze shimmery cardstock which matched the embossing powder so I cut the ‘thank’ and ‘you’ on the cricut. I stacked two layers so the words would stand out from the busy background.
The happy cut-out
Posted: October 22, 2025 Filed under: cricut, Dies, Penny Black | Tags: cricut, Penny Black creative dies Leave a comment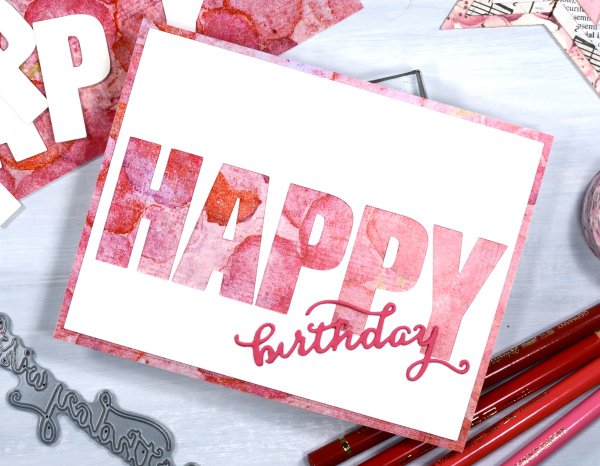
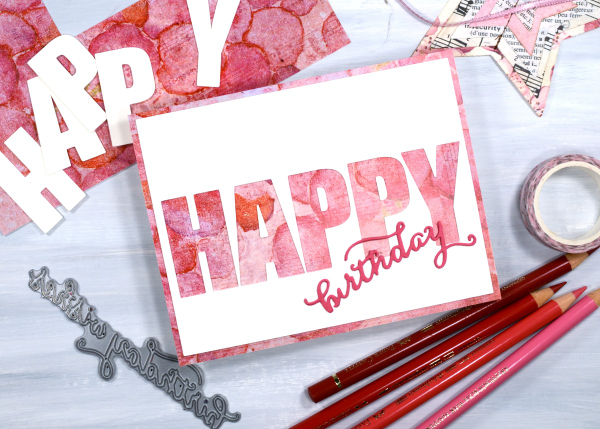
Today’s card is very similar to yesterday’s. I used the cricut to cut the letters H, A, P, P &Y from a cream panel which reveals the patterned paper layered below it. Because the patterned paper is the same size as the card front there is a border revealed by the smaller blank panel.
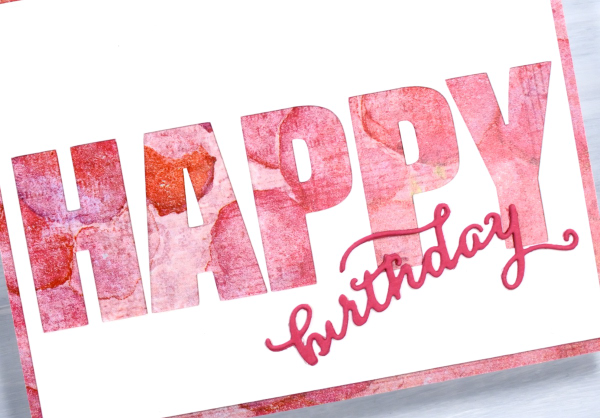
I’m know there are various ways to get the same effect but in some way it is easier to let the cricut cut the large letters in a straight line rather than expect myself to glue the cut-out letters in a perfect row! I used a Penny Black die to cut the little birthday word from pink cardstock. The patterned paper is one of the bonus pages you sometimes get in paper-crafting magazines. I think it’s the first time I’ve used one but I have a little stash which I will continue to put to use.
The map card
Posted: October 21, 2025 Filed under: Collage cards, cricut, Spellbinders | Tags: collage, cricut, Spellbinders 6 Comments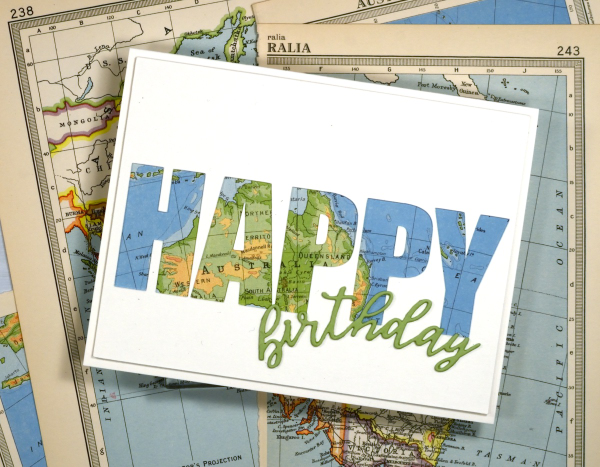
I’ve recently been using the cricut to cut letters in different fonts to complete my cards. I took the process a little further by cutting words out of the card front in order to reveal some coloured paper behind. This one shows a vintage map; tomorrow’s card features some patterned paper from a magazine.
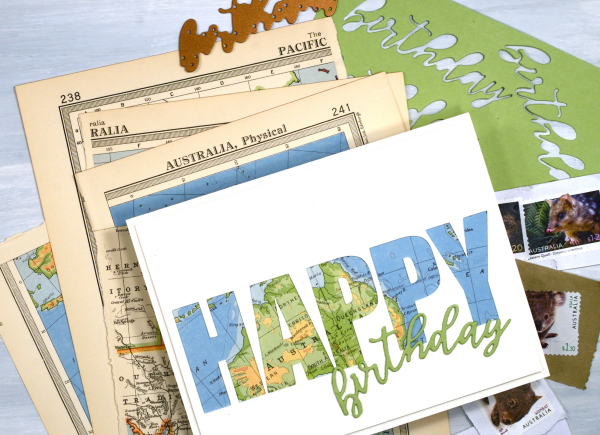
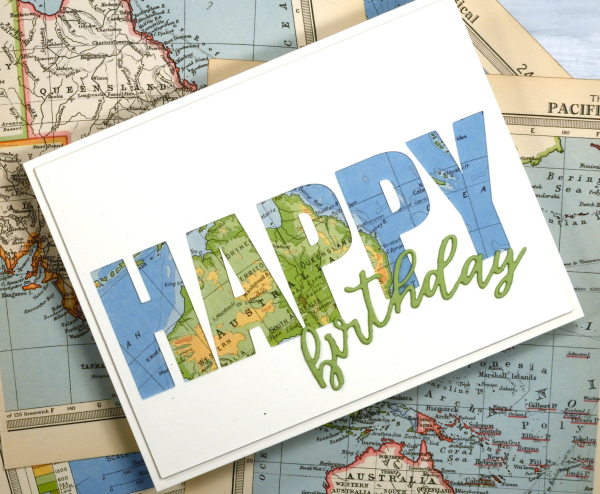
To create this birthday card for my son who just returned from visiting our family in Australia I had fun positioning the map behind the cut out to reveal some of the places he stayed. The map page is from an old atlas I am using for collage. The birthday die-cut is from the Spellbinders ‘serenade sentiments’ set which also has co-ordinating shadow dies. (currently the shadow for the word ‘birthday’ is missing somewhere in my work room!)
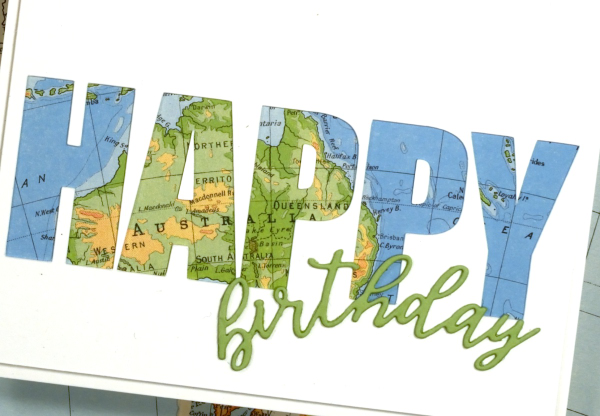
I wish I could tell you which font I used on the cricut but it appears I didn’t record that important information, something tall and bold! You could also do this technique with alphabet dies, the trick is to have dies open enough to show a decent amount of the paper behind. When cutting the letters out of course I am saving them in case I can use them on another card.
Snow on snow on snow
Posted: January 13, 2025 Filed under: cricut, Echidna Studios, gel press, grafix, My Favorite Things, snowflake digital stamp set | Tags: cricut, Echidna Studios, gel press, gel printing, grafix 6 Comments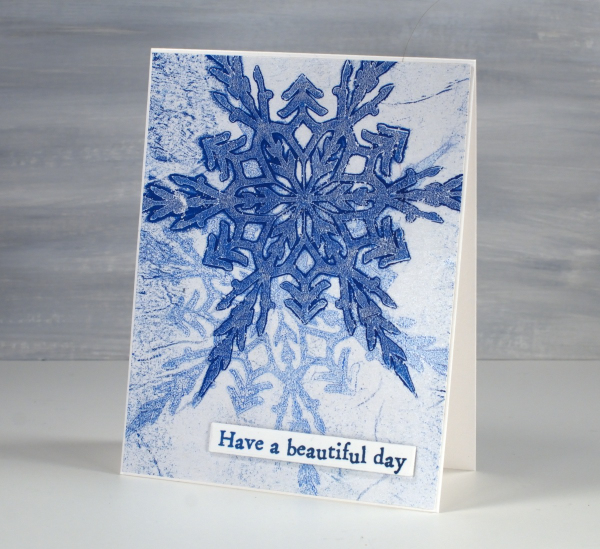
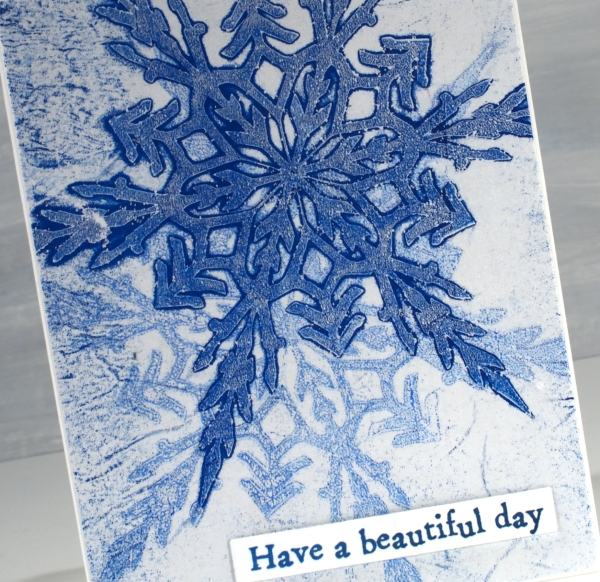
Today’s cards were gel printed using snowflake masks I cut on the cricut using the Snowflake Digital Stamp Set from Echidna Studios. I love how detailed these snowflakes are; there are six in the set and I have printed them, foiled them, cut them and now gel printed with them.
I remember when I first saw the six pointed detail of a snowflake that had landed on me. It is not always possible but occasionally the flakes are very distinct and separate instead of in clumps and I am always amazed by their beauty.
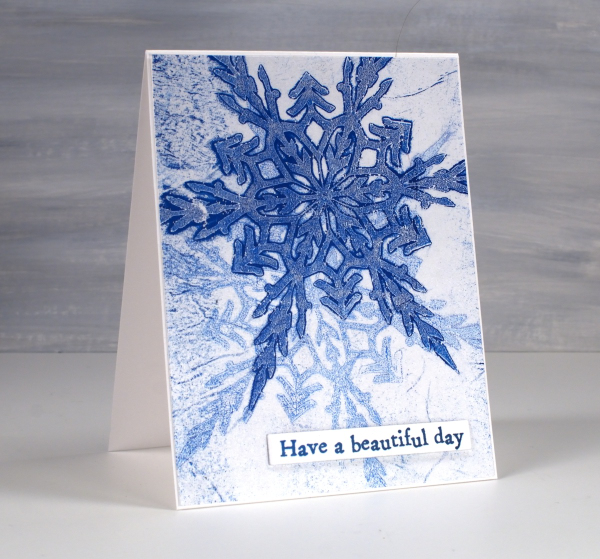
I cut my stencils from Grafix matte dura-lar as it is semi-transparent and light weight. On the panel above I made a pale print with blue and white then, after it had dried created a dark print on the plate which I pulled on the same paper but with a transparent medium (either transparent white paint or more likely matte medium). The little sentiment is from AALL & Create ‘everyday sentiments’ set.
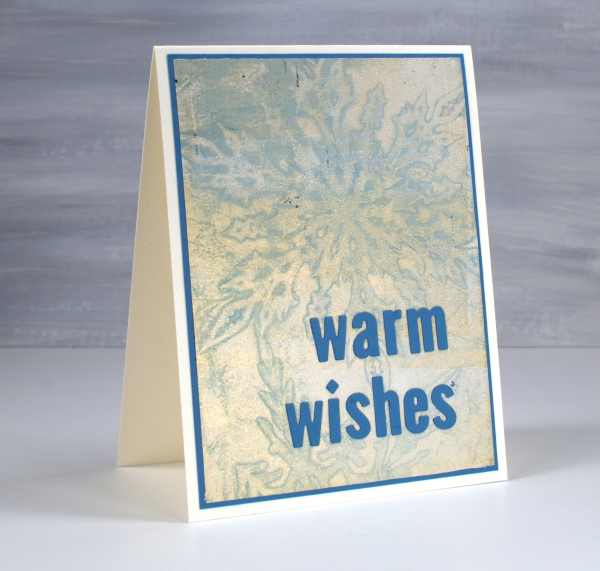
On this second card I used a pale blue paint which didn’t give me a very bold print but pulling it with gold paint created a soft shimmery effect.
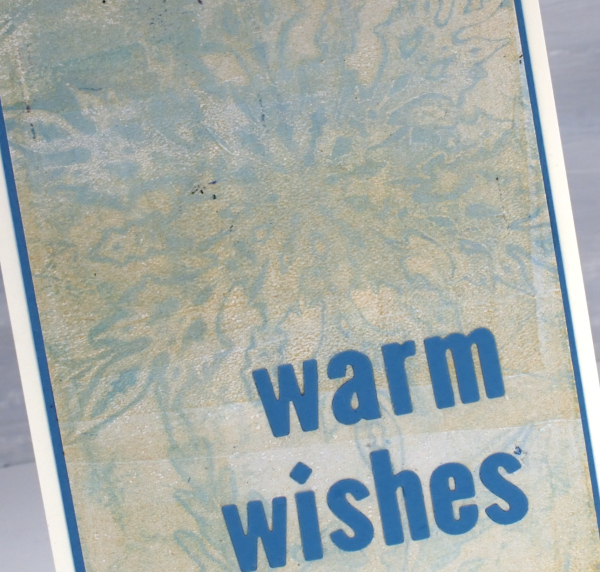
Always looking for the matchy-matchy, I found a scrap of cardstock in the same blue tone and cut a mat and sentiment using MFT little lowercase letter dies.