
Let’s Skate
Posted: November 22, 2022 Filed under: birds and banners, Brutus Monroe, Dies, Echidna Studios, Foiling, layered Xmas wreath die set, let's skate, Penny Black, silver sketch deco foil, snowflake digital stamp set, stocking stuffers | Tags: Brutus Monroe, brutus monroe embossing powder, digital stamps, Echidna Studios, Foiling, Penny Black creative dies, Penny Black stamps 4 Comments
Don’t let that blog post title trick you. I won’t ever be the one saying, “Let’s Skate”! I will happily say, “Let’s make cute cards with skates on them.” My less than stellar skating experience ended when my children became proficient and I realised I didn’t have to get out on the ice and wobble around any more.

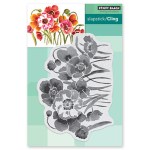
These lovely skate dies are from Penny Black and I was thrilled when I saw them. I have been using them in the Christmas card class I’ve been teaching but decided to make a few vintage looking pairs with various pieced layers. Quite unusual for me to piece layers but I do like how they turned out. On card above I filled them with die-cut foliage.
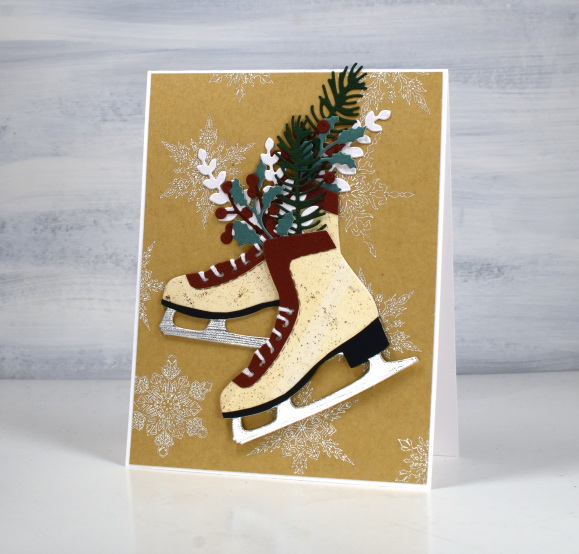
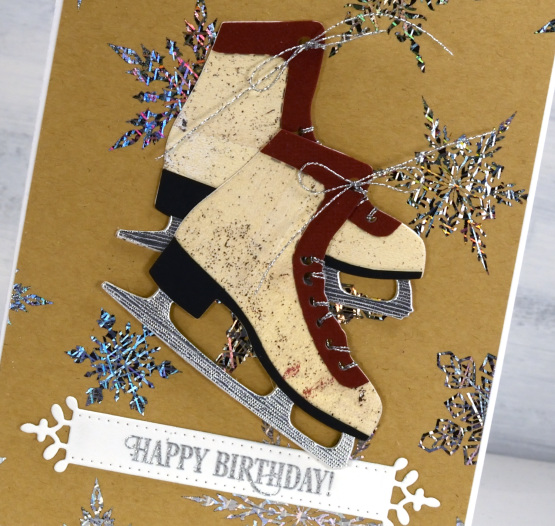
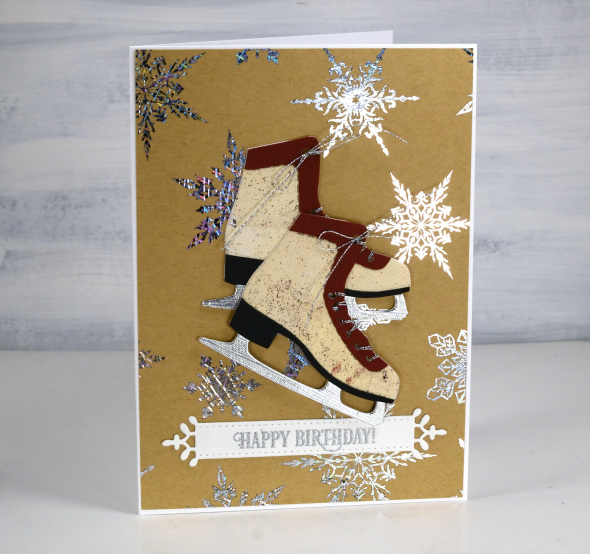
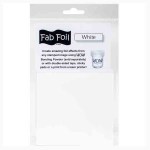
Both pairs of skates are popped up on snowflake backgrounds printed then foiled from my daughter’s snowflake designs available in her Etsy store. I printed the file on kraft paper on my laser printer then foiled in white on the piece above and Brutus Monroe silver foil on the design below.

The vintage style cream colour I used for the boot is a gel print, black cardstock for the heel, silver for the blade and some burgandy for the trim. Fiddly but worth it in the end.
These skates look really cute cut from patterned or collaged paper too. Not cute enough to make me want to skate though!
(Compensated affiliate links from Foiled Fox, Scrap n Stamp & Ecstasy Crafts)

Stay Cosy
Posted: November 16, 2022 Filed under: Dies, Echidna Studios, Foiling, Penny Black, Skis 'n' sled, snowflake digital stamp set, winter wardrobe | Tags: Echidna Studios, Foiling, Penny Black creative dies, Penny Black stamps 5 Comments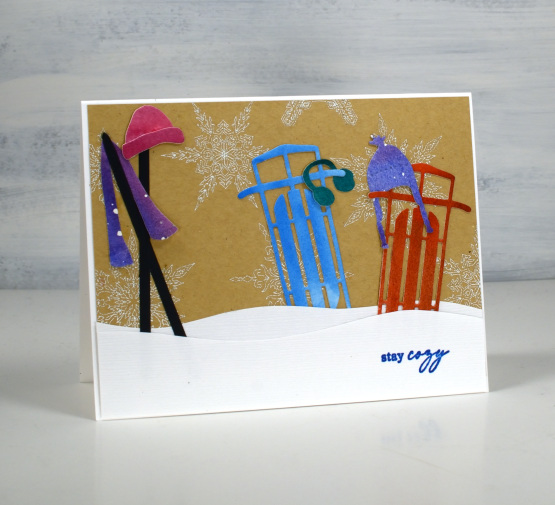
Today is the perfect day for a ‘stay cosy’ message. Overnight the snow started falling and the world is white once more. I guess that lovely long autumn wasn’t going to last forever!
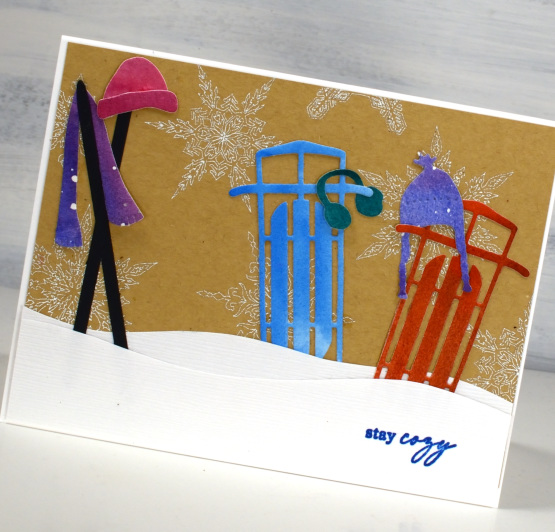
This card came together quite easily as I had some of the elements left over from other projects. The background is made from a digital stamp designed by my daughter (Echidna Studios on Etsy). I printed the snowflakes on kraft paper with my laser printer then foiled with white white foil. I love how delicate and pretty they are.
The sleds, skis and cosy winter clothes were left over from previous years and I had stored them with the dies just in case. They are all cut from painted watercolour paper. I hand cut the snow drifts from linen textured paper and added the sentiment from the PB ‘jolly snippets’ set.
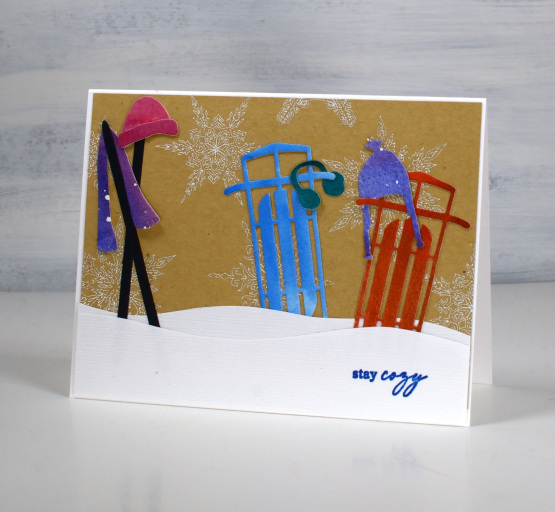
Hope you stay cosy today!
(Compensated affiliate links from Foiled Fox, Scrap n Stamp and Ecstasy Crafts)
Marbled hearts
Posted: February 2, 2021 Filed under: Alcohol Ink, All my hearts, Foiling, Penny Black | Tags: Foiling, Penny Black creative dies, Penny Black stamps, Ranger Alcohol Ink 7 Comments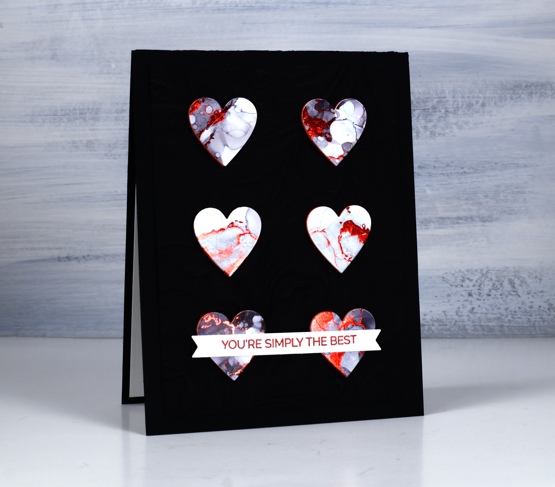
These hearts were cut from another alcohol inked panel, this one done with only pitch black ink from Ranger. The ink was diluted with rubbing alcohol and moved around on the panel with air and tilting. I also added some bubbles or circles by splattering some rubbing alcohol over the pattern.
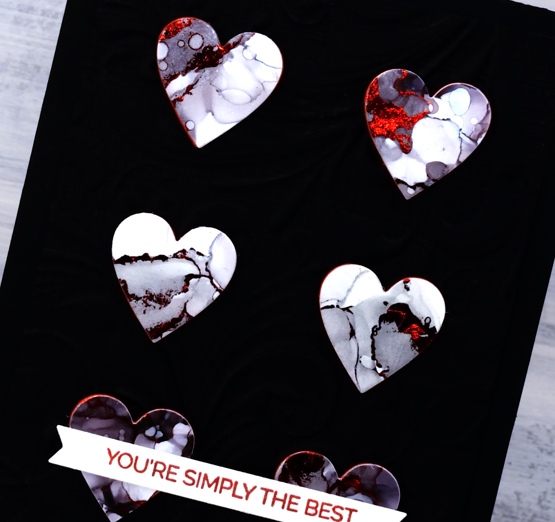
I didn’t add foil straight away after completing the panel instead I came back to it days later and ran the panel through the minc with some red foil over the top. The red foil stuck to some nice fine lines as you can see as well as some chunkier sections. What you can’t see is an area where a large blob of foil attached itself. I avoided that area when cutting six hearts using a small heart die from the Penny Black set ‘all my hearts’. I cut six hearts from red foam to pop the hearts up on the card base.
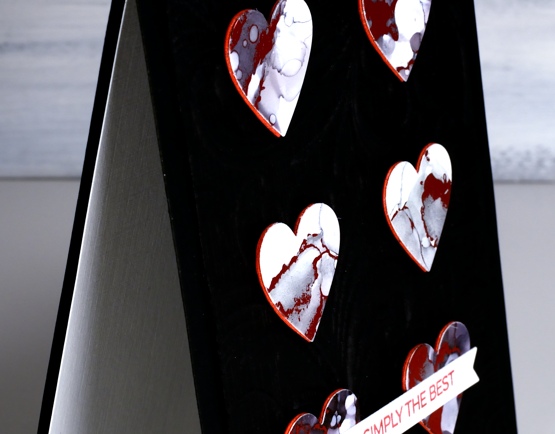
I tried several times to take a photo which would show the dry embossed background behind the popped up hearts but I didn’t succeed. It seems you’re not going to see the shine of the foil and the dimension of the background in one photo. If you click on the photo above you might be able to see the texture a bit better. I used the embossing folder that came with the Gemini Junior, it’s called ‘Regency Swirls’ and it is one of those very detailed 3D folders. I am wanting to add to my embossing folder collection, I’d love to hear your suggestions for some subtle ones and some really fancy ones.
I completed the card with a sentiment from Penny Black’s ‘trust me’ set stamped in red ink and popped up on a narrow banner. Thanks for dropping in today; I will be back tomorrow with an alcohol ink tutorial video.
Supplies
(Compensated affiliate links used when possible)
Belle
Posted: May 21, 2018 Filed under: A Pocket Full, belle, Foiling, Zigs & zags | Tags: Kuretake Zig clean color real brush markers, Minc, Penny Black creative dies, Penny Black stamps, WOW embossing powders 4 Comments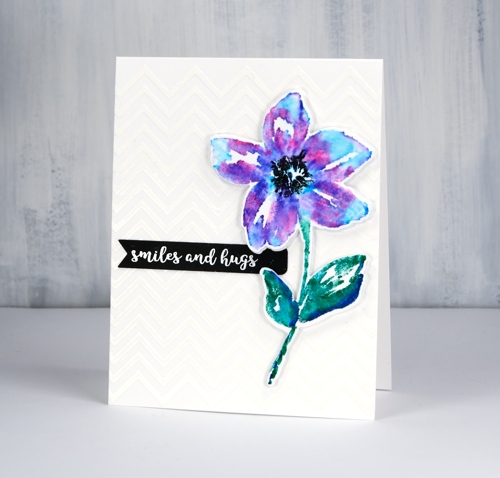
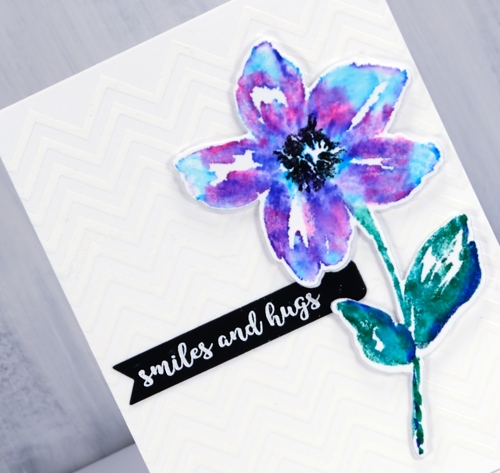
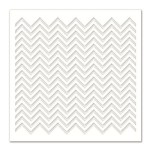
The zigs & zags stencil has popped up again today as a background for this die cut and watercoloured flower. I applied deco transfer gel directly to my card base (neenah solar white 110lb) then ran it through my minc with white foil. The result is a subtle chevron background. I wanted my flower to match the white card base exactly so I used the same neenah solar white which meant I did not add much water at all when blending my zig pens after stamping. I used a mix of blue, pink and purple and a blue/green combo on the leaves and stem then just a damp brush to blend with water. I made sure the blending was dry before stamping the black centre several times then used the co-ordinating die to cut out the flower plus a white foam one to pop it up over the background.
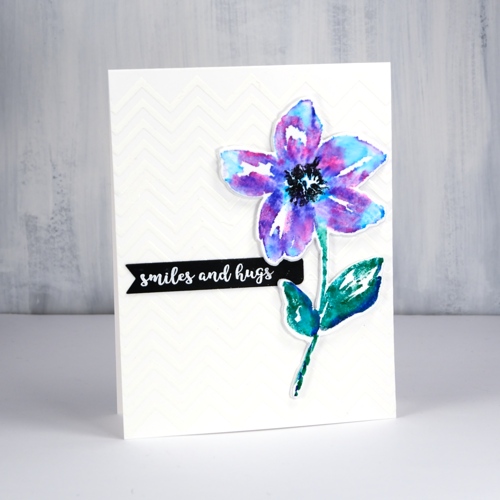
The little black banner was die cut with one of the dies from the PB ‘pocket full’ die set. I have pulled out all my little label, banner and tag dies from different sets and grouped them together so I can quickly cut the right size for a sentiment. This sentiment from the handy ‘banner sentiments’ set is embossed in white powder.
Supplies
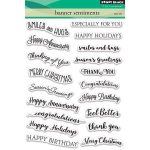
Stamps: belle, banner sentiments

Die: belle cut out, a pocket full

Stencil: zigs & zags
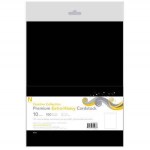
Paper: neenah solar white, neenah epic black

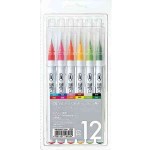
Markers: kuretake zig clean color real brush pens pink, blue, violet, cobalt blue, green, black
Also: transfer gel, white foil, foam, minc, white embossing powder
![]()
Yay for Yupo
Posted: May 14, 2018 Filed under: Alcohol Ink, Foiling, YAY for you | Tags: Foiling, My Favorite Things, Ranger Alcohol Ink, WOW embossing powders 5 Comments
I’m sharing some sweet patterned cards over on the Foiled Fox blog today. Pop over there to see how I made these alcohol ink and foil cards.
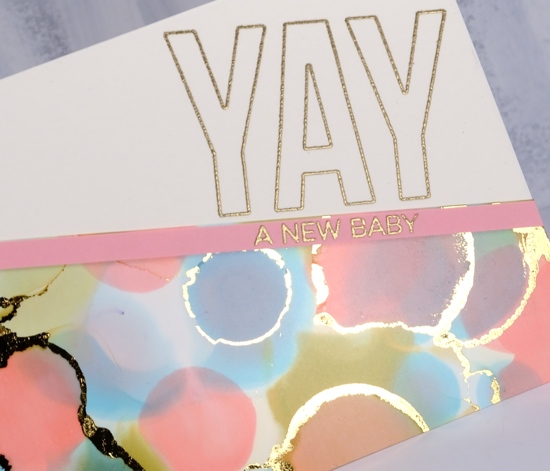
I used heavy weight yupo paper which was great to work with and I love the shine of foiling over alcohol ink!

I ran my alcohol ink panel through my Minc on the zero heat setting but you don’t have to have a minc; you could use your die cutting machine to apply pressure or just burnish with your fingers to get the foil to stick to the alcohol ink.
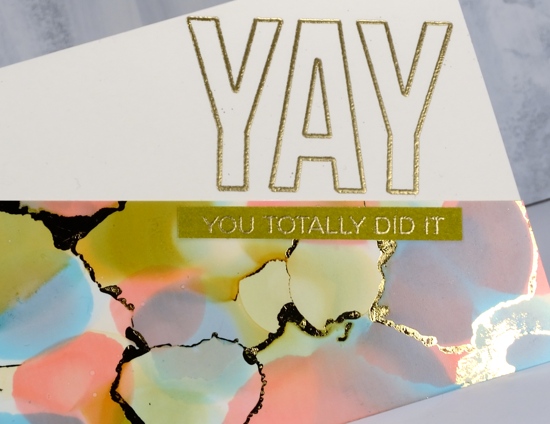
The ‘Yay for you’ set from My Favorite Things gave me all sorts of options for sentiments; I settled on a baby card and an achievement/congratulations card. You can read my step by step instructions over at the Foiled Fox.
Supplies
Stamps: Yay for you (MFT)

Paper: heavy weight yupo, neenah natural white, pink, olive green

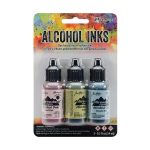
Inks: shell pink, willow, cloudy blue alcohol inks (Ranger), delicata golden glitz ink
Also: WOW gold embossing powder, gold foil, minc
Flower Field
Posted: May 1, 2018 Filed under: flower field, Foiling, Zigs & zags | Tags: Foiling, Kuretake Zig clean color real brush markers, Penny Black stamps, Penny Black stencils, WOW embossing powders 6 Comments
There are an unusual amount of processes involved in today’s card and I will say there are definitely ways to cut corners and get the same effect. It’s a bit like my approach to cooking; if I look at a recipe and the list of ingredients is more than 10, I’m reluctant, if there are multiple processes then I’m not interested! I’m very much a fan of the ‘one pot dinner’. My husband, on the other hand, will create all manner of elements from scratch before even starting the main recipe.
In the case of this card you might happen to have some black and white chevron cardstock to add to the card front. I did not, so I made my own with the Penny Black zigs & zags stencil. My chevron does have the bonus features of texture and shine. I taped my stencil on watercolour paper ( the same type I used for the floral panel) and spread transfer gel over it. I let that dry then lay black foil over it and ran it through the minc. I also ran some adhesive tape over a strip of cardstock and added black foil to that too so I would have a bold strip to position between the chevron and flower panels.
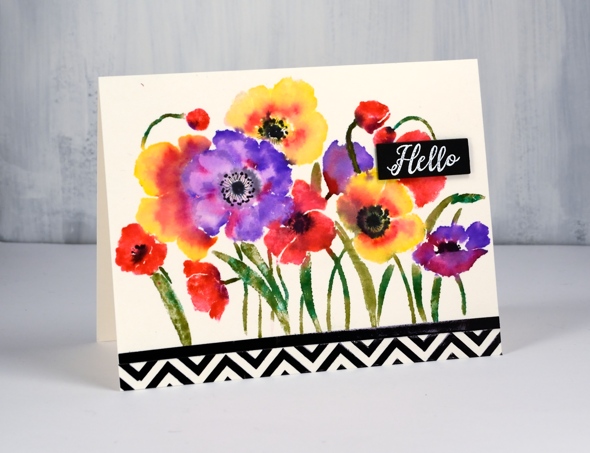
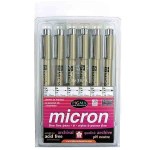
To create my bright and breezy flower panel I put the Penny Black ‘flower field’ stamp in my stamping platform and worked one colour at a time with zig clean color real brush pens. (I remember last time I posted about these pens I hinted that I might just need a few more colours. When I was in Toronto a couple of weeks back I picked up a few more.) I coloured directly onto the flowers with the pens and was able to add colour over colour as the brush tips are easy to clean off by drawing on a piece of scrap paper. I did spritz the stamp a little before stamping on the hot pressed watercolour paper so the images would be soft and blended. I added some black to the centres while the panel was still damp but dried it before adding fine details with a pigma micron pen.
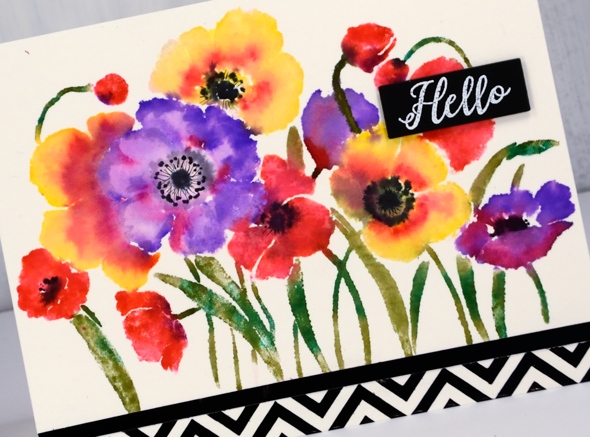
My little sentiment strip is embossed white on black to tie in with the zigs & zags.
Thank you for dropping in.
Supplies
Stamps: flower field 40-594, radiant 30-481
Stencil: zigs & zags (PB)
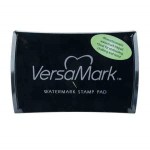
Ink: versamark
Markers: kuretake zig clean color real brush pens (violet, pink, olive green, carmine red, green, yellow, black), black pigma micron .01
Paper: hot pressed watercolour, natural white, black

Also: transfer gel, black foil, white opaque embossing powder
![]()
Tools: minc, stamping platform
Painted Sunfire
Posted: April 4, 2018 Filed under: cherry blossom, Foiling, Peerless watercolours, stitched square & circles, Sun fire | Tags: Peerless Transparent Watercolors, Penny Black creative dies 11 Comments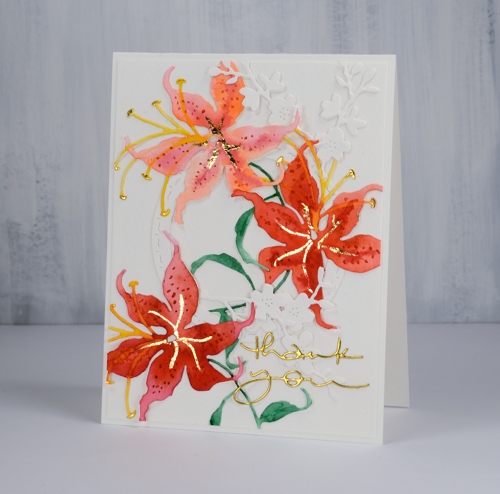
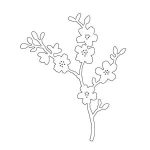
When creating die cut cards I sometimes paint the watercolour paper first, as I did for the brusho card posted a couple of days ago. Other times I do the die cutting and paint each element separately. For today’s card I cut three lilies ( a Penny Black die named ‘sunfire’) from hot pressed watercolour paper then painted them with peerless watercolours.
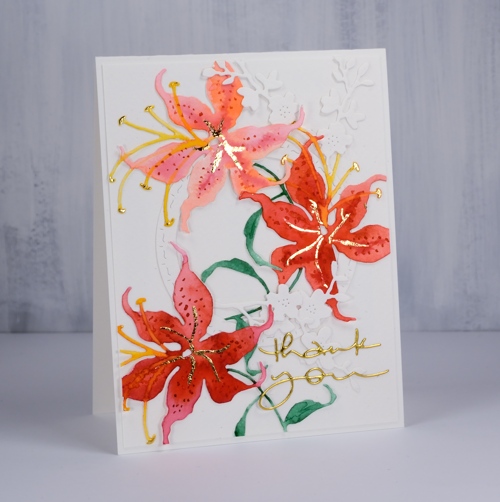
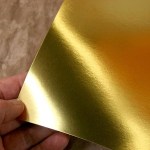
I chose a pink, a red and an orange paint and used at least two of them on each flower which gave me variety in the blooms but a cohesive look overall. I let the petals dry before using the red paint to add dots and the yellow paint for the stamen. I used a blue-ish green on the stems and leaves. Once all the paint was dry I used a glue pen to add a vein down the centre of the petals and also dabbed the ends of each stamen. I let the glue sit and dry partially then pressed gold foil over it .

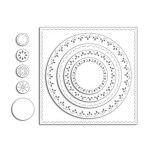
To create a floral arrangement I cut a circle and some cherry blossom from unpainted watercolour paper and glued down all the elements. It took me a while to work out a layout that looked balanced. The die cut lilies are quite large so I trimmed bits off in order to fit them all on the card front. I finished it off with a gold foil die cut sentiment.
Supplies
Dies: sunfire, cherry blossom, many thanks, stitched square & circles


Paper: cold pressed watercolour paper, gold foil cardstock
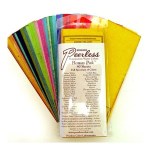
Paint: Peerless watercolour paints
Also: quickie glue pen, gold foil
Airy thank you
Posted: March 2, 2018 Filed under: Airy, Brusho, Foiling 5 Comments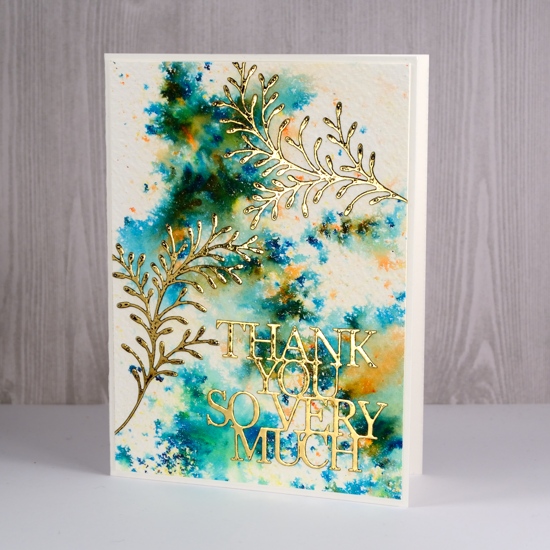
More sparkle for you today. I’m hoping to inspire you to ‘Sparkle With Us’, and what I mean by that is join in the challenge I’m hosting with The Foiled Fox; you can read about it on yesterday’s post. If you like to add a little sparkle here and there on your projects this challenge is for you. If your projects are seriously sparkly then this is also the challenge for you. I chose foil to add the sparkle on this project and I used peel n stick toner sheets to make some ‘ready to foil’ die cut elements. The Foiled Fox shared these sheets with me and they made adding foiled details so easy!
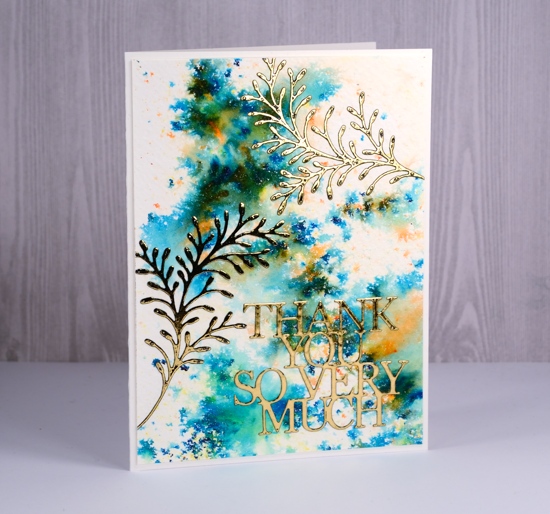
I started by making an abstract background panel with brusho. (Have I mentioned how much I love brusho?) This panel features sea green and olive green brusho but you can see turquoise and orange showed up also. I spritzed a large panel of cold pressed watercolour paper then sprinkled the brusho over it and let it spread. I did a bit of tilting and spritzing and left the panel to dry. As it was a large panel I ended up cutting it into four smaller panels to be used on separate projects. I used two new dies, ‘airy’ and ‘so many thanks’ to cut a couple of leafy branches and a sentiment from the peel n stick toner sheet then ran them through the minc with gold foil. You can make your own toner sheets with a laser printer but they are not sticky on the back so I felt spoiled using these convenient adhesive ones. I peeled off the backing and stuck them on my brusho panel. It is tricky to photograph foiled projects but I think you can see the shine!
Hope you can ‘Sparkle With Us‘ this month.
Supplies:
Dies: airy, so many thanks

Paper: cold pressed watercolour paper, thermoweb deco foil peel n stick toner sheets
Paints: sea green, olive green brusho

Also: gold foil, minc
Gild the Lily
Posted: August 24, 2015 Filed under: Bister, Foiling, Sun fire | Tags: Bister, Canson watercolour paper, Minc, Penny Black creative dies 11 Comments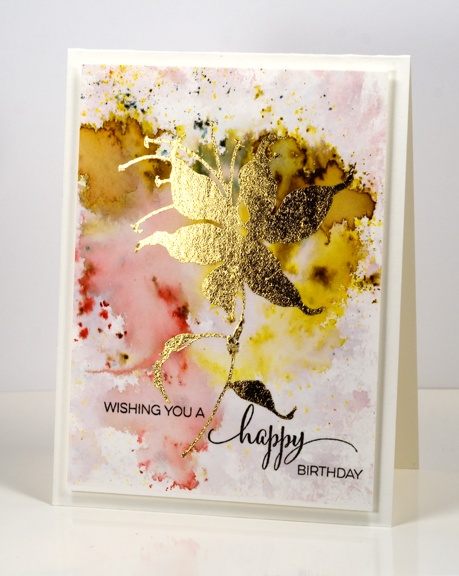
I have something new to share today. There has been something of a Midas situation happening in my craft room. I brought home a Heidi Swapp Minc machine last week and warned my family that anything not nailed down was about to be foiled! It turns out their possessions are safe for now as I am currently experimenting with different ways to use the machine to do the type of foiling I want to do. I will share more over the weeks to come but I will say for starters that the Minc does a beautiful job.
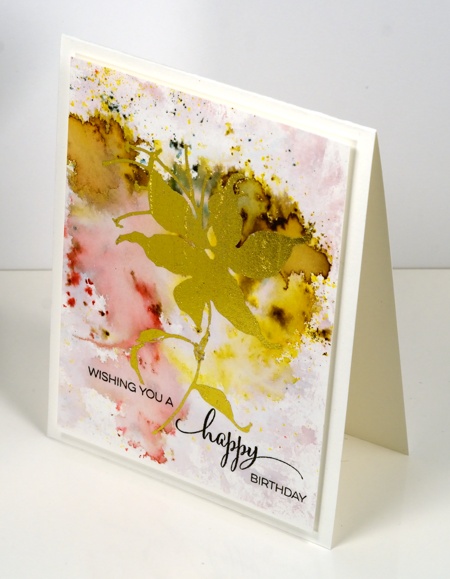
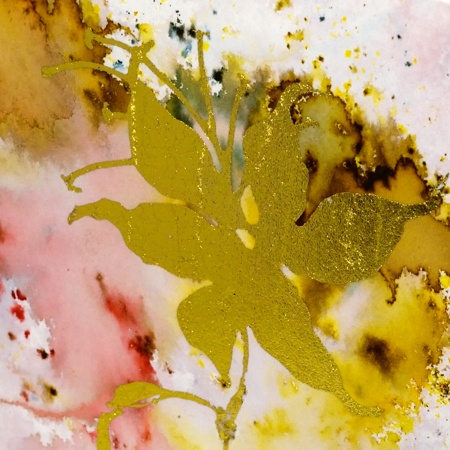
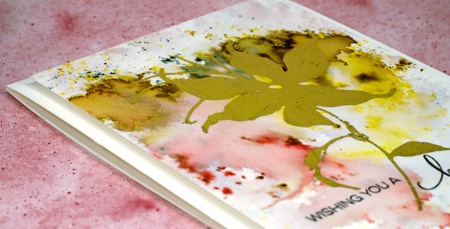
As you know I have recently dived into watercolour powders and all the experimentation with them has resulted in a surplus of watercolour panels just sitting around waiting to be made into things. I pulled out one of those abstract panels and foiled a gold lily onto it using the ‘sun fire’ die from Penny Black. I am still learning and making mistakes so I won’t go into the how-to for today’s card but as I nail down the techniques that work for me I will share them here.
Prepare yourself for a little more shimmer and shine around here!
Supplies:
Stamps: A Sweet Day (PB)
Creative Dies: Sun fire (PB)
Inks: Bister watercolour powders
Cardstock: Canson 100% cotton hotpressed watercolour paper
Also: gold foil


