You’re a star
Posted: February 19, 2021 Filed under: Alexandra Renke, Heather lowercase die set, My Favorite Things, ornamental star stencil, Pink Fresh studio, YAY for you | Tags: Alexandra Renke, My Favorite Things, Pink Fresh studio, Ranger Distress stains 7 Comments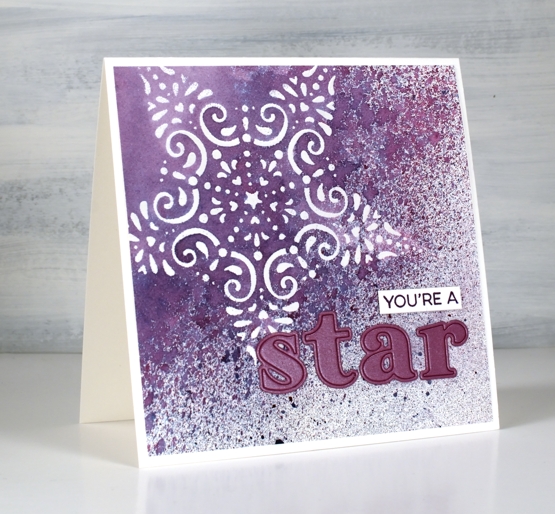
I’ve been wanting to work with some of my new stencils and the CAS Mix Up challenge is currently a embossed stencil challenge so I got to work. I taped the Alexandra Renke ornament star stencil to a piece of hot pressed watercolour paper and started sponging some versamark ink through the stencil. I soon switched to just squishing the versamark ink pad directly on the stencil as that was faster. I embossed the star in clear powder then put the panel in a box so I could spray some stain over it without decorating myself or my desk.
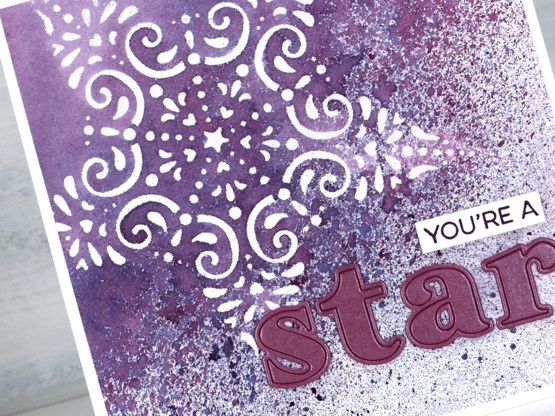
I sprayed seedless preserves, faded jeans and speckled eggs distress stains over the panel from 20-30cm away and ended up with a pretty speckled panel. I wanted to make the spotted sprayed area transition from speckled to solid so I painted water over one edge then spritzed water next to the painted area which achieved my goal leaving some of the panel barely touched by water. It took quite a while to dry and impatient me did smudge some of the speckles but they are underneath the die cut letters now so no harm done.
I applied tape to the back of a piece of co-ordiating cardstock then cut the letters s,t,a,r out using the ‘Heather lowercase alphabet’ die set from Pink Fresh studio. I searched through my stamps and dies to find a sentiment I could alter to say ‘you’re a’ and ended up using part of a stamp from the MFT ‘Yay for You’ set stamped in versafine monarch ink.

When I was doing the spray over embossing step I realised this stencil is probably going to pair up with spray stains again in an art journal page, the speckled effect over the lacy star is just so pretty.
I’m excited to participate in a challenge again, it has been a while! There is still time to get involved if, like me you have stencils that are waiting patiently to be the star or even the background of a card.
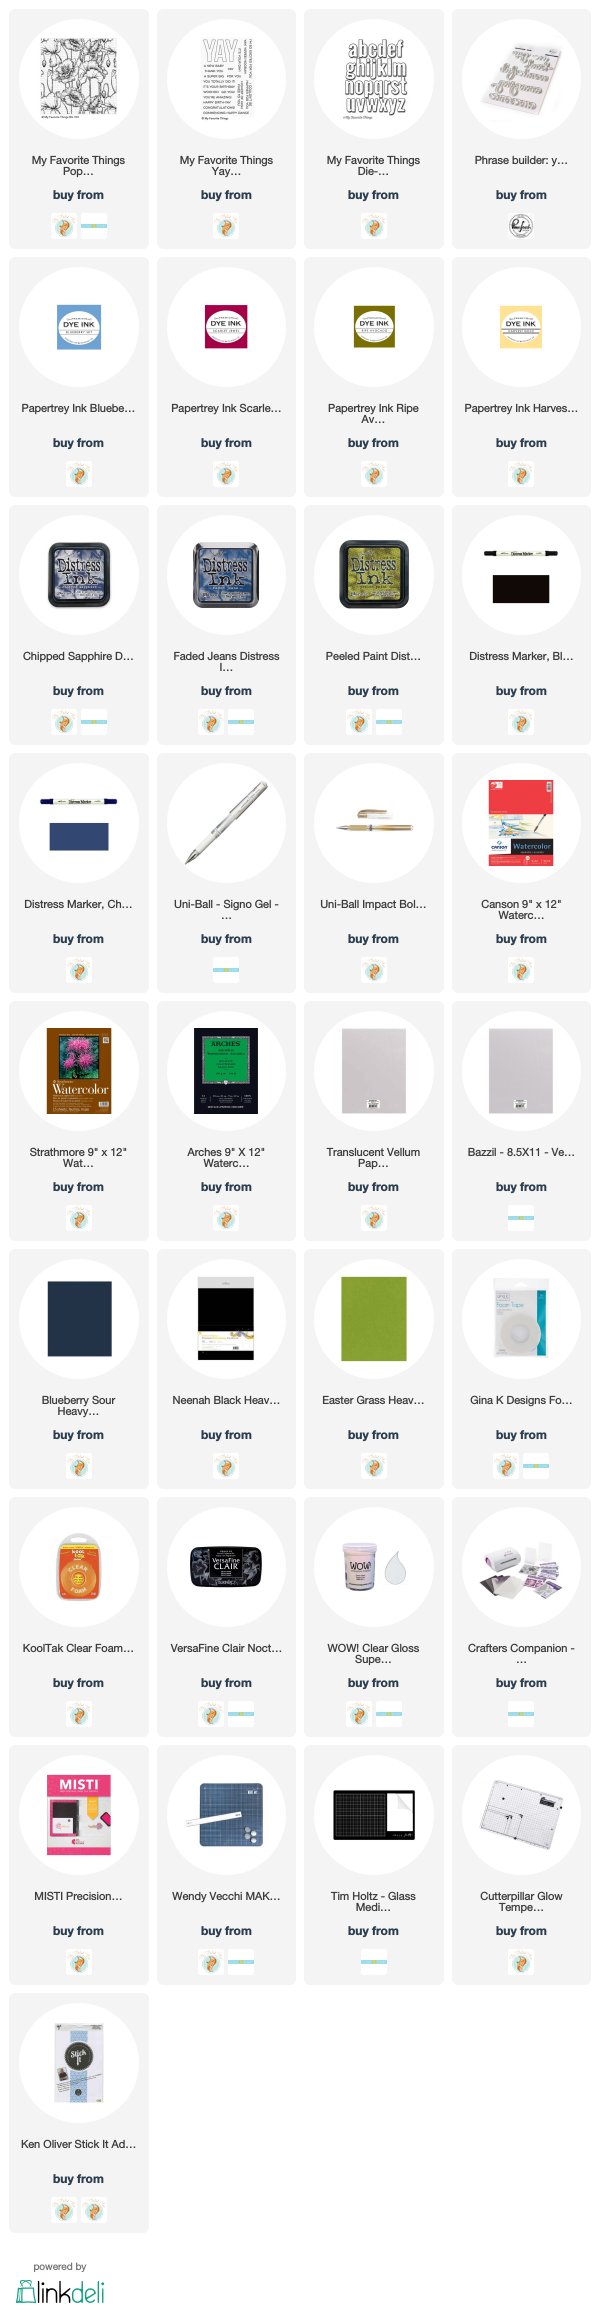
Supplies
(Compensated affiliate links used when possible)
Poppy birthdays
Posted: February 25, 2020 Filed under: little lowercase letters, My Favorite Things, phrase builder you, Pink Fresh studio, poppy background, YAY for you | Tags: Fabriano Watercolour Paper, grafix, My Favorite Things, Pink Fresh studio, Ranger Distress inks, WOW embossing powders 5 Comments
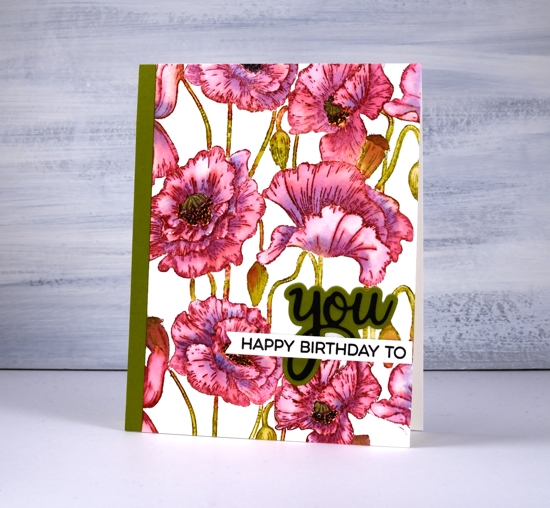
When I pulled out the MFT ‘poppies background’ stamp my intention was to do some loose watercolour with splashes and dabs here and there. As you can see I didn’t manage that; I stayed inside the lines. It was not a fiddly job though, painting this panel. I was surprised at how quickly I was able to get it done. I put the stamp in the stamp positioner along with a piece of cold pressed watercolour paper. Using the papertrey ink cubes I was able to ink the flowers in ‘scarlet jewel’ and the buds, stems and pods in ‘ripe avocado’. If the inks ended up on the wrong section I either wiped it off or let it be because a little green in the flowers or red in the stems doesn’t matter.
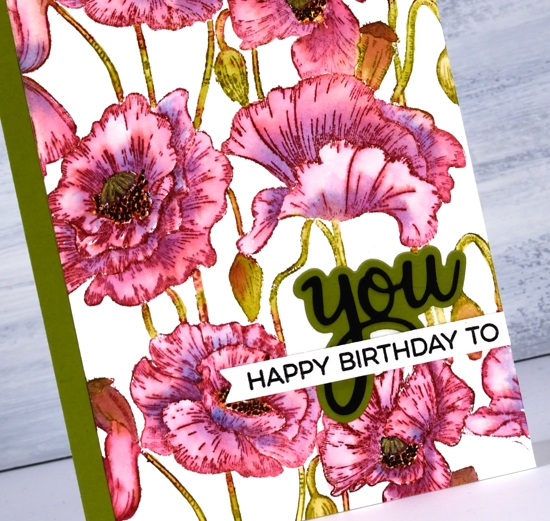
I blended one petal at a time which sounds time consuming but they are large petals so it wasn’t bad. As I finished blending the ink into one petal I picked up a little bit of ‘blueberry sky’ ink and dropped it into the wet petal at the inner edge. When I came to the poppy centres I got mixed up and did the centres black and the surrounding dots in yellow so to fix it I went over the yellow with little black dots then went over the black center with a gold gel pen to turn it yellowish! Adding a sentiment took me an age, not because it was too fiddly but because I couldn’t decide how to arrange it and my embossing game was definitely off. I ended up with ‘you’ from Pink Fresh ‘phrase builder: you’ set overlaid with a sentiment from MFT ‘YAY for you’ set.
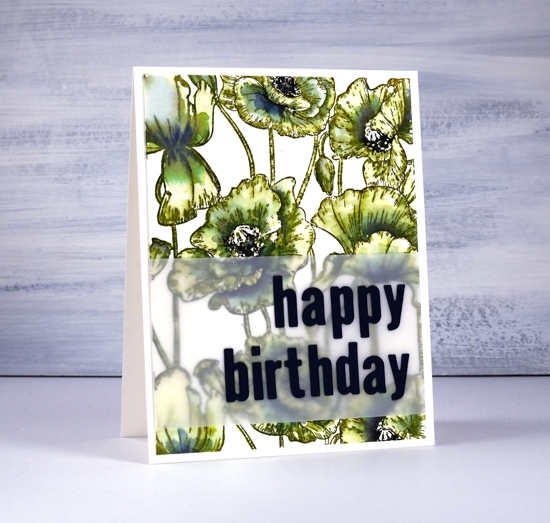
The second panel definitely involved more slap dash watercolouring but I still managed to stay inside the lines. I stamped the whole image in distress peeled paint which blends very easily with water. As I wanted some depth of colour in the centres of the flowers I smooshed faded jeans and chipped sapphire distress inks on my glass mat and picked up ink to paint shadows on the petals. I inked up the centres of the poppies with a chipped sapphire marker then chose a dark blue (not black) cardstock to die-cut the letters for the sentiment.
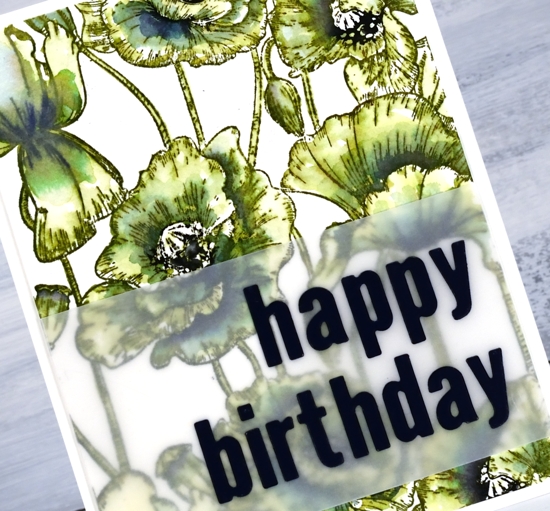
The die-cut letters got a little lost when placed straight on the busy background panel so I attached them to a piece of vellum first. To line them up I perfectly magnets held the vellum in place on my Wendy Vecchi magnetic board and, because it was vellum I was able to see a whole grid of lines to get them straight vertically and horizontally. I was pretty happy with this arrangement and might just have to do all my sentiments on vellum to experience the same satisfaction! I put ‘stick it’ adhesive on the back of the dark blue cardstock before I cut the letters so I would not have to deal with glue or tiny bits of tape for each letter. That would not have given me any satisfaction at all!
Even though green poppies are a bit of an oddity I think that one ended up being my favourite.
In other news make sure you pop over to the Penny Black blog to enter their giveaway; you have until March 1. I will be sharing plenty of new PB product in the weeks to come.
Supplies
A little paint pouring
Posted: December 10, 2018 Filed under: paint pouring, YAY for you | Tags: My Favorite Things, Penny Black creative dies, Yupo Paper 10 Comments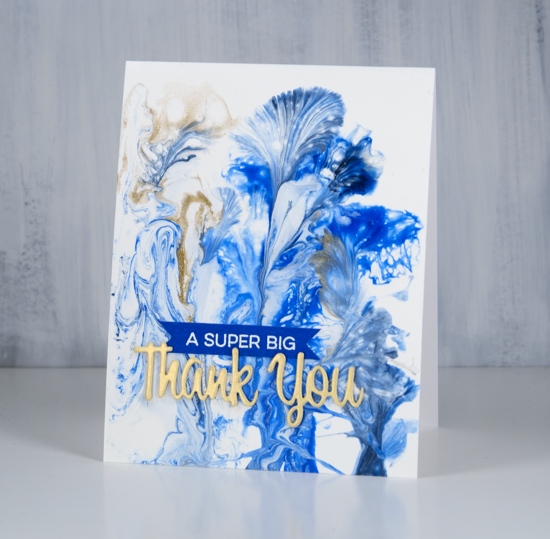
I did some paint pouring yesterday with some friends who had done it before and had skills they were willing to share. I was excited to go and try it but fairly certain it would just be a fun experiment rather than a new passion. Not so sure anymore!! It is very addictive, a bit like alcohol inks and the way they keep moving and doing magical things.
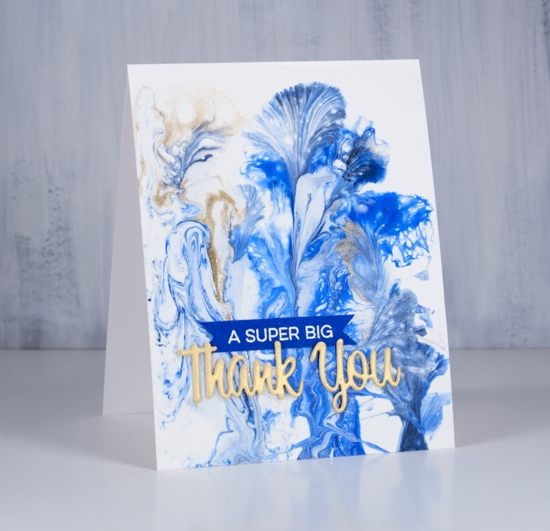
I did several pours on heavy yupo and a couple of little canvases. They take a while to dry so I have turned only one into a card so far. I won’t go into detail about the technique or supplies; I’m too much of a newbie. If you want to learn about paint pouring then look up Myriam’s Nature on youtube and prepare to give up the rest of your day being mesmerized by her beautiful panels. My base for this design was white paint then I dipped threads into blue paint and gold paint and dragged them across the panel to create these pretty patterns.

I’ve turned this panel into a thank you card with a Penny Black die and a MFT sentiment. I am so happy to be sending out thank yous to people who have donated to my Dressember campaign raising money to help fight human trafficking. I am excited that so many of my donations so far have come from people I know through card making, some I’ve met at classes, others read my blog. It is a privilege to be part of such a caring, giving community. Thank you for getting involved. If you would like to donate please visit my campaign page. If you would like to see if I’ve been wearing the dresses each day I’m posting on Pinterest and Instagram.
I will show you more of my paint pouring panels in future posts. Thanks for dropping by.
Supplies
Paper: heavy weight yupo
Stamp: YAY for you (MFT)

Die: wishes (PB)

Happy, happy, happy
Posted: August 27, 2018 Filed under: geometric stars, YAY for you | Tags: distress oxide inks, My Favorite Things Leave a comment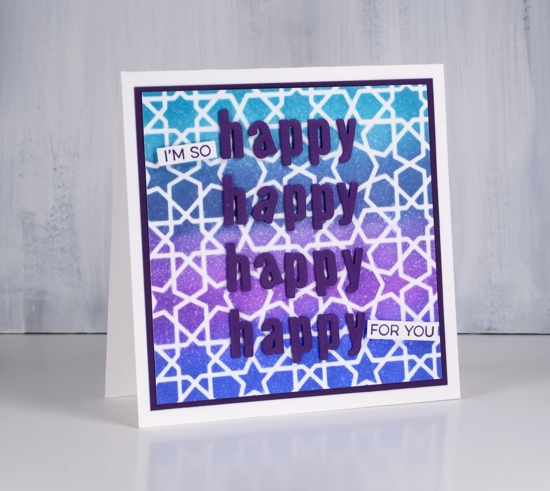
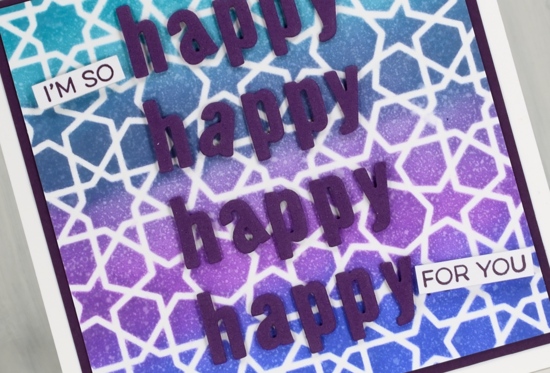
I posted some cards a couple of weeks back made with stencils from My Favorite Things. Here is another using the geometric stars stencil. I sponged oxide inks through the stencil onto neenah solar white cardstock (colours listed below). For a bit of shimmer I spritzed the panel with my blue pearl-ex mix (made by mixing ‘interference blue’ pearl-ex with water).
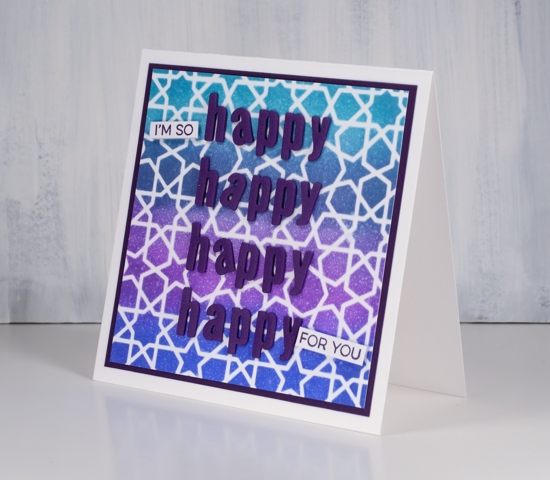
I matted with purple cardstock and die-cut 4x h, a, p, p, y using the ‘little lower case letters also from MFT. I stamped some words from the MFT Yay for you set to complete my enthusiastic sentiment.
Supplies
Stamps: Yay for you (MFT)
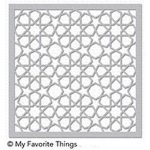
Stencils: geometric stars, (MFT)
Inks: dusty concord, peacock feathers, blueprint sketch, faded jeans distress oxides & monarch versafine clair
Paper: neenah solar white cardstock, purple cardstock

Also: cutterpillar glow premium, mini ink blending tool, mini ink blending foams, interference blue pearl-ex powder
Popped up blooms
Posted: July 18, 2018 Filed under: little lowercase letters, radiating half tone background, stitched blooms, YAY for you | Tags: Catherine Pooler inks, My Favorite Things, WOW embossing powders 2 Comments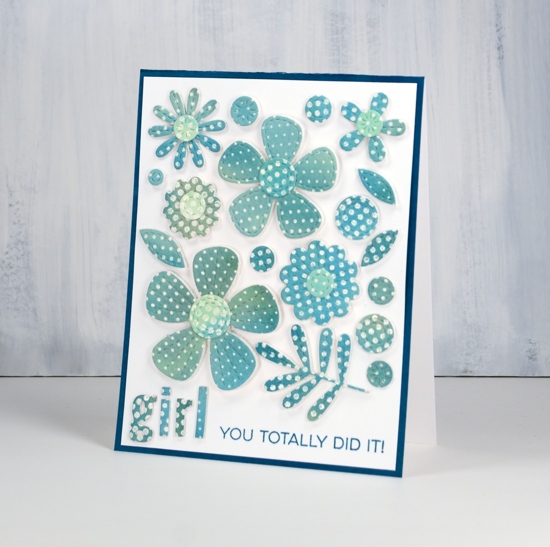
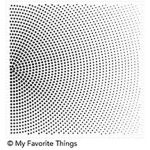
This is the last of my cards made featuring the stitched blooms dies paired with my homemade dotty watercolour panels. I embossed the radiating half tone stamp from MFT on watercolour paper three times then painted over the embossing with Catherine Pooler inks. I used pinks and yellows on one panel then blue and yellow on the others which ended up giving me blue and green variations. You can see the other cards made with the dotty panels here and the card stenciled through a leftover die cut negative here.
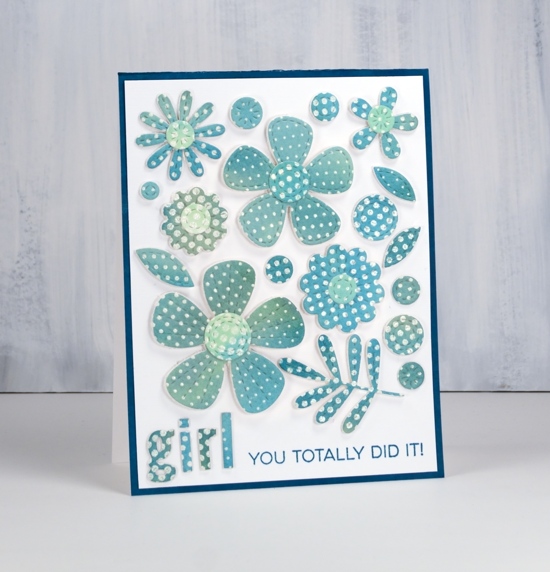
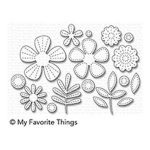
To create this card I attached a watercoloured dotty panel to adhesive backed foam and cut as many dots, leaves and flowers as I could. The watercolour paper attached to foam did make a thick panel for the die cutter to manage so a few passes were necessary. I arranged all my little elements on a white panel along with some letters die cut using the ‘little lowercase letters’ dies from MFT and a sentiment from ‘Yay for you’ stamp set.
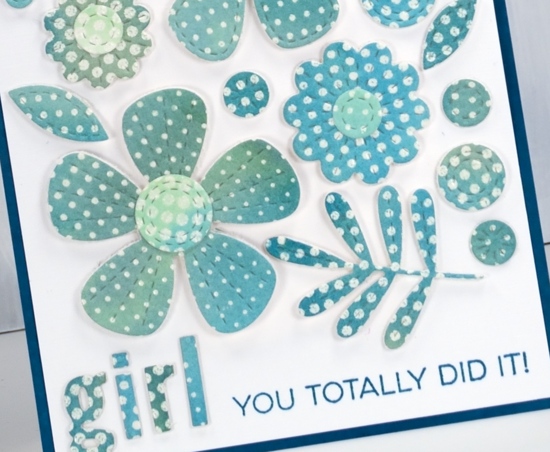
I love the dimension of the foam backed elements on this card and the teal/blue colour scheme; it pleases my matchy-matchy heart.
Supplies
Stamps: MFT Radiating halftone background stamp, Anything but basic friendship set (MFT)

Dies: MFT stitched blooms, MFT little lowercase letters

Inks: Catherine Pooler’s shea butter, spruce, daydream

Paper: hot pressed watercolour paper, neenah solar white, teal

Also: white embossing powder, mono aqua liquid glue, 3D dots foam dot adhesive, adhesive backed foam, T-ruler


Yay for Yupo
Posted: May 14, 2018 Filed under: Alcohol Ink, Foiling, YAY for you | Tags: Foiling, My Favorite Things, Ranger Alcohol Ink, WOW embossing powders 5 Comments
I’m sharing some sweet patterned cards over on the Foiled Fox blog today. Pop over there to see how I made these alcohol ink and foil cards.
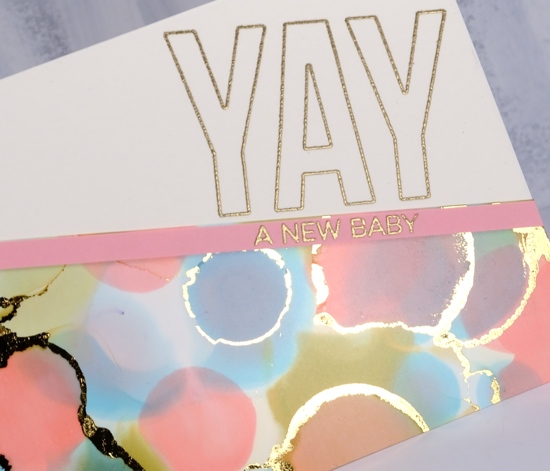
I used heavy weight yupo paper which was great to work with and I love the shine of foiling over alcohol ink!

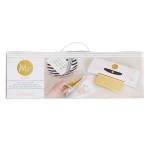
I ran my alcohol ink panel through my Minc on the zero heat setting but you don’t have to have a minc; you could use your die cutting machine to apply pressure or just burnish with your fingers to get the foil to stick to the alcohol ink.
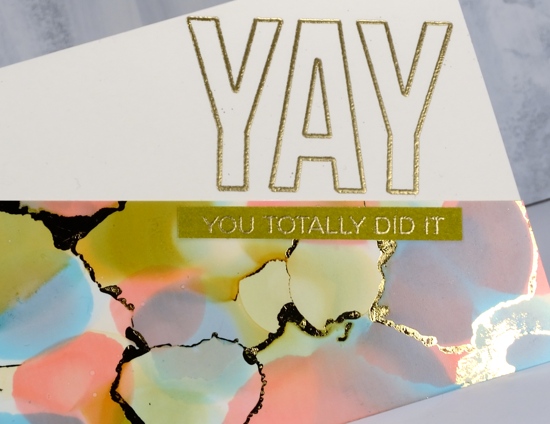
The ‘Yay for you’ set from My Favorite Things gave me all sorts of options for sentiments; I settled on a baby card and an achievement/congratulations card. You can read my step by step instructions over at the Foiled Fox.
Supplies
Stamps: Yay for you (MFT)
Paper: heavy weight yupo, neenah natural white, pink, olive green
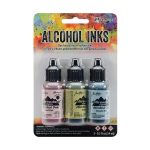
Inks: shell pink, willow, cloudy blue alcohol inks (Ranger), delicata golden glitz ink
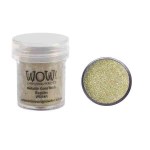
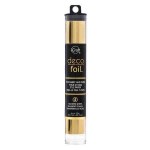
Also: WOW gold embossing powder, gold foil, minc