
Pinecones & joy
Posted: December 19, 2019 Filed under: Darkroom Door, Ink to Paper, jumbo joy, Penny Black, pine cones, season of joy stamps | Tags: Darkroom Door stamps, Fabriano Watercolour Paper, Ink to Paper, Kuretake Gansai Tambi watercolour paints, Penny Black creative dies, WOW embossing powders 11 Comments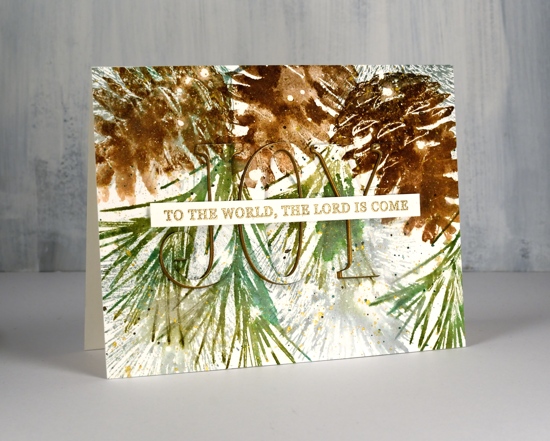
The pine needles and pine cone stamps I used for this card are from Darkroom Door and I love how realistic they are. The stamps are quite large and there are several sizes and shapes of cones which makes for lovely feature images and fillers as well. I used one pine cone stamp but two of the pine needle stamps and worked on hot pressed watercolour paper which had been splattered with masking fluid. If you look at the close up below you can see large white dots as well as tiny ones; they’re all made by the masking fluid.
I stamped the pine cone three times using a stamp positioner and four different brown distress inks. A spritz of water started the browns blending and I did a little blending with a paint brush as well.

I stamped the green pine needles with forest moss and evergreen bough distress inks and the fine needles in the background with iced spruce. I added some green splatter then some gold splatter using one of the gansai tambi starry colours. I used the ‘jumbo joy’ die from Penny Black to cut out the word joy from the stamped panel and cut three layers from shimmer gold cardstock as well so I could stack them up just a little offset so the gold peeps out on the side.
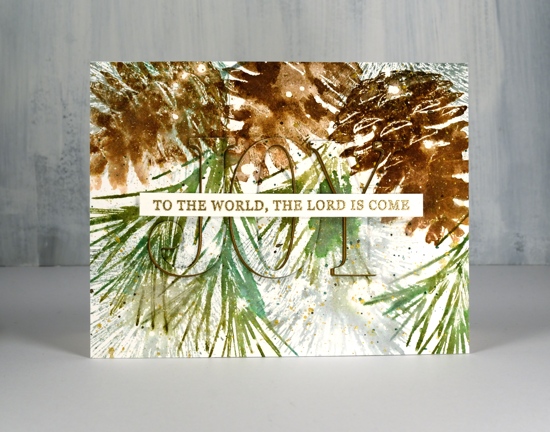
I stamped the rest of the Christmas carol lyric using a stamp from Ink to Paper’s ‘season of joy’ set and some gold embossing powder. The overall pattern may be a little messy but it reminds me of what I see if I look up into the branches of the very messy pine tree in my front yard, which is currently covered with snow but not gold splatter!
I have been blessed to receive some beautiful handmade Christmas cards in the mail this week and I am enjoying them on my window ledge. I hate to say it but as yet I have not sent a single one! As I’ve said before there are twelve days of Christmas so I haven’t run out of time yet!
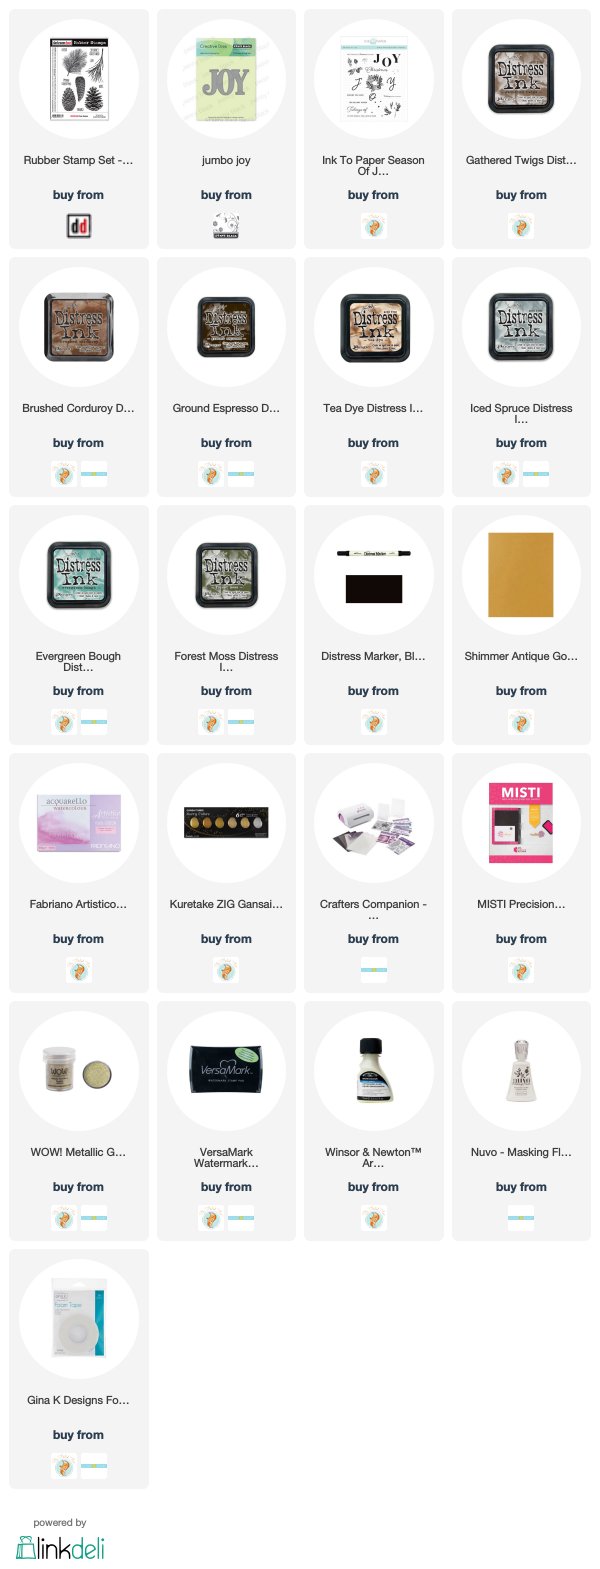
Supplies
Pink poinsettia poem
Posted: December 17, 2019 Filed under: poinsettia poem, xmas poinsettia cut out | Tags: brutus monroe embossing powder, Fabriano Watercolour Paper, Papertrey ink, Penny Black creative dies, Penny Black stamps 4 Comments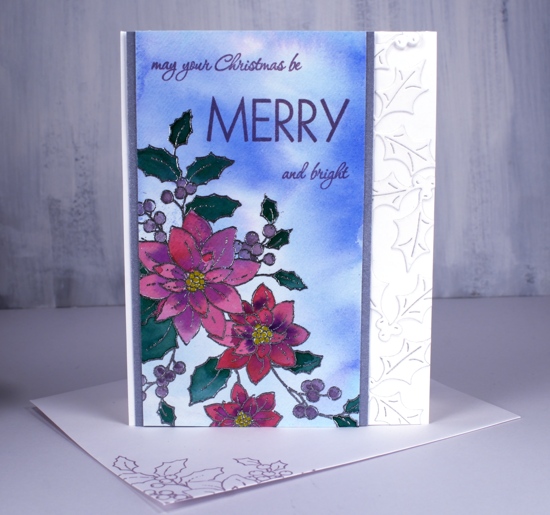
I have a less traditional colour scheme for you today featuring pink and purple on this pretty poinsettia stamp from Penny Black. I wasn’t set on being non-traditional when I started but it headed that way as I progressed. I started by smooshing tumbled glass and blueprint sketch distress stains on my glass mat, adding water then swiping a piece of hot pressed watercolour paper through it to create a soft background. Once it dried I used my stamp positioner to stamp and emboss the ‘poinsettia poem’ stamp in silver embossing powder.
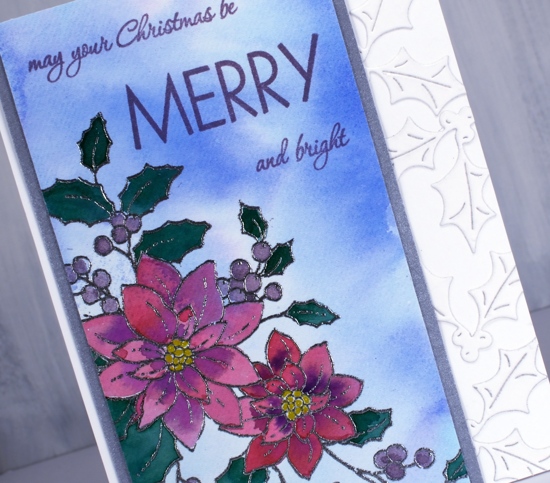
I smooshed papertrey ink cubes onto my glass mat to use as watercolours and painted the flowers in scarlet jewel and royal velvet, the leaves in pine feather and the berries in winter wisteria. I used a gold gel pen to colour the centres. The card is not quite so bold as the photo suggests but even so I wanted some light and bright features alongside the painted panel so I framed it in silver and added some die cut holly to the white card base.
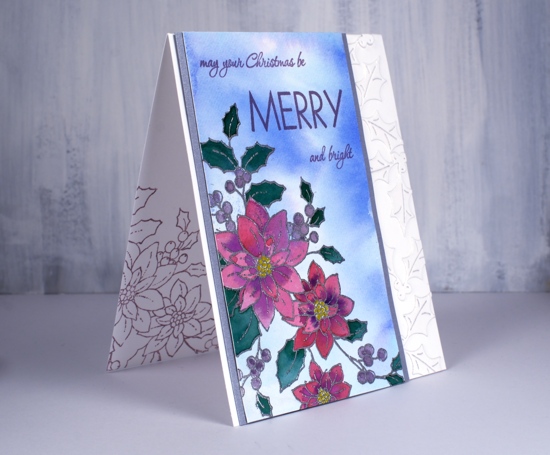
In keeping with my resolve I stamped inside the card and on the envelope with winter wisteria ink and add the sentiment in the same.
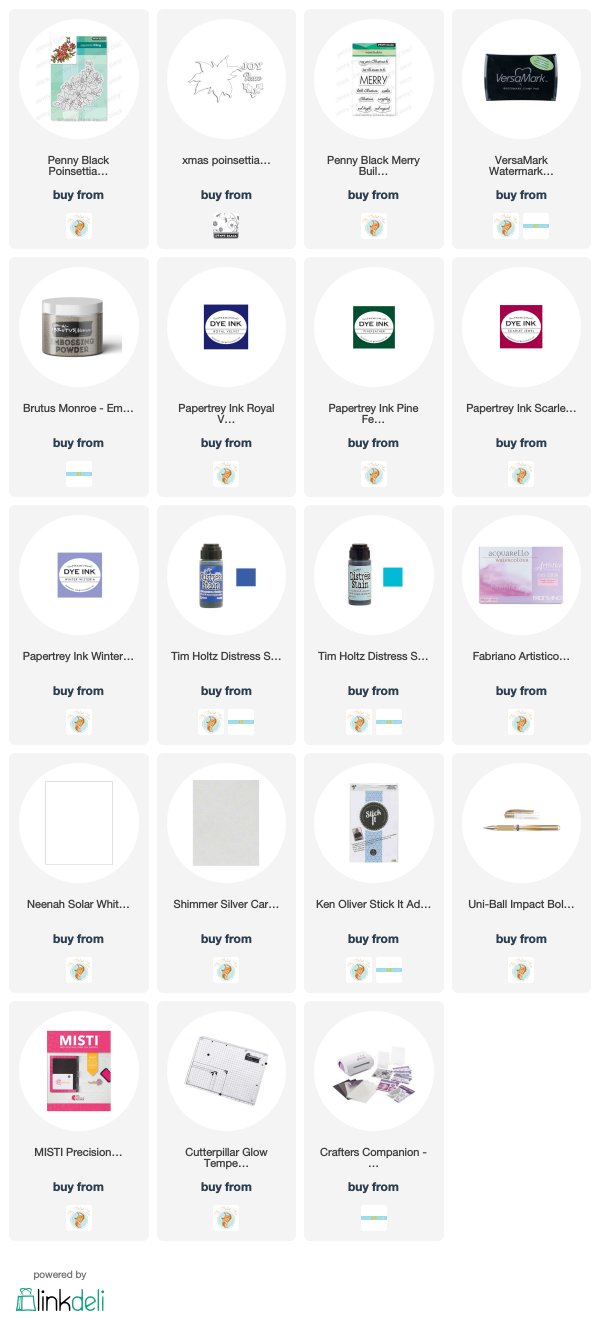
Supplies
Wreath & wreath
Posted: December 4, 2019 Filed under: conifer wreath, homespun, Penny Black | Tags: Fabriano Watercolour Paper, Finetec artist mica watercolour paint, Penny Black creative dies, Penny Black stamps, Ranger Distress inks, Ranger Distress stains 4 Comments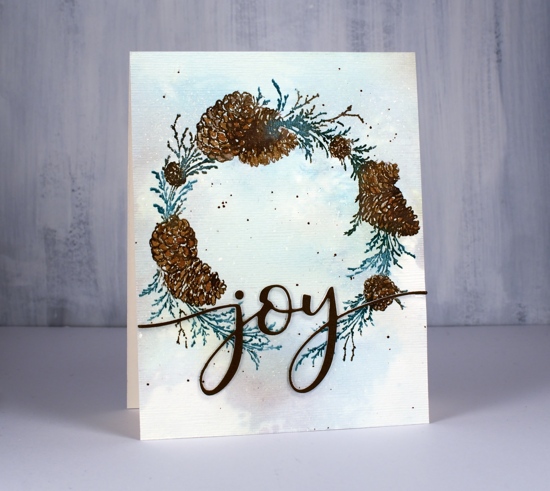
I have two more wreaths to share today; I don’t think I’ve ever made so many wreath cards. This year I did them in a class and I’ve done them here at home more than a few times with little stamps and big stamps. The fact that Penny Black came out with such beautiful wreaths this year kept the inspiration going.
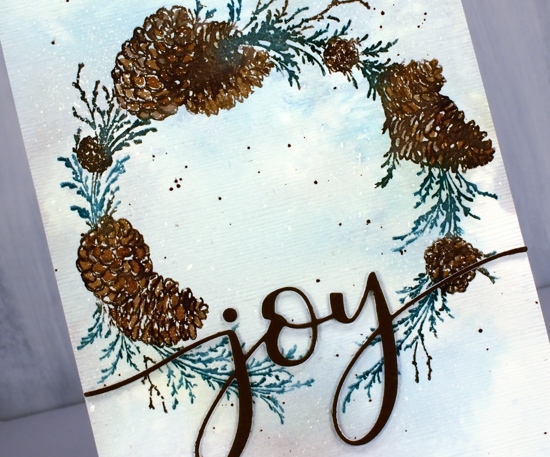
The stamp above is called ‘conifer wreath’ and the stamp below ‘homespun’. I used the same technique for both. Working on hot pressed watercolour paper (psst Foiled Fox has Fabriano in stock now!!) I splattered masking fluid over the paper before I started stamping or painting so I would have dots of snow appear at the end. Once the masking fluid was dry I used my glass mat and spread some pine needles, evergreen bough and gathered twigs distress stain over the mat. I diluted it with water then swiped both panels through the stain to pick up pale green and brown blurry colour.
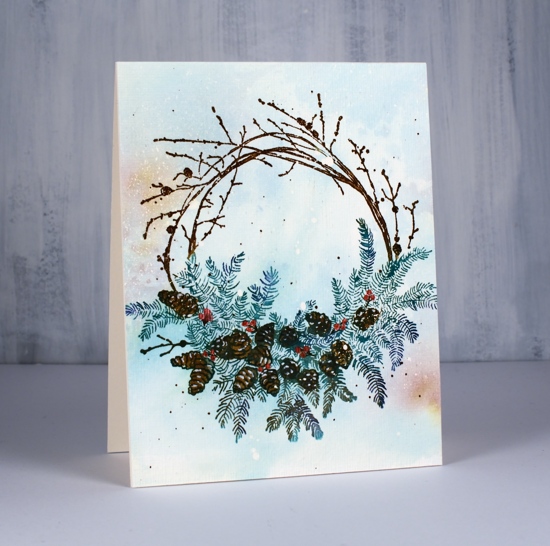
Once the background ink dried I used the stamp positioner to stamp the wreaths colour by colour using pine needles and forest moss distress inks for the foliage, gathered twigs and black soot for the twigs and pine cones and chipped sapphire for some added depth. I drew a few berries on the wreath below with a festive berries marker then painted over them with red from the finetec pearlescent paint set.
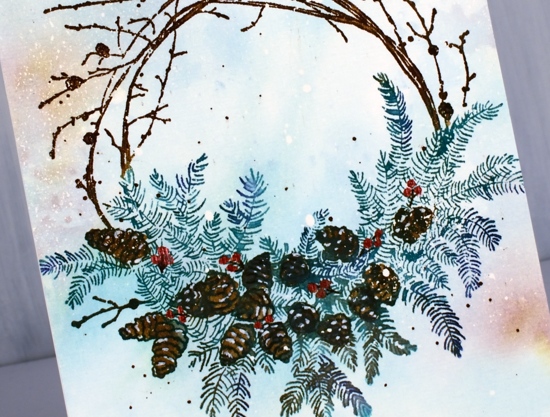
To add a little snow to the pine cones I used a white gel pen then splattered some green and brown ink around the wreaths. Once all the ink was dry I removed the masking fluid then added some texture to the panel with the clever SU embossing folder ‘subtle’.
To add a sentiment to the conifer wreath I die-cut a few ‘joy’ words with the PB die, ‘merry & joy’, stacked them and added them over the bottom of the wreath. Now what I really need to get done is a wreath to hang over my fireplace!
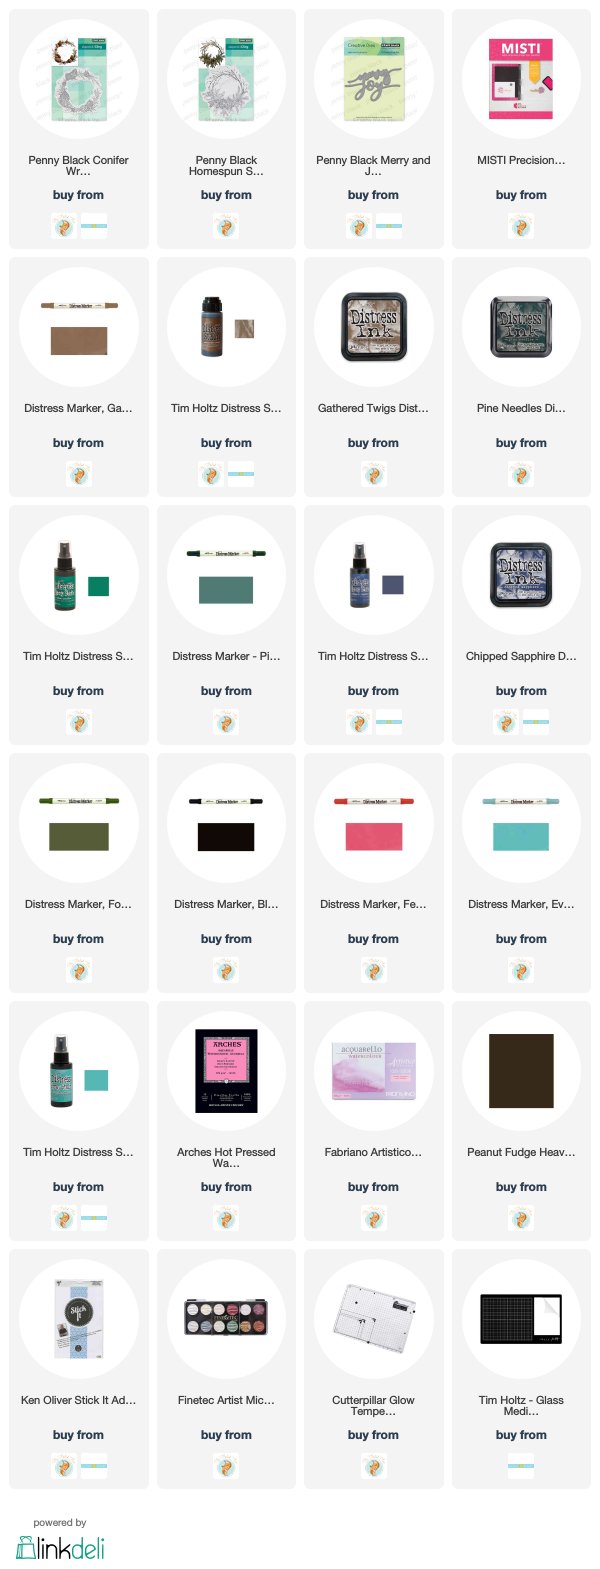
Supplies
Filigree thank you
Posted: September 18, 2019 Filed under: Filigree Foliage | Tags: Fabriano Watercolour Paper, Penny Black creative dies, Penny Black stamps, Ranger Distress inks 11 Comments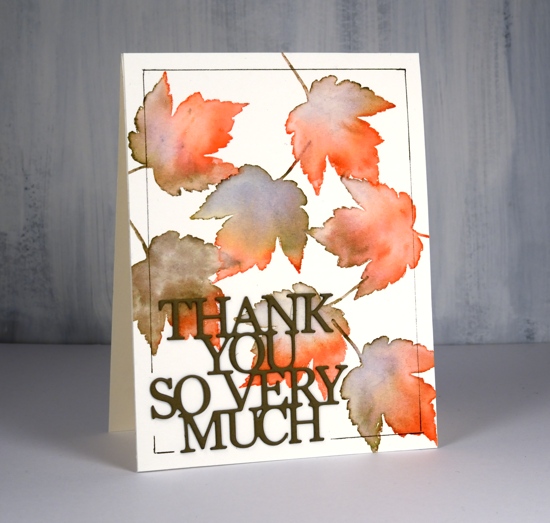
This leaf is from a PB stamp set called ‘filligree foliage. I haven’t used it for a few years but it is perfect for creating some autumn leaves. As the name suggests each leaf has a filigree pattern on it but you can’t see it on this card because I am using the stamp for its shape not its pattern. To see cards I’ve made in the past with this set click over here, here and here
I worked on hot pressed watercolour paper and moved the stamp around each time I stamped it. I used abandoned coral and frayed burlap distress inks, an odd combo, but one which seemed to work and even gave me a some purply blue in a few places. After stamping the leaf I immediately blended the ink with a paintbrush and water until I had filled the entire shape diluting all the stamped ink as I did so.
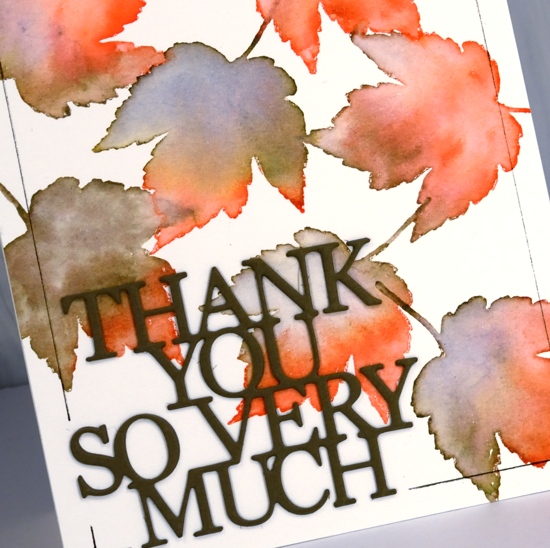
I added a double stacked sentiment die cut from olive green cardstock then ruled a thin brown frame around the edge with the help of the ‘staytion’ magnetic board and ruler. I know the ‘staytion’ was designed with stenciling in mind but it makes lining up die cut words and letters easy as well as ruling lines.
Can you believe I have another card for the current CAS watercolour challenge?
Supplies

A wreath two ways
Posted: October 24, 2018 Filed under: winter chirp | Tags: Fabriano Watercolour Paper, Peerless Transparent Watercolors, Penny Black creative dies, Penny Black stamps, WOW embossing powders 16 Comments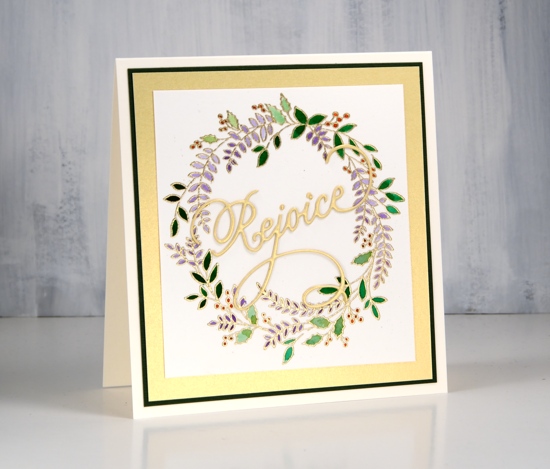
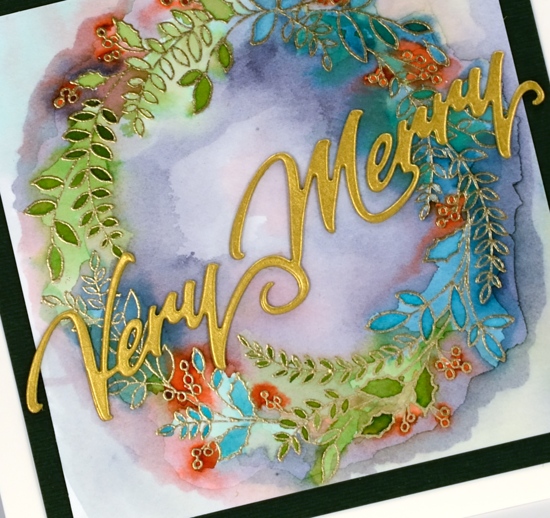
I have one wreath, ‘winter chirp’ from Penny Black, presented in two ways today. The first is neat and tidy, the other is loose and messy. I started with gold embossing and used similar colour schemes on each one.
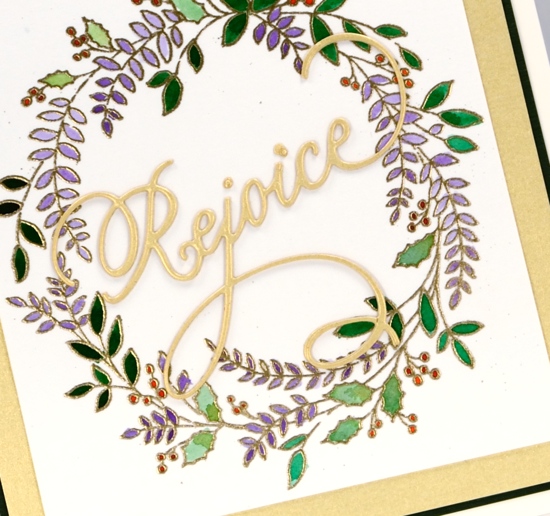
They are both painted with peerless watercolour paints, which I love. I stayed inside the lines on the first card and went all loose and freestyle on the second. I almost gave up on the second but as I kept adding colours it did look a little less like a mistake! I almost didn’t post the messy one but in real life it actually looks artsy and fun.
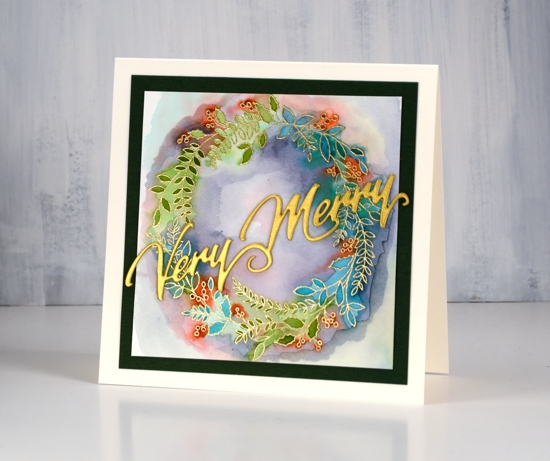
I chose gold cardstock for some stacked die cut sentiments, also from PB, so the sentiment and embossing would co-ordinate. I also matted with gold and green (yes it’s green, not black) cardstock on a cream cardbase.
I hesitate to ask but are you on the neat team or the artsy(messy) team?
Supplies
Stamp: winter chirp (PB)
.
Dies: very merry, rejoice (PB)


Ink: versamark

Paint: peerless watercolours

Paper: hot pressed watercolour paper, gold cardstock, green cardstock


Also: metallic gold rich embossing powder, double sided adhesive sheets


Brusho Rose
Posted: January 23, 2018 Filed under: Rose | Tags: Brusho, Fabriano Watercolour Paper, Penny Black creative dies 12 Comments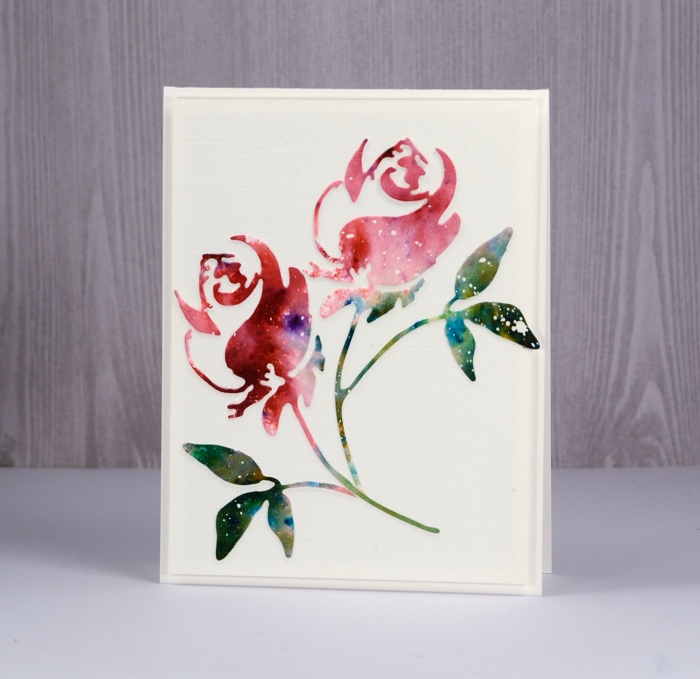
Ah, brusho, how I love thee! My cards on the Penny Black blog and here on my blog this week are all ‘love themed’ so it shouldn’t matter that it’s a paint that I’m in love with, should it? Brusho paint powders do such magical things I never tire of putting them to use.
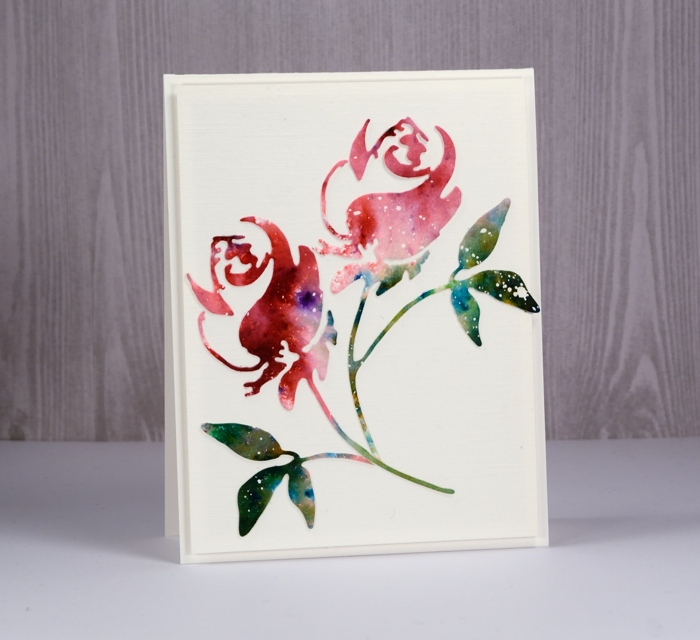
To create this simple card I started with a piece of hot pressed watercolour paper already splattered with masking fluid. I sprinkled rose red brusho on one end of the panel and a mix of leaf green and olive green brusho over the other end. I spritzed with water to activate the paint and added more water and moved the paint around to create a varied coverage. Once it was completely dry I die cut a couple of roses using the Penny Black ‘rose’ die. I kept one die-cut complete and trimmed the rose and leaves off the other to arrange separately on a panel of linen textured cardstock.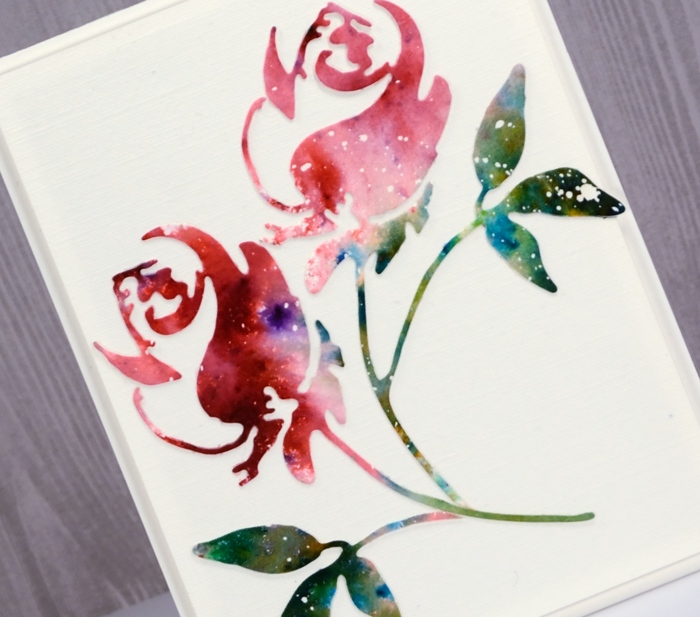
I popped up the panel on a natural white card base and left it sentiment free to keep my options open.
Supplies

Frosty wreath
Posted: November 23, 2017 Filed under: A blizzard, wreath & bow | Tags: Brusho, Fabriano Watercolour Paper, Penny Black creative dies, Penny Black stamps 3 Comments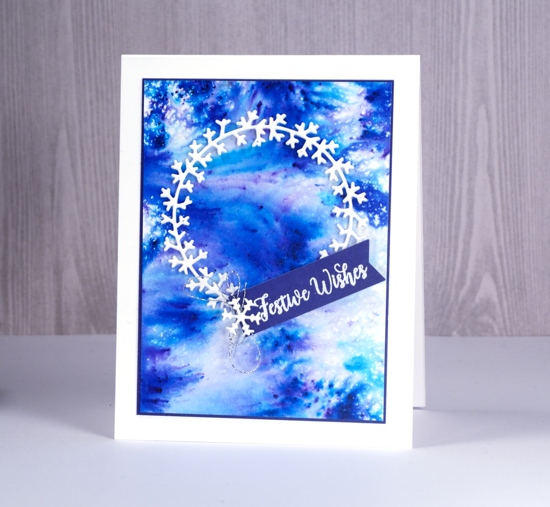
I have a frosty little wreath to share today which seems appropriate now it’s all frosty outside. I created my background on hot pressed watercolour paper by sprinkling ultramarine brusho over the paper then spritzing it with my homemade pearl-ex spray. The result is a shimmery pattern of blue, turquoise and purple made with paint powder from just one container.
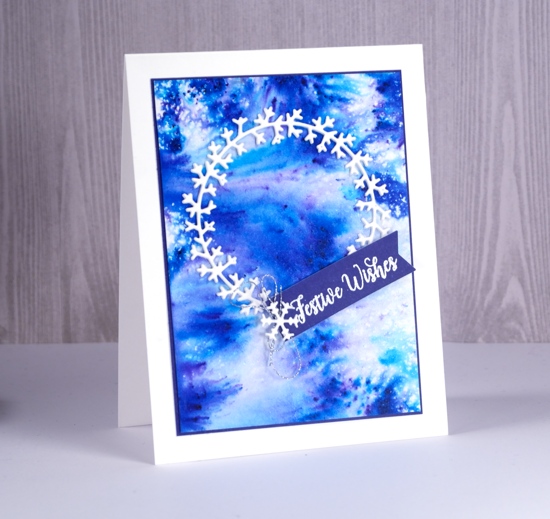
I applied stick it adhesive to the back of neenah solar white cardstock then die-cut three wreaths using Penny Black’s ‘wreath & bow’ die. I stacked them on top of each other which was surprisingly easy even though they were quite delicate. I use a pair of tweezers to squeeze each section of the die-cuts into alignment with the ones above and below.
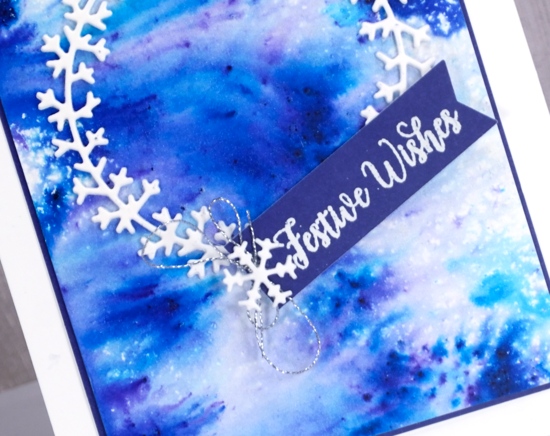
I stamped a sentiment from festive snippets on purple cardstock, embossed it in white and attached it overlapping the wreath then matted the painted panel in purple also. To finish it off I attached some silver cord and a little die-cut snowflake on top of the sentiment strip. You can find all the supplies listed below; I am experimenting with the appearance of my supply list; word has it that people like to see the product not just the name. Let me know if the pictures and links are helpful.

I know there are sales everywhere you turn this week but I just want to mention one. The Foiled Fox is offering 15% off everything in their store this weekend and if you click through from my blog you don’t have to wait until Friday to start shopping. The coupon code for check out is HOLIDAY2017
Supplies
Stamps: festive snippets
Dies: wreath & bow, a blizzard

Paper: Neenah solar white cardstock, 100% cotton hot pressed watercolour paper
Also: white embossing powder, stick it adhesive, pearl ex interference blue powder, silver cord
Glorious Day
Posted: November 18, 2017 Filed under: Snowy Perch | Tags: Faber-Castell Albrecht Durer Watercolour pencils, Fabriano Watercolour Paper, Penny Black stamps 6 Comments
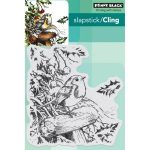
When I posted my first card made with this stamp I mentioned a second I had completed when I knew the image better. In this one I managed to keep the snowy areas white from the beginning rather than dilute them after I realised my mistake! I used fewer inks and left the leaves on right side of the stamp unstamped.

I stamped bird, perch and foliage in antique linen first then went over the perch and leaves as with vintage photo and black soot distress markers. I stamped then blended with water before adding ink to the berries with festive berries and barn door distress markers. To colour the bird I switched over to my watercolour pencils, picking up colour from the lead with a small damp watercolour brush.

I finished off the card with a sentiment stamped in versafine vintage sepia then popped up the panel on craft foam.
Supplies
Stamps: snowy perch, peace & love

Inks: antique linen, vintage photo distress inks (Ranger), versafine vintage sepia (Tsukineko), black micron pen (Pigma)
Markers: vintage photo, black soot, festive berries, barn door distress markers
Paper: 100% cotton hot pressed watercolour paper (Fabriano)
Pencils: dark carmine, light orange, black & cold greyIV Faber Castell Albrecht Durer watercolour pencils
Season’s greetings
Posted: September 21, 2017 Filed under: Berry speckled | Tags: Fabriano Watercolour Paper, Penny Black stamps, Ranger Distress inks, Ranger Distress stains, Tsukineko Memento inks, WOW embossing powders 4 Comments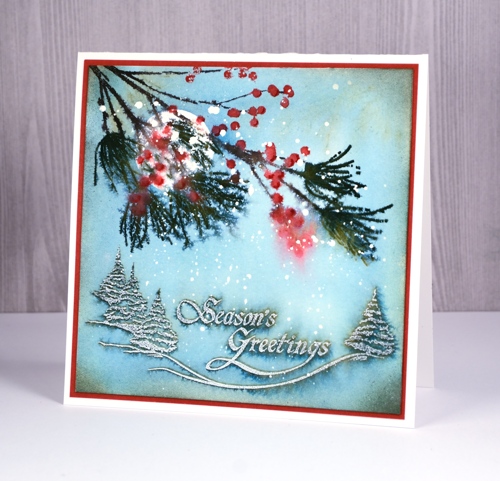
I have yet more snow on the blog today with this wintry berry branch over a snow dusted sentiment. The look is a little vintage again but with muted colours rather than lots of brown. I have some old Christmas cards of my mothers tucked away somewhere I should pull them out because this look reminds me of some of them.
I began with a splattering of masking fluid over a piece of hot pressed watercolour paper. Once dry, I positioned the panel in a stamp positioning tool and stamped the ‘tree & greeting stamp’ from ‘A Festive Season’ set in memento northern pine ink. I removed the panel from stamp positioner but left the stamp in place. In the top left corner I stuck a circle of frisket film to mask a moon shape then painted over the whole panel with water. Colour bled out of the northern pine ink and started filling the panel; I added faded jeans distress stain so I could cover the whole piece with diluted blue/green colour. Once the panel was dry I removed the mask and placed the panel back in the stamp positioner away from the ‘tree & greeting’ stamp so I could place the ‘berry speckled’ stamp to overlap some of the moon. I inked and stamped one colour at a time with the following markers: berries – candied apple distress marker, needles – northern pine memento marker, and branch & twigs – espresso truffle and rich cocoa memento markers.To soften the look of the branch I spritzed it and let some colour bleed into the surrounding area. When dry I added shadows on the berries with the bullet tip of the candied apple marker.

Supplies
Berry Speckled
Posted: August 16, 2017 Filed under: Berry speckled, Uncategorized | Tags: Fabriano Watercolour Paper, Penny Black stamps, Ranger Distress inks, Ranger Distress stains 9 Comments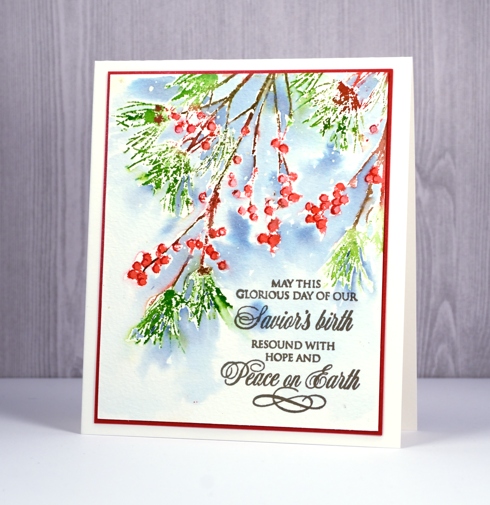
This branch, ‘berry speckled’, is definitely one of my favourites from the new Penny Black release ‘Be Merry‘. It is pretty on its own but will combine well with other Christmas foliage I’m sure. I decided to watercolour with it, and used a stamp positioning tool to help me add colours one at a time. I worked on hot pressed watercolour paper with masking fluid lightly splattered over it. First I inked the berries in festive berries distress stain and stamped them, next I did the pine needles in peeled paint distress stain and finally the twigs in gathered twigs distress marker. I dried all the initial stamping then added the background blue by painting water close to the edges of the stamping then adding stormy sky distress stain to the wet areas.
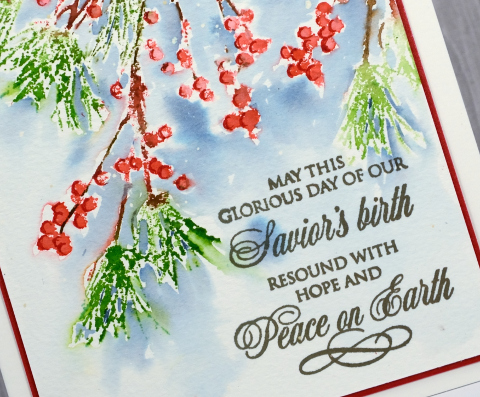
Once all the ink and stain was dry I added definition to the berries with a candied apple distress marker. I removed the masking fluid to reveal little white dots, added the sentiment in smokey gray versafine ink and matted the panel in red.
Supplies
Stamps: berry speckled, peace & love (PB)
Inks: festive berries, peeled paint, stormy sky distress stains & candied apple, gathered twigs distress markers (Ranger) smokey gray versafine (Tsukineko)
Paper: hot pressed watercolour paper, red cardstock
Also: masking fluid












