
Winter Tree art journal page
Posted: January 13, 2022 Filed under: 6"x 6" journal, A blizzard, Art Journal, Darkroom Door, Dies, French Script, Mixed Media, Snowflake trio, snowflakes | Tags: Art Journal, Darkroom Door stamps, Mixed Media, Penny Black creative dies 12 Comments
I continue to create and experiment in my 6×6 art journal, definitely inspired by the current season and view. When I started this page I had a technique in mind but no picture in my head of how it might turn out. I couldn’t be happier with the end result!

I am trying a range of techniques and methods in my art journals because that is what they’re for and because I have a series of workshops coming up this year (temporarily postponed until restrictions change). On this spread I started by layering and gluing torn papers on the pages. I pulled blue pieces from my considerable stash of papers, some old (Penny Black 6×6 packs) and some new (decorative rice paper) along with Dina Wakley printed white collage paper. After gluing the strips here and there I added modeling past through a stencil and let that dry.
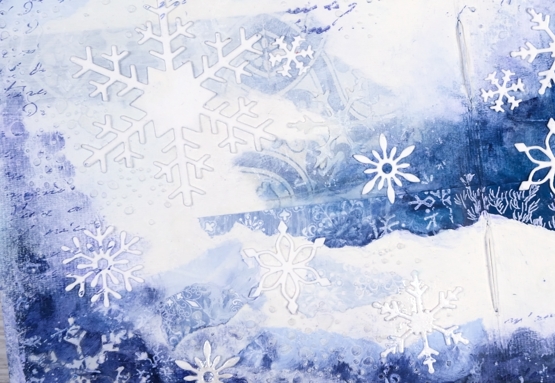
Over the papers and paste I painted white gesso and then a couple of blues from Dina Wakley’s acrylic selection. You can see some of the patterns show through from the papers and in real life you can also see the texture from the stencilled paste. I added stamping in blue and white with Darkroom Door background stamps, ‘snow flakes’ and ‘French Script’.
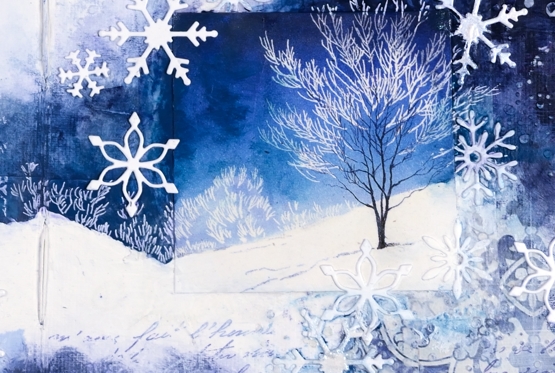
I had started the page with a vague idea of adding a picture from a Christmas card or magazine. In choosing the tree picture you see included I fell down a rabbit hole of memories going through boxes of saved cards! I have saved cards since childhood and I was sorting and reading for quite a while. I didn’t open every single card but I found some adorable and hilarious cards made by my children and some I taught in school, I also found many sweet notes in cards from my parents, aunts, uncles and grandparents. The picture I chose of the single tree on a snowy hill was in a Christmas card from a sweet friend.

It is worth noting at this point that I didn’t plan this layout or have this card on hand when I started the painting so the colours did not match perfectly. You know how I feel about the matchy-matchy so I ended up adding paint to the sky around the tree to make the blue a bit more purply and less aqua. I also extended the scene by turning a white area that was already on the page into a clearly defined snowy hill. I used a white gel pen to add more foliage to carry the scene off the little square onto my page. I finished off the page with some die cut Penny Black snowflakes.
I know that is a lot of description that would be better understood with video footage but it didn’t happen this time. As I continue to make pages I will try to capture some of them on film.
Do you save the cards you are given? Do you put them to use making something new? Just wondering…
Supplies
(Compensated affiliate links used when possible)
Nestled in Winter
Posted: December 10, 2021 Filed under: A blizzard, Art Journal, Classes, Dies, nestled, Penny Black, pine branch | Tags: Art Journal, Classes, Penny Black creative dies 14 Comments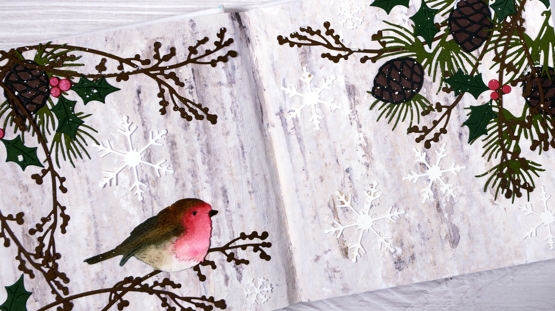
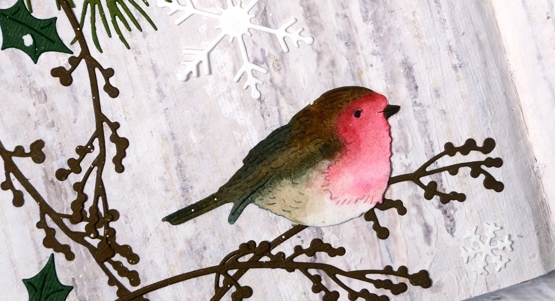
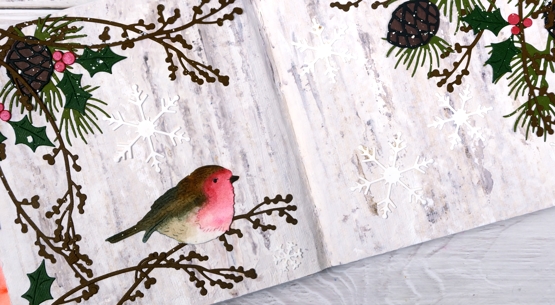
Although I see the beautiful contrast of foliage and snow outside I am not seeing many birds on the feeder right now. Instead I have placed a very cute robin in amongst the wintery Christmas foliage of an art journal page.

This isn’t just any art journal page; this spread is in a new journal I have been using for the last few months as I schemed and dreamed up a new in-person class for 2022. It isn’t just a class it’s an Art Journal Adventure.
To create this double page spread in the Dina Wakley 6″x6″ mixed media journal I used acrylic paints, distress spray and some ‘easy to find around the home’ texture tools. All the die cuts are from Penny Black and are listed below.
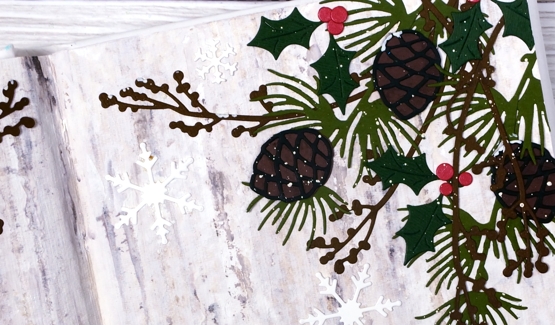
To keep things within an acceptable level of fiddliness I die cut all the foliage from coloured cardstock and painted only the the little bird.
I know this is an in-person (in Ottawa) class which excludes quite a few of you but if you are interested in seeing something like this in an online version please let me know in the comments.
If you have hints for attracting birds in winter please let me know. I imagine it has a bit to do with being consistent in keeping the feeder stocked before winter and maybe something to do with keeping the chipmunks and squirrels off it too!
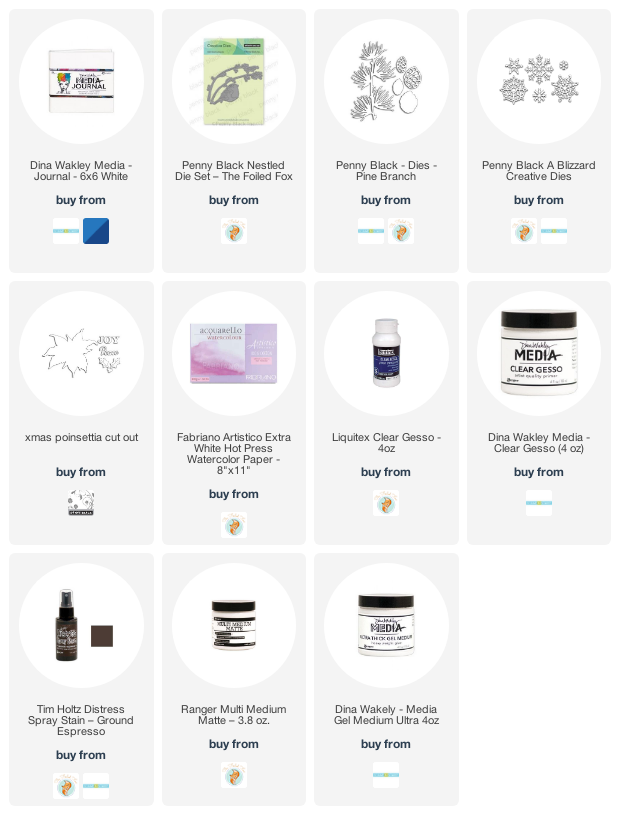
Supplies
(Compensated affiliate links used when possible)
Winter Wonder art journal page
Posted: February 1, 2021 Filed under: A blizzard, Art Journal, Brusho, Classes, Dies, fir tree, Heather lowercase die set, online class, Penny Black, Pink Fresh studio, Skis 'n' sled, Snow time, winter trees, winter wardrobe | Tags: Brusho, online class, Penny Black creative dies, Pink Fresh studio 6 Comments
After my son and I finished filming the stop animation intro for my Winter Wonder online class I didn’t know what to do with the painted background and all the die cuts we’d used. They lay on a tray still in their snowy formation for a few months gathering dust until I realised I could keep the scene if I transferred it to my art journal.
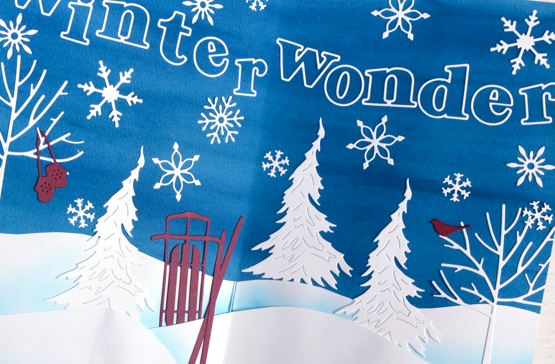
The initial spread was bigger than art journal page so I cut down the watercoloured background panel, cut new snowdrifts out of lighter weight cardstock and added ink blending to help them stand out. I saved the trees, sled, skis, mitts, snowflakes and bird all cut using the Penny Black dies listed below and glued them on. Yes the gluing almost finished me but I persevered and even glued the outline letters from Pink Fresh studio. I found that I do have a glue pen that works if you are patient and take note that enough glue if coming out.
If you haven’t scene the stop motion animation it is part of the promo for my WINTER WONDER class which teaches my methods for making cards with a northern winter theme. I’ll include the promo below just for fun and in case you’re new around here.
The scene shown in the journal page is mirrored outside right now; we have plenty of snow, we’ve been skiing and enjoying winter wonder all around us. Back in October-November when we filmed the class there was little to no snow!
Supplies
(Compensated affiliate links used when possible)

Frosty wreath
Posted: November 23, 2017 Filed under: A blizzard, wreath & bow | Tags: Brusho, Fabriano Watercolour Paper, Penny Black creative dies, Penny Black stamps 3 Comments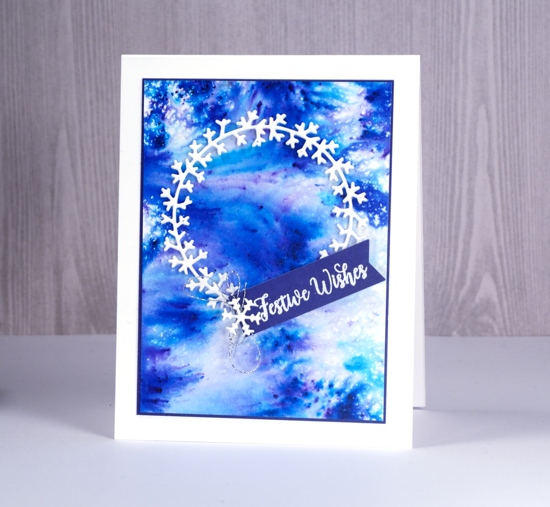
I have a frosty little wreath to share today which seems appropriate now it’s all frosty outside. I created my background on hot pressed watercolour paper by sprinkling ultramarine brusho over the paper then spritzing it with my homemade pearl-ex spray. The result is a shimmery pattern of blue, turquoise and purple made with paint powder from just one container.
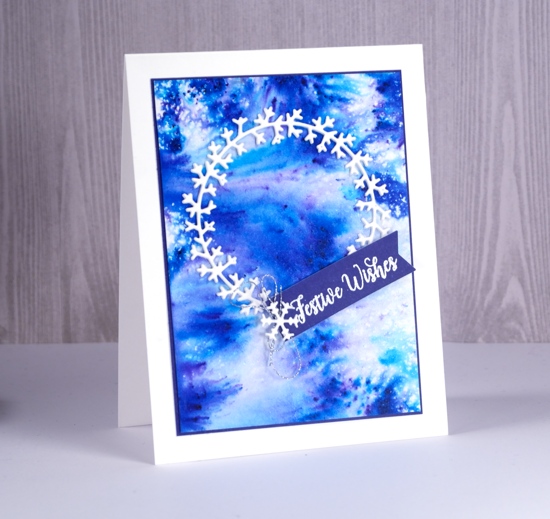
I applied stick it adhesive to the back of neenah solar white cardstock then die-cut three wreaths using Penny Black’s ‘wreath & bow’ die. I stacked them on top of each other which was surprisingly easy even though they were quite delicate. I use a pair of tweezers to squeeze each section of the die-cuts into alignment with the ones above and below.
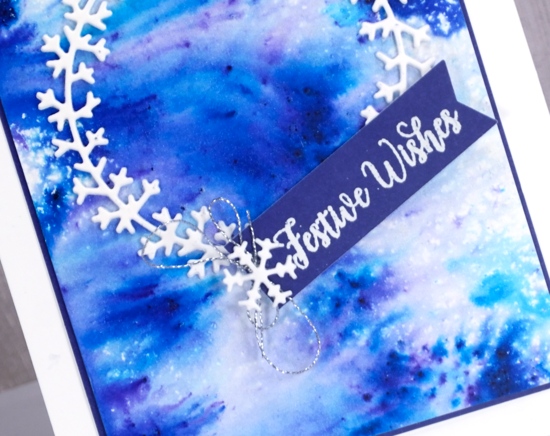
I stamped a sentiment from festive snippets on purple cardstock, embossed it in white and attached it overlapping the wreath then matted the painted panel in purple also. To finish it off I attached some silver cord and a little die-cut snowflake on top of the sentiment strip. You can find all the supplies listed below; I am experimenting with the appearance of my supply list; word has it that people like to see the product not just the name. Let me know if the pictures and links are helpful.

I know there are sales everywhere you turn this week but I just want to mention one. The Foiled Fox is offering 15% off everything in their store this weekend and if you click through from my blog you don’t have to wait until Friday to start shopping. The coupon code for check out is HOLIDAY2017
Supplies
Stamps: festive snippets
Dies: wreath & bow, a blizzard

Paper: Neenah solar white cardstock, 100% cotton hot pressed watercolour paper


Also: white embossing powder, stick it adhesive, pearl ex interference blue powder, silver cord


More Matelasse
Posted: March 28, 2017 Filed under: A blizzard, bird flower doily, Brusho, CAS, Dies, Metropolitan, No two are alike, the gift | Tags: Brusho, CAS, Penny Black creative dies 5 Comments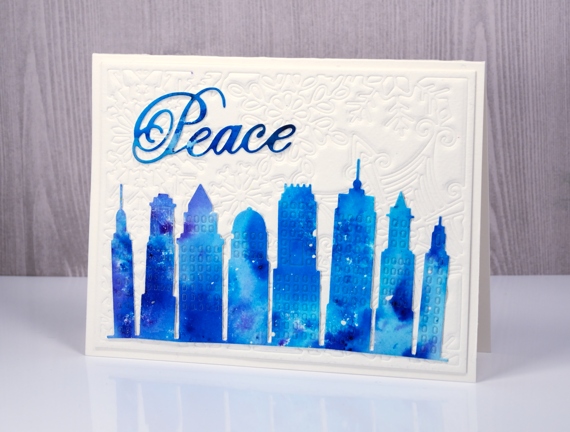
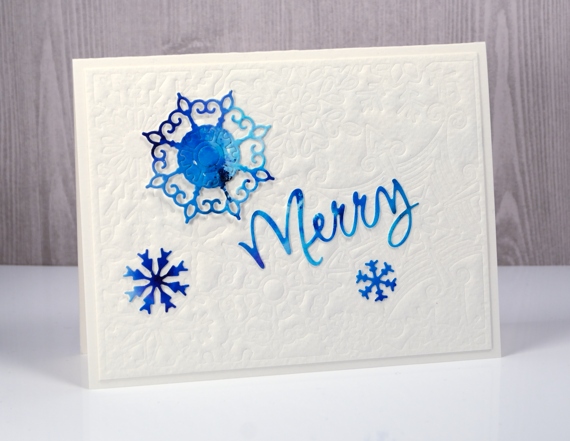
I have a few more cards made with matelasse style backgrounds topped with bright brusho elements. I once again chose intricate dies for the backgrounds. In the cards above and below I embossed watercolour paper with the no two are alike die. For focal elements I die-cut the city skyline, some snowflakes and a couple of words from a panel painted with turquoise and cobalt blue brusho.
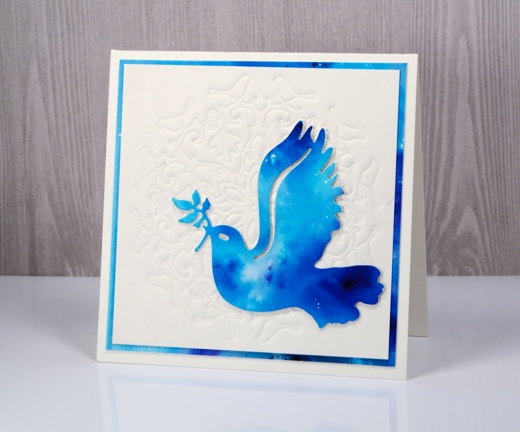
The background below was embossed with the bird flower doily then matted with the same painted paper I die cut the dove from. All the dies I used for these three cards are listed and linked below.
I used my big shot/big kick to emboss these panels and my ‘sandwich’ was:
- multipurpose platform with one tab showing and one flipped open out of the way
- cutting plate
- silicon mat
- watercolour paper (damp)
- die
- cutting plate


