
Green Truck in the City
Posted: May 6, 2022 Filed under: ...is coming, Dies, gel press, Metropolitan, Penny Black | Tags: gel press, gel printing, Penny Black creative dies 4 Comments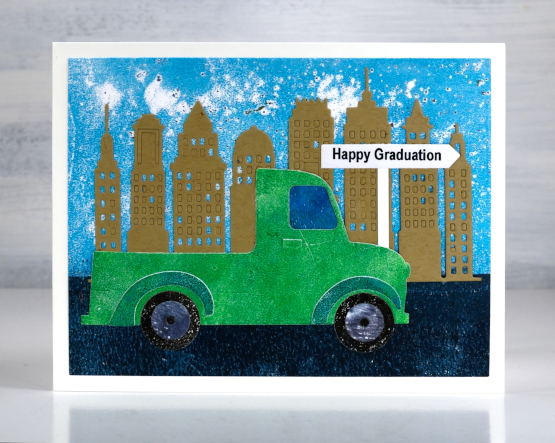
This little green truck card was made on request, and probably not a focal point I would have come up with myself. The end result however made me very happy and all but the kraft buildings and road sign were cut from gel prints.
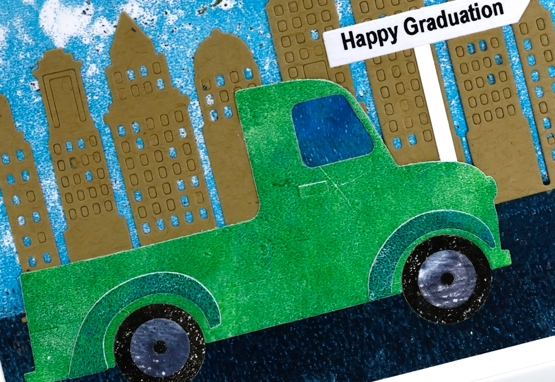
I could have cut all the components from coloured cardstock but I chose instead to use gel prints and mixed the green and blue paints on the gel plate in order to match the green of the truck requested. I love the added texture a gel print gives. The sky is very textured because it was printed on my damaged gel plate. I use it mainly as a palette where I mix colours or roll off excess paint. I pull prints off it now and again during a session and the patchy blue and white print made a perfect sky. I don’t have a truck die but I did some mods to a van die-cut and ‘ta-da’ I had a little green truck on its way to graduation!
Would this be a good time to mention there are a couple of spaces left in next Friday’s gel printing workshop?
Supplies
(Compensated affiliate links used when possible)
Alcohol ink + foil
Posted: January 28, 2021 Filed under: Alcohol Ink, all the birthdays, Concord & 9th, Metropolitan, Penny Black, poppy edger | Tags: Concord & 9th, Penny Black creative dies, Penny Black stamps, pinata alcohol ink, Ranger Alcohol Ink 11 Comments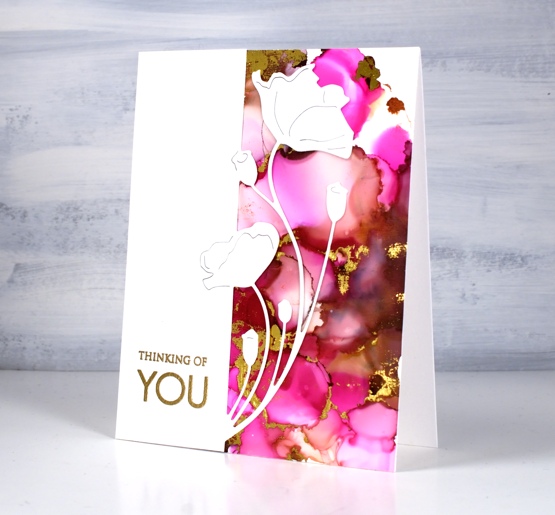
When I get the alcohol inks out I always have a stack of panels at the end of the session. Some sit around and never amount to much but others wait for inspiration to hit. This one was created on white craft plastic (Grafix dura-bright white) with ginger and burgandy Ranger alcohol inks and Pinata magenta. I added gold foil using the minc well after the inks had dried.
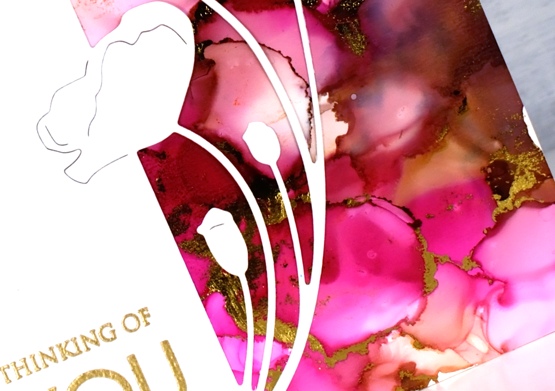
Sometimes it is possible to make the foil stick soon after finishing the inking. There is a sweet spot as far as letting the ink dry enough that it is not gooey but not so much that it is dry to touch. The sections that will hold the foil are the ‘seams’ between colours where the ink is thicker. If you press foil on these areas when they are a bit tacky you can get it to stick with just a bit of burnishing. If the panel has dried it sometimes possible to get foil to stick by running the panel through a minc or laminator using some heat. This can be risky as sometimes the foil sticks to more of the panel than you expected.
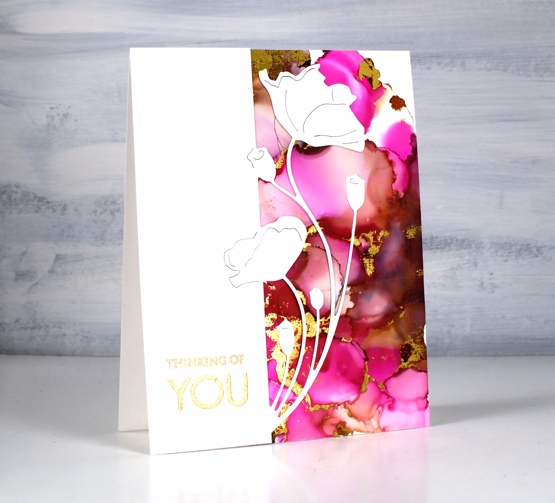
When I ran this panel through the minc I was happy with most of the foiling but there were a few sections that didn’t look great so I just used the part that looked good and covered the rest with this pretty poppy edger from Penny Black. I finished the card with a gold embossed sentiment from the PB ‘only you’ set.
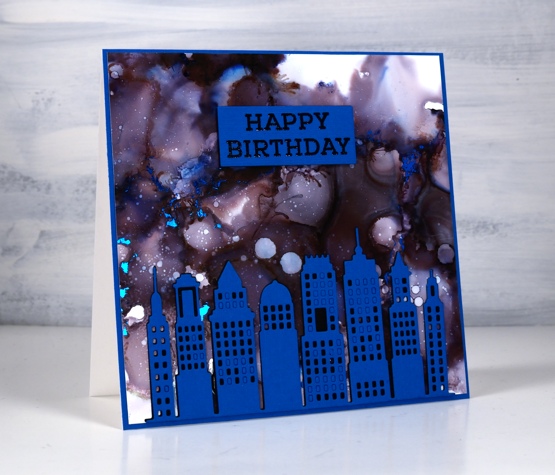
This second panel amazes me because it was created with only black alcohol ink plus rubbing alcohol. The blue and burgandy tones appeared when the black ink was diluted. Cool huh? I pressed the blue foil onto this panel at just the right time to get it to stick when the seams were tacky. It is hard to get it to show in the photo but there are small sections of blue foil here and there across the sky.
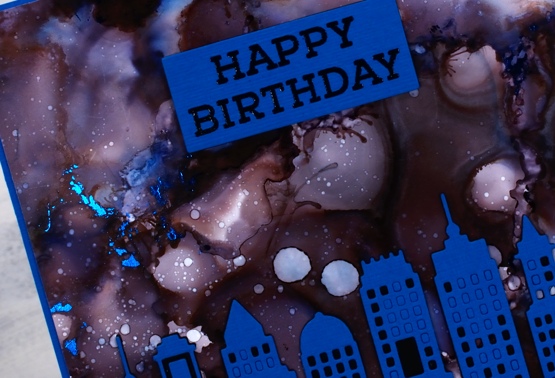
The inking on both panels was pretty experimental, a drop here and there some rubbing alcohol and tilting and blowing the ink to make a random pattern. I cut the Penny Black metropolitan die from both black and blue cardstock then stacked blue on black without removing all the window cut outs. I ended up using spray adhesive on the back of the blue die cut because gluing is not my gifting.
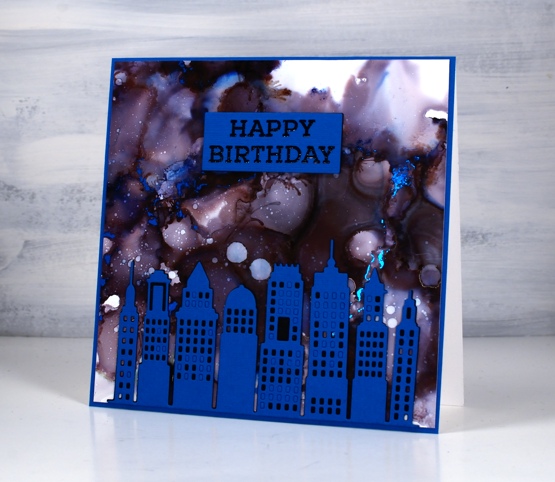
The sentiment is from the Concord & 9 ‘all the birthdays set stamped in black and embossed in clear then stacked up on two layers of black cardstock. More alcohol inks next week; I’m having fun.
Supplies
(Compensated affiliate links used when possible)
For some reason the images did not want to display on this list but if you click the word Supplies, above, you will get to the complete list.
More Matelasse
Posted: March 28, 2017 Filed under: A blizzard, bird flower doily, Brusho, CAS, Dies, Metropolitan, No two are alike, the gift | Tags: Brusho, CAS, Penny Black creative dies 5 Comments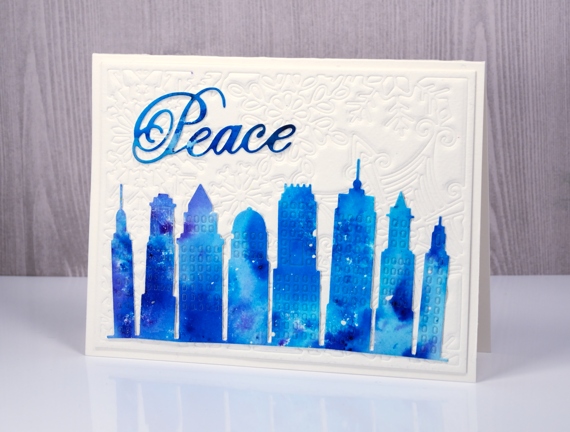
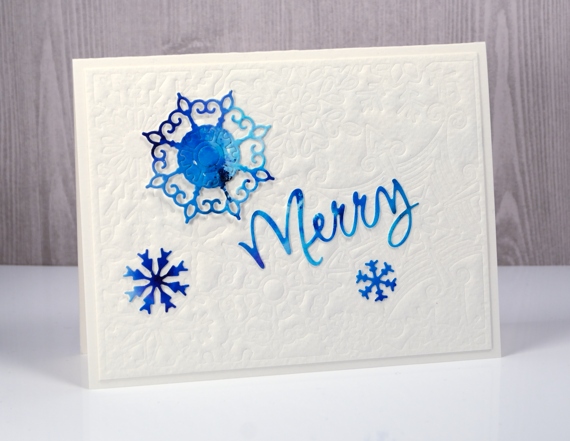
I have a few more cards made with matelasse style backgrounds topped with bright brusho elements. I once again chose intricate dies for the backgrounds. In the cards above and below I embossed watercolour paper with the no two are alike die. For focal elements I die-cut the city skyline, some snowflakes and a couple of words from a panel painted with turquoise and cobalt blue brusho.
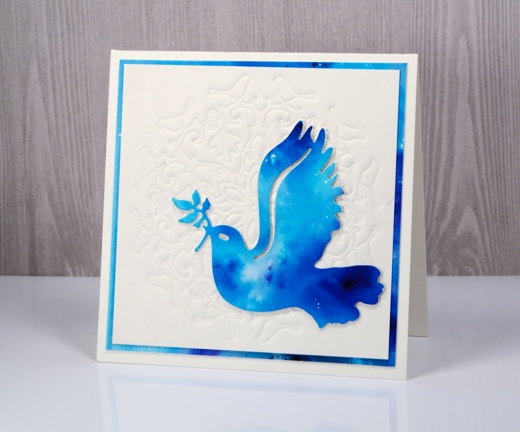
The background below was embossed with the bird flower doily then matted with the same painted paper I die cut the dove from. All the dies I used for these three cards are listed and linked below.
I used my big shot/big kick to emboss these panels and my ‘sandwich’ was:
- multipurpose platform with one tab showing and one flipped open out of the way
- cutting plate
- silicon mat
- watercolour paper (damp)
- die
- cutting plate


