Snow & Ice
Posted: April 13, 2022 Filed under: Darkroom Door, gel press, pine cones, snow flakes | Tags: Darkroom Door stamps, gel press, gel printing, Waffle Flower dies 4 Comments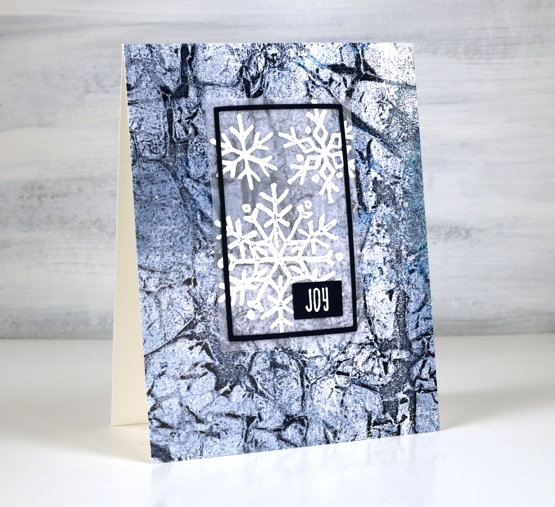
Although most of the ice is now gone, over the last few weeks I have seen it breaking up on the river near our home. The ice that once covered most of the bay cracks and ends up in layers as it breaks, moves and eventually disappears. When I lifted the print above from my gel plate I immediately thought of the cracking ice. It also reminded me of the colours in glaciers, not usually navy blue but I have seen blues and aquas.
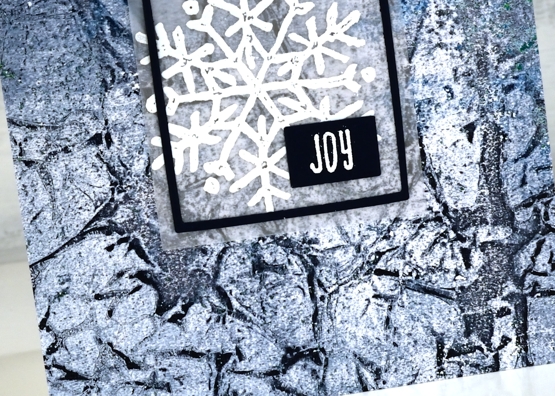
Around the time the ice was breaking and melting this snowflake stamp arrived from Darkroom Door so I stamped it on vellum to overlay the background. I really didn’t want to lose much of the background hence the vellum and then a very narrow navy frame and sentiment.
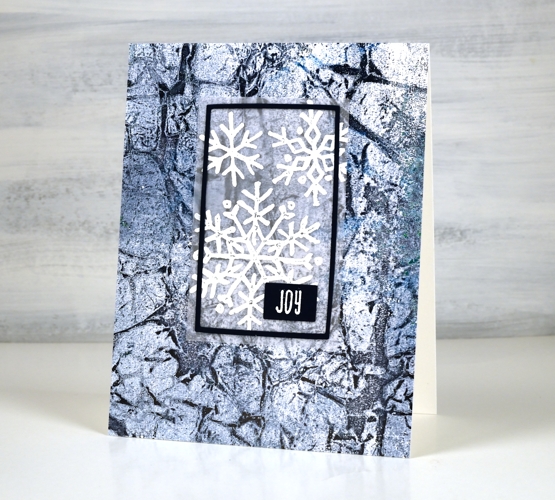
This gel print delighted me, both the colours and the pattern. That’s the fun of gel printing; you never know quite what you will get. I will be sharing a few more gel prints turned into cards and backgrounds over the next few days. In May I will be teaching a couple of gel printing workshops at Crop A While. I’d love to have you join me in making surprising and intriguing prints.
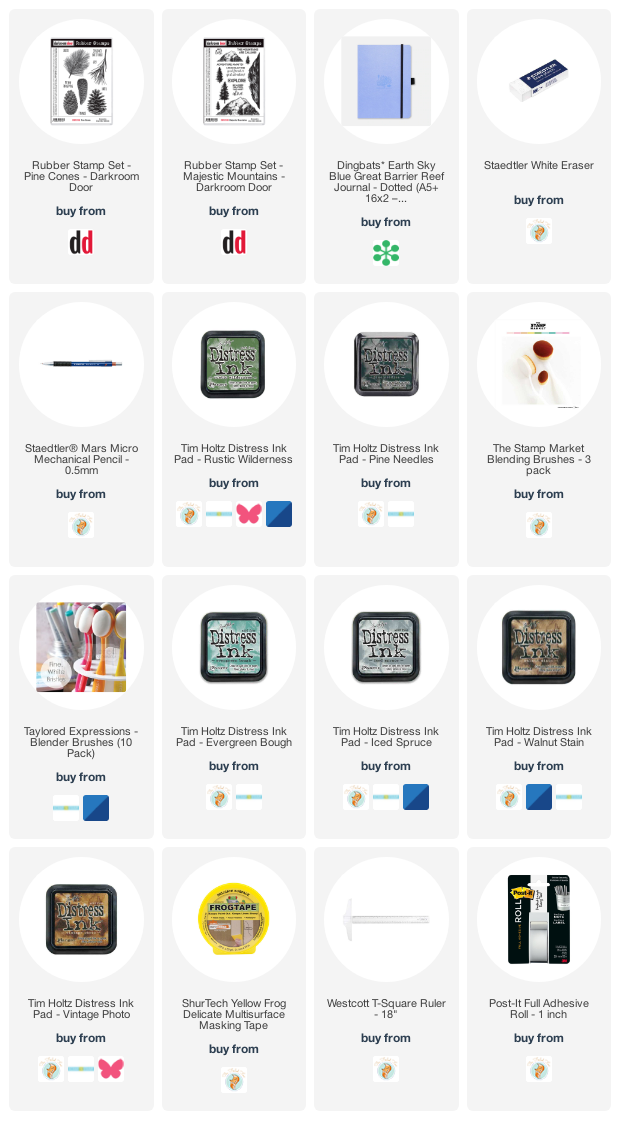
Supplies
(Compensated affiliate links used when possible)
2022 BuJo – January theme
Posted: January 5, 2022 Filed under: Bullet Journal, Darkroom Door, Dingbat notebooks, majestic mountains, pine cones | Tags: Darkroom Door stamps, Dingbats notebook, Ranger Distress inks 6 Comments
My plan for the new year was to take a different artistic route with my bullet journal themes but here I am with the same mask, stamp, blend approach. I still have fifty pages left in my current journal so I will continue in a similar style for now and make some changes when I switch to a new one.
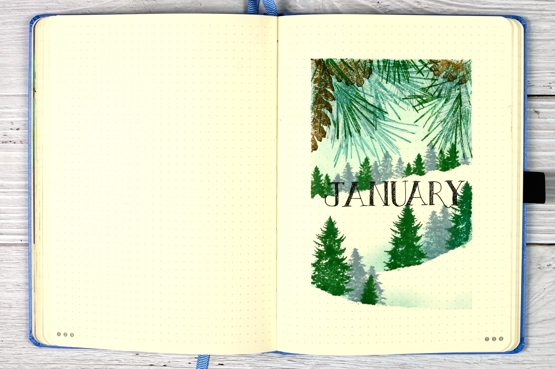
I masked the edges of the page with painter’s tape for delicate surfaces but it was still a bit sticky for the smooth bullet journal page. I did press it on my clothes first but I think post it tape is a much better choice.
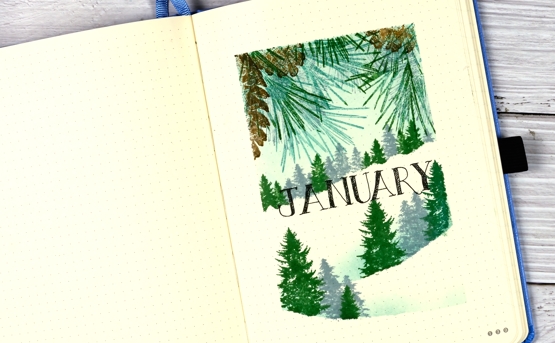
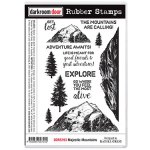
As well as a masked frame around the page I tore tape to mask snow hills across the page. I used the pinecones and needles from Darkroom Door’s ‘pine cones’ set and trees from the DD ‘majestic mountains’ set.

The inks are all distress inks (listed below) and you can see a bit of bleed through the paper. The juicier the ink the more likely it is to show through. None of the ink went right through the page so it doesn’t bother me or stop me from using the pages. I used a black fineline pen to rule the lines and letter the headings.

After a year using this particular dot journal I am still a big fan of the quality but havent’ settled on the best way to keep track of work projects past, present and future. I also want to come up with a workable chore tracker, not nearly as fun as the project tracking but necessary!
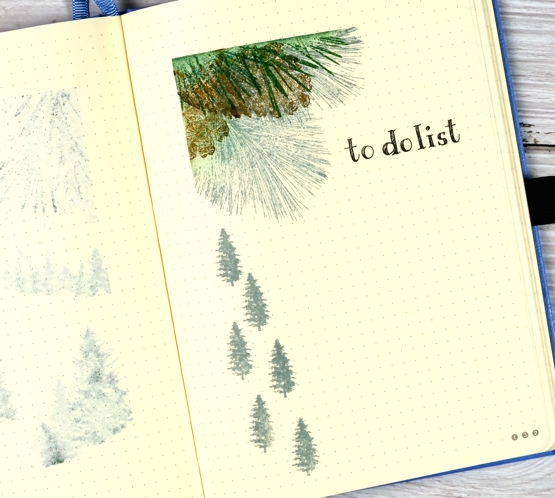
As I look at my ‘to do list’ page above I’m not so keen on the little trees to mark the list items; they look like tree shaped rain drops falling from a pinecone!
I’ll be setting up a new booklist for my 2022 reading and plan to put all the birthdays on one spread too. That won’t guarantee that I will remember to send greetings but it might help.
Supplies
(Compensated affiliate links used when possible)
Pinecones & joy
Posted: December 19, 2019 Filed under: Darkroom Door, Ink to Paper, jumbo joy, Penny Black, pine cones, season of joy stamps | Tags: Darkroom Door stamps, Fabriano Watercolour Paper, Ink to Paper, Kuretake Gansai Tambi watercolour paints, Penny Black creative dies, WOW embossing powders 11 Comments
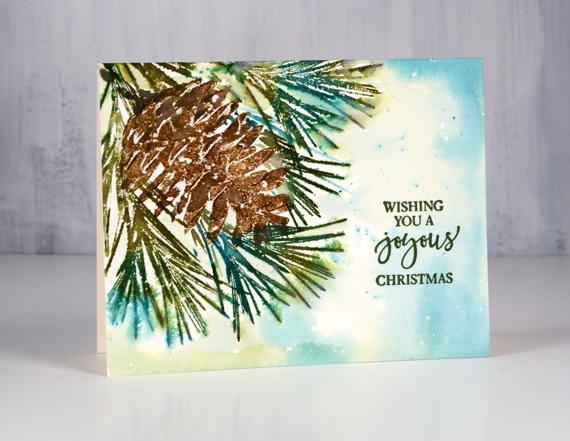
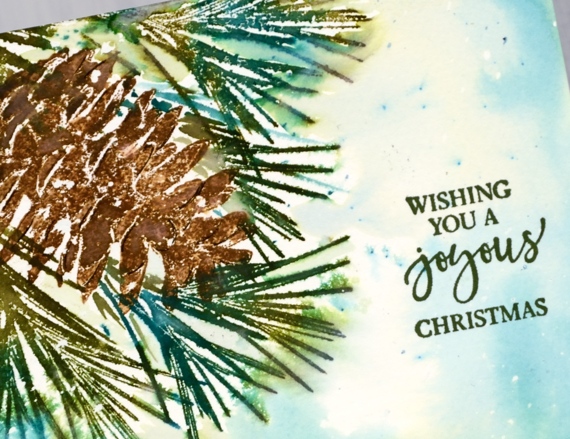
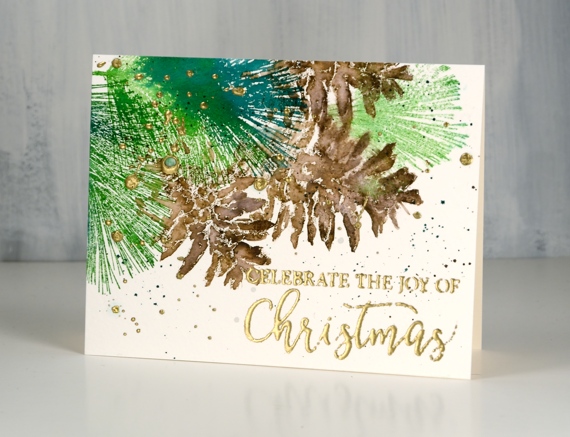
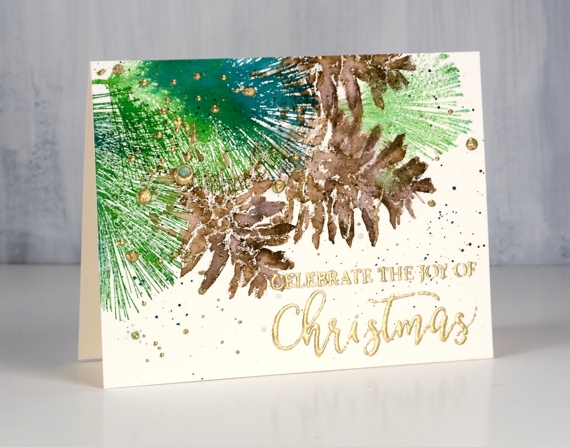
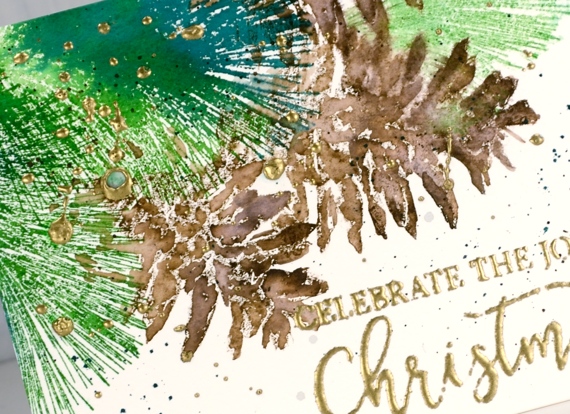
The pine needles and pine cone stamps I used for this card are from Darkroom Door and I love how realistic they are. The stamps are quite large and there are several sizes and shapes of cones which makes for lovely feature images and fillers as well. I used one pine cone stamp but two of the pine needle stamps and worked on hot pressed watercolour paper which had been splattered with masking fluid. If you look at the close up below you can see large white dots as well as tiny ones; they’re all made by the masking fluid.
I stamped the pine cone three times using a stamp positioner and four different brown distress inks. A spritz of water started the browns blending and I did a little blending with a paint brush as well.

I stamped the green pine needles with forest moss and evergreen bough distress inks and the fine needles in the background with iced spruce. I added some green splatter then some gold splatter using one of the gansai tambi starry colours. I used the ‘jumbo joy’ die from Penny Black to cut out the word joy from the stamped panel and cut three layers from shimmer gold cardstock as well so I could stack them up just a little offset so the gold peeps out on the side.

I stamped the rest of the Christmas carol lyric using a stamp from Ink to Paper’s ‘season of joy’ set and some gold embossing powder. The overall pattern may be a little messy but it reminds me of what I see if I look up into the branches of the very messy pine tree in my front yard, which is currently covered with snow but not gold splatter!
I have been blessed to receive some beautiful handmade Christmas cards in the mail this week and I am enjoying them on my window ledge. I hate to say it but as yet I have not sent a single one! As I’ve said before there are twelve days of Christmas so I haven’t run out of time yet!
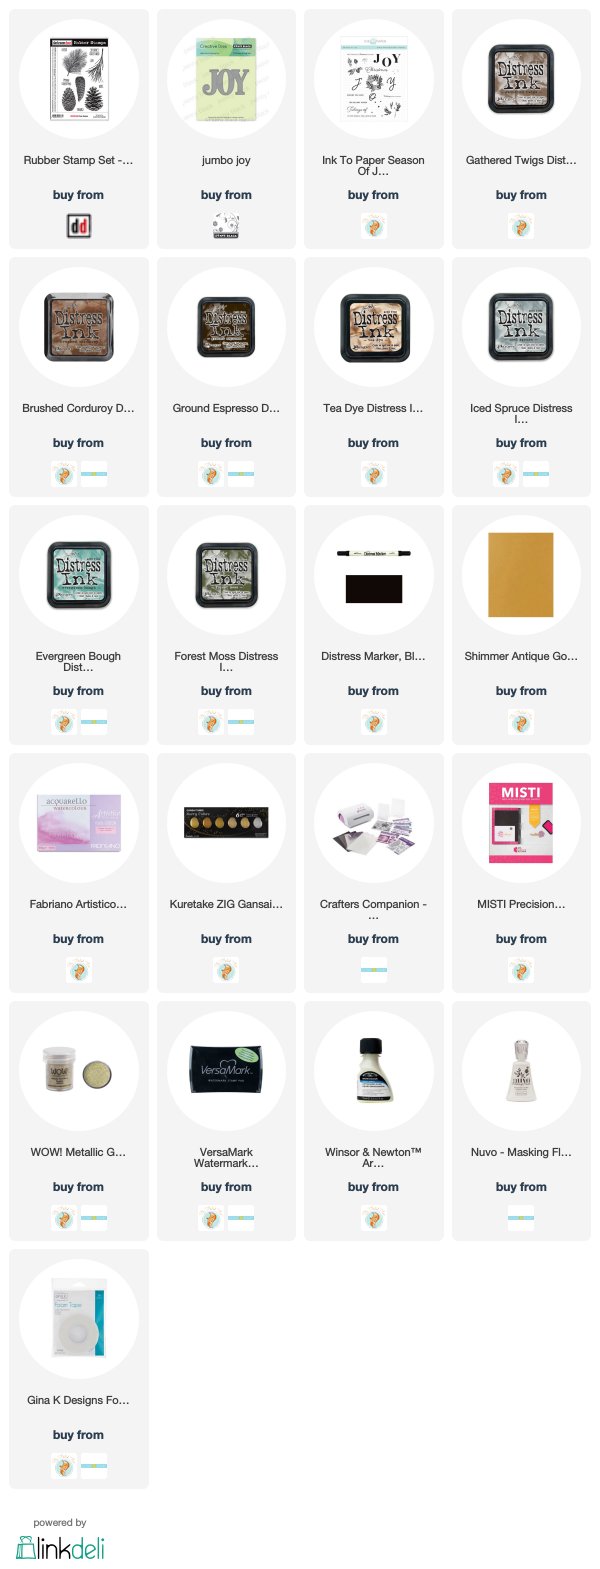
Supplies
Crisp or misty
Posted: December 12, 2018 Filed under: majestic mountains, pine cones | Tags: Darkroom Door stamps, Ranger Distress stains, Tsukineko Memento inks, Tsukineko Versafine inks 11 Comments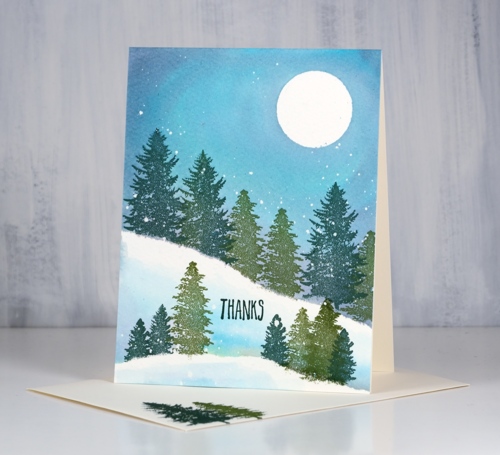
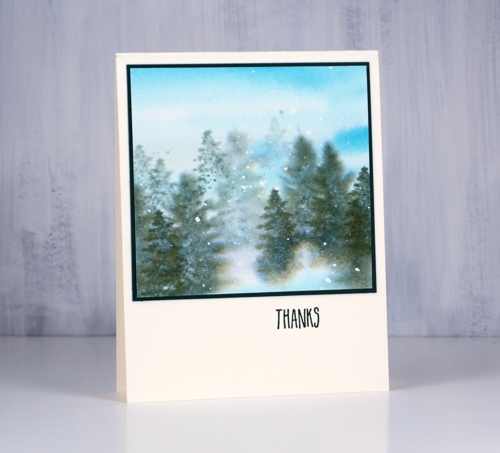
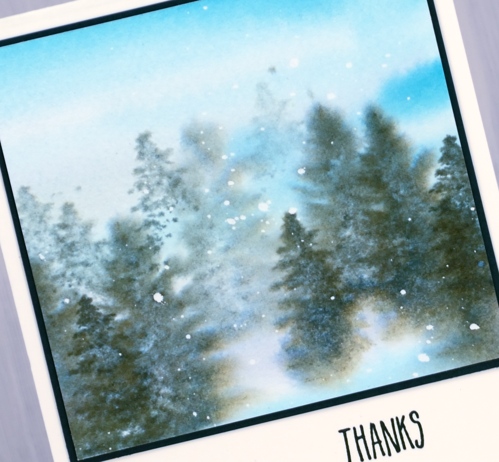
I pulled out the wonderful new trees from Darkroom Door’s ‘majestic mountains’ set to create today’s cards. I wanted to create two forest scenes, one on a crisp cold night, the other on a misty day. There are some similarities in the techniques and inks as well as differences which enabled me to create both looks. I began both times with cold pressed watercolour paper splattered with masking fluid. I like to have a few circles cut from frisket film on hand to mask a moon so I positioned one in the top right corner then tore a post-it note and positioned it diagonally across the panel. I stamped the two larger trees in versafine clair inks along the edge of the post-it mask so the trunks did not show and used one green for the largest tree and another green for the smaller.
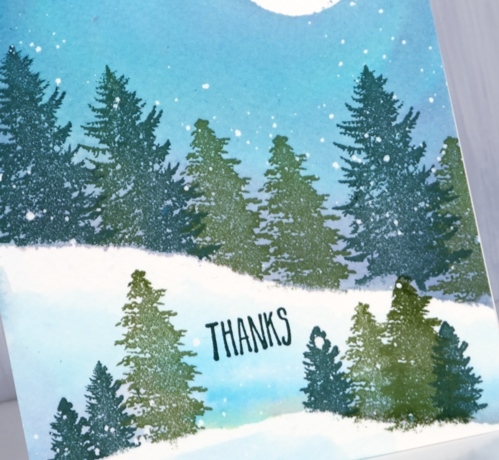
Next I removed the post-it mask and painted water along the lower edge of the stamping and upwards to fill the sky. Then while the paper was wet I added weathered wood, faded jeans and old paper distress stains to fill the sky. Once I had the sky blended I used the post-it mask again as an edge to stamp more trees including one of the smaller ones from the ‘majestic mountains’ set. Again after removing the post-it mask I painted water and blended some of the three stains into the water to create shadows behind the trees and snowbanks. To finish it off I dried the panel, removed the frisket film and masking fluid then added a sentiment from the DD ‘pine cones’ set.
Although the colours and stamps are very similar I worked very much ‘wet into wet’ to create the second card. I painted water and diluted stain over most of the panel adding stripes of faded jeans, weathered wood and old paper. While it was wet I stamped the trees repeatedly with memento northern pine ink making first and second generation impressions to get dark foreground and lighter background images. Each time I inked the stamp I wiped ink off the trunk so it would not stamp, that way the trees all looked like they were in deep snow.
Believe it or not both panels started out the same size but a blot here and a mistake there meant this second one underwent some downsizing.
You might have noticed a stamped envelope in the first photo. I am going to try hard to stamp an envelope and my name on the back of the card as soon as I complete it. I have never been good at this but it makes a lot of sense to do it!
Supplies
Stamps:majestic mountains, pine cones (Darkroom Door)
Inks: northern pine memento, shady lane & rain forest versafine clair

Stains: faded jeans, weathered wood, old paper
Paper: cold pressed watercolour paper, neenah natural white, dark green
Also: masking fluid, glass mat
Pine cones
Posted: November 30, 2018 Filed under: pine cones, yuletide greetings | Tags: Darkroom Door stamps, Ranger Distress inks 5 Comments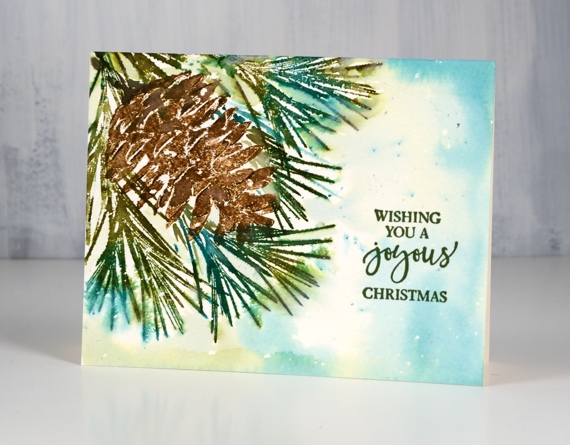
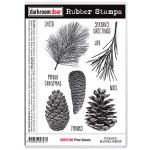
I just cracked open this set from Darkroom Door yesterday and I’m so happy with these lovely images. The set contains three pine cones, two pine needle stamps and six sentiments yet to be inked. I worked on cold pressed watercolour paper and used distress inks to stamp and paint.
I splattered masking fluid over this panel first then, when it was dry used my MISTI for the stamping. I stamped the pine cone first with vintage photo and ground espresso distress inks (not oxides). I stamped several impressions because of the texture of the paper then stamped the pine needle stamp around the pine cone in forest moss and pine needles ink. I didn’t use careful masking but did position a post it note over the pine cone while I stamped the needles that appear to be behind the cone. With all the stamping done I blended some of the pine cone with water and spritzed over the pine needles.
To fill the background I painted shabby shutters and pine needles ink with plenty of water to dilute and move it around. After removing the masking fluid I added a sentiment from the Yuletide greetings set in shady lane versafine ink.
For the second card I switched pine needle stamps but kept the same pine cone. I stamped the needles first in mowed lawn and pine needles distress ink. Again I didn’t want to cut some fiddly masks so I did partial inking instead to position the pine cones in amongst the needles. I blended them with a fine tip paint brush then splattered some green and brown inks over the panel. I wanted a splash of gold so I embossed a sentiment from Yuletide greetings in ultra high gold embossing powder which is chunkier than some.
I also splattered some embossing fluid on the panel and tipped the same powder on to the splatter and heated it. Some of my blobs of embossing fluid were a bit big so I ended up with squishy gold dots on the panel. (definitely one for hand delivery!)
Supplies
Stamps: pine cones, yuletide greetings (DD)

Inks: pine needles, forest moss, vintage photo, mowed lawn, shabby shutters & shady lane versafine clair ink

Markers: gathered twigs, ground espresso
Paper: cold pressed watercolour paper
Also: masking fluid, embossing fluid, WOW metallic gold rich ultra high powder