Belle
Posted: May 21, 2018 Filed under: A Pocket Full, belle, Foiling, Zigs & zags | Tags: Kuretake Zig clean color real brush markers, Minc, Penny Black creative dies, Penny Black stamps, WOW embossing powders 4 Comments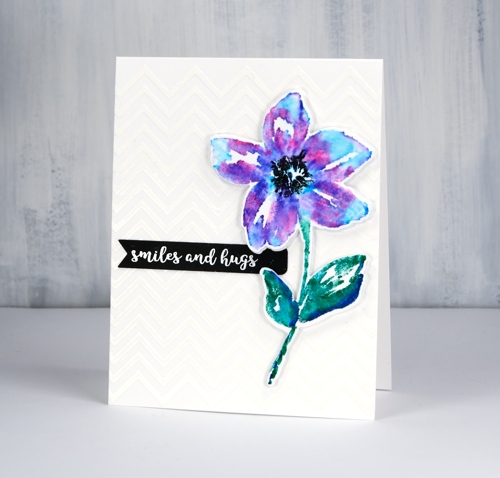
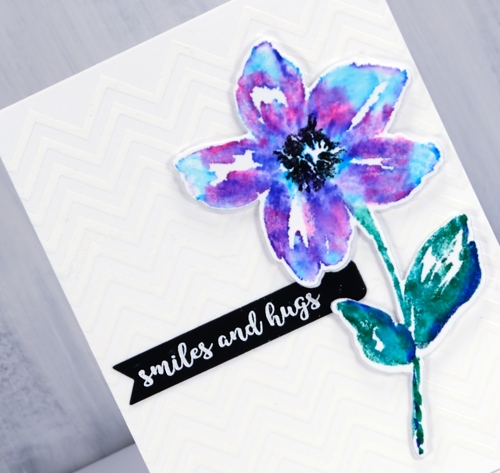
The zigs & zags stencil has popped up again today as a background for this die cut and watercoloured flower. I applied deco transfer gel directly to my card base (neenah solar white 110lb) then ran it through my minc with white foil. The result is a subtle chevron background. I wanted my flower to match the white card base exactly so I used the same neenah solar white which meant I did not add much water at all when blending my zig pens after stamping. I used a mix of blue, pink and purple and a blue/green combo on the leaves and stem then just a damp brush to blend with water. I made sure the blending was dry before stamping the black centre several times then used the co-ordinating die to cut out the flower plus a white foam one to pop it up over the background.
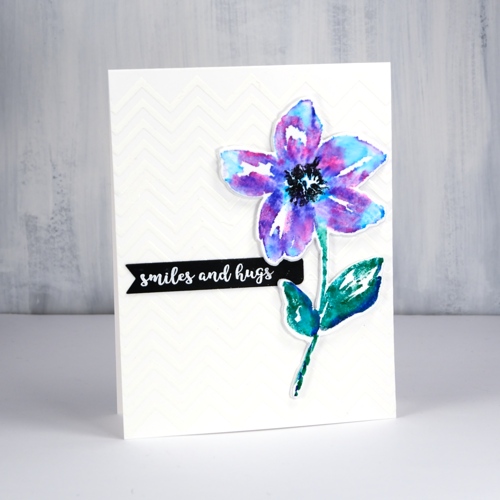
The little black banner was die cut with one of the dies from the PB ‘pocket full’ die set. I have pulled out all my little label, banner and tag dies from different sets and grouped them together so I can quickly cut the right size for a sentiment. This sentiment from the handy ‘banner sentiments’ set is embossed in white powder.
Supplies
Stamps: belle, banner sentiments


Die: belle cut out, a pocket full


Stencil: zigs & zags

Paper: neenah solar white, neenah epic black


Markers: kuretake zig clean color real brush pens pink, blue, violet, cobalt blue, green, black

Also: transfer gel, white foil, foam, minc, white embossing powder


Alcohol ink splatter
Posted: May 18, 2018 Filed under: Alcohol Ink, branching out, cherry blossom | Tags: Penny Black creative dies, Ranger Alcohol Ink, Yupo Paper 3 Comments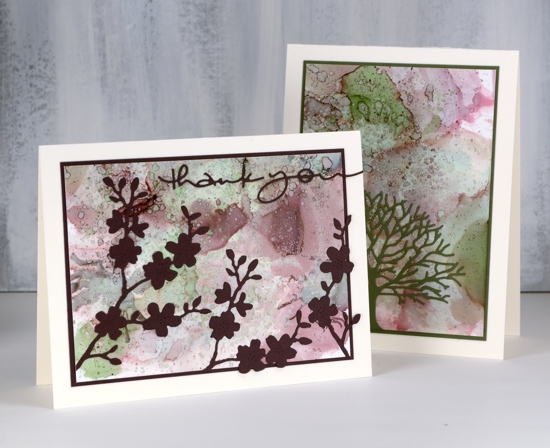
I hope you have enjoyed my alcohol ink projects this week. I could have happily continued playing with colour combinations and different techniques but other projects beckoned.
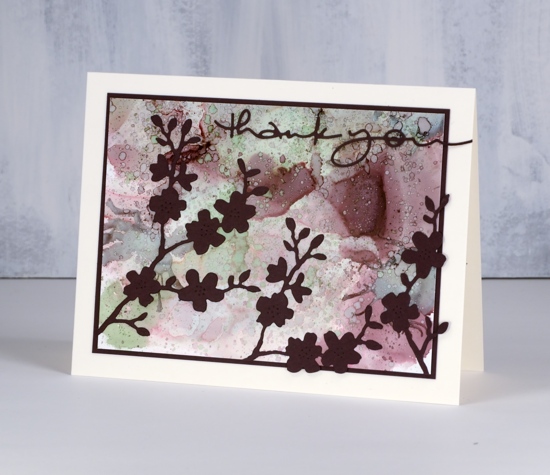
Once again I used a colour combination curated by Ranger; this one is called ‘Cottage Path’ and includes slate, currant and meadow. I worked on the heavyweight yupo paper and dropped inks randomly over the panel to begin. Once there was plenty of coverage I used a small cheap paintbrush (plastic bristles) to flick rubbing alcohol as well as the ‘cottage path’ inks over the panel. The result is very fine circles over the top of the larger blobs of colour.
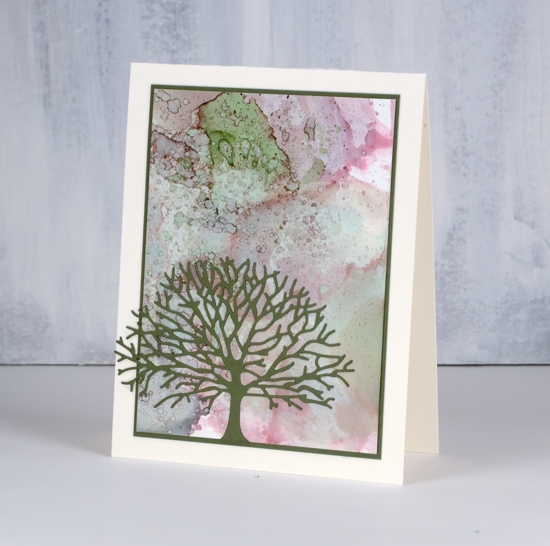
I matched my cardstock to the ink colours and die cut a tree from green using the Penny Black ‘branching out’ die then matted my panel with the same colour. On the other card I cut a couple of ‘cherry blossom’ die cuts plus a sentiment.
Supplies
Dies: branching out, cherry blossom, many thanks


Inks: Cottage path alcohol inks (Ranger)

Paper: heavyweight yupo (Legion) natural white (neenah), burgandy and green


fantastic
Posted: April 20, 2018 Filed under: Alcohol Ink, curved stitch | Tags: Foiling, Minc, Penny Black creative dies, Ranger Alcohol Ink 7 Comments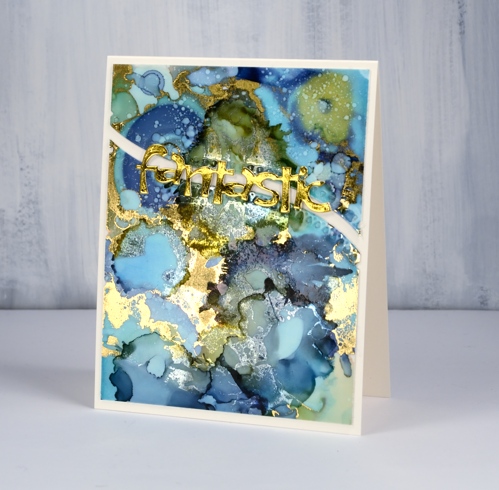
Not long ago I learnt from a couple of friends that foil will stick to some alcohol inks. I posted a card at that time and continued to experiment with foil and alcohol ink panels. If the alcohol ink sitting on the yupo paper is a little sticky the foil will stick more readily than if the inks are long dried. I ran today’s panel through my minc not long after I’d created it and a lot of gold foil stuck. Foil doesn’t stick to all colours of alcohol ink and I’m sorry to say I have not done exhaustive testing to know which ones work. I just layer on some foil, run it through the minc and see what I get!
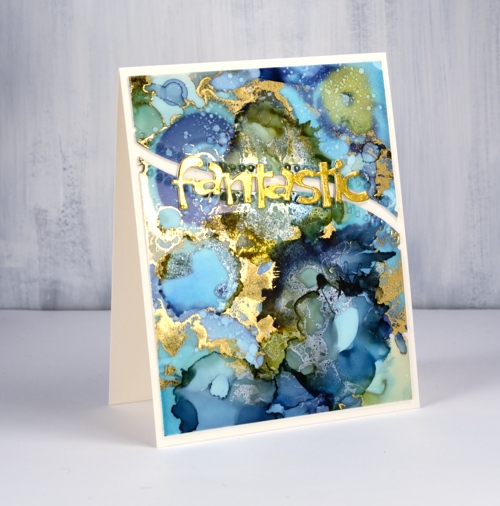
I was pretty happy with what I got this time there were some really pretty gold highlights, but a few more than I wanted. I decided to see whether I could add alcohol ink over the top of the foiling just to tone some of the gold down a little. I was pleasantly surprised to see the gold foil change to a dull silver when it came in contact with the ink. It is definitely hard to photograph the results but my blue and green panel has gold highlights as well as subtler silver patterns.
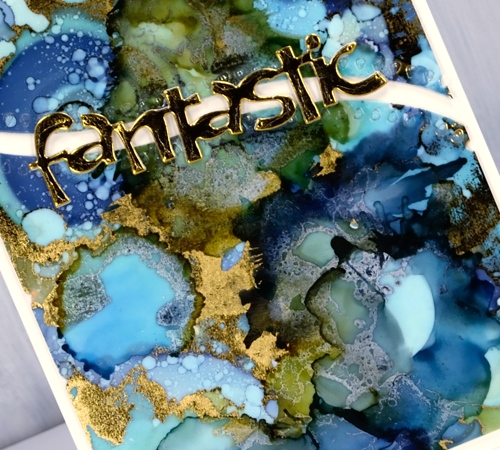
To turn my panel into a card I backed the yupo with white cardstock then cut it in two using the curved stitch die from Penny Black. I stacked some gold die-cuts to make the word ‘fantastic’ look a little more fantastic and added it all to a natural card base. I think this one might turn up as a graduation card this June.
Supplies
Dies: curved stitch, fantastic


Inks: ranger alcohol inks aqua, willow, denim


Paper: yupo, neenah solar white, neenah natural white, gold foil


Also: gold foil, minc, rubbing alcohol

You’re spectacular
Posted: April 6, 2018 Filed under: Brusho, fantastic, Zigs & zags | Tags: Brusho, Foiling, Penny Black creative dies, Penny Black stamps, Penny Black stencils 6 Comments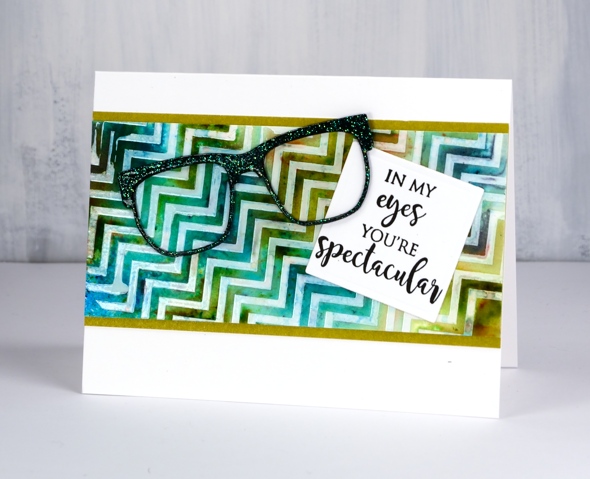
Does that background look a little skewed to you? It’s that exact feature that made me use it for an ‘eye sight’ themed card, something you might have to look at with your head on the side.
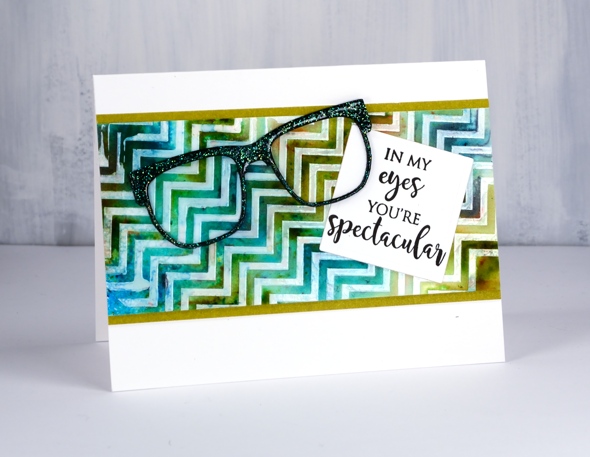
I taped the zigs & zags stencil from Penny Black onto a piece of hot pressed watercolour paper then spread deco transfer gel over. I carefully removed the stencil and let the gel dry. Once dry I lay a piece of white foil over the panel and ran it through my minc foiling machine. The result was a white on off-white chevron panel. Because I had created it on watercolour paper I was able to use brusho and a spritzer to make a multicoloured pattern. Once the panel dried and I decided on the ‘spectacle & eyesight’ theme. I wanted the die cut glasses to look a little fancy so I added adhesive sheet to the back of black cardstock then cut three pairs of glasses. I was just going to emboss them with clear powder but thought sparkly clear powder might be even better. After adhering the three die cuts together in a stack I pressed the top layer onto my versamark ink then dipped it in WOW clear sparkle powder. Even though the powder is clear it ended with a slight green sparkle to it. It looks a little different depending what base colour you emboss over. I pressed the glasses onto my versamark again and embossed in clear powder over the top of the sparkle.
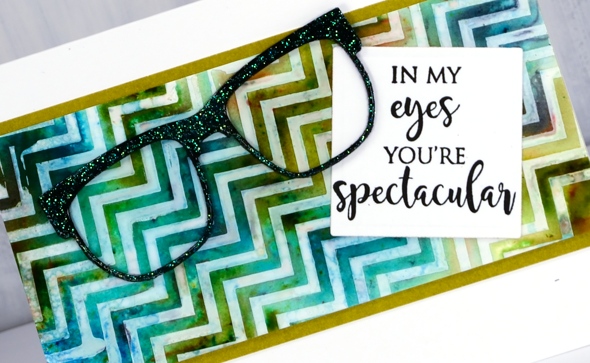
My sentiment is just one of the eyesight themed sentiments in the ‘perspective’ transparent set from Penny Black. To complete the card I matted the zig zag panel in a co-ordinating colour, attached the sentiment then the glasses and attached it all to a white card base. Not my usual style but I had a lot of fun putting it together.
Supplies
Stamps: perspective

Dies: glasses (PB), 2″ square die

Stencil: zigs & zags (PB)
Paint: colorburst turquoise, olive green, ultramarine


Ink: versamark

Paper: hot pressed watercolour, neenah epic black, neenah solar white, olive green

Also: clear sparkle embossing powder, clear embossing powder, double sided adhesive sheets, MINC, white foil, deco transfer gel


Painted Sunfire
Posted: April 4, 2018 Filed under: cherry blossom, Foiling, Peerless watercolours, stitched square & circles, Sun fire | Tags: Peerless Transparent Watercolors, Penny Black creative dies 11 Comments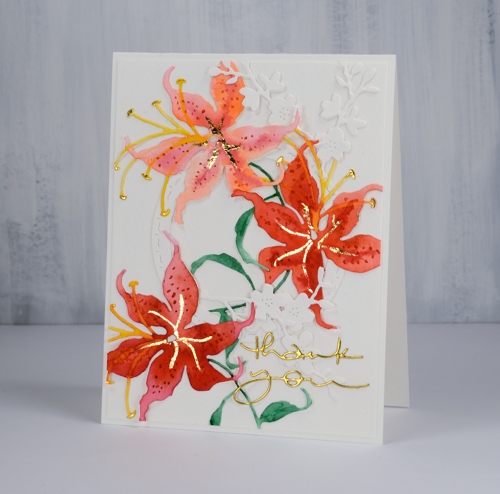
When creating die cut cards I sometimes paint the watercolour paper first, as I did for the brusho card posted a couple of days ago. Other times I do the die cutting and paint each element separately. For today’s card I cut three lilies ( a Penny Black die named ‘sunfire’) from hot pressed watercolour paper then painted them with peerless watercolours.
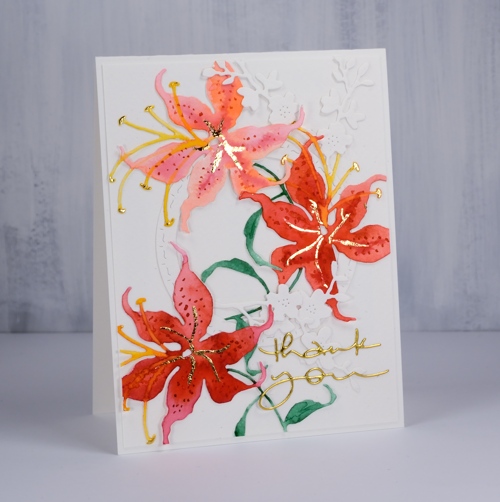
I chose a pink, a red and an orange paint and used at least two of them on each flower which gave me variety in the blooms but a cohesive look overall. I let the petals dry before using the red paint to add dots and the yellow paint for the stamen. I used a blue-ish green on the stems and leaves. Once all the paint was dry I used a glue pen to add a vein down the centre of the petals and also dabbed the ends of each stamen. I let the glue sit and dry partially then pressed gold foil over it .
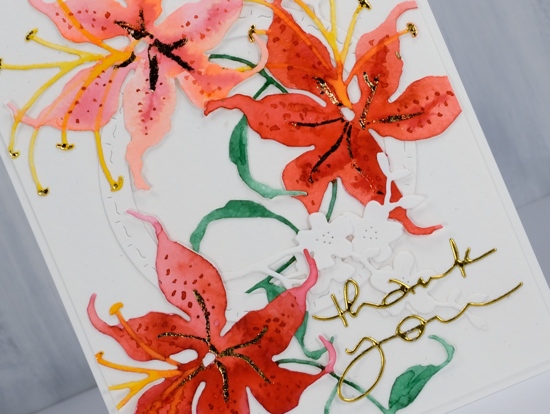
To create a floral arrangement I cut a circle and some cherry blossom from unpainted watercolour paper and glued down all the elements. It took me a while to work out a layout that looked balanced. The die cut lilies are quite large so I trimmed bits off in order to fit them all on the card front. I finished it off with a gold foil die cut sentiment.
Supplies
Dies: sunfire, cherry blossom, many thanks, stitched square & circles


Paper: cold pressed watercolour paper, gold foil cardstock


Paint: Peerless watercolour paints

Also: quickie glue pen, gold foil

Floral Arrangement
Posted: March 15, 2018 Filed under: floral arrangement | Tags: distress oxide inks, liquid metals, Penny Black creative dies, Penny Black stamps 11 Comments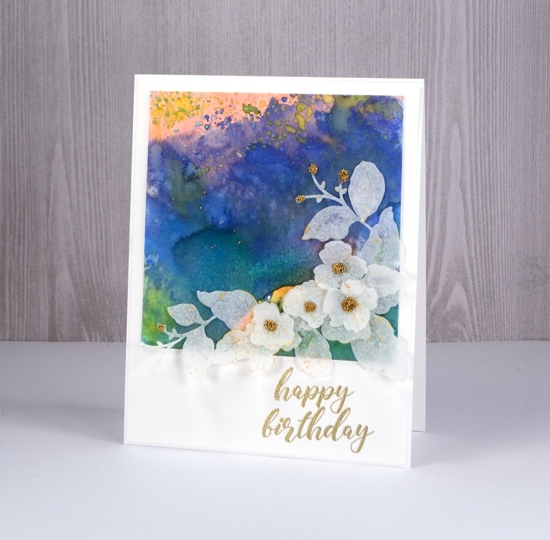
I have a burst of colour and some sprinklings of sparkle to share today. I am enjoying the entries in the ‘Sparkle With Us‘ challenge but I would love to see more. There are still five days left to add your sparkly project to the gallery, just click over to see all the details.
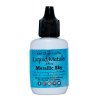
I used some new and some older distress oxide inks to create my colourful background. My paper is hot pressed watercolour and my technique was pressing the oxide pad on a craft mat, spritzing with water then swiping my paper through the ink. I did this numerous times but always dried the panel between swipes, that way I was able to build up layers and pockets of colour. After I had added my last layer of oxide ink I put some diluted liquid metal (metallic sky) on my craft mat and swiped the panel through that; the result was some blue shimmer over the blue painted area.
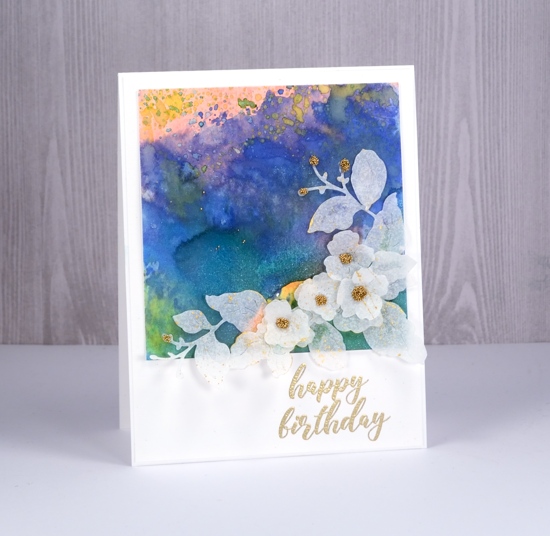
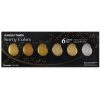
To create my spray of flowers I used the Penny Black ‘floral arrangement’ die to cut three flower sprays from ‘parchment’ patterned vellum, one of the designs in the grafix assorted vellum pad. I snipped the die cut flowers to create a layered arrangement of small flowers and leaves. The die does cut a larger flower, but I didn’t use it on this card. I put all my die cuts in a box and splattered gold paint from the gansai tambi starry colors set over them. After they dried I attached the leaves and flowers on my panel and I added a drop of glue to some of the flowers and sprinkled gold micro beads onto the glue. I co-ordinated the sentiment with the beads by embossing it in gold. All the supplies are listed below.
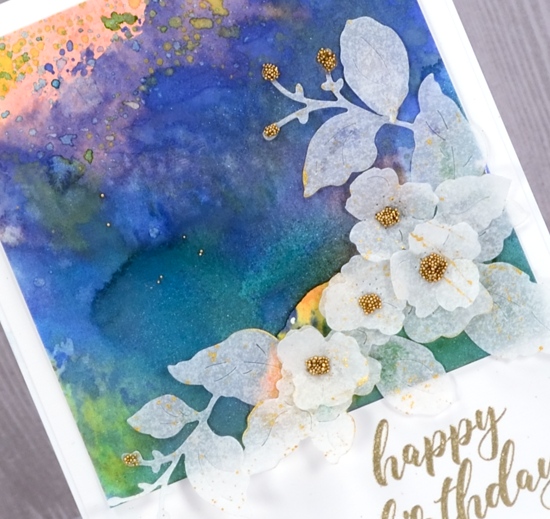
Do you think I might be able to label this one mixed media?
Supplies
Stamp: smile today
Die: floral arrangement
Inks: tattered rose, candied apple, blueprint sketch, fossilized amber distress oxide, versamark


Paper: hot pressed watercolour paper, parchment patterned vellum, neenah solar white

Paint: gansai tambi starry colors, metallic sky liquid metal
Also: On point glue, gold micro beads, gold embossing powder


Exquisite
Posted: March 9, 2018 Filed under: birds and banners, exquisite, Script | Tags: Penny Black creative dies, Penny Black stamps, Ranger Distress stains 7 Comments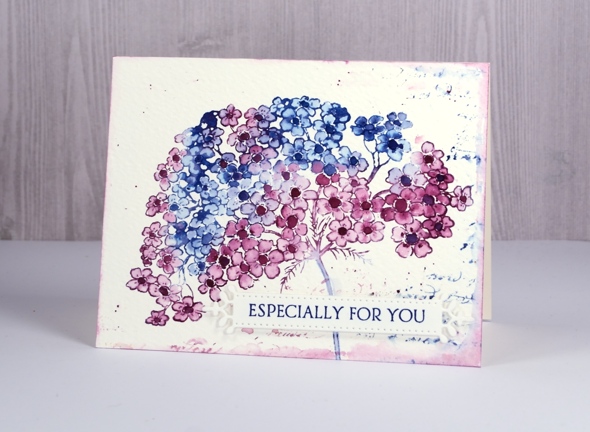
My final springy card for this week features this lovely big flower in two of my favourite distress stains, chipped sapphire and seedless preserves. I stamped this one on cold pressed watercolour paper so once again having the panel in a stamp positioner helped me get a good impression. I inked first with chipped sapphire over parts of the flower, stamped, wiped off the stamp and inked sections again but this time with seedless preserves. I ended up with some blue flowers, some pink and some a purple mix.
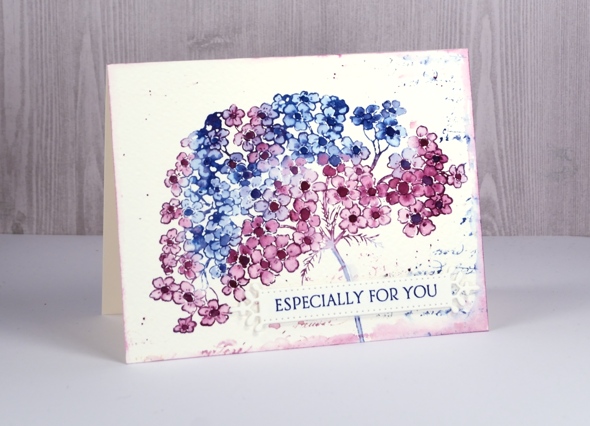
I blended the petals of all the flowers with a damp brush and let them all dry. I was going to leave all the centres white but it didn’t look right so I ended up painting them all darker with undiluted stain. To create a soft textured background I dropped a few drops of water around the flower then partially stamped the script stamp in the same ink stains. I dabbed out some ink with a paper towel and added some splatter as well. To frame the whole panel I ran the seedless preserves dauber around the edges then softened the colour with a damp brush.
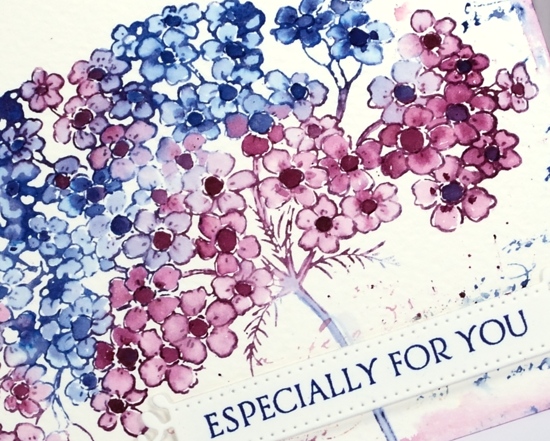
To complete the card I stamped a sentiment on a fancy little die cut banner and popped it up over the stem of the flower.
Supplies
Stamps: exquisite, script, banner sentiment (Penny Black)

Die: birds & banners
Inks: chipped sapphire & seedless preserves distress stains, majestic blue versafine ink
Paper: cold & hot pressed watercolour paper
Airy thank you
Posted: March 2, 2018 Filed under: Airy, Brusho, Foiling 5 Comments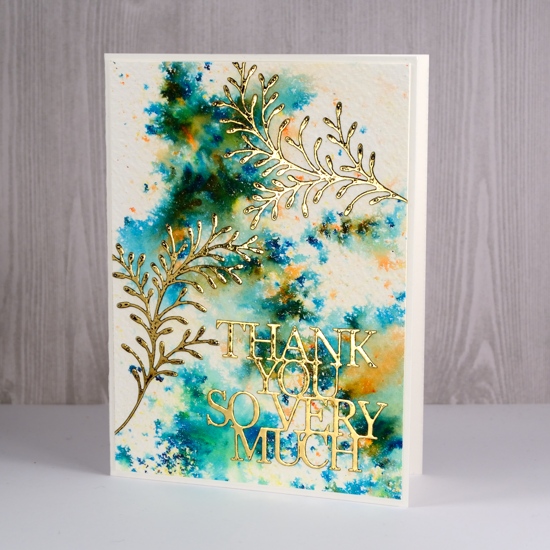
More sparkle for you today. I’m hoping to inspire you to ‘Sparkle With Us’, and what I mean by that is join in the challenge I’m hosting with The Foiled Fox; you can read about it on yesterday’s post. If you like to add a little sparkle here and there on your projects this challenge is for you. If your projects are seriously sparkly then this is also the challenge for you. I chose foil to add the sparkle on this project and I used peel n stick toner sheets to make some ‘ready to foil’ die cut elements. The Foiled Fox shared these sheets with me and they made adding foiled details so easy!
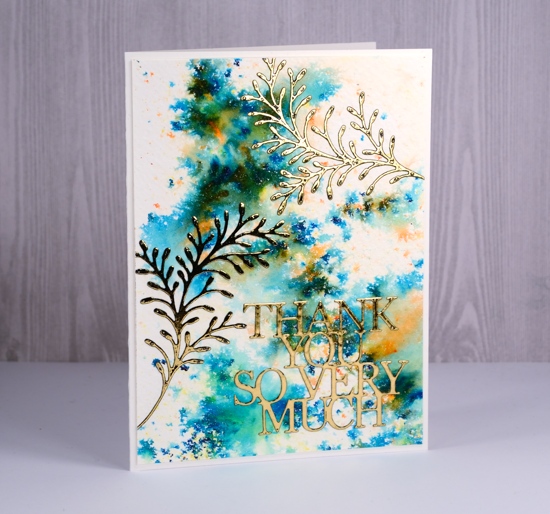
I started by making an abstract background panel with brusho. (Have I mentioned how much I love brusho?) This panel features sea green and olive green brusho but you can see turquoise and orange showed up also. I spritzed a large panel of cold pressed watercolour paper then sprinkled the brusho over it and let it spread. I did a bit of tilting and spritzing and left the panel to dry. As it was a large panel I ended up cutting it into four smaller panels to be used on separate projects. I used two new dies, ‘airy’ and ‘so many thanks’ to cut a couple of leafy branches and a sentiment from the peel n stick toner sheet then ran them through the minc with gold foil. You can make your own toner sheets with a laser printer but they are not sticky on the back so I felt spoiled using these convenient adhesive ones. I peeled off the backing and stuck them on my brusho panel. It is tricky to photograph foiled projects but I think you can see the shine!
Hope you can ‘Sparkle With Us‘ this month.
Supplies:
Dies: airy, so many thanks

Paper: cold pressed watercolour paper, thermoweb deco foil peel n stick toner sheets
Paints: sea green, olive green brusho
Also: gold foil, minc
Sparkle With Us challenge
Posted: March 1, 2018 Filed under: Challenges, Gilding Flakes, Swirling Wings, The Foiled Fox, Triple Banner | Tags: Gilding, Penny Black creative dies, WOW embossing powders 4 Comments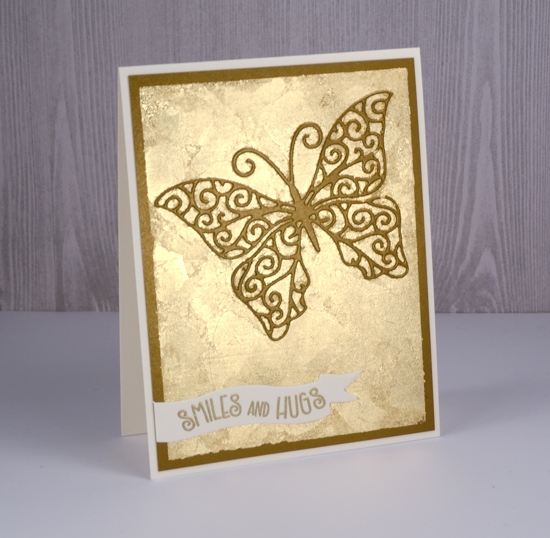
It’s time to put on your sparkly shoes, my friends, or at least your sparkly embellishments! I have teamed up with The Foiled Fox for a sparkly challenge that starts now.
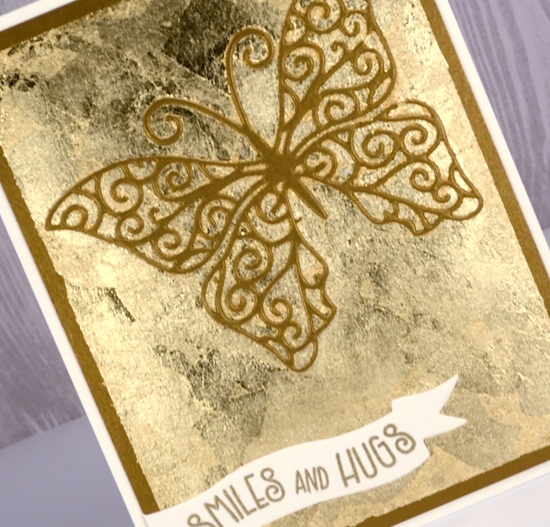
I might have got a little bit carried away in choosing sparkly elements for my card. There is not much that doesn’t sparkle on this one. You can follow my lead and pull out all the sparkle or you can choose to feature just a little sparkle. Either approach will qualify you to enter the ‘Sparkle With Us’ challenge.
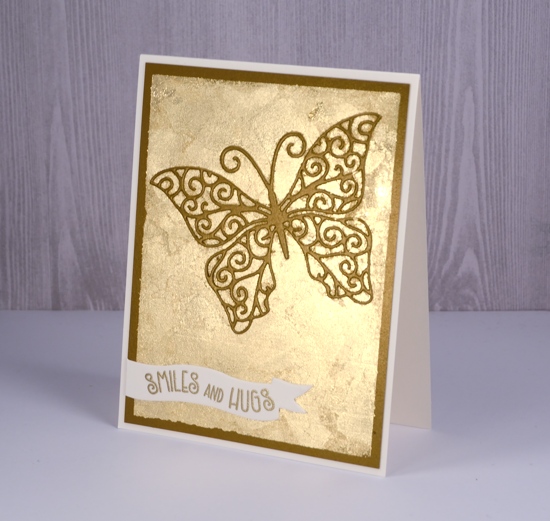
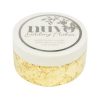
I used some lovely shimmer cardstock from The Foiled Fox and a whole bunch of gilding flakes. I know they can end up all over the place but I love the textured look of gilding flakes. Because there is some creasing and overlapping there is a lot of variation in the gold of the flakes. I also used gold embossing powder for my gold on gold on gold sparkly card. There are some step by step photos on the Foiled Fox blog so make sure you click on over.
I am excited to share some more sparkly inspiration over the next few weeks and hope to see your creations in the challenge gallery: you can get there by clicking the frog below.


Sparkly Supplies
Stamps: Penny Black banner sentiments set
Dies: swirling wings, triple banner die set


Cardstock: shimmer antique gold, neenah natural white,


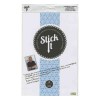
Also: stick it adhesive, gold gilding flakes, gold embossing powder
Roses all over
Posted: January 30, 2018 Filed under: Bister, My Favorite Things, Roses all over, Shades | Tags: Bister, My Favorite Things, Penny Black creative dies 15 Comments
I pulled out my bister powders the other day; they were kind of pushed to the back of the watercolour shelf. They turned out to be a perfect match for this ‘roses all over’ stamp from My Favorite Things. Bister (and brusho and colorburst) does wonderful things when sprinkled over embossing because the powder gets trapped inside the ‘walls’ of embossing and keeps colours and shades separate. If you are not familiar with bister, you can read about it here. The colours are earthier than brusho and colorburst which is nice for a change.
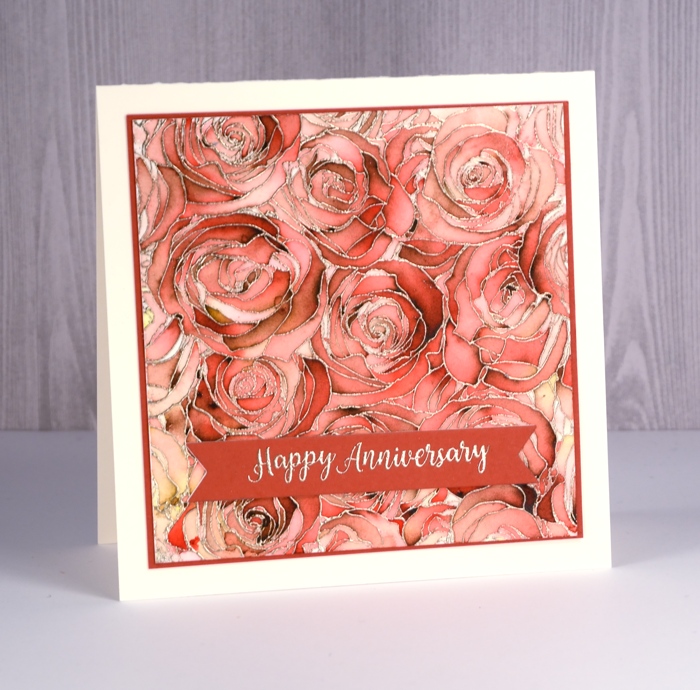
Believe it or not this panel is painted with just red bister; all that lovely variety is from one colour. I embossed the watercolour panel with platinum embossing powder then sprinkled the red bister over it and spritzed with water. I watched to see if sections were filling with colour before spritzing or sprinkling a second time. Once there was enough powder I used a paint brush in just a few places to blend or spread the colour. I did not have to do much with the brush because MAGIC.

I found a cardstock that co-ordinated to mat the panel and create a banner for the sentiment. The banner die is from the PB ‘shades’ set and the sentiment embossed in platinum is from the PB ‘banner sentiments’ set.
Thanks for dropping by.
Supplies
Stamps: roses all over (MFT), banner sentiments(PB)

Die: shades (PB)

Ink: versamark
Paint: bister powder red
Cardstock: hot pressed watercolour, neenah natural white, red cardstock
Also: platinum embossing powder