
Winter Wedding cards
Posted: January 6, 2025 Filed under: cricut, Gilding Flakes, Penny Black, Skyward | Tags: cricut, Gilding, Penny Black stamps 6 Comments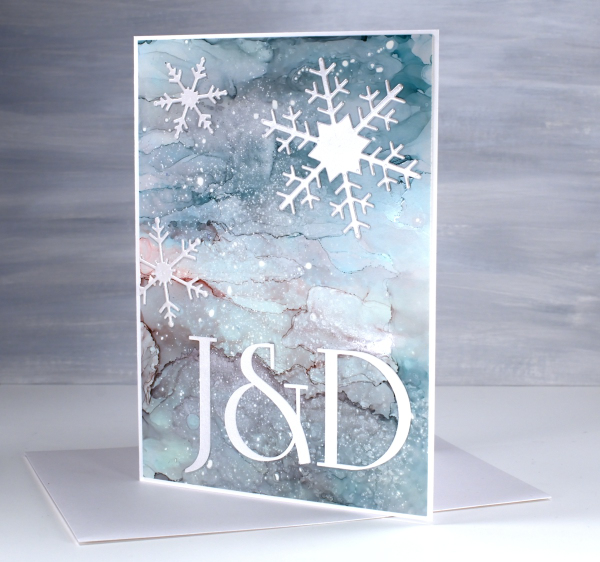
We attended a New Year’s Eve wedding last week and a couple of days before I realised I had no wedding cards on hand. I went to the ‘pile of possibility’ which is a shoebox full of panels yet to be made into cards. There are watercolour, alcohol ink, collage and stamped panels in the box.
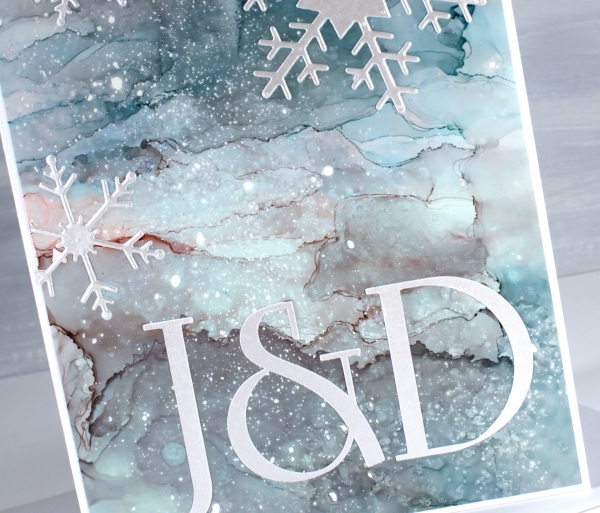
The galaxy style alcohol ink panel above caught my eye along with what I think is a stamped and gilded panel which you’ll see below. Both seemed fancy enough for wedding cards…but how to use them?
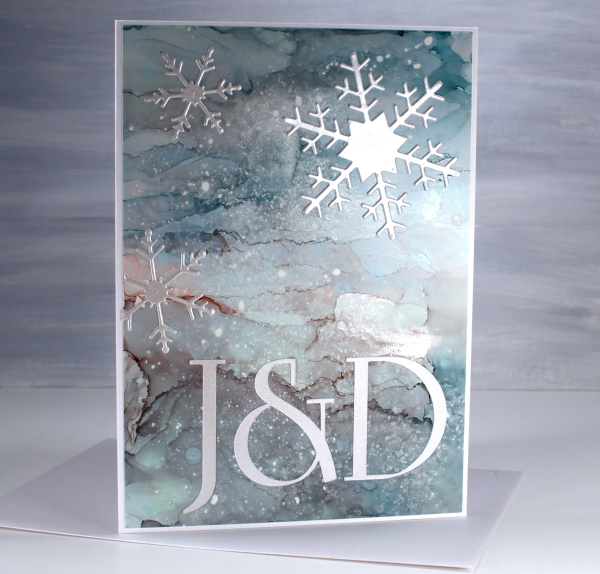
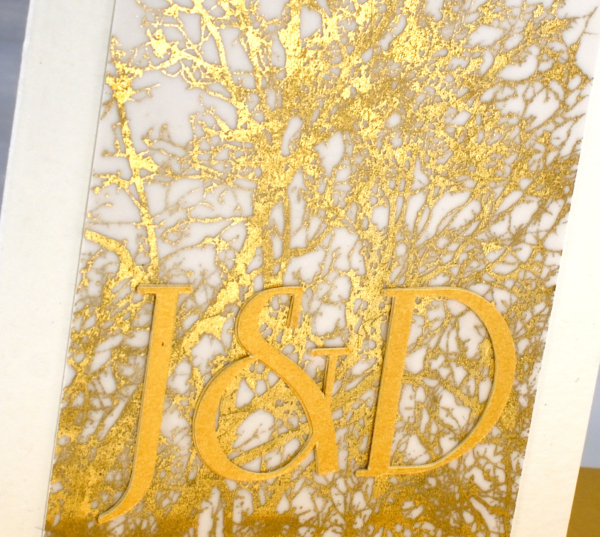
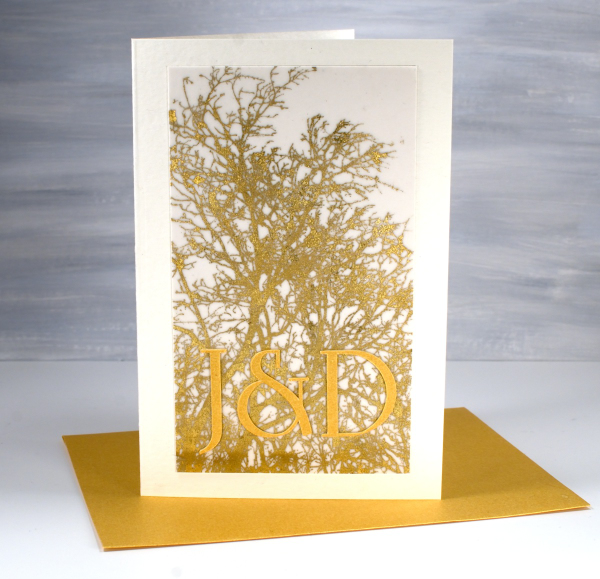
The gilded panel below was very pretty alone so I didn’t want to add much to it. The alcohol ink panel was also pretty but worked well with die-cut silver snowflakes.
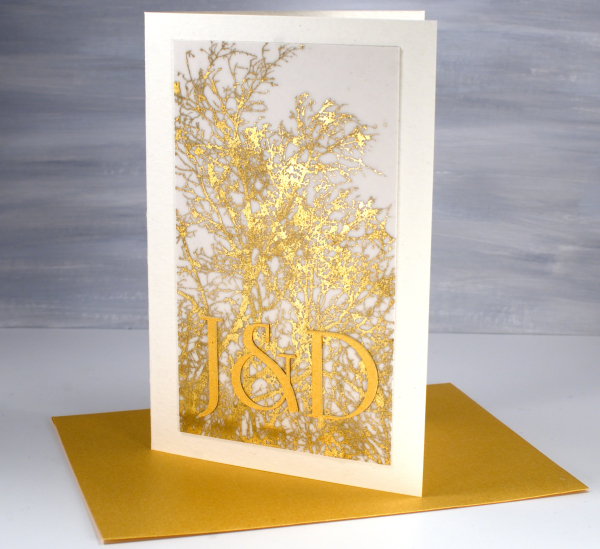
The panel on the card above features the Penny Black stamp ‘skyward‘ stamped on vellum with sticky glue ink and gilded either with foil or gilding flakes( sorry I can’t remember which.) It looked quite magical so I might just have to try and gild a stamped image again to see what happens. I hunted for a font that was similar to the one featured on the wedding stationery then cut initials using the cricut. The font I chose (which is not an exact match) is Linotype Rowena Pro Medium. I had a gold envelope which matched and a pearly silver one for the other card.
The wedding was lovely, ceremony at the church in the morning, party to ring in the new year at night!
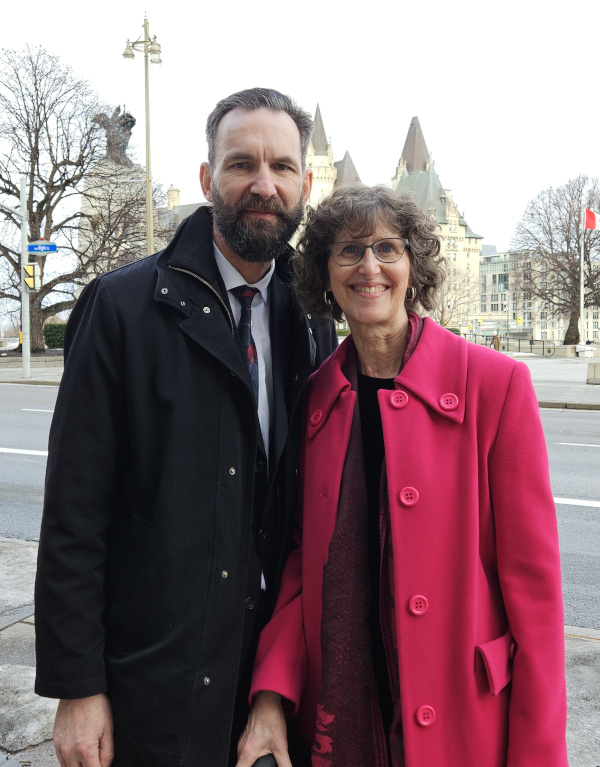
Although it would have been good to have wedding cards on hand already I enjoyed customising these two for the bride and groom. And speaking of weddings, it is my wedding anniversary today. My husband and I were married on a summer’s day 35 years ago in Canberra. We looked a bit older and colder at last week’s wedding!
This post includes affiliate links from Foiled Fox. If you buy through these links I receive a small commission at no extra cost to you.
Windswept
Posted: September 22, 2021 Filed under: Gilding Flakes, Penny Black, windswept | Tags: Penny Black stamps, Ranger Distress inks, Ranger Distress stains 8 Comments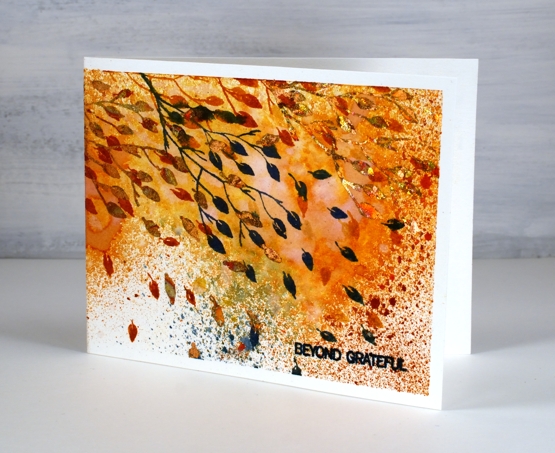
Today is officially the first day of autumn in the northern hemisphere and the leaves are flying here on the blog. I am featuring another new stamp from Penny Black, aptly named windswept. It is a simple rubber cling stamp depicting a branch and loose leaves. On my card the leaves are flying across the whole front and back of the card.
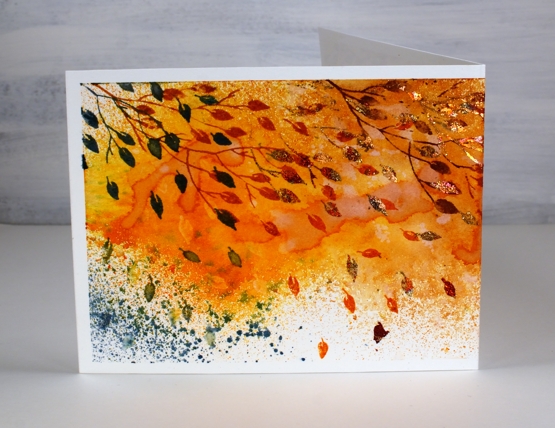
I taped the hot pressed watercolour panel to my glass mat as I planned to spray the panel with both water and ink. I sprayed quickly and lightly with spiced marmalade, scattered straw, rusty hinge, wild honey, vintage photo and stormy sky distress sprays. I sprayed some water over the top to blend some of the inks then dried with a heat tool creating some watermarks as I did so.

Once the panel was dry I stamped the branch across the panel starting on the left hand side (which ended up being the back of the card) then overlapping as I moved across to the right. I used distress inks in the same colours as the sprays to ink the branch a couple of colours at a time.
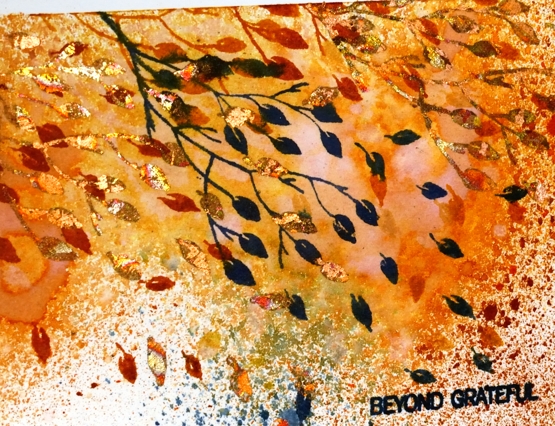
Once the panel was completely dry I decided to add some more leaves but with gilding flakes. It is a while since I used gilding flakes so I did a quick youtube search and tried two different methods. I preferred the second method which was to stamp with the Tsukineko essential glue pad then press the flakes onto the image. Gilding flakes travel far and wide if you are not careful so I had the vacuum cleaner at my side. I used the Cosmic Shimmer ‘red blaze‘ gilding flakes which are a beautiful mix of red, golds, bronze and brown metallic flakes, perfect for autumn. I finished off the card with a sentiment from the PB ‘ever thanks’ set.
Supplies
(Compensated affiliate links used when possible)
Sparkle With Us challenge
Posted: March 1, 2018 Filed under: Challenges, Gilding Flakes, Swirling Wings, The Foiled Fox, Triple Banner | Tags: Gilding, Penny Black creative dies, WOW embossing powders 4 Comments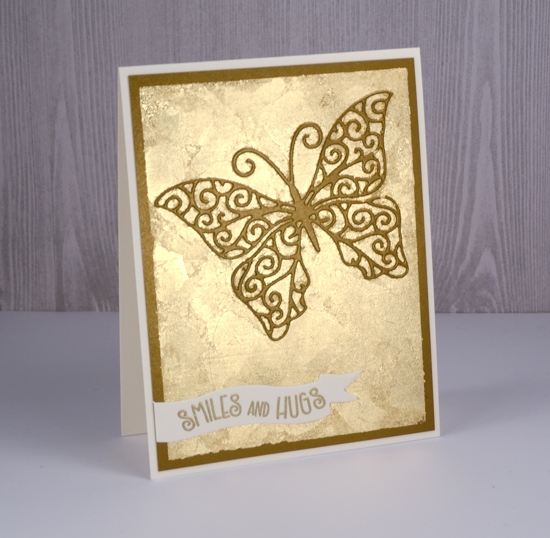
It’s time to put on your sparkly shoes, my friends, or at least your sparkly embellishments! I have teamed up with The Foiled Fox for a sparkly challenge that starts now.
I might have got a little bit carried away in choosing sparkly elements for my card. There is not much that doesn’t sparkle on this one. You can follow my lead and pull out all the sparkle or you can choose to feature just a little sparkle. Either approach will qualify you to enter the ‘Sparkle With Us’ challenge.
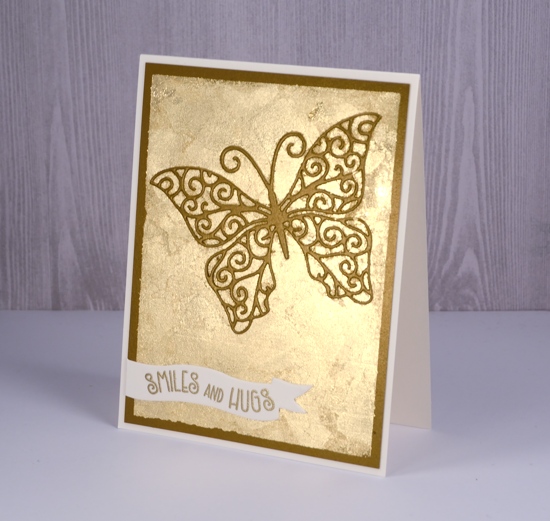
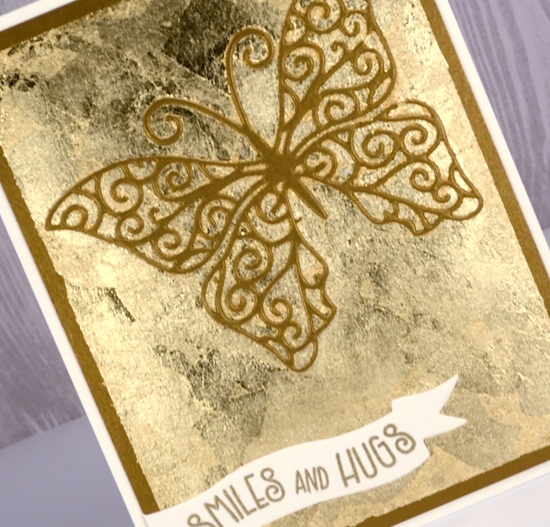
I used some lovely shimmer cardstock from The Foiled Fox and a whole bunch of gilding flakes. I know they can end up all over the place but I love the textured look of gilding flakes. Because there is some creasing and overlapping there is a lot of variation in the gold of the flakes. I also used gold embossing powder for my gold on gold on gold sparkly card. There are some step by step photos on the Foiled Fox blog so make sure you click on over.
I am excited to share some more sparkly inspiration over the next few weeks and hope to see your creations in the challenge gallery: you can get there by clicking the frog below.


Sparkly Supplies
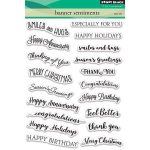
Stamps: Penny Black banner sentiments set
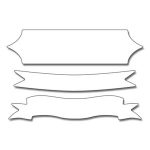
Dies: swirling wings, triple banner die set

Cardstock: shimmer antique gold, neenah natural white,
![]()
Also: stick it adhesive, gold gilding flakes, gold embossing powder

Market news and a gilded card
Posted: June 14, 2017 Filed under: Gilding Flakes, Hypnotic | Tags: Gilding, Penny Black stamps, Penny Black stencils 5 Comments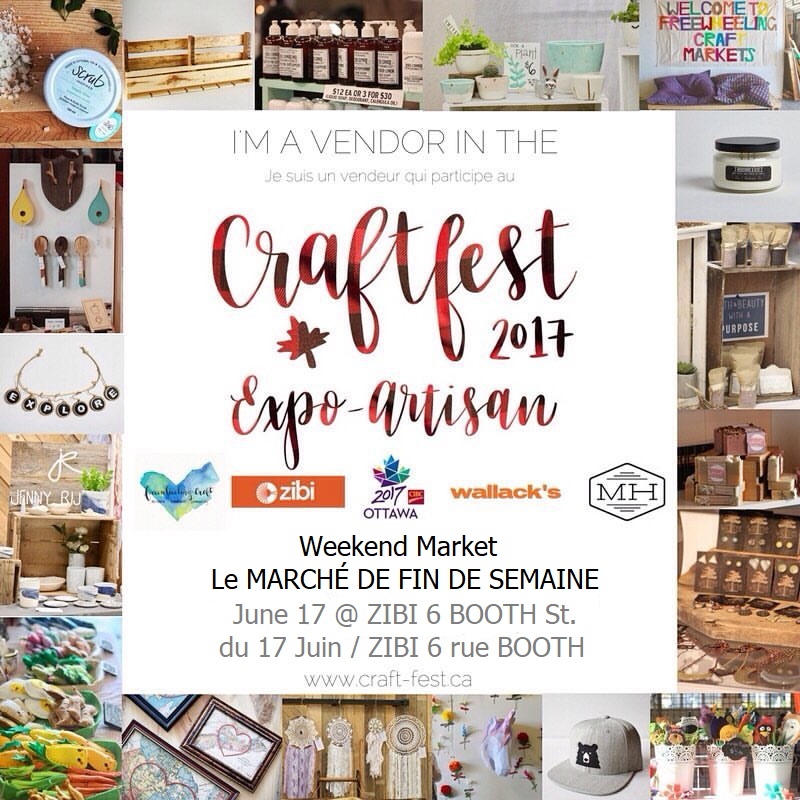
I know there hasn’t been much popping up here on the blog lately. My excuse is definitely craft market preparations. If you are a local please come and check out CraftFest 2017 this weekend. The market will be held on Albert Island which is not far from the War Museum. There will be close to sixty vendors on Saturday and you will find me at the Paper Duet booth with The Crafty Cigale and guest artist, Connie Schulz. We will have cards for all reasons and seasons along with bookmarks, gift tags and wine tags. I would suggest parking at or near the War Museum then walking the short distance across the bridge to Albert Island. Directions.
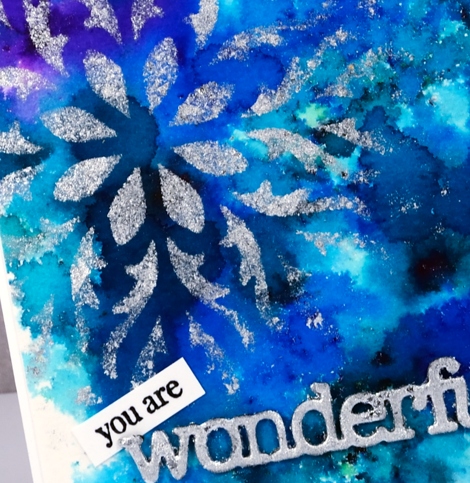
My recent gilded cards will all be on sale at the market including this bright blue and silver one. I used a Penny Black stencil and the Tsukineko Essential Glue pad. I sponged the glue onto a panel painted with colorburst powders. After removing the stencil I added silver gilding flakes.
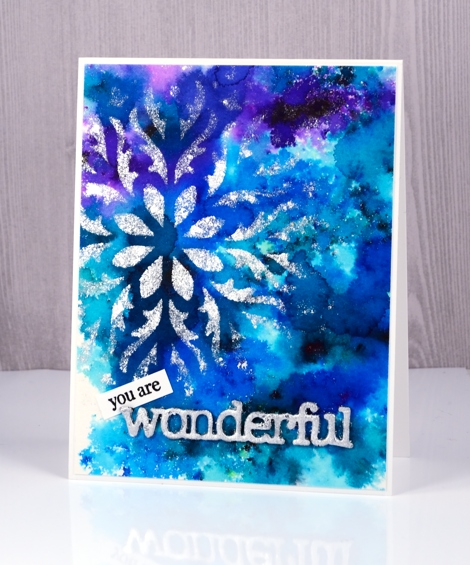
I used the same technique mentioned in my previous post to create a gilded sentiment and tucked a little stamped ‘you are’ in behind the silvery die cut ‘wonderful’.
I will be back on Friday with an exciting post the Foiled Fox and I have dreamed up. Make sure you check back in.
Supplies
Stencil: hypnotic (PB)
Dies: awesome (PB)
Paint: colorburst powders
Adhesives: essential glue pad (Tsukineko), Stick it adhesive
Shiny things: Nuvo silver bullion gilding flakes
Cardstock: hot pressed watercolour paper, Neenah solar white cardstock
Also: adhesive backed foam
Gilded butterflies
Posted: June 9, 2017 Filed under: butterfly charmer, Gilding Flakes | Tags: Nuvo gilding flakes, Penny Black creative dies, Penny Black stamps 4 Comments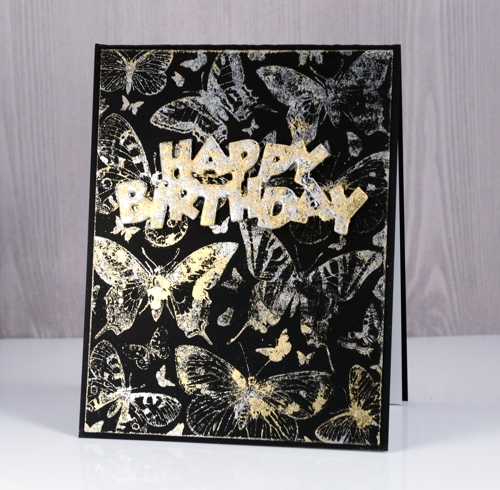
I’ve been gilding again! This time for a guest post on the Foiled Fox blog. These lovely gilding flakes came from the Foiled Fox and I think they are so very pretty. I have shared two techniques for applying the flakes so far (here and here).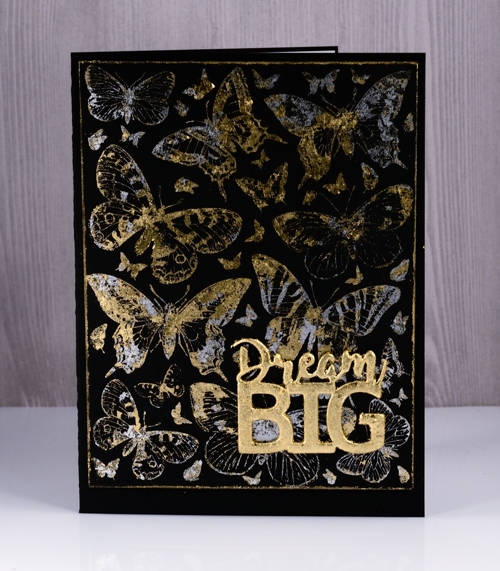
For today’s cards I used another technique and I was pleasantly surprised to see how well it worked. I used a glue pad to stamp the large butterfly charmer stamp on black cardstock. After stamping I let the glue sit and change colour before pressing the flakes onto it. I used both gold and silver flakes.
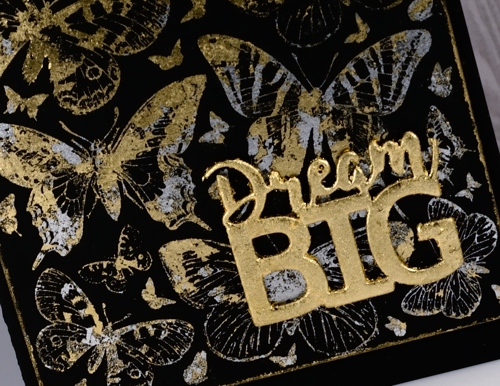
I had fun gilding the sentiments too. I cut both from adhesive backed foam and pressed the gilding flakes directly onto the adhesive side then smoothed them all over and into the nooks and crannies. I then stuck the gilded die cut sentiments onto my butterfly panels.
For more details on my process please visit the Foiled Fox blog. The supplies I used are linked below.
Supplies
Stamp: butterfly charmer (PB)
Dies: birthday, dream big (PB)
Adhesives: essential glue pad (Tsukineko), Stick it adhesive
Shiny things: Nuvo silver bullion gilding flakes, Nuvo radiant gold bullion gilding flakes
Cardstock: Neenah epic black cardstock
Also: adhesive backed foam
Silver Dragonflies
Posted: May 26, 2017 Filed under: Flutters, Gilding Flakes | Tags: color burst, Fabriano Watercolour Paper, Gilding, Penny Black creative dies 9 Comments
My second gilded card also features dragonflies, this time little silver ones. In my previous post I shared a card gilded in both gold and silver flakes; this time I just used silver because I think silver and blue look so very pretty together. I used stick it adhesive once again to attach the gilding to the watercolour panel and colorburst powders to create the background panel.
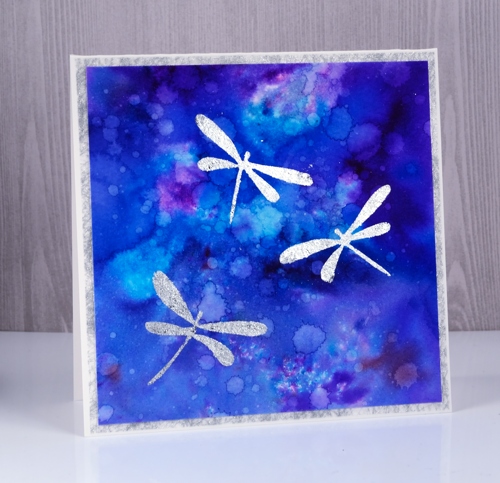
I sprinkled three colours of colorburst powder on watercolour paper then sprinkled with water. Once the colours were blending nicely I used a brush to spread the colour to the edges of the panel. I dried it with a heat tool then added droplets of water a few at a time and dabbed some of them up with a paper towel. I dried the panel in between each batch of water droplets so I could get a mass of water marks. I die-cut three dragonflies from stick it adhesive then applied them to the watercolour panel, removed the backing paper and rubbed silver gilding flakes on top. I burnished with a plastic scrubby pad to remove the excess flakes. It’s finished with a frame of silver spiderweb fabric that comes from France and happens to match the gilding flakes perfectly.
Supplies:
Dies: Flutters
Cardstock: Neenah solar white cardstock, hot pressed watercolour paper
Also: stick it adhesive sheets
Shimmery Stuff: silver spiderweb fabric, Nuvo silver bullion gilding flakes
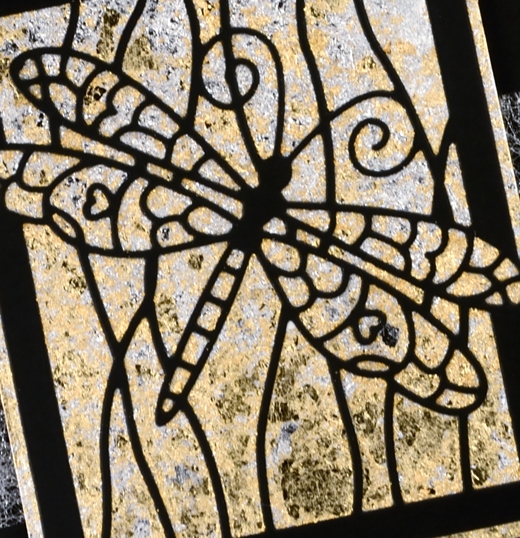
Gilded Dragonfly
Posted: May 23, 2017 Filed under: Dragonfly Frame, Gilding Flakes | Tags: Gilding, Penny Black creative dies 11 Comments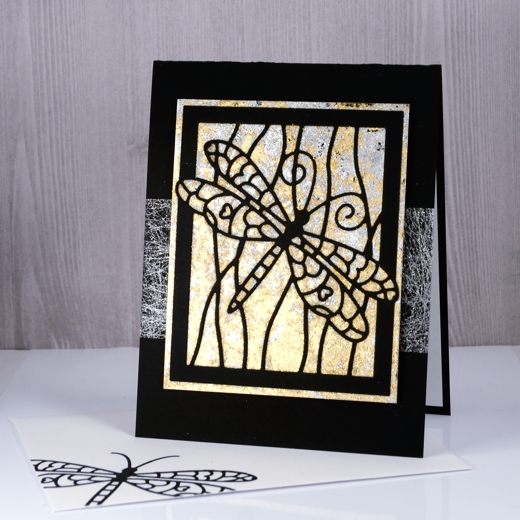
The lovely folk at The Foiled Fox have been spoiling me again, this time with gilding flakes. I tend not to add sparkly elements to all my cards but I do like the option of a little or sometimes a lot when a card asks for bling. I had no idea just how much I would like playing Midas with the Nuvo gilding flakes. They arrived on Friday, I experimented with them on Saturday and turned my panels into cards yesterday. If I didn’t have classes to plan and groceries to buy I would probably play with them more today.
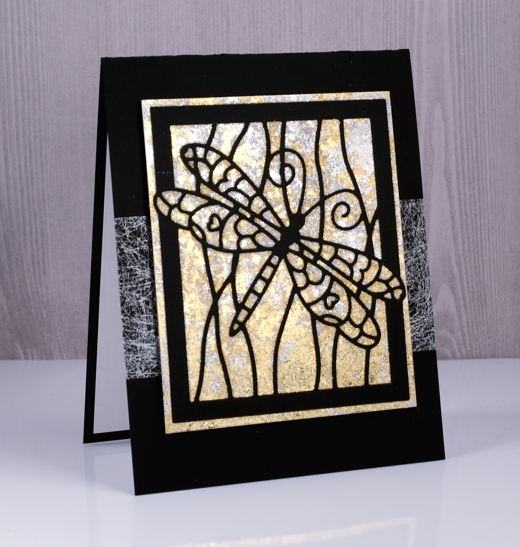
My initial experiments have resulted in six cards which I will share over the next little while. I played with a few techniques for adhering the gilding flakes and today’s is possibly the most effective so far. A word of warning, the gilding flakes are lighter than feathers and they do go everywhere! Jennifer McGuire suggested a swiffer cloth for clean up so I might just need to get one of those! To create the gilded background I cut a piece of ‘stick-it’ adhesive sheet larger than my dragonfly frame die and stuck it to a piece of white cardstock then removed the backing paper. Next I cut the dragonfly frame from black cardstock and positioned it on top of the adhesive rectangle on the white cardstock. I gently laid both silver and gold gilding flakes onto the adhesive panel and pressed lightly. The gilding adheres effortlessly to the ‘stick’it’, filling the entire area not covered by the black die cut. I burnished the flakes gently with a scrubby which breaks off excess pieces and makes sure all the adhesive is covered. The scrubby tends to turn the shiny silver and gold to brushed silver and gold so if you want maximum shine then burnish with your fingers or something smoother than a scrubby.
I trimmed the panel keeping a gilded border round the die cut frame. I wanted something extra behind the panel but not too much so I wrapped a strip of silver spiderweb fabric around my black card base then attached the gilded panel over the top. I finished the card with a white paper panel inside to write on and an envelope decorated with the die cut dragonfly. I am training myself to complete a card/envelope combo each time rather than have to catch up with envelopes at a later date. I have a booth in a craft market next month so most cards I make at present will be heading to Craft-Fest 2017 on June 17 here in Ottawa. More about the market in the days to come.
Supplies
Die: dragonfly frame (PB)
Cardstock: solar white, epic black (Neenah) textured white paper
Also: stick it adhesive (Ken Oliver), silver bullion gilding flakes, radiant gold bullion gilding flakes (Nuvo), silver spiderweb fabric from France


