
Dragonfly on text
Posted: April 15, 2022 Filed under: Dies, Dragonfly Frame, gel press, gelli plate, Penny Black | Tags: gel press, gel printing, gelli plate, Penny Black creative dies 4 Comments
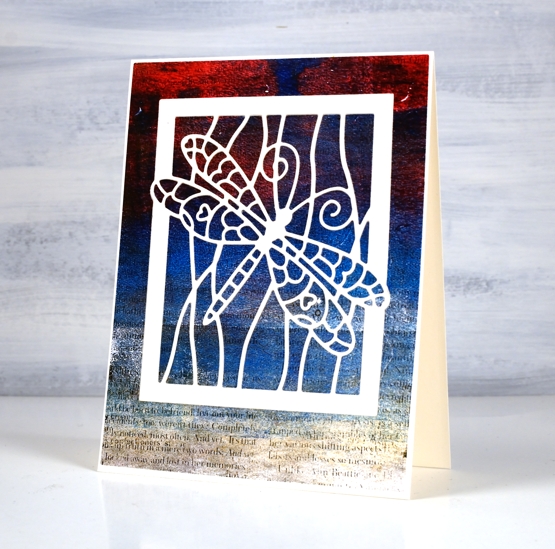
All the coloured sections of this pretty dragonfly are inlaid between the outlines of the cream die-cut! Does it look the same as if I had just glued the cream die-cut over the top? Yes, I’m afraid it does. Perhaps if gel print had been on cardstock the same thickness as the dragonfly it might have been more noticeable. Lesson learned.

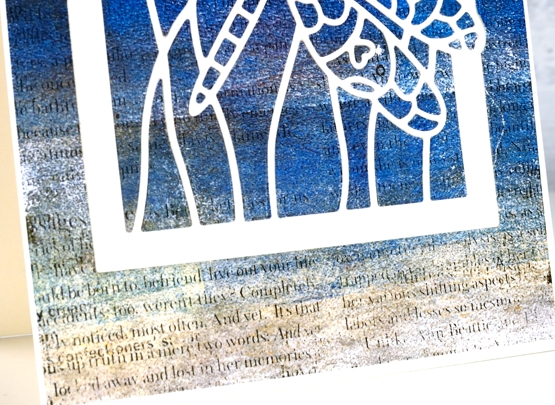
One branch of my current gel printing obsession is image transfer. In the past I have tried it mainly with high contrast photos of people but it works with text as well so I added interest to this blue, gold and red print with some black magazine text. I notice now as I stare at the screen the random line across the panel makes it look a little like an ocean view.
While I was painstakingly inlayaing every little bit of dragonfly wing I was listening to the audio book version of The Salt Path, a memoir with many references to ocean views, cliffs, weather and unexpected encounters. The author and her husband hiked the South West Coast path in the UK in rather traumatic and totally unexpected circumstances. I found the whole account fascinating and heartrending in places. By the end I had google maps open so I could see where the path was taking them.
Once again the photos don’t show the shimmer of the finished project. The sand coloured foreground is actually gold paint so there is shimmer spreading half way up the panel. Can you see why I love gel printing?
Supplies
(Compensated affiliate links used when possible)
Alcohol ink trio
Posted: January 15, 2019 Filed under: Alcohol Ink, Dragonfly Frame, Serenity | Tags: Penny Black creative dies, Ranger Alcohol Ink, Yupo Paper 11 Comments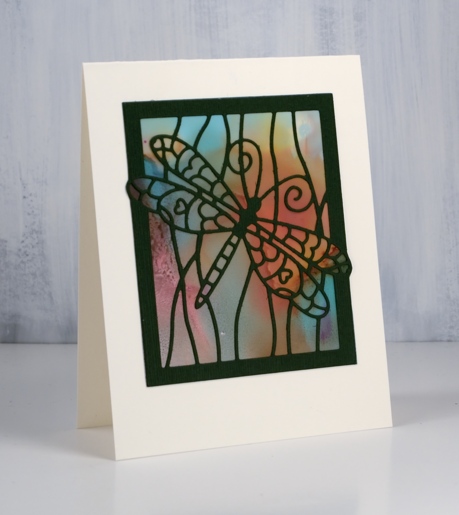
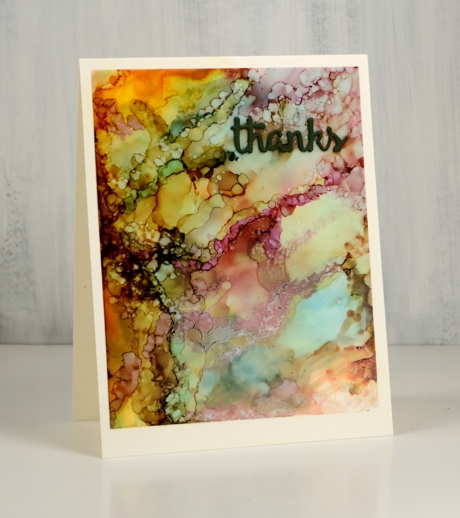
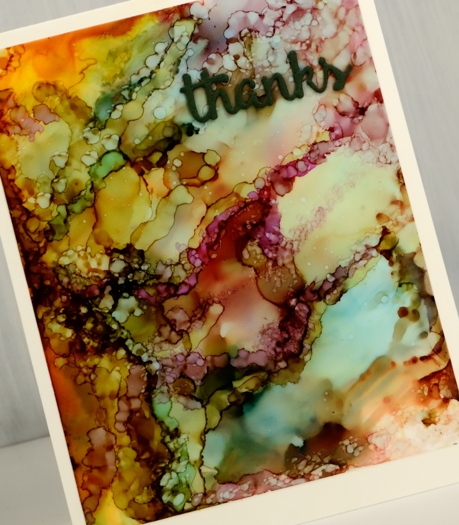
I created these alcohol ink panels months ago! They were the result of a primary colours experiment with pool (blue), raspberry (red) and honeycomb (yellow) alcohol inks and both heavy and light weight yupo paper. I restricted myself to the three colours to see what I could come up with and how they reacted with each other.
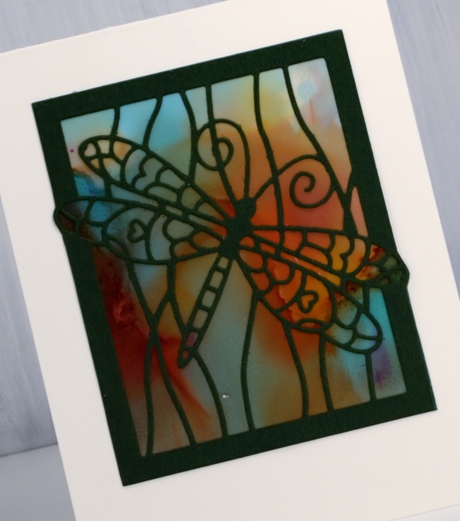
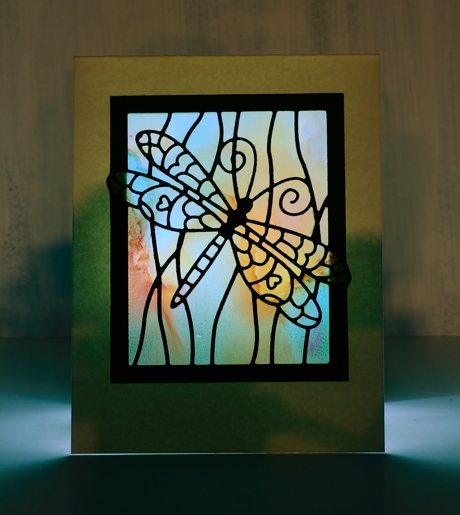
I was able to get very soft blends by adding rubbing alcohol and tilting the yupo around. This panel was done on light weight yupo which is translucent. When I held it up to the light the colours softened and looked like stained glass. I decided I had to cut the cardstock out behind the dragonfly ‘window’ so a light could be placed under the card to show off its soft blended colour. Not a real tealight mind you, remember this is paper crafting! I took a photo to give you an idea of the pretty stained glass effect you see with a soft light underneath.
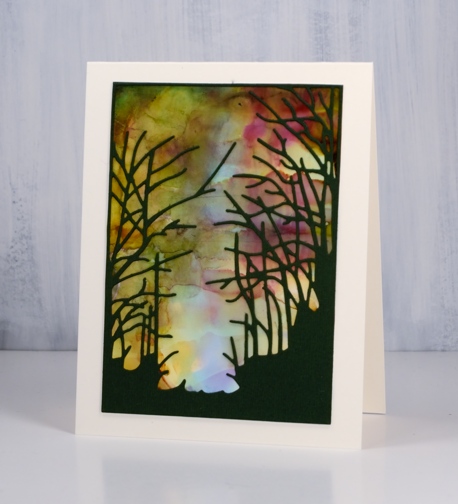
The same colours appeared but with more lines by working the inks for longer. By that I mean that I kept adding and tilting and blending so there are more secondary and tertiary colours in the mix.
When it came to making the panels into cards I decided die cuts over the top was all I wanted to add. I used three Penny Black dies, dragonfly frame, serenity and heartfelt thanks. For all the cards I put double sided adhesive on the back of the green cardstock before die cutting the images and words.
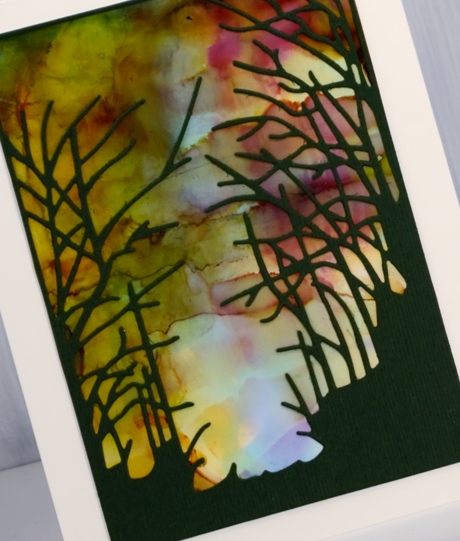
In the final sample I was able to keep some of each ink colour distinct as well as each secondary colour (blue+yellow=green) (yellow+red=orange) (red+blue=purple). There is also a bit of brown which is is a tertiary colour made when a primary and a secondary mix.
I created this panel by dropping the inks onto the yupo panel and letting them move and fill the space. When there was a good mix of colour patterning the whole area I switched to placing tiny drops of ink or rubbing alcohol onto the panel to create the bubble patterns. Each tiny drop expanded into a little circle or blob shape. The pattern looked very busy all on its own so I just added a small die cut word.
Supplies
Dies: serenity, dragonfly frame, heartfelt thanks (Penny Black)
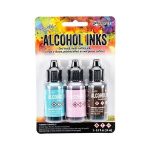
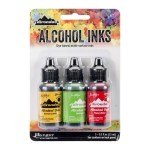
Inks: pool, raspberry, honeycomb Ranger alcohol inks
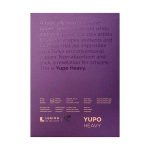
Paper: yupo both light and heavy weight, neenah cream cardstock, green textured cardstock
![]()
Also: double sided adhesive, rubbing alcohol

Gilded Dragonfly
Posted: May 23, 2017 Filed under: Dragonfly Frame, Gilding Flakes | Tags: Gilding, Penny Black creative dies 11 Comments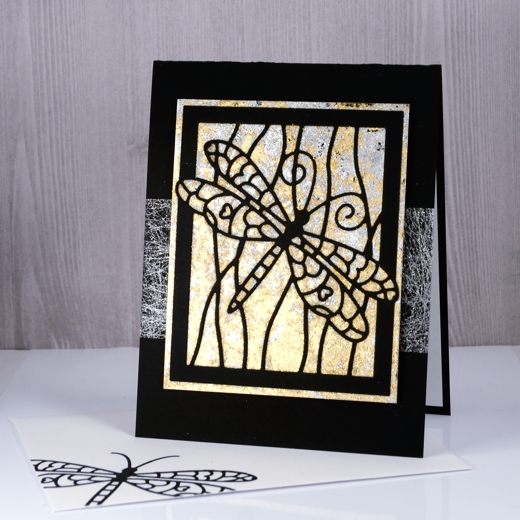
The lovely folk at The Foiled Fox have been spoiling me again, this time with gilding flakes. I tend not to add sparkly elements to all my cards but I do like the option of a little or sometimes a lot when a card asks for bling. I had no idea just how much I would like playing Midas with the Nuvo gilding flakes. They arrived on Friday, I experimented with them on Saturday and turned my panels into cards yesterday. If I didn’t have classes to plan and groceries to buy I would probably play with them more today.
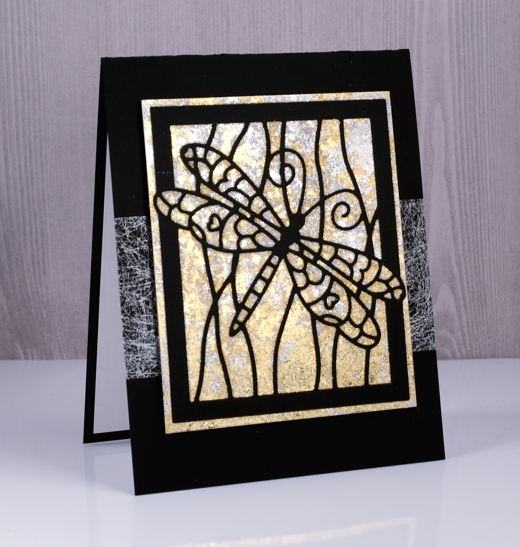
My initial experiments have resulted in six cards which I will share over the next little while. I played with a few techniques for adhering the gilding flakes and today’s is possibly the most effective so far. A word of warning, the gilding flakes are lighter than feathers and they do go everywhere! Jennifer McGuire suggested a swiffer cloth for clean up so I might just need to get one of those! To create the gilded background I cut a piece of ‘stick-it’ adhesive sheet larger than my dragonfly frame die and stuck it to a piece of white cardstock then removed the backing paper. Next I cut the dragonfly frame from black cardstock and positioned it on top of the adhesive rectangle on the white cardstock. I gently laid both silver and gold gilding flakes onto the adhesive panel and pressed lightly. The gilding adheres effortlessly to the ‘stick’it’, filling the entire area not covered by the black die cut. I burnished the flakes gently with a scrubby which breaks off excess pieces and makes sure all the adhesive is covered. The scrubby tends to turn the shiny silver and gold to brushed silver and gold so if you want maximum shine then burnish with your fingers or something smoother than a scrubby.
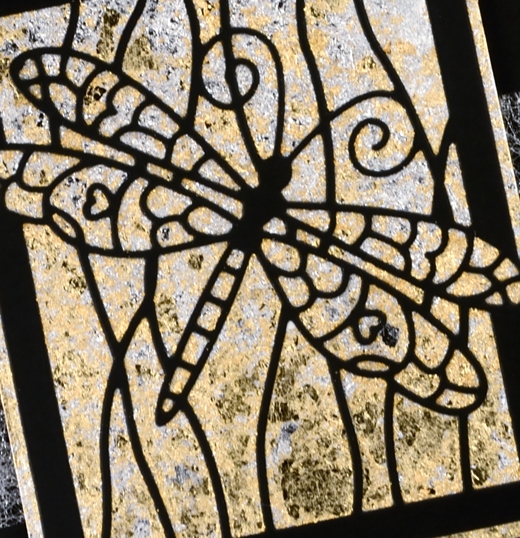
I trimmed the panel keeping a gilded border round the die cut frame. I wanted something extra behind the panel but not too much so I wrapped a strip of silver spiderweb fabric around my black card base then attached the gilded panel over the top. I finished the card with a white paper panel inside to write on and an envelope decorated with the die cut dragonfly. I am training myself to complete a card/envelope combo each time rather than have to catch up with envelopes at a later date. I have a booth in a craft market next month so most cards I make at present will be heading to Craft-Fest 2017 on June 17 here in Ottawa. More about the market in the days to come.
Supplies
Die: dragonfly frame (PB)
Cardstock: solar white, epic black (Neenah) textured white paper
Also: stick it adhesive (Ken Oliver), silver bullion gilding flakes, radiant gold bullion gilding flakes (Nuvo), silver spiderweb fabric from France


