
Layered Poinsettia
Posted: November 24, 2017 Filed under: Brusho, layered poinsettia | Tags: Brusho, Finetec artist mica watercolour paint, Penny Black creative dies, Penny Black stamps, Tsukineko Versafine inks 5 Comments
After creating a pretty blue background through the magic of brusho yesterday, I decided to do the same with green and red for poinsettias. This set of four dies is called ‘layered poinsettia‘ and it was so easy to create pretty red and green flowers with some scattered brusho on watercolour paper. I had three scraps of hot pressed watercolour paper on my craft mat. I sprinkled mostly brilliant red brusho on two with a bit of leaf green either end, then I sprinkled more of the green and less of the red on my third strip. After I had spritzed water over them all I could see where more colour was needed so I sprinkled some more of the first two colours plus some rose red and spritzed again.
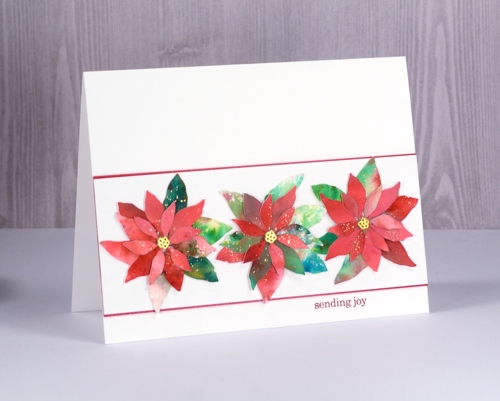
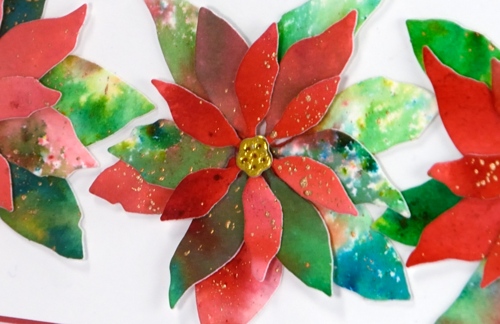
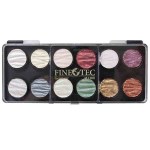
I left the scraps to dry then laid three flower dies on the strips and cut our 3×3 of the small, medium and large flowers making sure I got some green on the large and the medium ones. Once they were all cut I lay them back on my craft mat and splattered gold paint from my finetec mica pearl set over all the flowers.
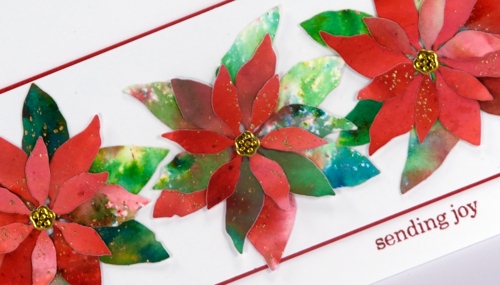
I let them dry and assembled them by dotting glue on the backs. There is a teeny tiny die for the centres (which I have not lost so far!) which were cut from gold foil cardstock to tie in with my gold splatter. To assemble the card I glued the flowers on a strip of white cardstock, attached that to a strip of shimmery red cardstock then mounted it on a white card base. I added the little ‘sending joy’ sentiment from the PB holiday snippets set.
Don’t forget the Foiled Fox has a cool sale on all weekend; just click the link in my side bar or right here and use the discount code HOLIDAY2017 when you check out.
Supplies
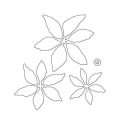
Dies: layered poinsettia
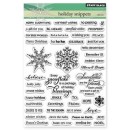
Stamps: holiday snippets
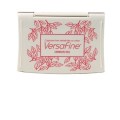
Ink: versafine crimson red
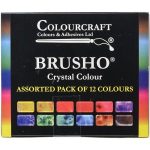
Paints: finetec mica pearl 12, brusho 12
Neenah solar white cardstock, hot pressed watercolour paper, shimmer red cardstock, gold foil cardstock
Frosty wreath
Posted: November 23, 2017 Filed under: A blizzard, wreath & bow | Tags: Brusho, Fabriano Watercolour Paper, Penny Black creative dies, Penny Black stamps 3 Comments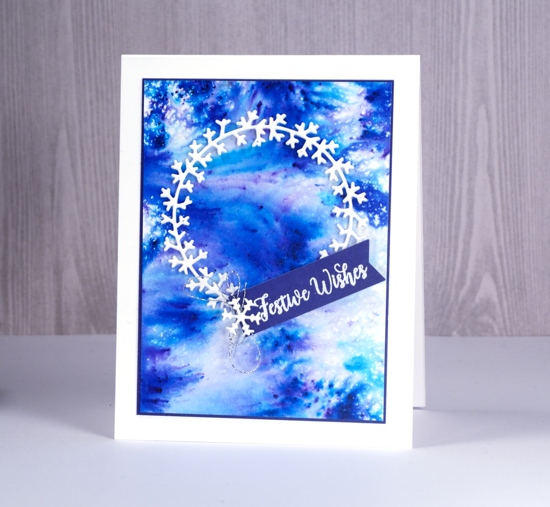
I have a frosty little wreath to share today which seems appropriate now it’s all frosty outside. I created my background on hot pressed watercolour paper by sprinkling ultramarine brusho over the paper then spritzing it with my homemade pearl-ex spray. The result is a shimmery pattern of blue, turquoise and purple made with paint powder from just one container.
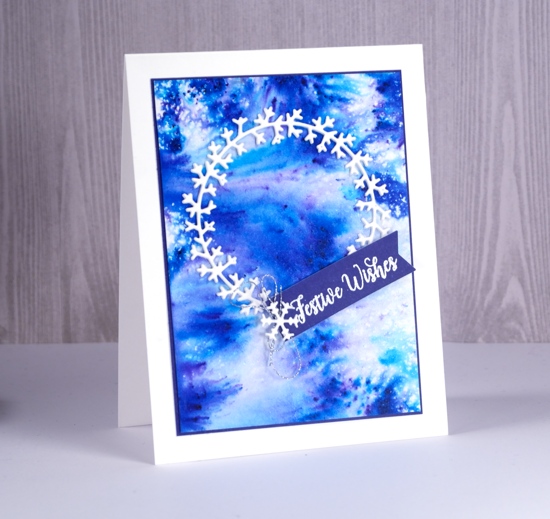
I applied stick it adhesive to the back of neenah solar white cardstock then die-cut three wreaths using Penny Black’s ‘wreath & bow’ die. I stacked them on top of each other which was surprisingly easy even though they were quite delicate. I use a pair of tweezers to squeeze each section of the die-cuts into alignment with the ones above and below.
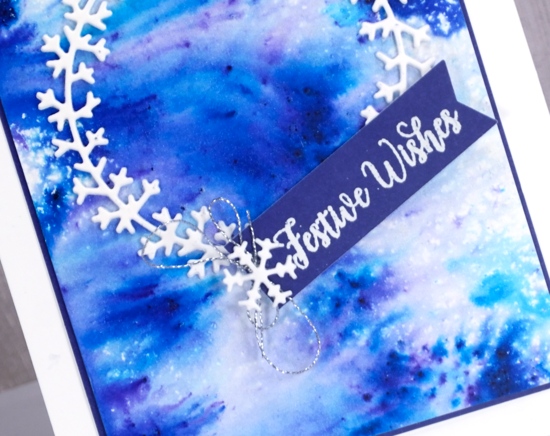
I stamped a sentiment from festive snippets on purple cardstock, embossed it in white and attached it overlapping the wreath then matted the painted panel in purple also. To finish it off I attached some silver cord and a little die-cut snowflake on top of the sentiment strip. You can find all the supplies listed below; I am experimenting with the appearance of my supply list; word has it that people like to see the product not just the name. Let me know if the pictures and links are helpful.

I know there are sales everywhere you turn this week but I just want to mention one. The Foiled Fox is offering 15% off everything in their store this weekend and if you click through from my blog you don’t have to wait until Friday to start shopping. The coupon code for check out is HOLIDAY2017
Supplies
Stamps: festive snippets
Dies: wreath & bow, a blizzard

Paper: Neenah solar white cardstock, 100% cotton hot pressed watercolour paper
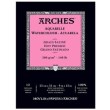
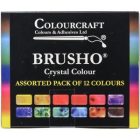
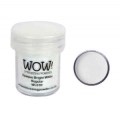
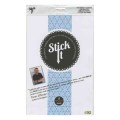
Also: white embossing powder, stick it adhesive, pearl ex interference blue powder, silver cord
Alcohol Ink Baubles – a tutorial
Posted: October 8, 2017 Filed under: Alcohol Ink, baubles, inspired, tall trees, trees and hills | Tags: Penny Black creative dies, Penny Black stamps, Ranger Alcohol Ink, Tsukineko Versafine inks 22 Comments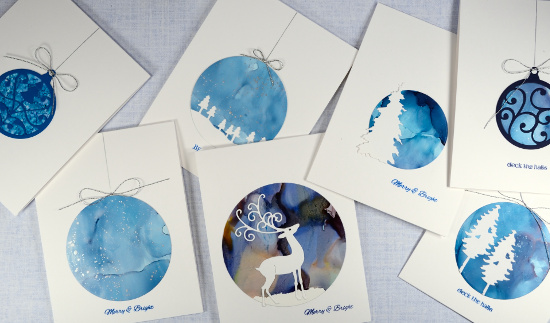
I am happy to finally have a video tutorial to share with you today. It’s been a while I know. This one I created for Splitcoaststampers “Falliday Fest”.
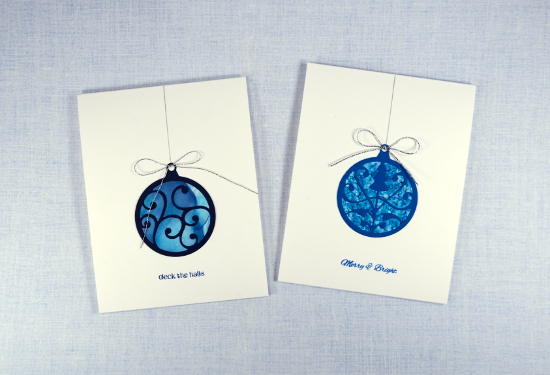
The card designs are very simple, the intricacy is in the patterns the alcohol ink makes.
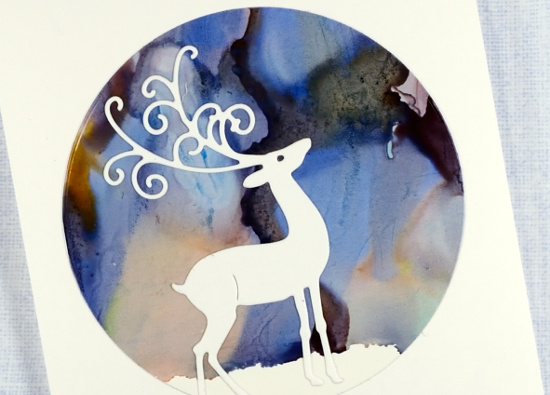
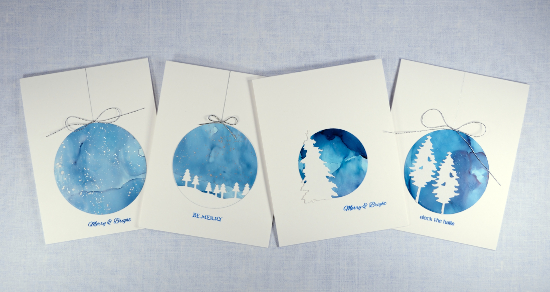
I included several different methods of making alcohol ink patterns and also a few ideas for making the patterned panels into cards by die cutting circles to turn into baubles or snow globes. Method one involved blending alcohol inks on a non-stick craft sheet then swiping a piece of yupo paper through the ink to create a pattern. In method two I used a felt applicator with dots of alcohol ink on it to apply ink to the yupo paper. Method three was alcohol ink applied directly to the yupo paper. You can see all three methods in detail on my video tutorial below.
This post includes affiliate links to The Foiled Fox online store. At no extra cost to you I will receive a commission if you make a purchase after clicking a link to The Foiled Fox from this blog. The affiliate links are a new feature on my blog. I have been working with The Foiled Fox for quite a while now and I can recommend their store wholeheartedly. They have an extensive range of art and craft products and prompt and helpful service (also lovely packaging!)
Supplies:
Stamps: holiday snippets (Penny Black)
Dies: baubles, tall trees, nature’s creatures, inspired, trees and hills (all Penny Black), circle dies
Inks: stream, pool, stonewashed, shell pink, cloudy blue, denim, silver, snow cap, eggplant, lemonade alcohol inks (made by Ranger) majestic blue versafine ink & deep lagoon versafine ink
Paper: yupo paper, neenah solar white paper
Also: silver cord
Over the fence
Posted: September 10, 2017 Filed under: beneath the birches, picket fence | Tags: Penny Black creative dies, Penny Black stamps, Ranger Distress stains 13 Comments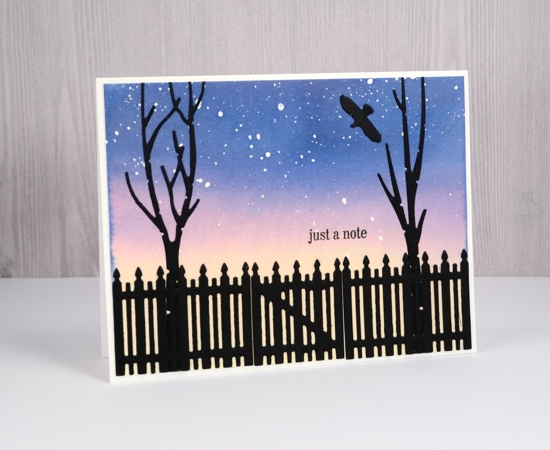
This card was inspired by one included in my August class; that one was more of a lakeside silhouette where this one is a little less rustic. I began with a piece of watercolour paper splattered with masking fluid. Once it was dry I taped it down to prevent warping and painted the whole panel with distress stains. I wanted the sky to look star-filled but it could just as easily be snow-filled. I die cut birches and a picket fence and then a sad thing happened. My die cutting machine sits on top of a cube storage cabinet which is quite good because I don’t have to bend to use it and it makes me get up from my work table and move around. The cube storage cabinet houses a lot of my supplies and sits flush against the wall. Apparently not so flush that a die can’t fall down behind it. So let me just say you won’t be seeing those birch trees on a card any time soon. To retrieve the die I will need to empty a lot out of my cabinet and that’s just not going to happen right now!
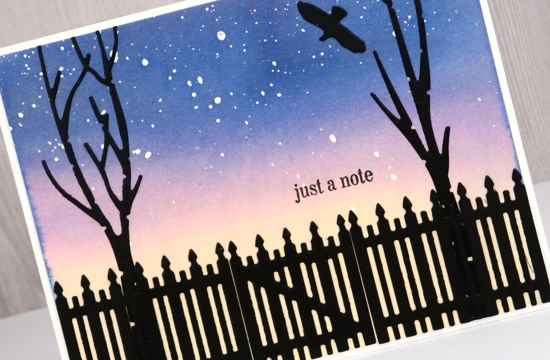
Glad I got this little card made though.
Supplies
Dies: picket fence, beneath the birches (PB)
Stamps: just a note (PB)
Inks: scattered straw, chipped sapphire, worn lipstick distress stains (Ranger) versafine onyx black (Tsukineko)
Paper: hot pressed watercolour paper (Fabriano), epic black & solar white cardstock (Neenah)
Santa’s Visit
Posted: August 21, 2017 Filed under: Santa's visit | Tags: Penny Black creative dies, Penny Black stamps, Tsukineko Memento inks 3 Comments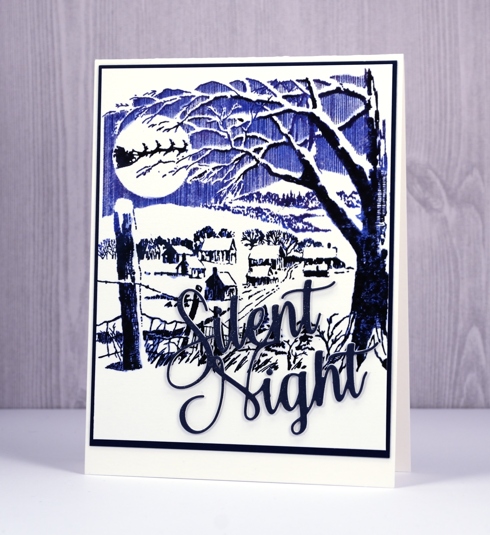
I think this quiet little scene is going to be a popular one this Christmas. It looks so peaceful and pretty, just like it does around here after a fresh snowfall (which will be welcome in four months time and not before!) I kept my colour scheme simple for this one and stamped first in Paris Dusk memento ink. I then did some blending with a wet brush over the scene to solidify the image a bit before adding black ink. I did some partial inking of the stamp to get shadows on parts of the trees and houses.
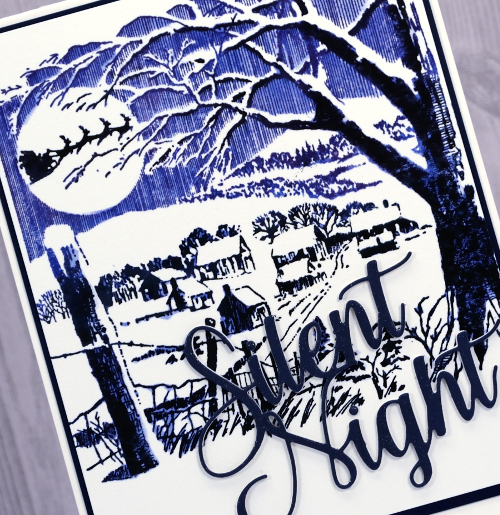
I wasn’t sure about the navy blue die cut sentiment because it does get a bit lost. In real life however it is popped up on a couple of white layers and sparkled with a clear wink of stella pen so I let it stay!
I am currently lakeside and away from my workroom and internet for a week. I decided to take only this book and these supplies for a little artsy down time.
Supplies
Stamps: Santa’s visit (PB)
Die: Blessed night (PB)
Inks: Paris dusk, Tuxedo black memento inks (Tsukineko)
Cardstock: hot pressed watercolour paper (Fabriano), navy cardstock
Also: clear wink of stella brush pen, stick it adhesive
Holly Sprig
Posted: August 18, 2017 Filed under: holly sprig | Tags: Penny Black creative dies, Penny Black stamps, Ranger Distress stains 9 Comments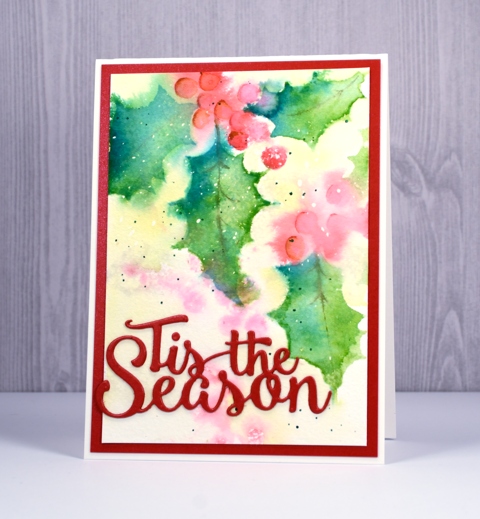
I have another new brushstroke stamp to feature today and I’ve used one of my favourite mediums to colour it: distress stains. I began as in my previous card with a panel already splattered with masking fluid. I painted a pale yellow wash over the panel then dried it. I inked the ‘holly sprig’ stamp with peeled paint and festive berries distress stains, spritzed the water colour panel and stamped. Because the panel was wet the images bled into the surrounding area giving me blurry background images. I dried the panel before stamping the foreground images in the same colours along with pine needles stain for some variation in the leaf colour.
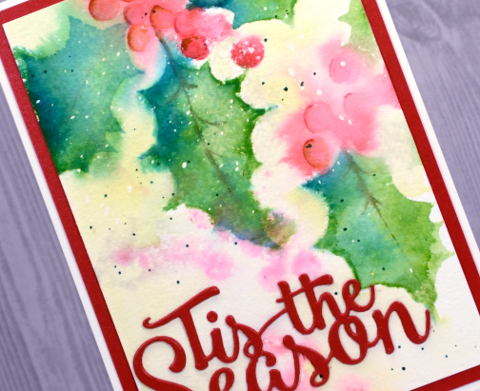
After the panel dried I added some definition to the berries and leaves with distress markers and some green splatter. Finally I removed the masking fluid, die cut ‘Tis the Season’ from red cardstock and framed the panel with a matching red mat.
Supplies
Stamps: holly sprig (PB)
Die: tis the season
Inks: festive berries, peeled paint, pine needles, scattered straw distress stains & candied apple, peeled paint distress markers (Ranger)
Paper: hot pressed watercolour paper, red cardstock
Also: masking fluid
Distress Oxide background
Posted: August 8, 2017 Filed under: Butterfly trio, Sweet Perfume | Tags: distress oxide inks, Penny Black creative dies, Penny Black stamps, WOW embossing powders 8 Comments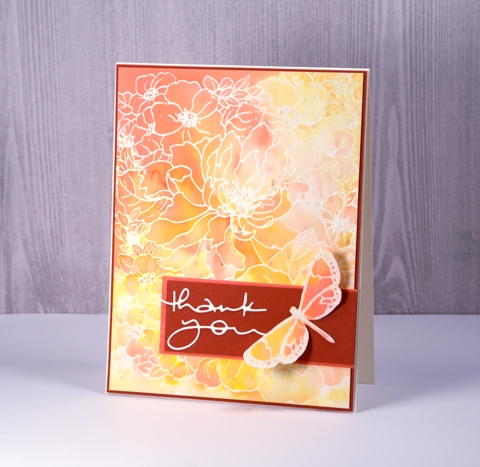
I’ve been playing with distress oxide inks again and its all because of the wonderful folk at the Foiled Fox. I loved the first 12 colours released but when I saw salty ocean, peacock feathers and seedless preserves in the second release I was pretty happy. I am guest blogging over on the Foiled Fox blog today with all the details about this card.
Our family has been enjoying a visit from my sister-in-law, Dale for a few weeks. She came from Australia via Alaska and we have had the chance to do a few little trips around Ontario and Quebec while she’s been here. One afternoon while we were home I was downstairs in my workroom trying to nail this card. I loved the soft blends in the background but deciding on features for the foreground was not happening. Dale came down to see what I was doing and we ended up collaborating to complete the card.

Supplies
Stamps:Sweet Perfume, Butterfly Trio (PB)
Die: Many Thanks (PB)
Inks: spiced marmalade, abandoned coral, wild honey distress oxide inks (Ranger) versamark (Tsukineko)
Papers: hot pressed watercolour paper, Neenah natural white cardstock, brick red cardstock
Also: clear embossing powder (WOW)
Bliss birds
Posted: July 22, 2017 Filed under: happy bliss, Tagged | Tags: distress oxide inks, Fabriano Watercolour Paper, Hand lettering, Penny Black creative dies, Penny Black stamps 7 Comments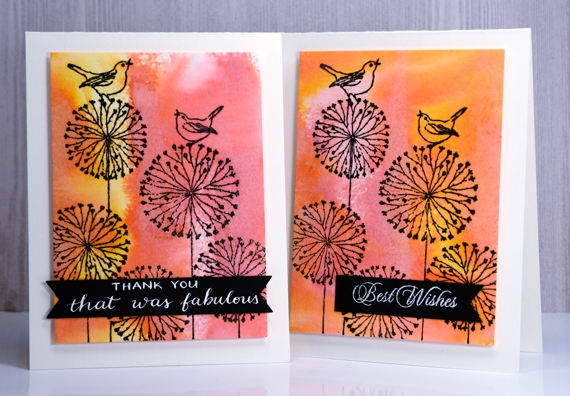
I have a couple of distress oxide backgrounds to share today, topped with a whimsical line stamp from Penny Black. To create the backgrounds I applied spiced marmalade and worn lipstick diox inks to watercolour paper then spritzed them enough to make the colours blend but not so much as to flood the colour off the page.
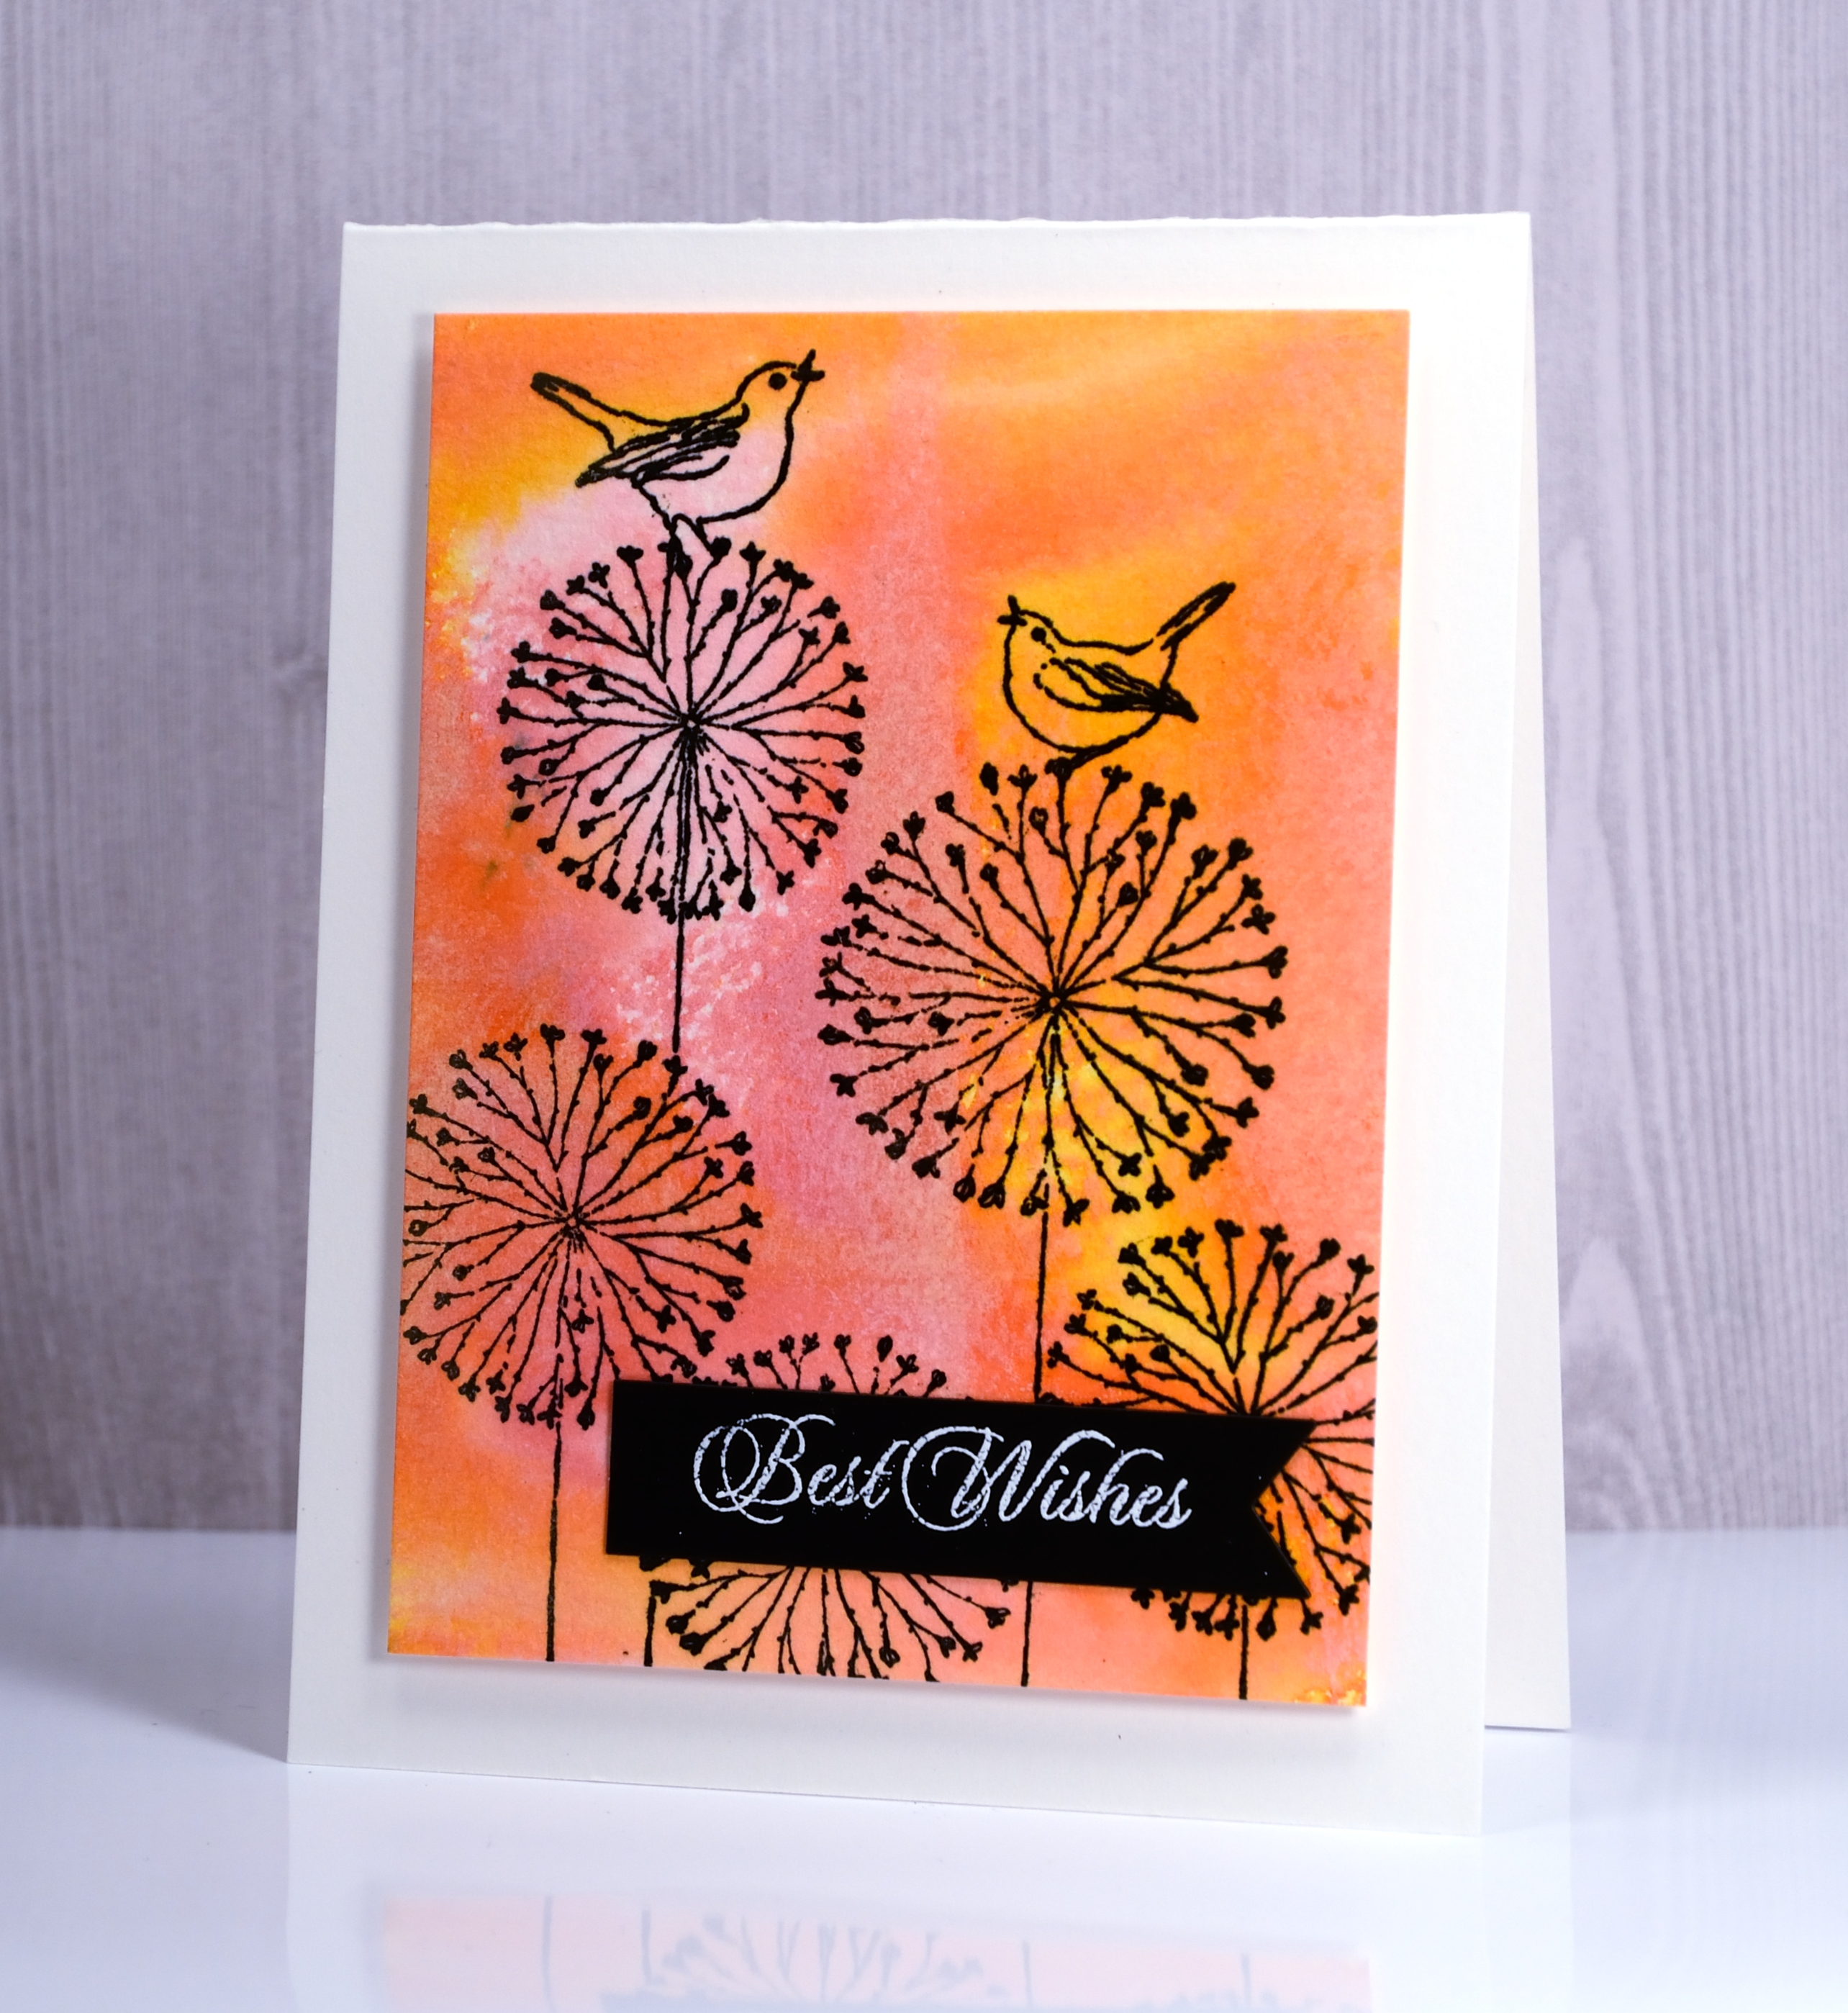
I stamped the ‘happy bliss’ stamp in versafine onyx black ink over the coloured background and popped up the panels on white card bases. I die cut the little black banners and added a stamped sentiment on one and a handlettered phrase on the other.
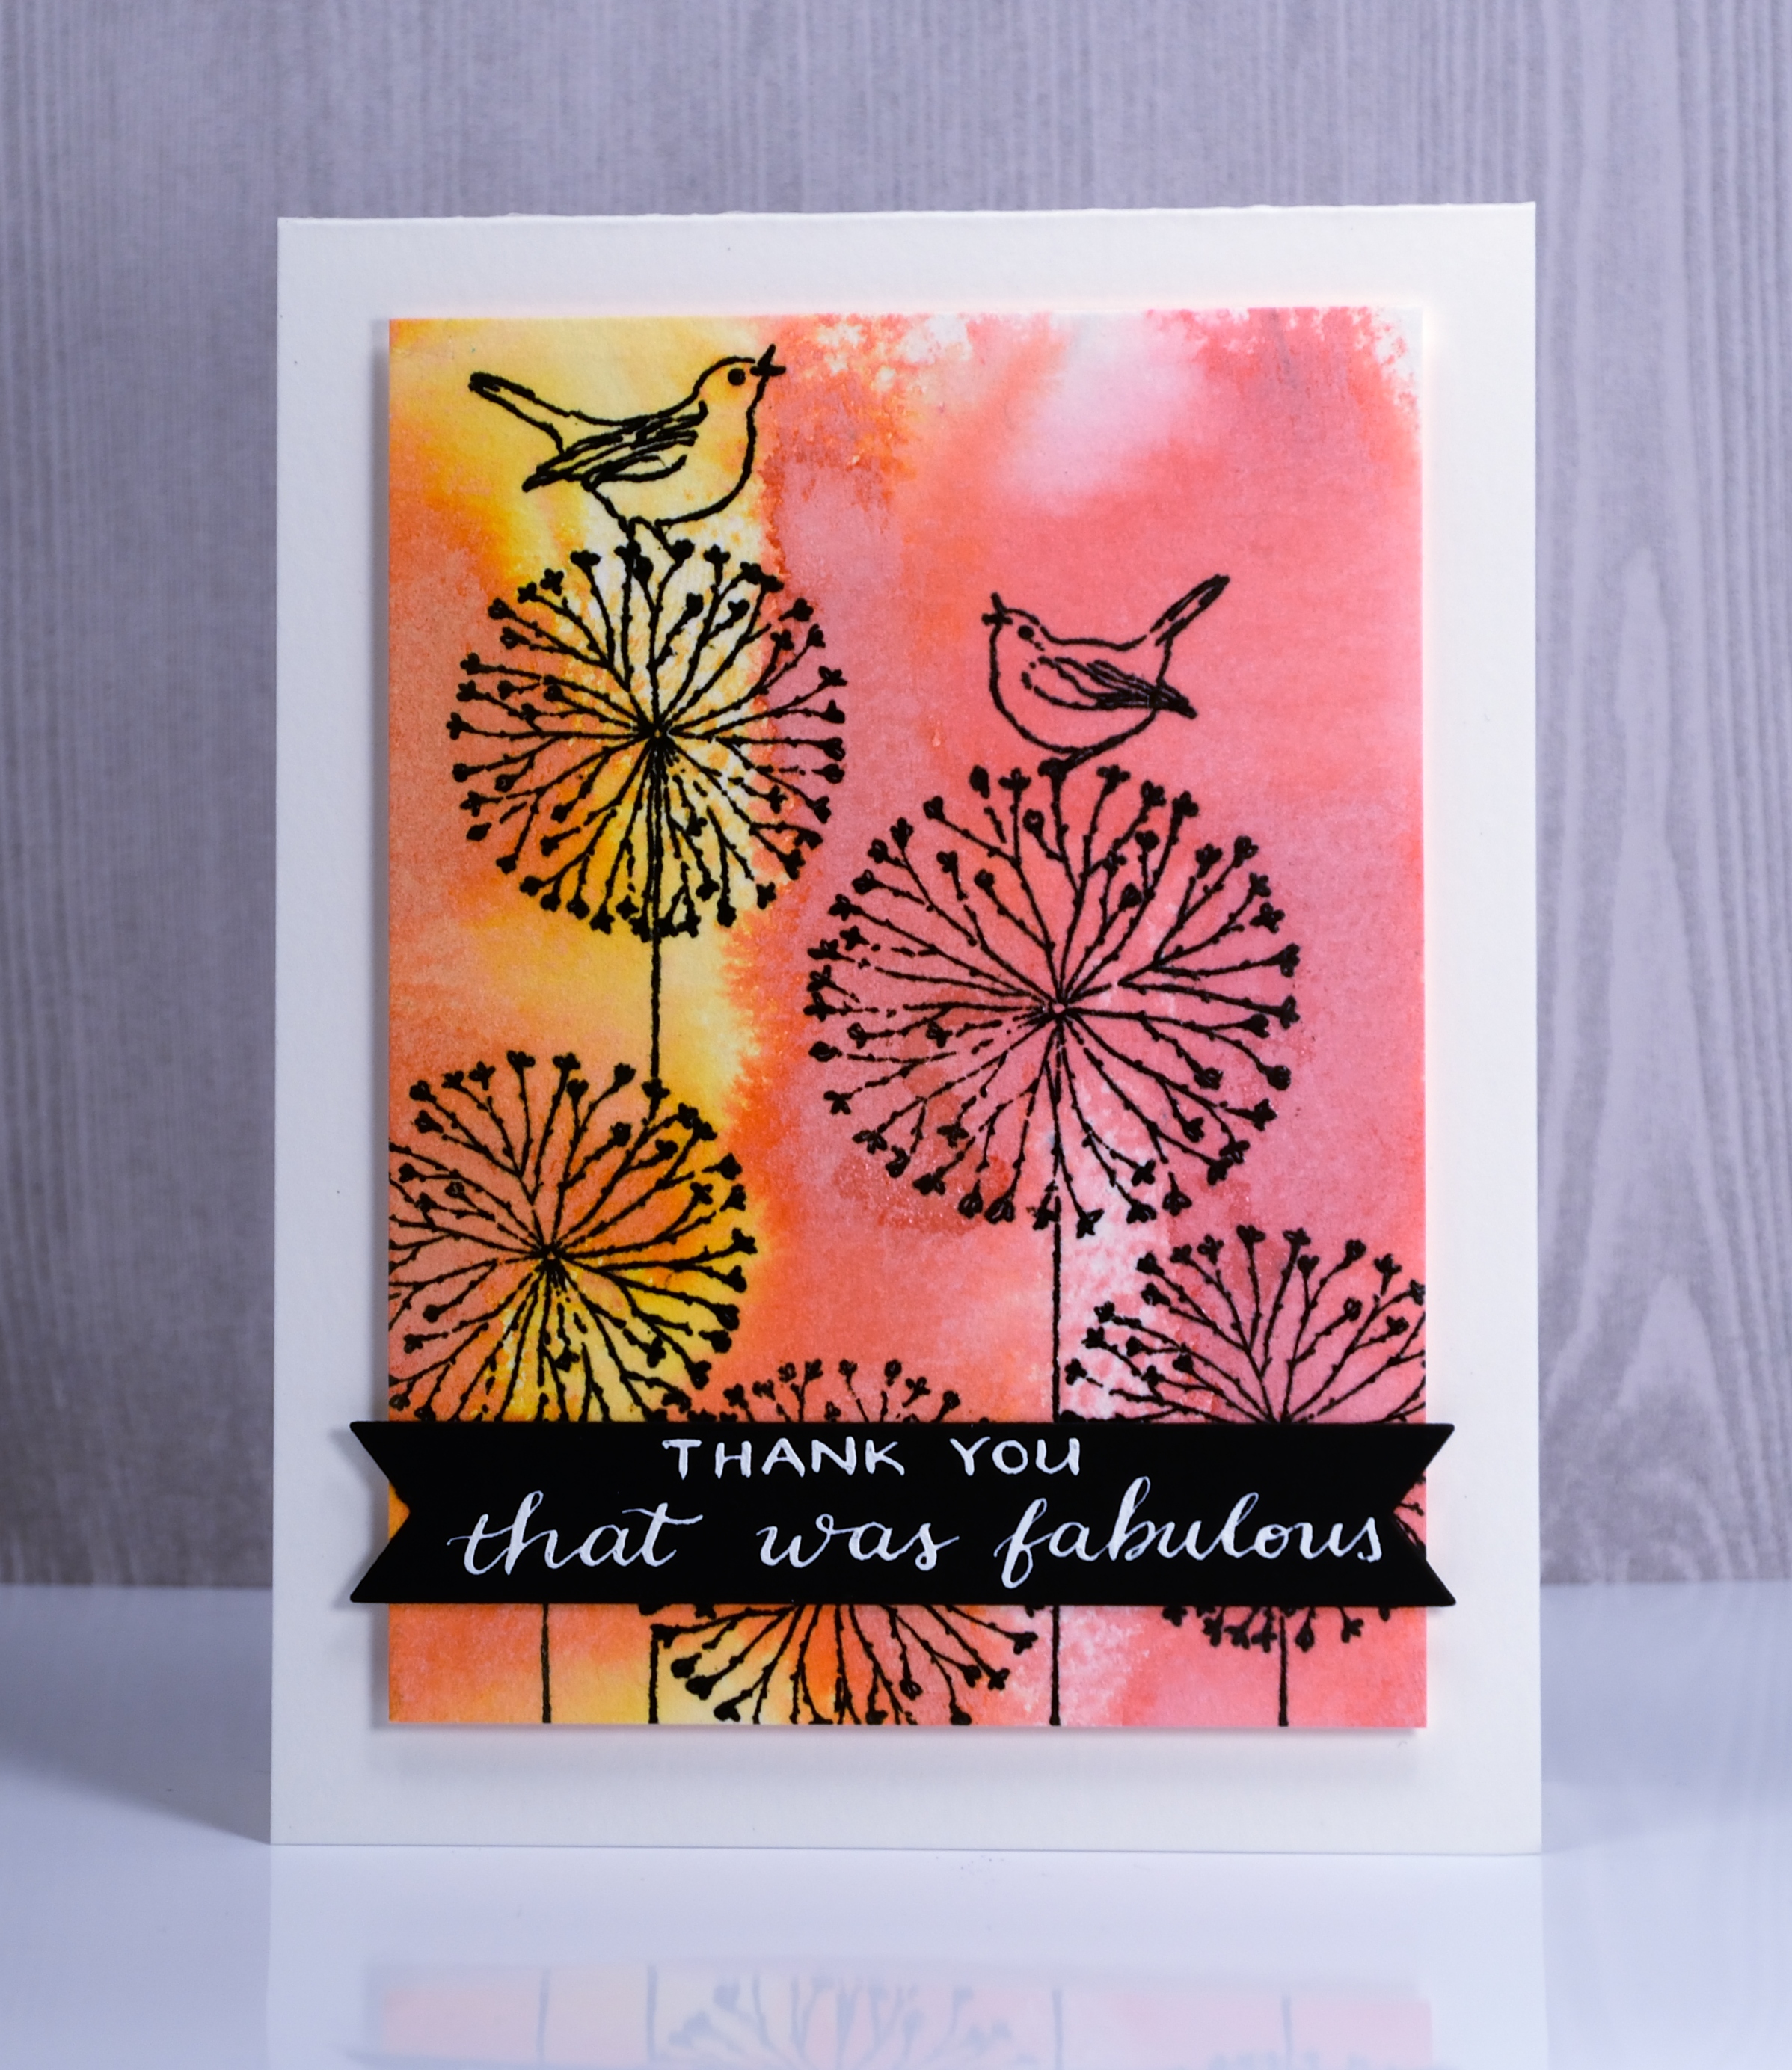
Hope you are having a fabulous day.
Supplies
Stamps: Happy Bliss (PB)
Dies: Tagged, Shades (PB)
Pens: Exclusive Calligraphy nib holder (Foiled Fox)
Ink: Spiced marmalade & worn lipstick distress oxide inks (Ranger) Versafine onyx black ink (Tsukineko)
Papers: hot pressed watercolour paper, Neenah epic black and solar white cardstock
Ink: DrPh Martins bleedproof white for calligraphy
Butterfly Trio
Posted: July 11, 2017 Filed under: Alcohol Ink, butterfly trio | Tags: Penny Black creative dies, Ranger Alcohol Ink, Yupo Paper 9 Comments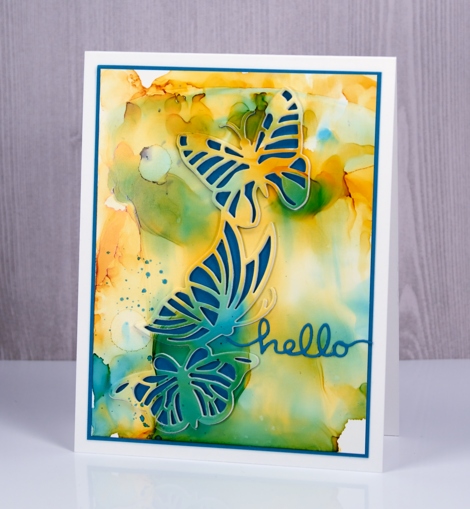
After waiting patiently through a longer than usual spring, summer finally seems to have arrived in Ottawa. The sunny days are punctuated with frequent rain but at least it is shorts and sandals weather! The background for today’s butterfly card seems pretty summery to me.
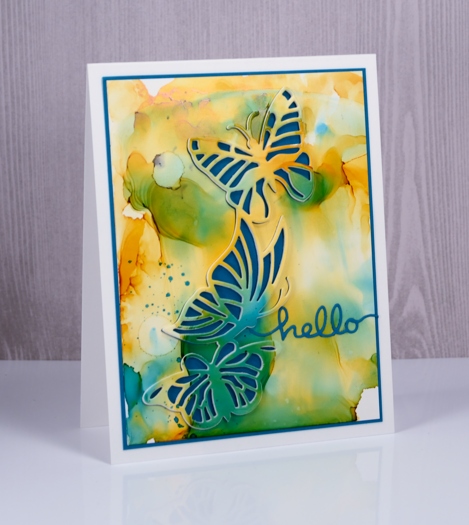
I used alcohol inks on yupo paper to create the background then attached the yupo to white cardstock before die-cutting the butterfly trio from the panel. I also die cut the butterflies from white fun foam so I could pop the trio up out of the background. I did not replace the little die cut shapes in the wings but matted the whole panel in teal instead to create a frame that matched the wings and the sentiment.
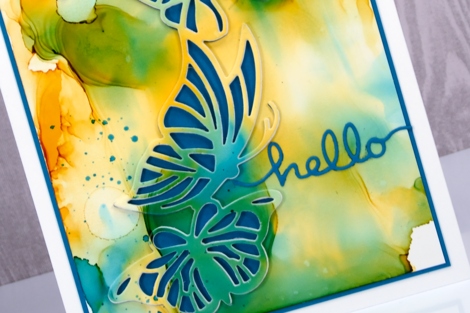
I hope the sun is shining where you are.
Supplies
Dies: butterfly trio, doodles (PB)
Inks: sunshine yellow, stream, pesto alcohol inks (Ranger)
Cardstock: yupo, solar white (Neenah), teal cardstock
Daisy thank you
Posted: July 6, 2017 Filed under: dancing daisies, Feathery, thank you squares | Tags: Penny Black creative dies, Penny Black stamps, Ranger Distress stains 5 Comments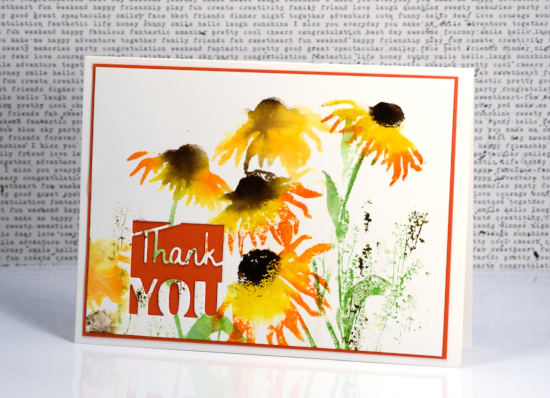
I have summer flowers to share again today. The autumn card I posted yesterday won’t be needed for months. I want way more summer before I see autumn leaves! I used distress stains not markers for today’s card so the images are looser and less defined.
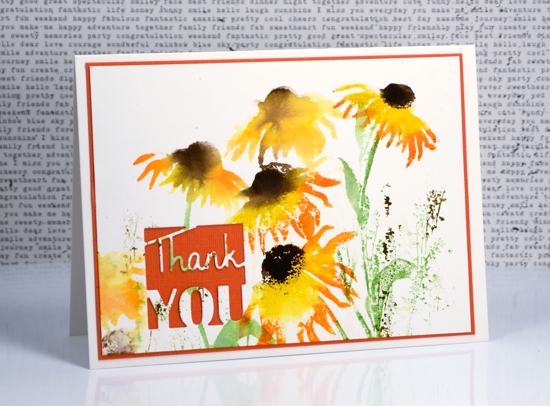
I still worked with a stamp positioner so I could add a colour at a time. I began by inking the petals in scattered straw distress stain, stamped then inked more of the petals in spiced marmalade, spritzed the stamp and finally while the petals were still damp in places I added ground espresso for the flower centres. I inked and stamped the stems and leaves in mowed lawn distress stain. When the daisies were dry I stamped some extra grasses with the ‘feathery’ stamp in forest moss and mowed lawn distress stain.
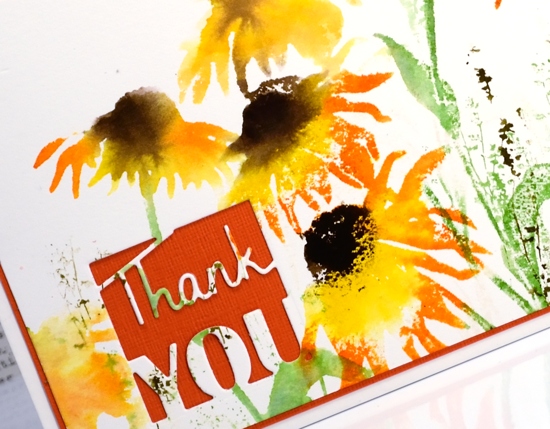
I was undecided about adding ribbon or a sentiment until I remembered this clever little die that cuts the negative space around the word ‘Thank you’ but does not separate it from the panel. It just added the interest I needed while showing more of the orange card stock I matted the panel with.
Supplies
Stamp: dancing daisies,Feathery (PB)
Die: Thank you squares (PB)
Inks: scattered straw, spiced marmalade, ground espresso, mowed lawn, forest moss distress stains
Paper: hot pressed watercolour paper, orange cardstock












