
New YouTube channel – New Video
Posted: February 11, 2023 Filed under: Alcohol Ink, baby blue leaf embossing folder, Branch 9 die, cricut, Dies, grafix, Moda Scrap, my designs, ornate tile embossing folder, Paper Rose, Penny Black, Pink & Main, scripty, silhouette birds, so extra supporting sentiments, Stampin Up, thank you squares, Tim Holtz, Tutorial | Tags: cricut, grafix, grafix craft plastic, Penny Black creative dies, Penny Black stamps, Ranger Alcohol Ink, Stampin Up, Tim Holtz 6 Comments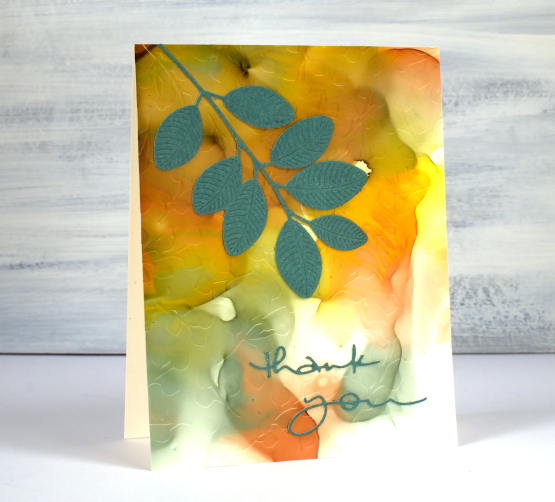
If you have been visiting this blog for a while you will know I had a youtube channel for many years. In 2022 after ten years of adding videos and gathering a community of 7000 subscribers my channel was deleted. In recent weeks I have started again with a new channel and some videos ‘from the archive’. My new channel is called Heather Telford Art and I would be very happy if you decided to like, subscribe and tell your friends! There is content on there that you may remember from the last few years and starting today there is new content also! The new ‘2 for 1 Alcohol Ink Panels’ is freshly filmed for my new channel and I hope it will be the first of many!
There are quite a few photos in this post because, well, this is a 2 for 1 technique and I created three panels which of course became six panels and one was cut in half so there are seven cards to show you in this blog post! Grab a cup of tea. I have added a linked supply list at the very bottom of this long post.
As well as a new youtube channel I am also a new Cricut owner. The stencil used on the card below was designed by me and cut on my Cricut. It is available as a cutting file from Echidna Studios etsy store.
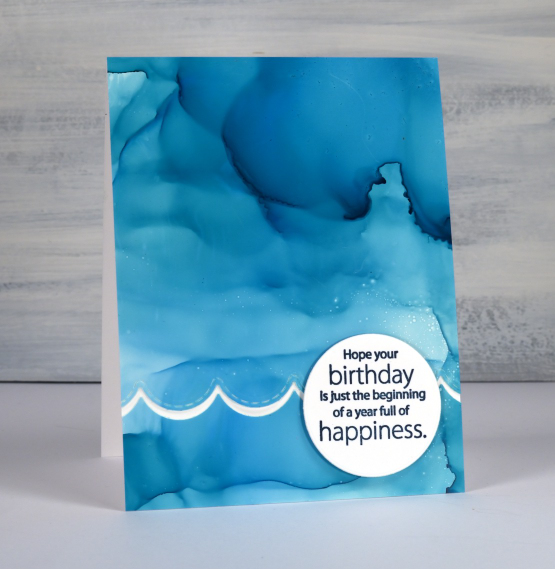
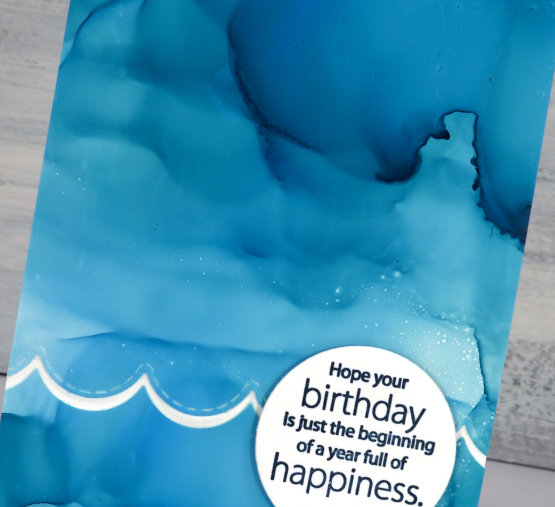
Most of the 2 for 1 smooshed panels I left as a full card fronts adding only a sentiment or some die-cutting. As the panel below reminded me of the ocean, the PB wavy scallop border seemed a nice touch.
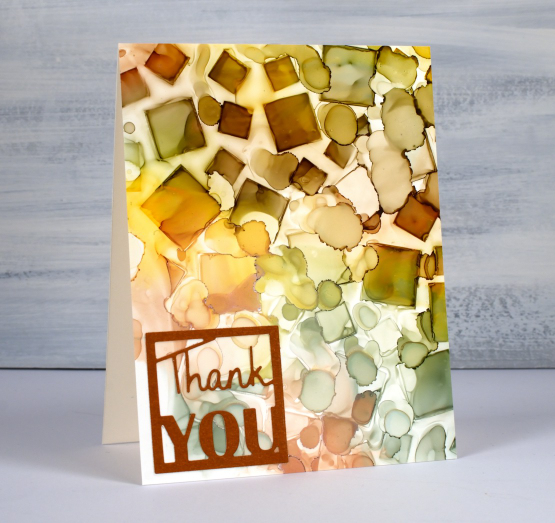
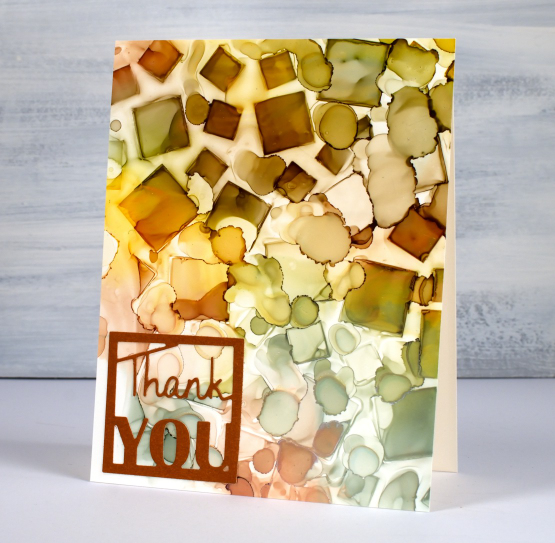
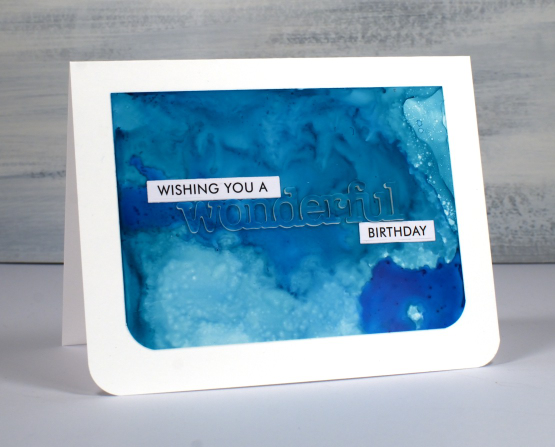
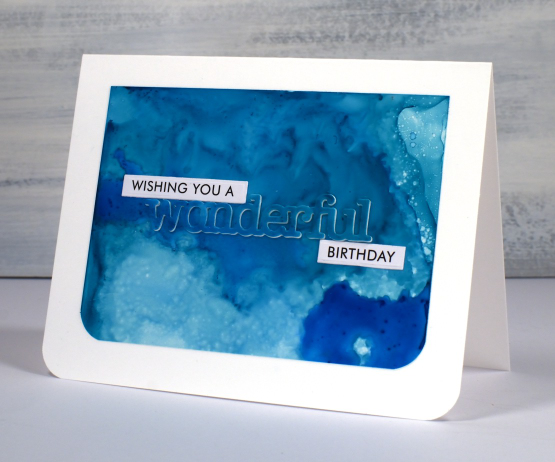
The panel below is a half panel from the first one I showed on the video. I love the patterns from the isopropyl alcohol ink spray even though they don’t stay distinct. Even when die-cutting the word from the panel I couldn’t leave it off so I popped it up. Not so funny story: I guess I haven’t popped up a die cut word in a while because I flicked those little shapes inside the letters into the garbage when I poked the word from the die. So yes, I had to hunt through my garbage to complete the card.
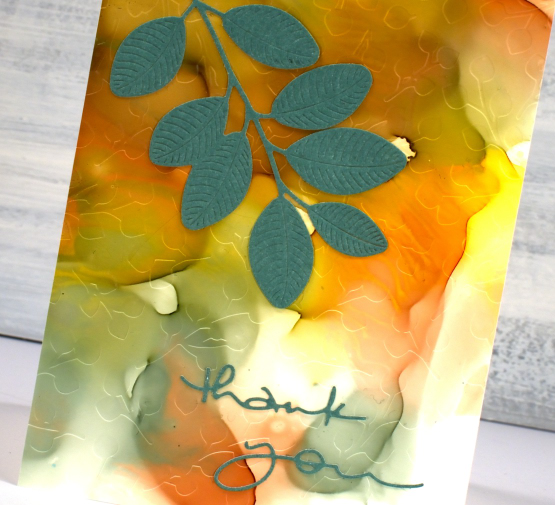
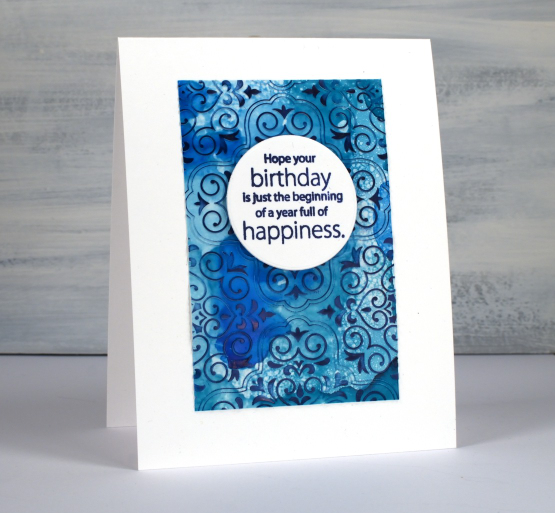
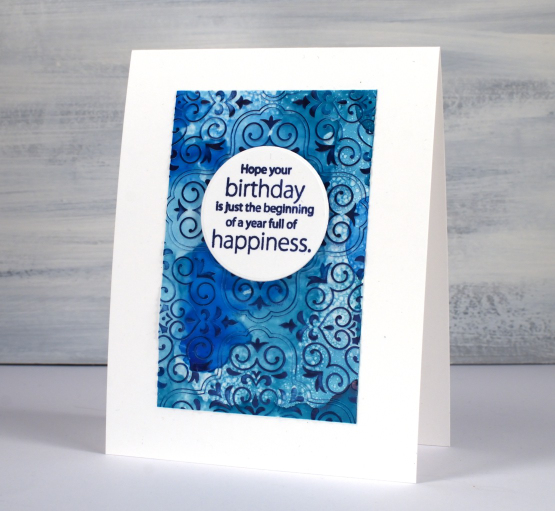
I don’t know why I hadn’t tried it before but seeing how well Grafix craft plastic responds when put in an embossing folder has been a revelation! I thought it might crack but it doesn’t so you can have the subtle impression of your embossing folder on a panel or the bold inked pattern as I’ve done on the card below. Sentiments in circles might be a little fad I go with for a while too; they look cute!
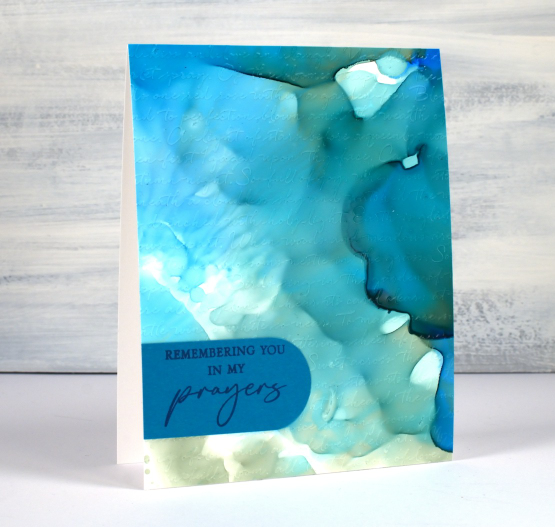
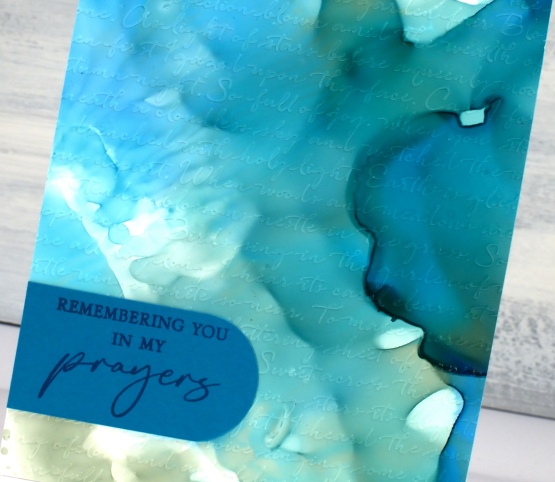
You can see the soft look of embossed script on the panel below, especially in the close up. This detailed embossing folder is from Stampin’ Up and is called ‘scripty’. I don’t think it is available anymore but you might something similar.
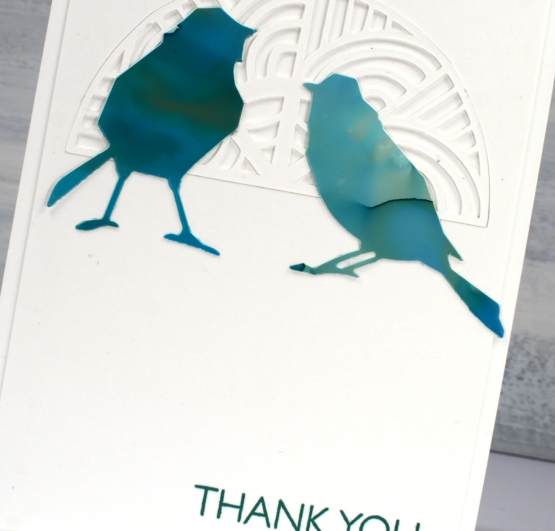
For this final card I cut six little birds from the panel and played with layouts for quite a while. I ended up just using two which means I have four birds in hand for another project. (pun definitely intended)
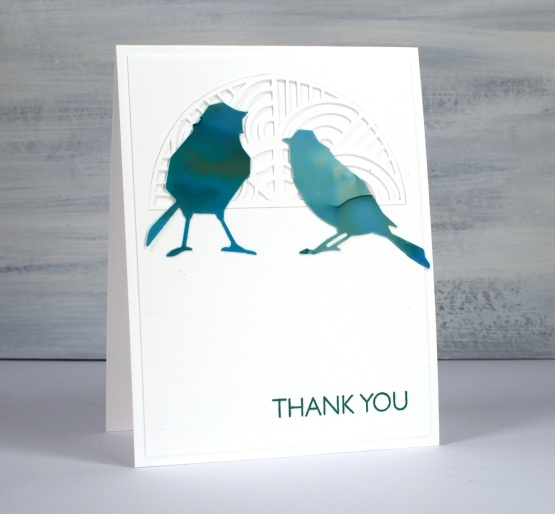
The intricate half circle cut out behind the birds is also one of my new cricut cutting files but more about that in another post. If you got this far, you’re a champion. Thank you for supporting me here on my blog and I would love to see you over on youtube as well.
(Compensated affiliate links from Foiled Fox, Scrap n Stamp)
Daisy thank you
Posted: July 6, 2017 Filed under: dancing daisies, Feathery, thank you squares | Tags: Penny Black creative dies, Penny Black stamps, Ranger Distress stains 5 Comments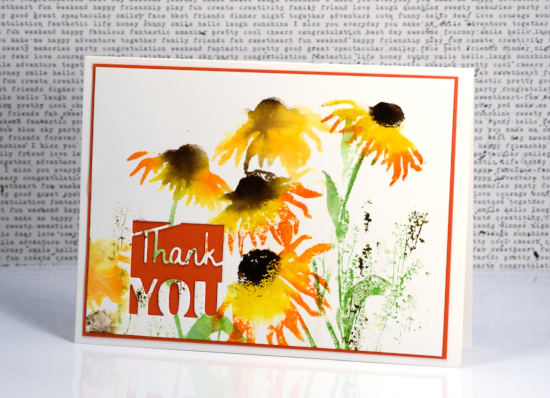
I have summer flowers to share again today. The autumn card I posted yesterday won’t be needed for months. I want way more summer before I see autumn leaves! I used distress stains not markers for today’s card so the images are looser and less defined.
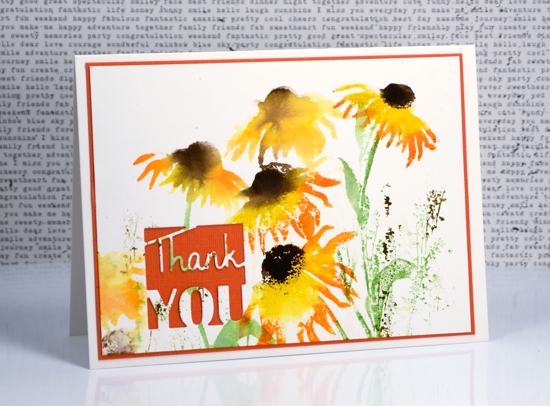
I still worked with a stamp positioner so I could add a colour at a time. I began by inking the petals in scattered straw distress stain, stamped then inked more of the petals in spiced marmalade, spritzed the stamp and finally while the petals were still damp in places I added ground espresso for the flower centres. I inked and stamped the stems and leaves in mowed lawn distress stain. When the daisies were dry I stamped some extra grasses with the ‘feathery’ stamp in forest moss and mowed lawn distress stain.
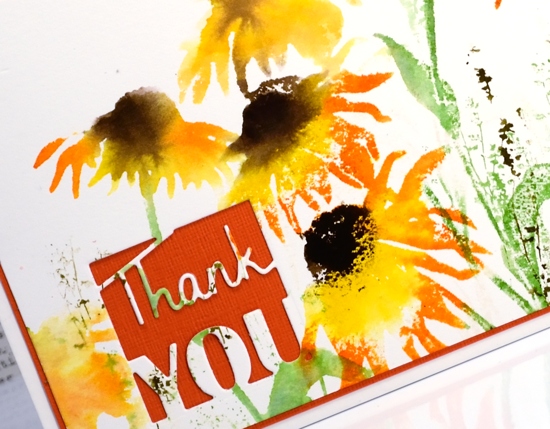
I was undecided about adding ribbon or a sentiment until I remembered this clever little die that cuts the negative space around the word ‘Thank you’ but does not separate it from the panel. It just added the interest I needed while showing more of the orange card stock I matted the panel with.
Supplies
Stamp: dancing daisies,Feathery (PB)
Die: Thank you squares (PB)
Inks: scattered straw, spiced marmalade, ground espresso, mowed lawn, forest moss distress stains
Paper: hot pressed watercolour paper, orange cardstock


