
CAS Mix up Challenge
Posted: March 18, 2016 Filed under: CAS, Color Burst, Dies, Love Art | Tags: CAS, color burst, Penny Black creative dies, Penny Black stamps 11 Comments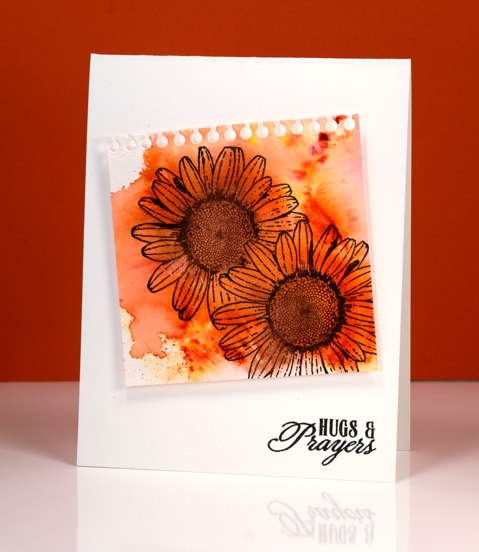
There is a new challenge on the block and it is definitely worth a look. It has been dreamed up by the very talented, Bonnie Klass and Loll Thompson and it’s called the CAS Mix up Challenge.
In their words:
Is CAS your style?? Do you love the look of clean and simple designs with lots of open space?? And have you seen all those fabulous mixed media techniques and products popping up all over and want to give them a try?? Then this is the challenge for you!
- stamping – no problem
- watercolour – absolutely
- my choice – a die cut
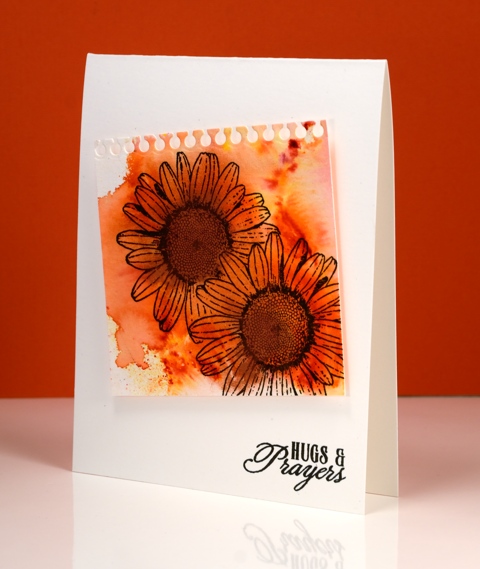
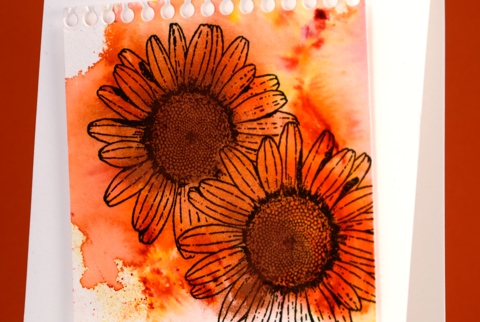
I splashed some water on my watercolour paper then added some Tangerine colourburst powder and some Copper liquid metal. I let the colour move and blend and tilted it to almost fill the paper then let it dry. I had to do a little fussy cutting to mask one daisy before I stamped the other but I seemed to have survived the ordeal. I used the notebook die from the ‘pocket full’ set to cut the top of the panel then popped it up on the card base before adding a sentiment. I tried to do the artistic-messy-thread-stuck-behind-the-panel trick but did not succeed. Maybe it was just as well because the challenge specified three elements not four!
Pop over to the challenge and check out the entries; it is a feast of inspiration.
Supplies:
Stamps: Love Art, Soar (PB)
Die: A Pocket full (PB)
Mediums: Colorburst powders, Liquid Metal (Ken Oliver) Versafine Onyx Black ink (Tsukineko)
Cardstock: Cold pressed Fabriano watercolour paper
Poppy Gems 2
Posted: March 4, 2016 Filed under: gift card pocket, Poppy Gems | Tags: Dr Ph Martin Hydrus watercolor paints, Faber-Castell Albrecht Durer Watercolour pencils, Penny Black creative dies, Penny Black stamps 20 Comments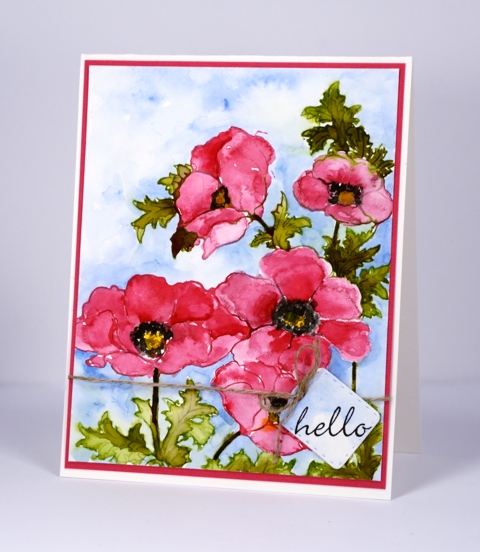
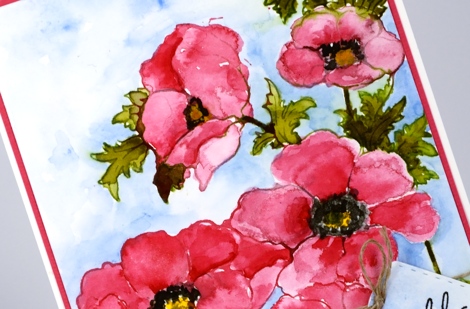
The Poppy Gems return today but in a more traditional colour scheme than last week’s card. I stamped with liquid watercolour paint on this panel, a technique not unlike what I often do with the distress stains. I used a paintbrush to apply the paint to the stamp then, after stamping, used water to blend the colour into the petals and leaves. In the centres and shadows on the flowers I layered colour to increase the intensity. The paints are Dr Ph Martin Hydrus watercolours which dry permanent. This feature was helpful when I decided to add a background weeks after completing the flowers. There was no chance I would make the pinks and greens bleed into the sky when I added blue with a watercolour pencil and waterbrush.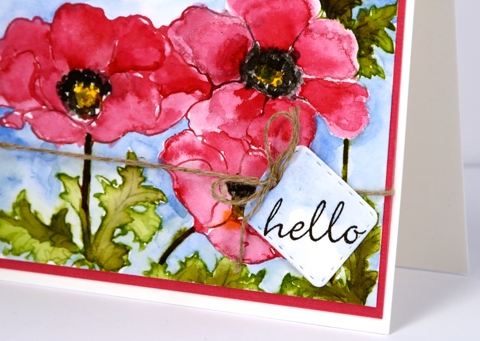
The little tag is a cut with the new die from Penny Black, ‘gift card pocket’ which comes with so much more than just the pocket die.
Thank you for dropping by today; I will be back soon with more alcohol ink adventure as well as another couple of cards made with the ‘Poppy Gems’ stamp. I hope you have a great weekend.
Supplies:
Stamps: Poppy gems, Perfect Pairing (PB)
Dies: gift card pocket (PB)
Inks: Versafine Onyx Black (Ranger)
Pencil: Albrecht Durer watercolour pencil sky blue 147(Faber-Castell)
Paints: Dr Ph Martin Hydrus Liquid Watercolours – Set 1
Cardstock: Fabriano 100% cotton hot pressed watercolour paper, pink cardstock
Also: linen thread
Poppy gems 1
Posted: February 27, 2016 Filed under: Flourish and butterflies, gift card pocket, Poppy Gems | Tags: Penny Black creative dies, Penny Black stamps, Ranger Distress stains, Speedball elegant writer 28 Comments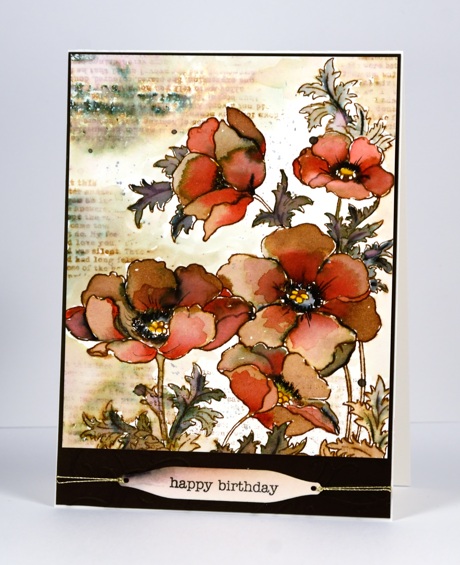
Over the next week or so you are likely to see the new ‘Poppy gems’ stamp a few times. I have already stamped it in four different colour schemes and varied the mediums and styles. This one is by far the ‘busiest’ and is quite the contrast to the clean and simple stamping I have been sharing lately.
I created this earth toned panel initially with just brown and black but after doing most of the blending with water I decided to add a bit of red to the petals over the brown. I stamped with distress stain and pulled it into the petals and leaves with a paint brush. I added black with the elegant writer pen which bleeds pink and green tones when wet. I decided to add the text details after the flowers were finished keeping it loose and watery with the addition of water to both the stamp and panel. I stamped the text upside down the first time so I had to make it blurred so my error would not be less noticeable!
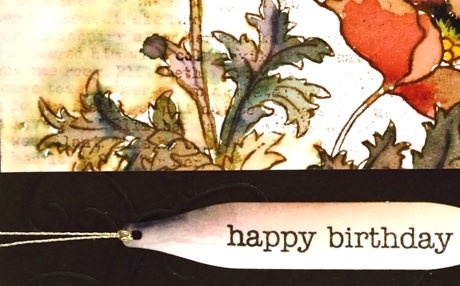
I die cut a few flourishes with the new ‘flourish and butterflies’ die and attached them to the base for a tone on tone detail; you can just make it out in the photo below. The sentiment is stamped on a tag from the new ‘ gift card pocket’ die.
Thanks for dropping by; I hope you are enjoying a relaxing weekend.
Supplies:
Stamps: Poppy gems, footnotes, snippets (PB)
Dies: flourish & butterflies, gift card pocket
Inks: festive berries, mustard seed, vintage photo distress stains & ink (Ranger) black elegant writer pen (Speedball)
Cardstock: Fabriano 100% cotton hot pressed watercolour paper, brown cardstock
Blue Skies
Posted: February 18, 2016 Filed under: Branch of Grace, Geometric borders, Passionate | Tags: Dr Ph Martin Hydrus watercolor paints, Fabriano Watercolour Paper, Penny Black creative dies, Penny Black stamps, Ranger Distress stains 7 Comments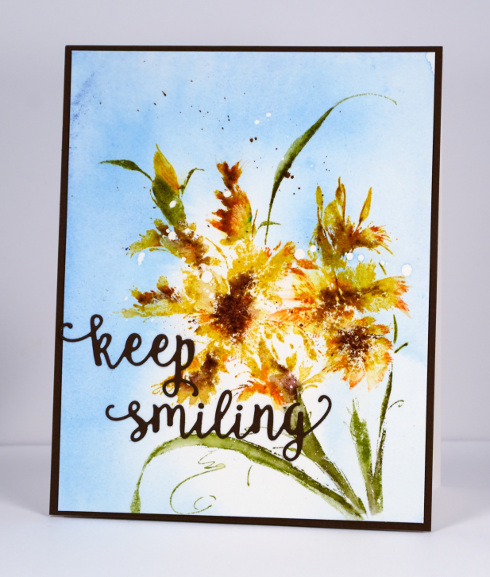
Ottawa had a record snowfall this week so it is quite the winter wonderland outside. Today, however there is a clear blue sky, a bit like the one on the card above. This card shows a different colour scheme for the new ‘Passionate’ stamp I shared in purple tones a few days ago. I used the same technique as here and here to paint a blue sky first with Dr Ph. Martin Hydrus liquid watercolour paint. I splattered some masking fluid before painting anything so there are a few white dots here and there.
I inked with distress stains and used the misti to stamp a few times to build up the colour on the flowers. Anywhere I wanted a distinct line between colours I used paintbrush to ‘touch it up’.
Supplies:
Stamps: Passionate (PB)
Dies: keep smiling
Inks: mustard seed, spiced marmalade, rusty hinge, peeled paint, forest moss distress stains (Ranger)
Paint: Phthalo blue Dr Ph. Martin Hydrus
Cardstock: Fabriano 100% cotton hot pressed watercolour paper, green cardstock
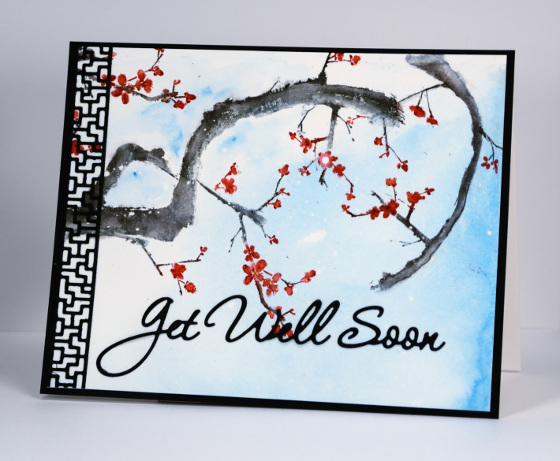
Another blue sky frames the blossom branches below stamped with the new ‘branch of grace stamp’. Once again I painted the blue first and let it dry before stamping. Because of the fine twiggy detail on this stamp I used a mix of stains and markers to ink the stamp, choosing to ink only part of it in places so the branch would be narrower the second time I stamped it. I blended the grey and black inks with a paintbrush to give some dimension to the wood. The new geometric border added to the Asian feel of the card.
The ‘So Special’ reveal continues on the PB blog this week as the transparent stamps are featured and you still have a chance to win a shopping spree until Feb 28th.
Supplies:
Stamps: Branch of Grace (PB)
Dies: geometric border, feel better
Inks: Black soot, Hickory smoke, Frayed burlap, barn door, festive berries distress stains and markers (Ranger)
Paint: Phthalo blue Dr Ph. Martin Hydrus
Cardstock: Fabriano 100% cotton hot pressed watercolour paper, black cardstock
Fancy Hearts
Posted: January 19, 2016 Filed under: Brusho, Fancy Heart, Triple love | Tags: Brusho, Penny Black creative dies 5 Comments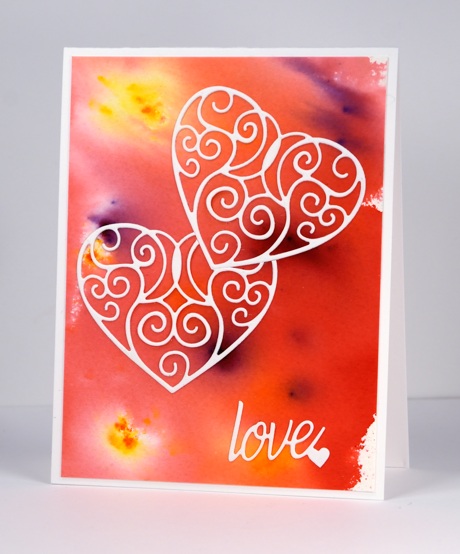
There are a bunch of new heart die in the new ‘Love Always’ release, some solid and some with pretty patterns like this one. I cut two, then snipped out a little section so I could fit them together. The little word is snipped from the ‘triple love die’and I added ‘stick it’ adhesive to the back of the cardstock before die cutting to make it easy to attach. The background is brusho magic in pink, yellow and purple.
Keeping it short and sweet this time; I hope you have a great day.
Supplies:
Dies: Triple Love, Fancy Heart (PB)
Paint: Brusho (C0lourcraft)
Cardstock: Cold pressed Fabriano watercolour paper
A mixed media card!
Posted: January 13, 2016 Filed under: Camelia | Tags: gelli plate, Penny Black creative dies, Penny Black stamps 6 Comments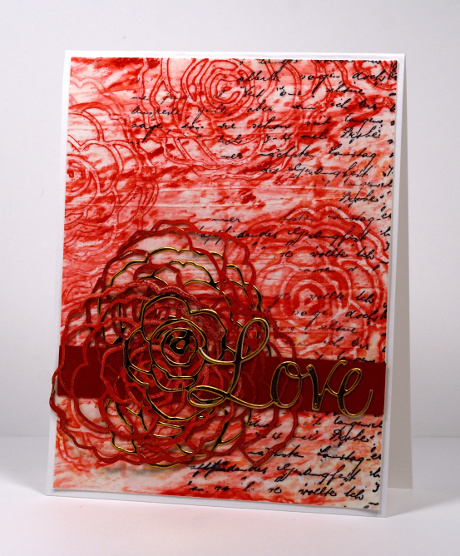
It seems that mixed media doesn’t appear on this blog very often but if I make a bit more progress in my art journals that might change. The card above features the first and only use of my gelli plate. I have seen lots of wonderful creating done with gelli plates but mine is currently stranded on Mount Techniques-To-Try along with other cool stuff!
I began by laying rose die cuts on my gelli plate then brayering red printing ink over plate and roses. I removed the roses before making a print of the pattern on deli paper. Out of several prints this one showed the most detail. I was going to throw away the very messy rose die cuts but a friend who was busy creating at the same time convinced me to hold onto them. Once they were dry they made delicate details which co-ordinated with the paper. I added some text to the paper, a solid strip to ground the embellishments and some gold die cuts for the focal element.
Have you gelli-printed? I intend to get back to my plate and would love to hear your favourite way to use one.
Supplies:
Stamps: Letter Background (PB)
Dies: Camelia die, Love & Joy die (PB)
Inks: Red Printing ink (Speedball), Black archival ink (Ranger)
Cardstock: Mixed media paper, deli paper, gold foil cardstock
Brusho Hearts
Posted: January 5, 2016 Filed under: All my hearts, Brusho, Love & Hugs, Love is growing, Triple love | Tags: Brusho, Penny Black creative dies, Penny Black stamps 13 Comments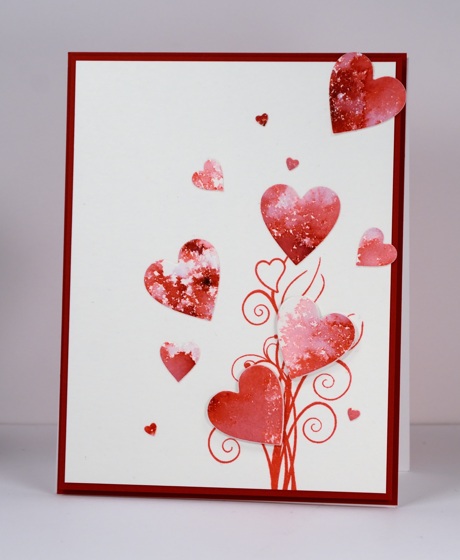
‘Tis the season for creating Valentine cards but the fresh snow outside my window is calling me to keep creating snowy scenes! New stamps and dies however, were calling from inside my craft room so red, pink and hearts it is. The new release from Penny Black is full of love, hearts and sweet wishes and is available in the online store now.
I created a red and pink panel with brusho then die cut a bunch of different sized hearts using three different dies. Aren’t those tiny ones cute? I popped up two of the hearts on fun foam and attached the others directly onto the stamped panel.
What are you creating in the new year?
Supplies:
Stamps: Love & Hugs (PB)
Dies: Triple love, Love is growing, All my hearts (PB)
Mediums: Brusho powders, Versafine Satin red ink
Cardstock: Hotpressed Fabriano watercolour paper, Neenah chili red
Also: white fun foam
Stamping the stories: Lord of the Rings
Posted: December 1, 2015 Filed under: Butterfly Party, Fantasy, Leaflets, Splendor, Stamped Landscapes | Tags: Kuretake Gansai Tambi watercolour paints, Penny Black creative dies, Penny Black stamps, Tsukineko Memento inks 17 Comments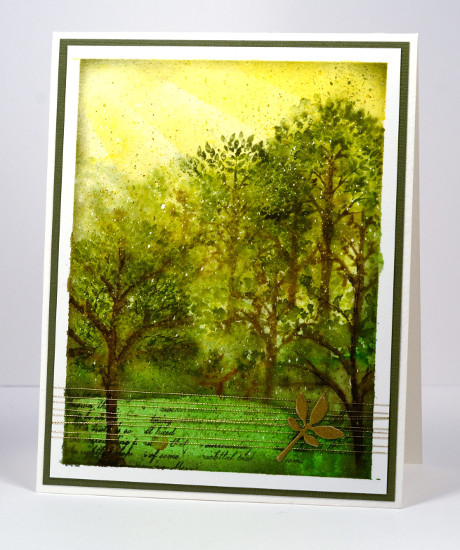
I don’t understand it but none of my children seem to have inherited my love for ‘The Lord of the Rings’ trilogy and ‘The Hobbit’. I think they all read the latter but I am not sure that any of them finished all three LOTR. I have read them several times and thoroughly enjoyed them so when challenged with a fantasy and imagination theme the delightful forest of Lothlórien came to mind. I pulled out some tree stamps, some green inks and gold thread to create a representation of the magical forest realm of the elves in middle earth.
I used some sponging for the golden light of the sky, painting and stamping for the trees and grass and a little gold die cut popped up on gold thread as an embellishment. I stamped some of the trees wet into wet to create some misty atmosphere but added some more defined stamping once the paper dried. I think the little bit of script helps give the middle earth look. The speckled look is from a fine splatter of masking fluid applied before I started and removed once all the paint and ink were dry.
Have you read any JRR Tolkien? Are you a fan? What about the movies? Years ago my husband and I were watching ‘The Fellowship of the Ring”; we did not know one of our girls was still awake in next room. All she could hear was music then battle sounds, then talk, then battle sounds over and over. She finally asked us to turn it down; it was too scary to listen to. Poor thing. The movies are a whole lot of walk, talk, walk, fight, fight, fight, walk, talk, walk, fight, fight…
Supplies:
Stamps: Splendor, Fantasy, Butterfly Party (PB)
Inks: Rich Cocoa, Bamboo Leaves, Espresso Truffle, Pear Tart, Olive Grove(ImagineCrafts/Tsukineko)
Cardstock: Fabriano 100% cotton hot pressed watercolour paper, green cardstock, Neenah natural white
Dies: Leaflets (PB)
Also: Gansai Tambi paints, gold embroidery thread, masking fluid
Stamping the Seasons: Spring
Posted: November 19, 2015 Filed under: Flower tags, Joy to All, Stamped Landscapes | Tags: Brusho, Canson watercolour paper, Penny Black creative dies, Penny Black stamps 9 Comments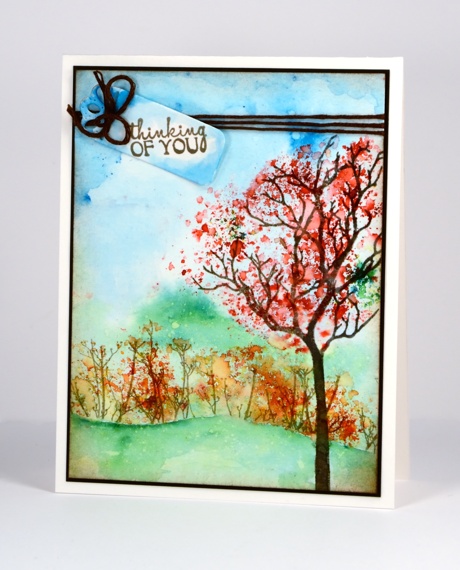
I am back as with a spring card today using the same stamp set as yesterday, Joy to All. Some of my process was the same as for my winter scene but I definitely changed my colour palette. The muted tones of bister powder worked well for yesterday’s chilly scene but the spring scene required the brighter brusho tones.
I began by taping the watercolour panel down then painted water over the whole area. I sprinkled blue and green powder over the wet panel and moved it around with a paint brush until I had a soft background with clouds and trees suggested. Next I stamped the tree in a pigment ink and masked the area around the branches so I could sprinkle red powder over the branches without getting it on the rest of the scene. I spritzed over the powder and watched the grains transform into blossom.
I cut a hill shaped mask which I positioned across the bottom of the panel then stamped the twig stamp to create some flowering bushes with orange brusho. I removed the mask and darkened the edge of the hill with a paint brush and some green brusho mixed with water. I spritzed a fine mist of water over the panel which resulted in some little spots of lighter colour here and there.
To complete the card I added a brown mat and some brown thread to tie a tag stamped and painted to match the sky.
Supplies:
Stamps: Joy to All, A bunch (PB)
Dies: Flower tags
Inks: Versafine vintage sepia (ImagineCrafts/Tsukineko)
Cardstock: Canson 100% cotton hot pressed watercolour paper, dark brown cardstock
Also: Brusho watercolour powder , brown embroidery thread
Bister landscape
Posted: November 2, 2015 Filed under: Bister, In the winter | Tags: Bister, Penny Black creative dies 11 Comments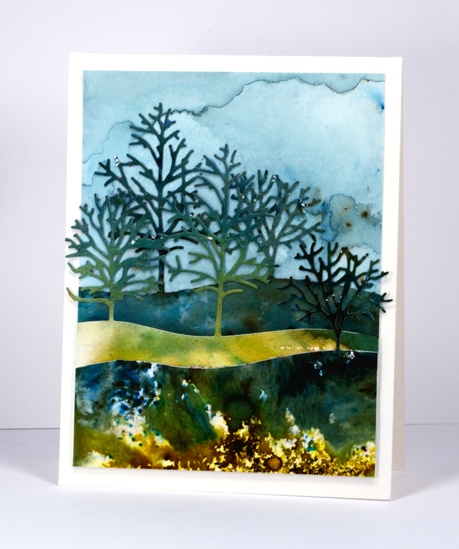
If your creating goes anything like mine you probably end up with multiple experiments scattered across your work space. After playing with bister, the green, blue and yellow powders in particular, I ended up with three extra panels, some dark, some light. The patterns and colours just called out to be made into a landscape using the new triple tree die from Penny Black. The die is called ‘in the winter’ but I know it is going to be handy all year round. I die cut the same hillside of trees from each panel then snipped off the trees I didn’t need so I could have the distant trees peeping out between the mid ground trees. I painted a new panel for the sky using just blue bister which I diluted so the trees would stand out against it.
Now that I have used up those stray scraps of bistered beauty; it’s time to play with some brusho. Stay tuned.
Supplies:
Dies: In the winter (PB)
Inks: Bister
Cardstock: Hot & Cold Pressed Canson












