Mooneys Trees
Posted: October 6, 2023 Filed under: baby blue leaf embossing folder, Echidna Studios, Mooneys Trees, Paper Rose, Taylored Expressions, weathered | Tags: Echidna Studios, gel press, gel printing, Paper Rose, Taylored Expressions 6 Comments
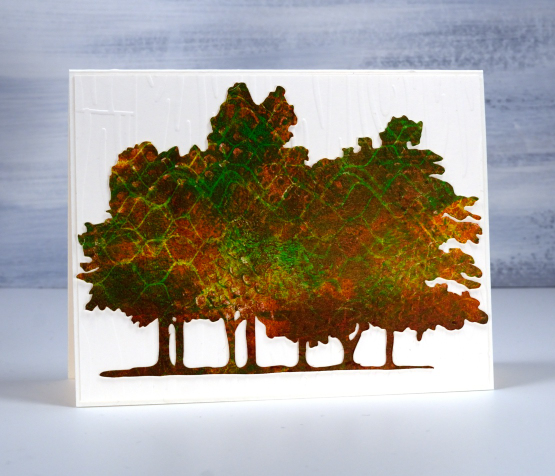
If you live in the same city as me you might have walked past these trees, sat under them or perhaps photographed them. My daughter worked from her own photo to create some digital stamps in different forms. Check out the sketch style, outline, silhouette and simplified version in the Echidna Studios etsy store. The set is named Mooneys Trees because they are growing in Mooneys Bay park.
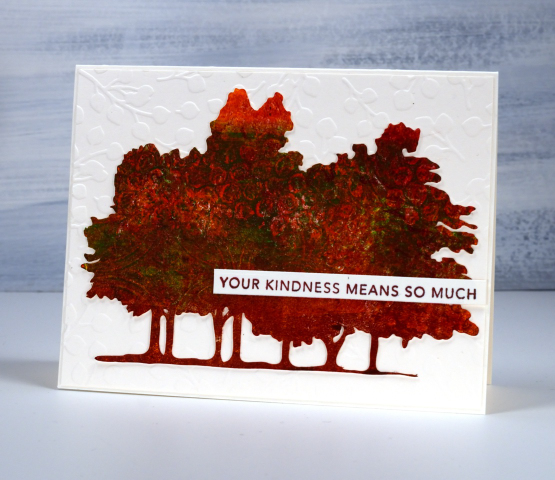
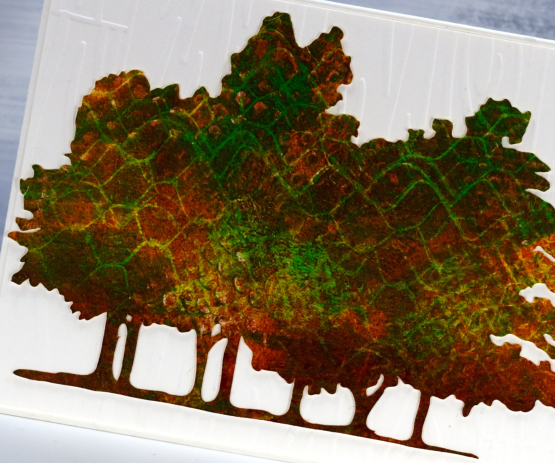
I used the simplified version to cut several pieces to gel print on. As you can see the trees fit on a 5.5″x4.25″ card base so I was able to print patterns on them on a 5×7 gel plate. If you are on IG you can watch a very short video of me printing the one above.
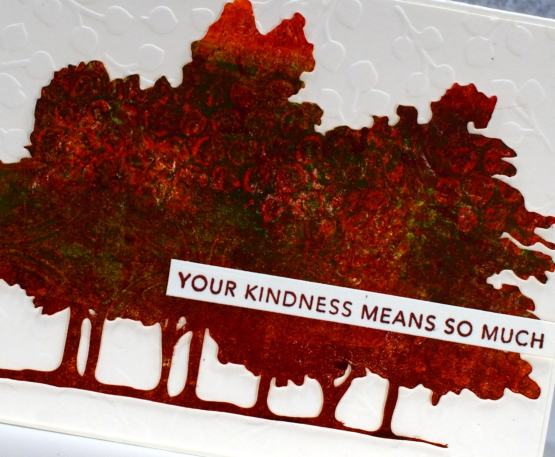
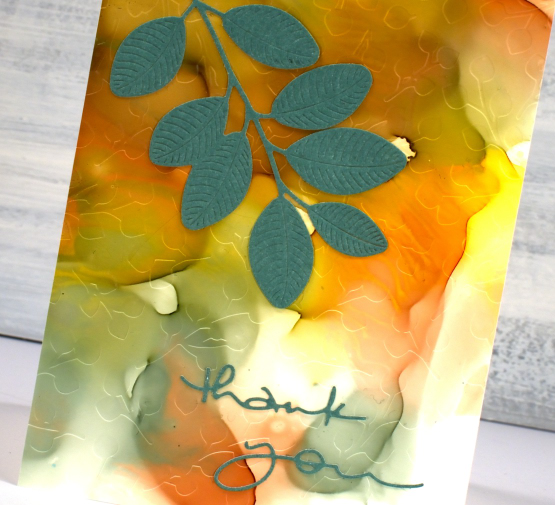
All the trees featured in this blog post were made by printing three layers of paint on top of each other, letting the paint dry in between layers. I varied the paint colours and texture on each layer. On the card above you might be able to pick out bubble wrap and textured cardboard patterns.
On the card directly above and below I used hessian (burlap) to add one texture as well as cardboard packaging on another layer. I also had plastic trays featuring criss-cross patterns to press on the gel plate.
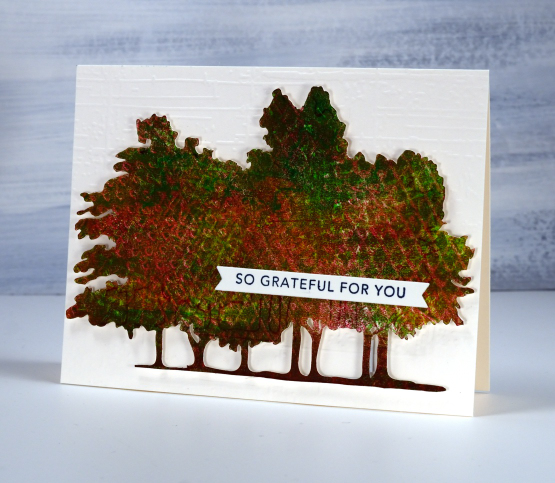
Each printed tree cutout is attached to an embossed panel of cardstock. Only one of the tree cutouts is popped up because that task had too much of a fiddliness factor! The embossed background below is called ‘weathered’ from Taylored Expressions. The embossing folder used on the card at the top of the page is ‘baby blue’ from Paper Rose Studio and the embossing folder on the second card is from Close to my Heart but I don’t know the name; it creates the look of a wooden fence.
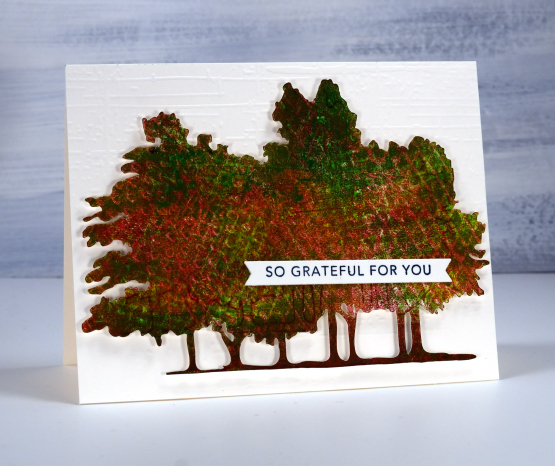
The two sentiments are from Taylored Expressions ‘simple strips background stamp‘ which stamps 18 sentiments to be cut out with the co-ordinating die. I really enjoyed making cards featuring local trees which are changing colour right now and of course I loved gel printing the cutouts to look autumnal.
My blogpost today features affiliate links to Scrap’n’Stamp. If you buy through these links I receive a small commission at no extra cost to you.
New YouTube channel – New Video
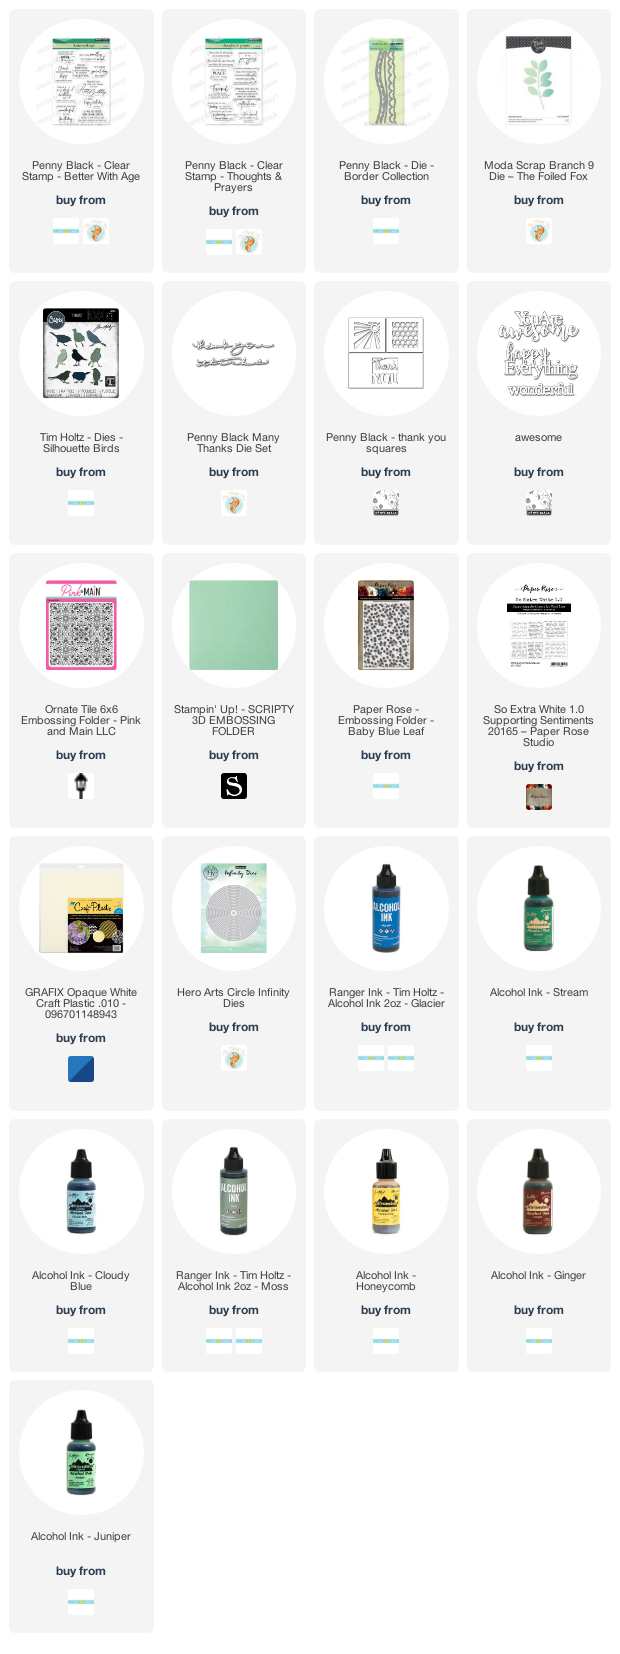
Posted: February 11, 2023 Filed under: Alcohol Ink, baby blue leaf embossing folder, Branch 9 die, cricut, Dies, grafix, Moda Scrap, my designs, ornate tile embossing folder, Paper Rose, Penny Black, Pink & Main, scripty, silhouette birds, so extra supporting sentiments, Stampin Up, thank you squares, Tim Holtz, Tutorial | Tags: cricut, grafix, grafix craft plastic, Penny Black creative dies, Penny Black stamps, Ranger Alcohol Ink, Stampin Up, Tim Holtz 6 Comments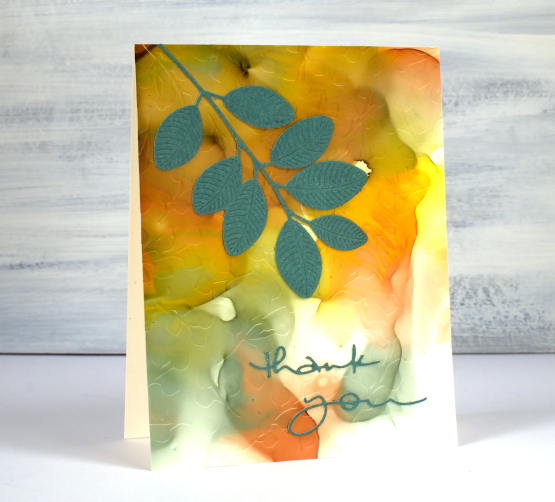
If you have been visiting this blog for a while you will know I had a youtube channel for many years. In 2022 after ten years of adding videos and gathering a community of 7000 subscribers my channel was deleted. In recent weeks I have started again with a new channel and some videos ‘from the archive’. My new channel is called Heather Telford Art and I would be very happy if you decided to like, subscribe and tell your friends! There is content on there that you may remember from the last few years and starting today there is new content also! The new ‘2 for 1 Alcohol Ink Panels’ is freshly filmed for my new channel and I hope it will be the first of many!
There are quite a few photos in this post because, well, this is a 2 for 1 technique and I created three panels which of course became six panels and one was cut in half so there are seven cards to show you in this blog post! Grab a cup of tea. I have added a linked supply list at the very bottom of this long post.
As well as a new youtube channel I am also a new Cricut owner. The stencil used on the card below was designed by me and cut on my Cricut. It is available as a cutting file from Echidna Studios etsy store.
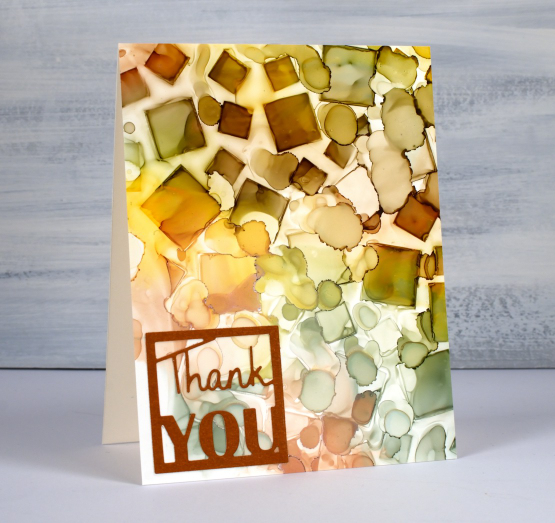
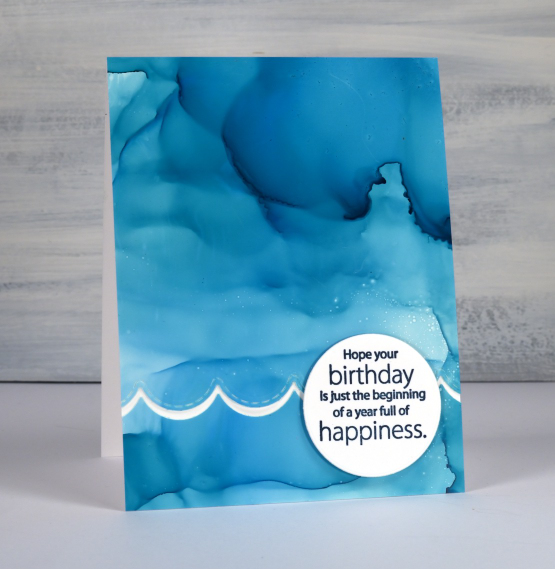
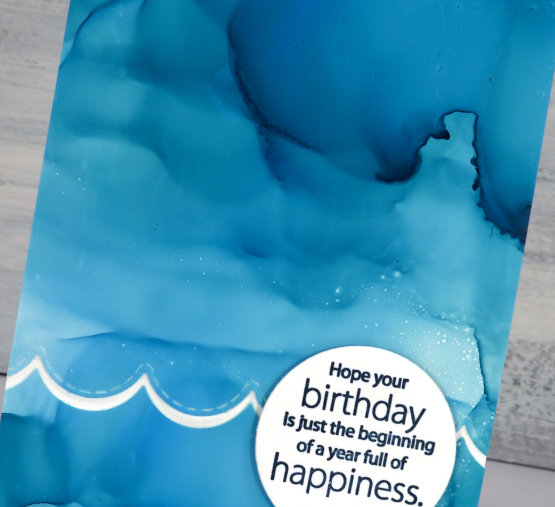
Most of the 2 for 1 smooshed panels I left as a full card fronts adding only a sentiment or some die-cutting. As the panel below reminded me of the ocean, the PB wavy scallop border seemed a nice touch.
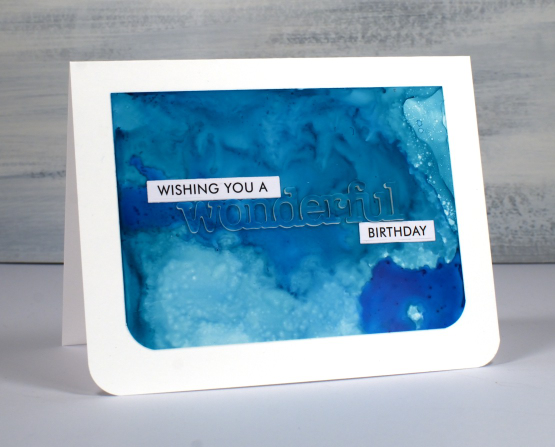
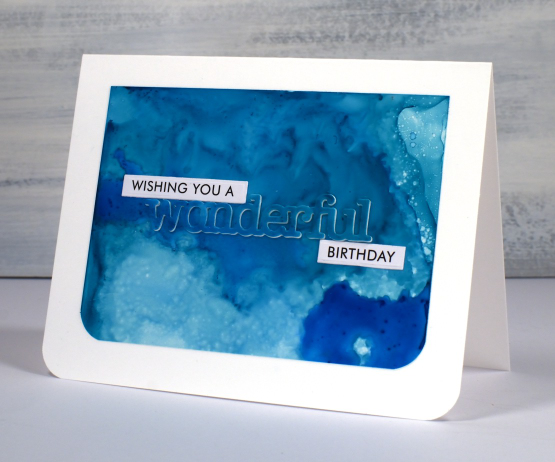
The panel below is a half panel from the first one I showed on the video. I love the patterns from the isopropyl alcohol ink spray even though they don’t stay distinct. Even when die-cutting the word from the panel I couldn’t leave it off so I popped it up. Not so funny story: I guess I haven’t popped up a die cut word in a while because I flicked those little shapes inside the letters into the garbage when I poked the word from the die. So yes, I had to hunt through my garbage to complete the card.
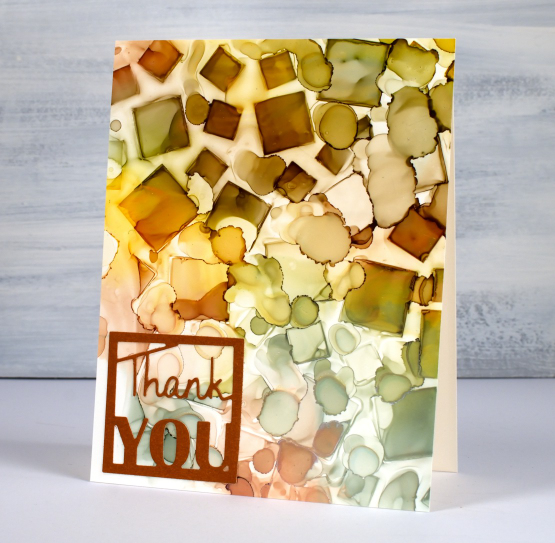
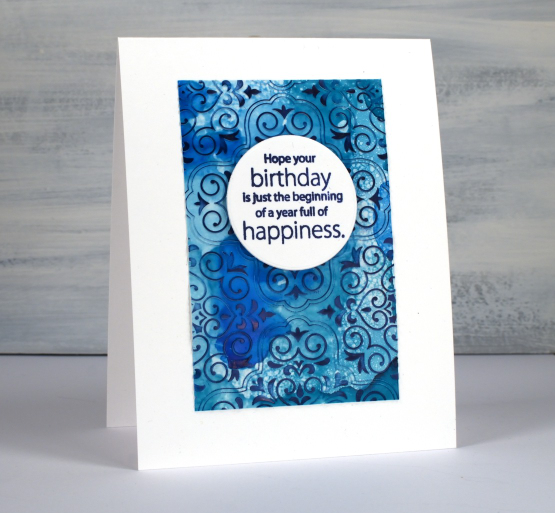
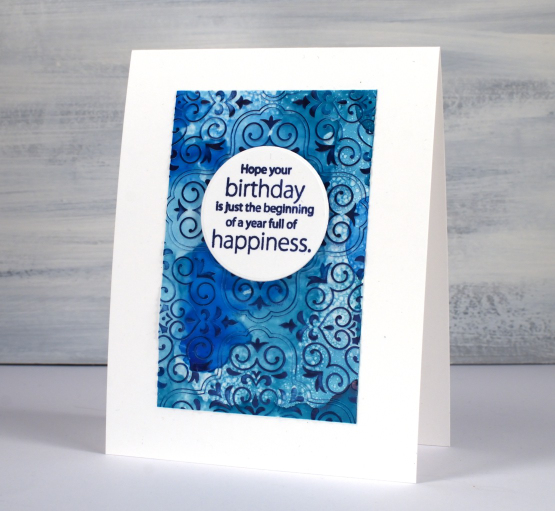
I don’t know why I hadn’t tried it before but seeing how well Grafix craft plastic responds when put in an embossing folder has been a revelation! I thought it might crack but it doesn’t so you can have the subtle impression of your embossing folder on a panel or the bold inked pattern as I’ve done on the card below. Sentiments in circles might be a little fad I go with for a while too; they look cute!
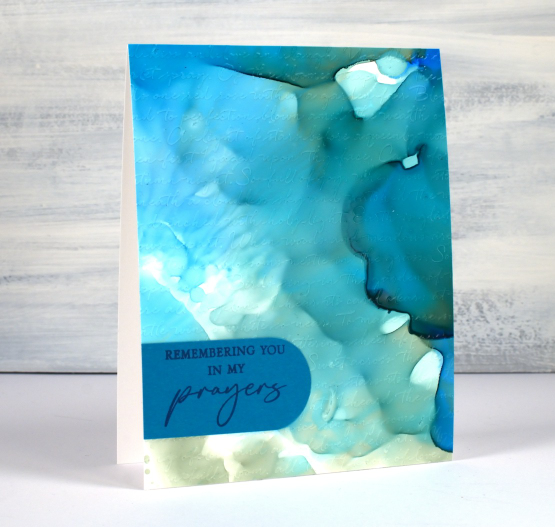
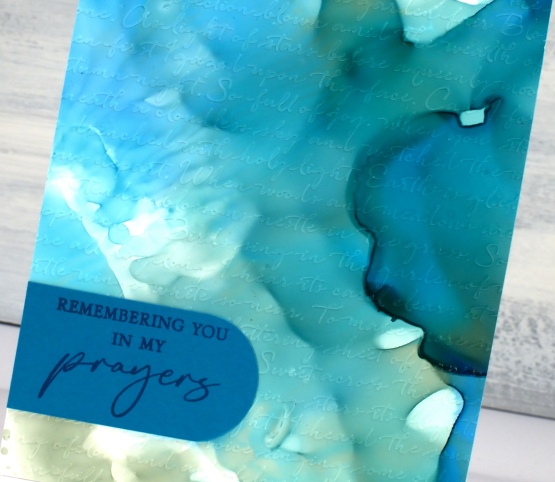
You can see the soft look of embossed script on the panel below, especially in the close up. This detailed embossing folder is from Stampin’ Up and is called ‘scripty’. I don’t think it is available anymore but you might something similar.
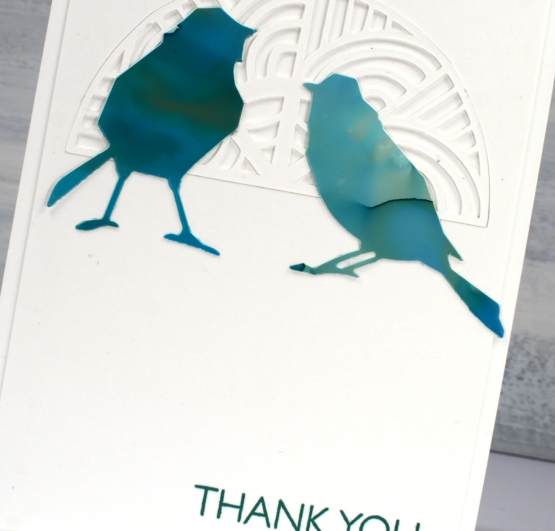
For this final card I cut six little birds from the panel and played with layouts for quite a while. I ended up just using two which means I have four birds in hand for another project. (pun definitely intended)
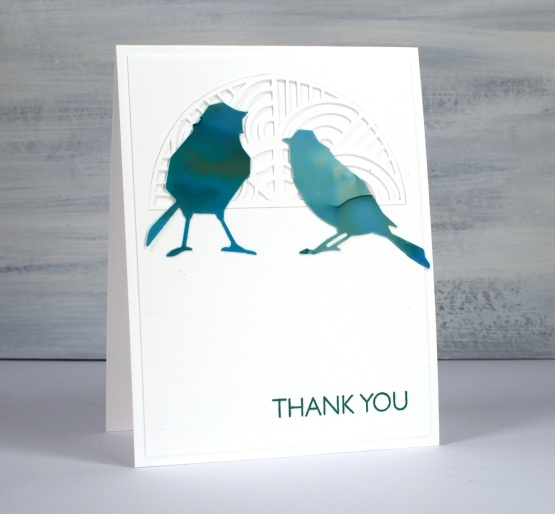
The intricate half circle cut out behind the birds is also one of my new cricut cutting files but more about that in another post. If you got this far, you’re a champion. Thank you for supporting me here on my blog and I would love to see you over on youtube as well.
(Compensated affiliate links from Foiled Fox, Scrap n Stamp)