Black Christmas Tags
Posted: December 12, 2024 Filed under: Baubles, Christmas filigree, Christmas stockings digital stamp set, Echidna Studios, grafix, mittens | Tags: Echidna Studios, grafix, grafix craft plastic 2 Comments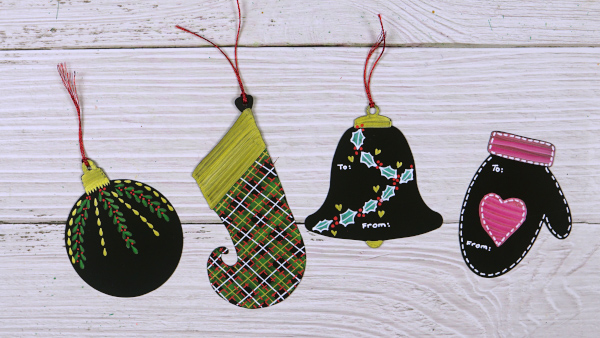
Last year I decorated some black glass balls for Christmas using a selection of paint pens and metallic brush pens. The opaque colours really pop on black so I decided to do something similar on black craft plastic from Grafix. You can see my process in the video below.
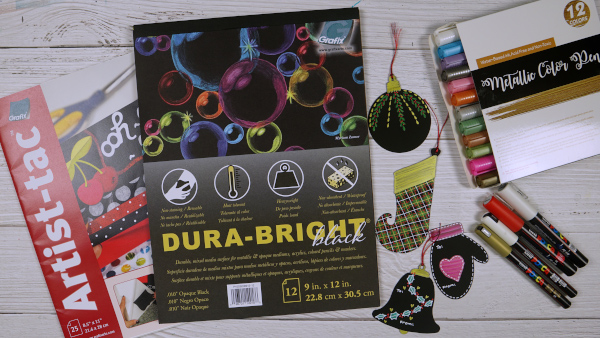
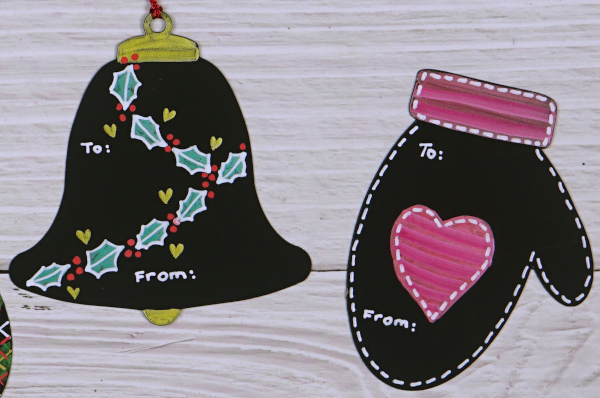
I cut the four different shapes on the cricut using digital cutting files from Echidna Studios (bell, mitten, stocking and bauble) The paint pens were all Posca and the metallic brush pens a brand I found on Amazon.
The dura-bright black (black craft plastic) from Grafix is a good surface for paint pens. It is very smooth and I found writing and drawing on it is very relaxing.
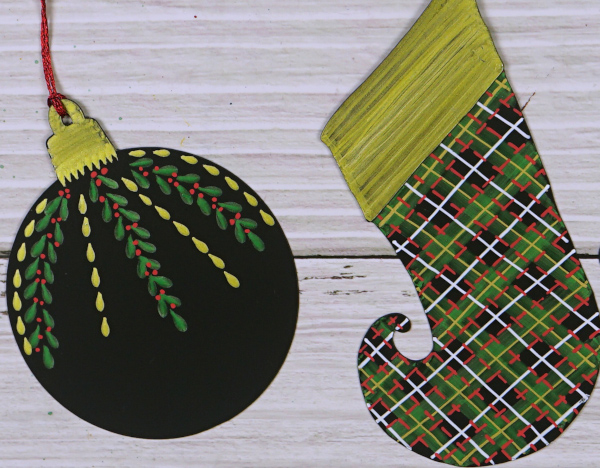
You might not think of black as a Christmas colour but the shine of the metallics and the chalkboard pop of the white is quite fun.
Carols & Stencils
Posted: November 28, 2024 Filed under: grafix | Tags: grafix, Stencils, vintage papers 9 Comments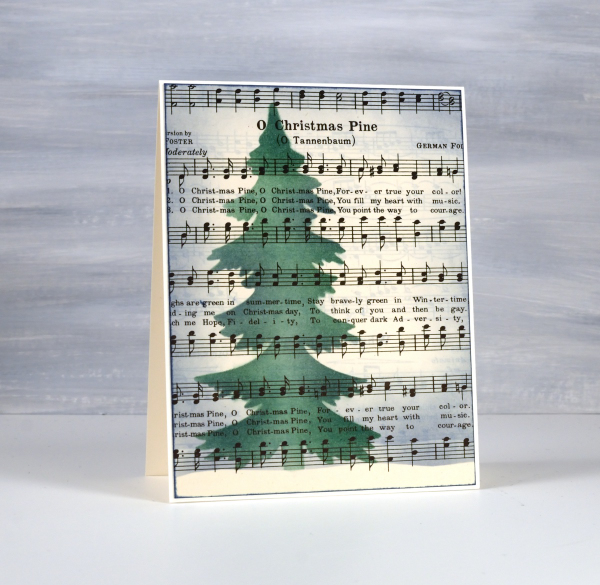
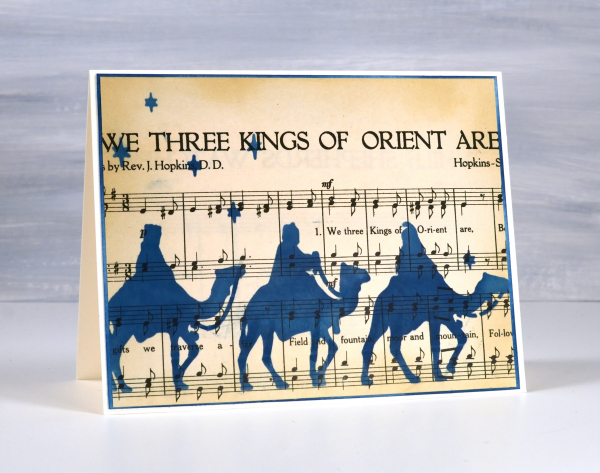
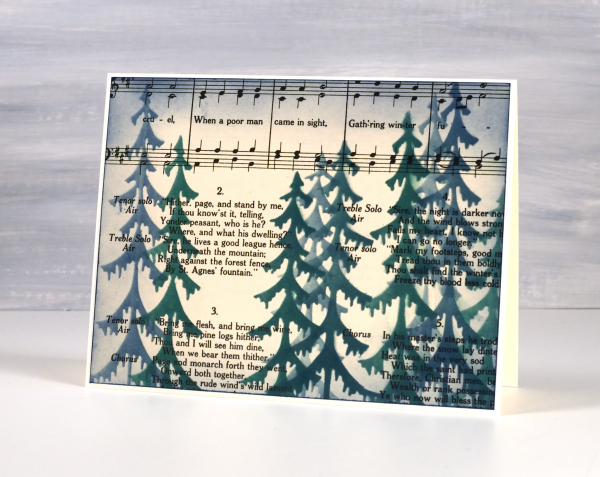
Here are a few more of my ‘bookish Christmas’ card ideas. I cut up a few vintage carol books to create unique cards. Where possible I have matched the stencil to the carol!
I created the tree stencils by die-cutting Grafix blue stencil film with Creative Expressions ‘Winter Pines’ dies.
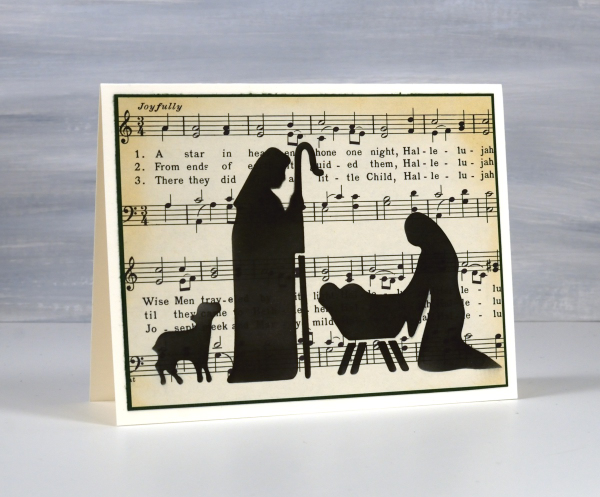
All the nativity stencils are from a set I bought on Amazon a couple of years ago when I couldn’t find many nativity stencils in the craft stores. Sadly the set is a lot more expensive now.
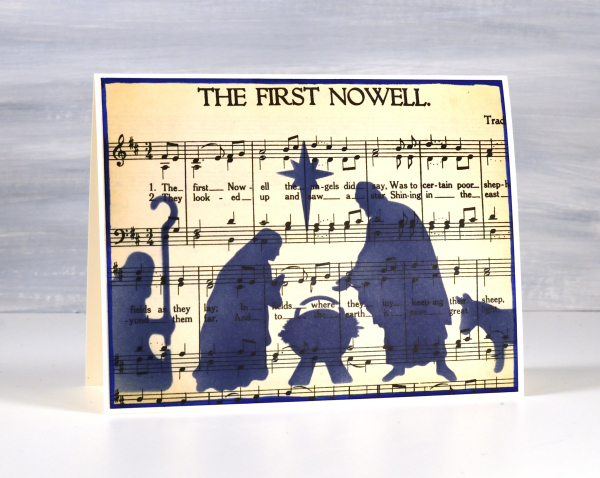
If you don’t want to cut up carol books you could photocopy the music; I was able to buy a couple of books second hand so I didn’t mind turning the pages into cards. I decided against greetings or sentiments because there are plenty of words on the card fronts already!
Masked & Blended Leaves
Posted: October 24, 2024 Filed under: Echidna Studios, grafix, Leaves digital stamps and cut files, Spellbinders | Tags: Echidna Studios, Fabriano Watercolour Paper, grafix, Ranger Distress inks, Spellbinders 5 Comments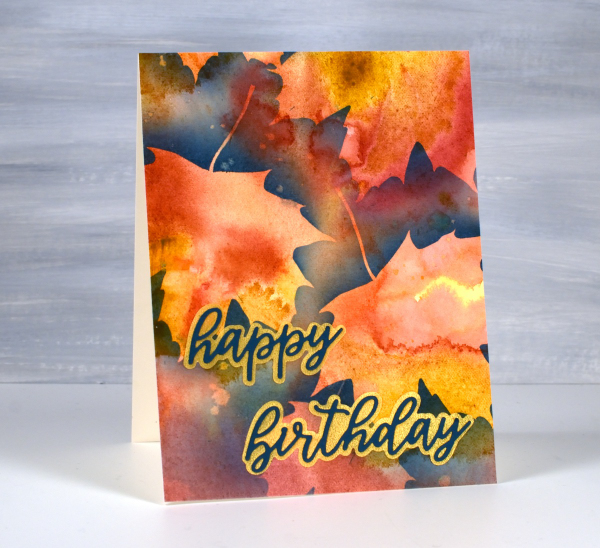
It’s been a couple of weeks since I posted, sorry about the blog neglect. In my last post (which also featured leaves) I mentioned I had just started to see some reds and oranges along with the earlier yellow leaves. This week the colours have been stunning! So many deep reds contrasting with the remaining greens and still more yellows and oranges. Even crawling in traffic has had its upside as I gaze at the autumn leaves.
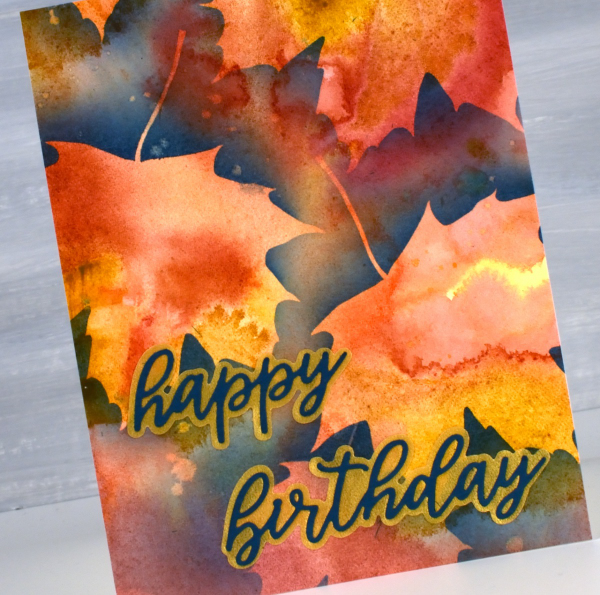
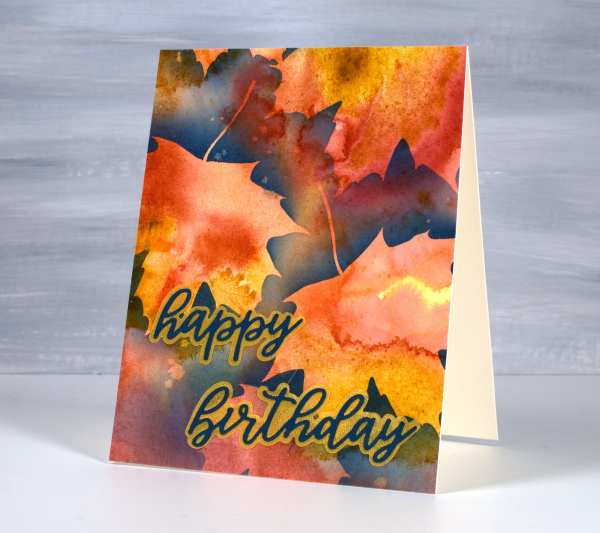
About a month ago I posted a video showing how I created a watercolour painting of leaves using masking (more leaves). Today’s card featured the same process using a maple leaf design from the Echidna Studios Leaves digital stamp set. Instead of painting the final dark layer over the masks, as shown in the video, this time I blended chipped sapphire ink using a blending brush. I think the navy edge around the leaves shows them off beautifully but because I didn’t blended too heavily you can still see the watercolour underneath. I finished this card off with a layered sentiment from the Spellbinders ‘serenade sentiments etched dies set‘
This post includes affiliate links from Foiled Fox. If you buy through these links I receive a small commission at no extra cost to you.
Masked Autumn Leaves – Video
Posted: September 23, 2024 Filed under: Echidna Studios, grafix, Leaves digital stamps and cut files, Tutorial | Tags: Echidna Studios, Fabriano Watercolour Paper, grafix, video 4 Comments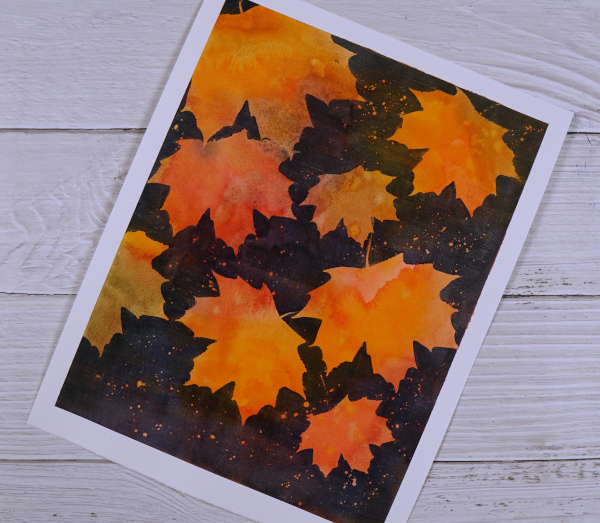
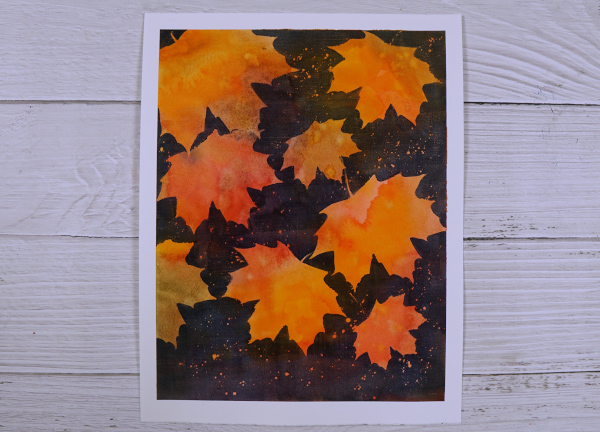
I recently completed an autumn painting using Grafix extra tack frisket film to mask autumn leaves. I began by painting the whole panel in yellows, oranges, reds, browns and greens. I used watercolour paints and did some mixing on my palette and also on the hot pressed watercolour paper.
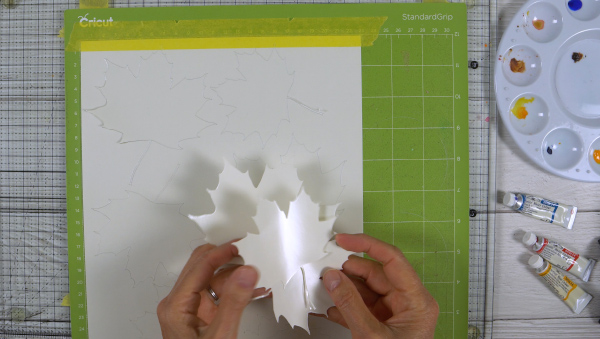
Once I had a multicoloured panel I added maple leaf masks cut on my Cricut from Grafix extra tack frisket film. I used the maple leaf image from the new Echidna Studios Leaves digital stamp and cut files set. The set includes six different leaves: Hickory, Maple, Honey Locust, Linden, Sumac, and Oak. I cut maple leaves in a variety of sizes. Watch the video below to see the whole process.
I liked using this method rather than painting one leave at a time because it was quicker and resulted in more random colour patterns on the leaves.
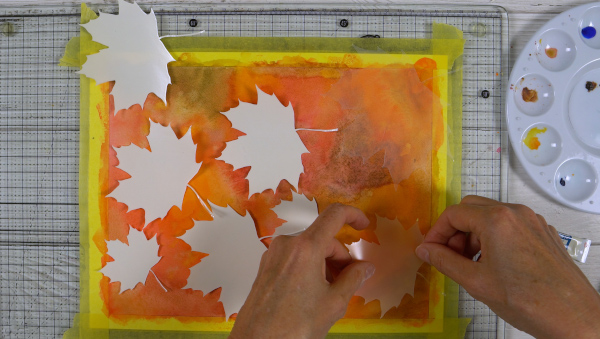
I left my panel as an 8.75″x11.25″ painting but you could also cut a panel up into several pieces to make autumn or thanksgiving cards.
Grafix Window Journal – Video
Posted: July 29, 2024 Filed under: Alcohol Ink, cricut, grafix, mixed media journal | Tags: Alcohol Ink, Art Journal, grafix, grafix craft plastic, Mixed Media, Ranger Alcohol Ink 1 Comment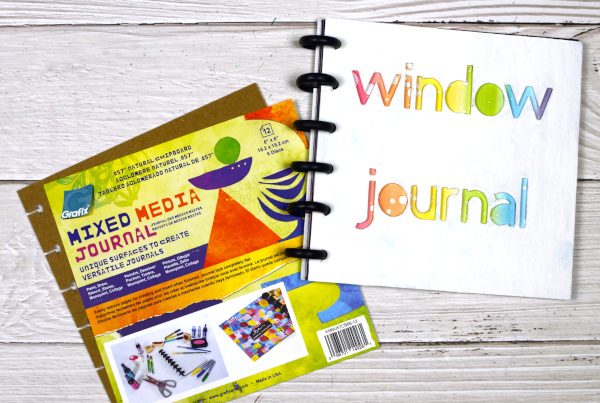
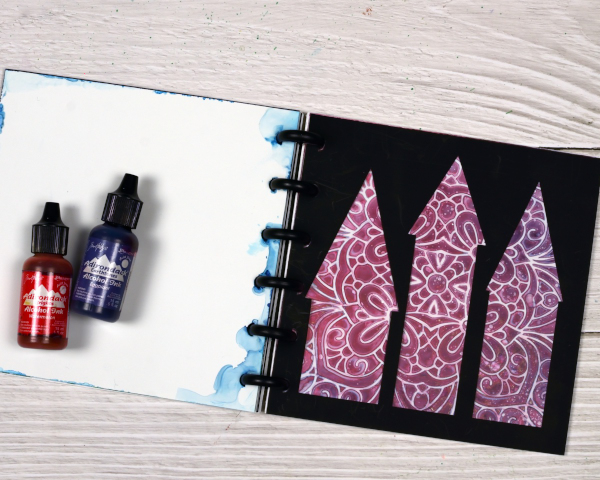
I’ve featured the Grafix Mixed Media Journal in videos a few times. I’ve made a swatch book for alcohol inks and markers and a sample book for alcohol ink techniques. Both books are good for reference. Today’s post and video feature the mixed media journal as a ‘window journal. I have added pages in pairs of black and white using the handy disc system. I have cut windows in the black pages and created alcohol ink patterns on the white pages.
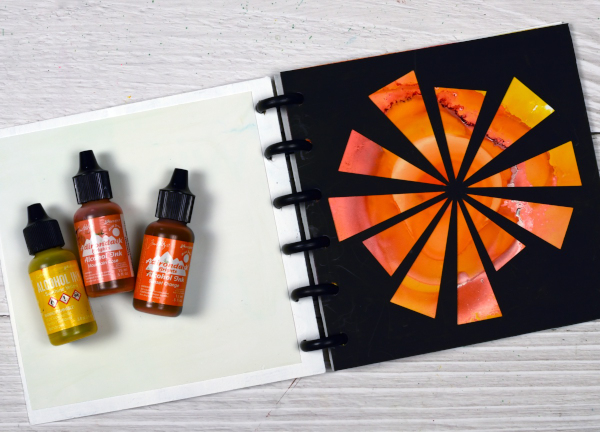
You can configure the Grafix mixed media journals however you like as the pages and covers are available in separate packs or as a complete journal with different types of pages. Check out the video below to see how I put my window journal together.
You could create a window journal in many ways. I have added colour and pattern to only one side of the white pages but it would be fun to add a design on both sides so you could see the pattern through the window before the pattern and the window after.

You can see in the video that I reworked the ‘ocean’ page shown below several times. That is the beauty of white craft plastic; it is possible to take the page back to white or just dilute the ink with isopropyl alcohol and move it into a new pattern.
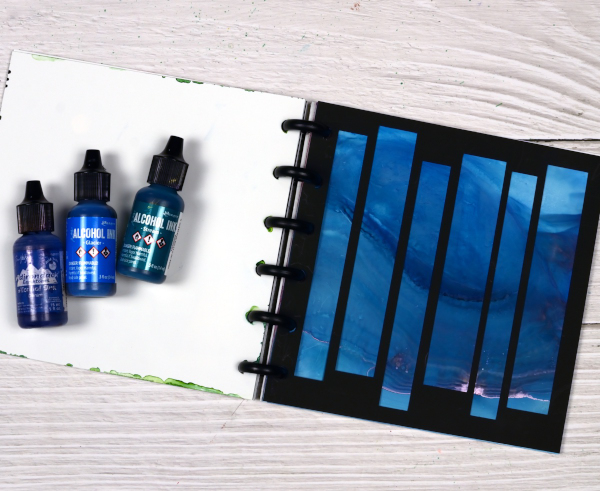
The final page in the book features a stencil design with alcohol inks, so simple but so effective. I cut all the windows on my Cricut using free shapes available in Cricut design space but you could cut them with dies or with a craft knife.
To see my other videos featuring the Grafix Mixed Media journal click the following links: Swatch book Swatch book cover Technique book
Stencils + Alcohol Inks
Posted: July 5, 2024 Filed under: Alcohol Ink, brush lowercase alphabet, coloring book stencil, cricut, grafix, Picket Fence, Spellbinders | Tags: Alcohol Ink, cricut, grafix craft plastic, picket fence, Spellbinders 6 Comments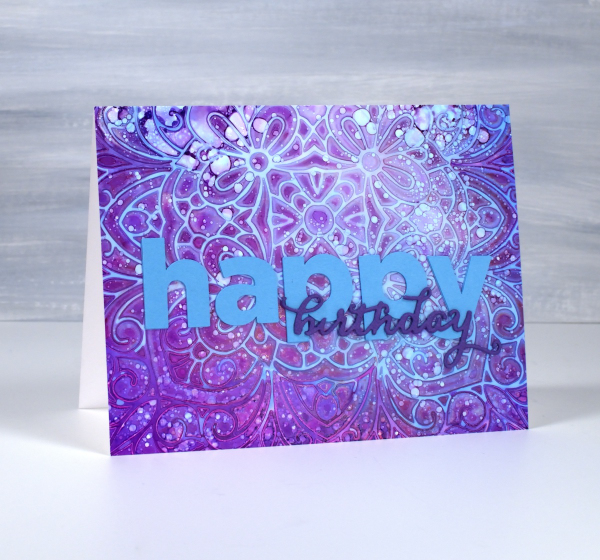
An amazing thing happened with this card. It arrived on the birthday, after being sent from Canada to Australia by an unreliable sender(me)! So now the recipient has it I am posting it here on the blog.
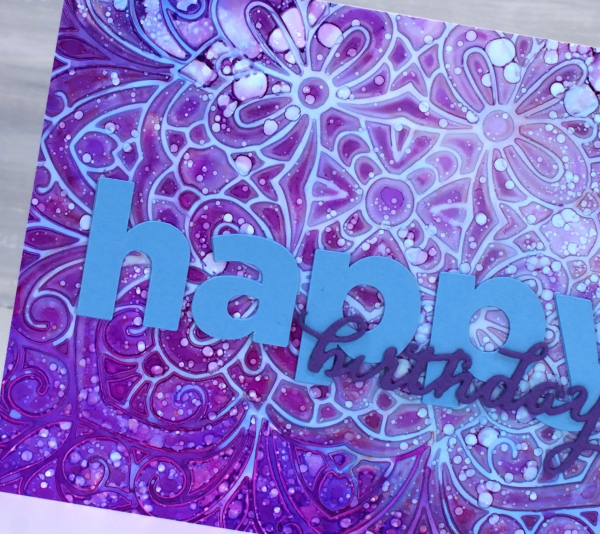
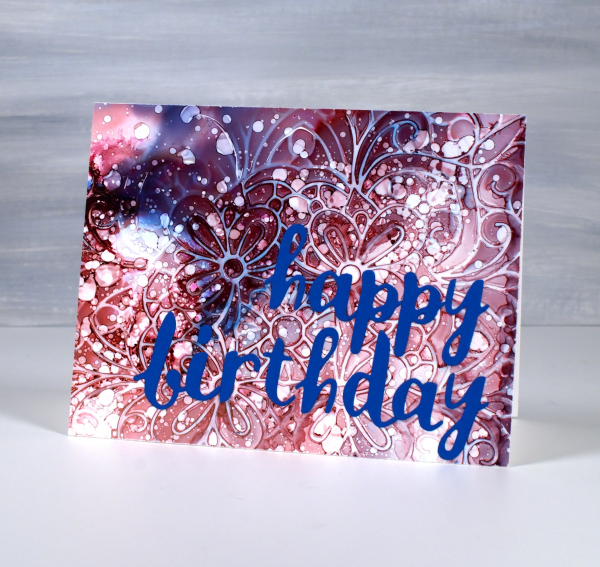
I have shared cards made with this technique before; it’s a fun one. I used alcohol inks on Grafix white craft plastic and for both cards I only used two inks along with isopropyl alcohol.

I start with a layer of isopropyl alcohol on the panel, then add a couple of alcohol inks and tilt the panel to move the inks and cover the whole panel. Next I drop a stencil on top, for both these cards I used the Picket Fence ‘coloring book’ stencil; it’s 6″x6″ so the panel was larger than needed for my finished card.
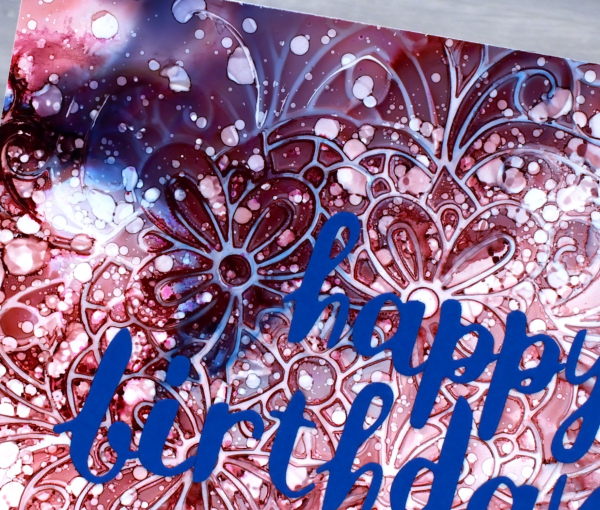
Because the ink is trapped under the stencil it takes a while to dry. Sometimes I help it along with an air pump, not a heat tool. When it is dry I like to splatter some isopropyl alcohol lightly over the panel to get little dots here and there. I don’t flood it because that would take me back to the beginning of the process. When the ink is dry I lift the stencil to reveal the intricate pattern, then choose which part of the panel I want for my card front. If I don’t like the finished panel I add more isopropyl alcohol and tilt the panel to dilute all the ink and start again. That is the beauty of working on grafix white craft plastic; you get second chances and even third or fourth if you’re fussy like me!
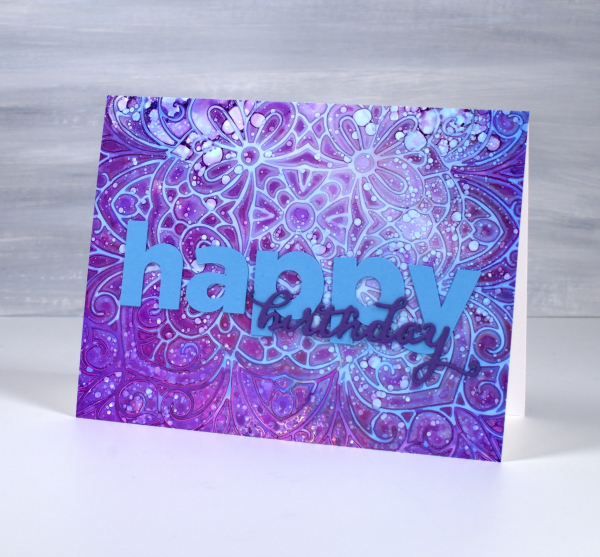
The sentiment on the card above is a combination of cricut letters and a Penny Black birthday die. On the card below I used the Spellbinders brush The sentiment on the card above is a combination of cricut letters and a Penny Black birthday die. On the card below I used the Spellbinders brush lowercase alphabet dies.
Butterfly Journal Page
Posted: April 22, 2024 Filed under: gel press, grafix, Handmade book, perspective butterfly die, Tim Holtz | Tags: gel press, gel printing, grafix, Handmade book, Tim Holtz 6 Comments
It’s been ages since I posted a journal page here. I think some catching up is in order. This double spread is in my handmade 7″x 7″ journal. I did not sit down with an open journal and a plan for this page. After a productive gel printing session I had a butterfly print and a stripe and stencil print made with the same paint colours. To use them on cards I would have had to cut them up and I really didn’t want to.

When gel printing I will often print with the same handful of paint colours for a while before switching them. It makes it easier to keep printing as I have a few paint tubes on hand but more importantly I end up with a stack of prints which co-ordinate with each other because the colours and sometimes patterns are repeated.

I used the Tim Holtz ‘perspective butterfly‘ die to create a reusable duralar mask for gel printing. The circle patterns were made with the Carabelle Studio ‘accumulation de ronds’ stencil. The ‘corduroy’ looking pattern on both the butterfly and the circle page was made with a piece of textured wall paper. I completed this page quite a while ago but didn’t know if it was finished as I hadn’t added any words anywhere. Maybe that will change one day but I love it just the way it is. What you can’t see is the warm gold shimmer from the gold acrylic paint used to pull the prints.
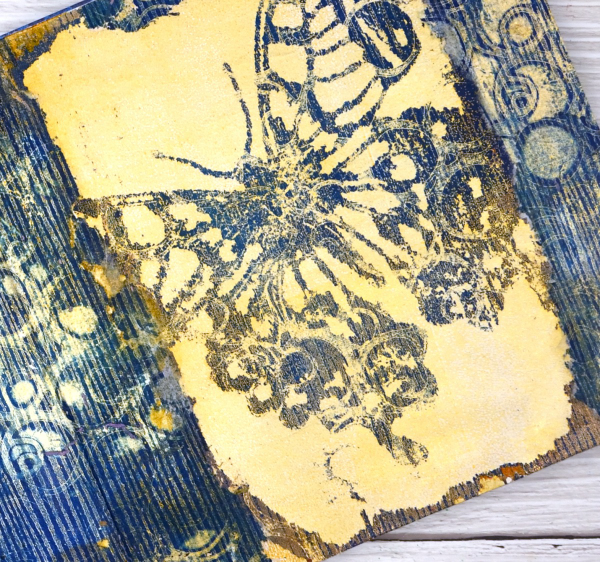
The butterfly print was on paper but the circle and stripe print was on tissue and was fairly fragile. I was able to glue most of it down successfully with gel medium but I don’t mind the ragged edges where it tore. This post includes affiliate links from Foiled Fox and Scrap’n’Stamp . If you buy through these links I receive a small commission at no extra cost to you.
Alcohol Ink & Foil – Video
Posted: April 17, 2024 Filed under: Alcohol Ink, grafix, Penny Black, Tutorial | Tags: Alcohol Ink, grafix, grafix craft plastic, Penny Black stamps, Ranger Alcohol Ink, video 4 Comments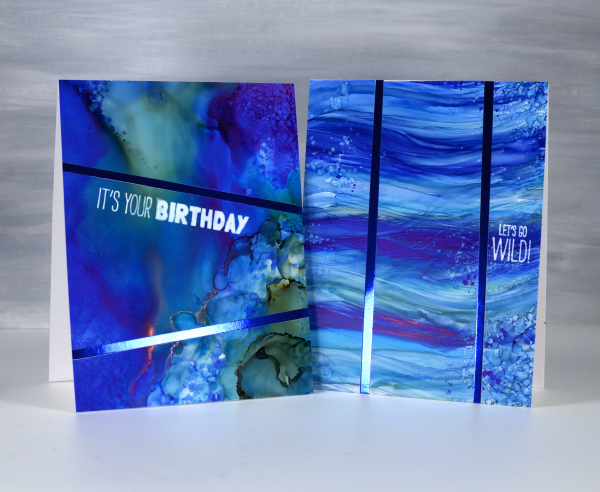
Recently I spent a happy few days creating with alcohol inks after quite a break. They did not disappoint! I am looking forward to more experimenting and maybe some Christmas card designs.
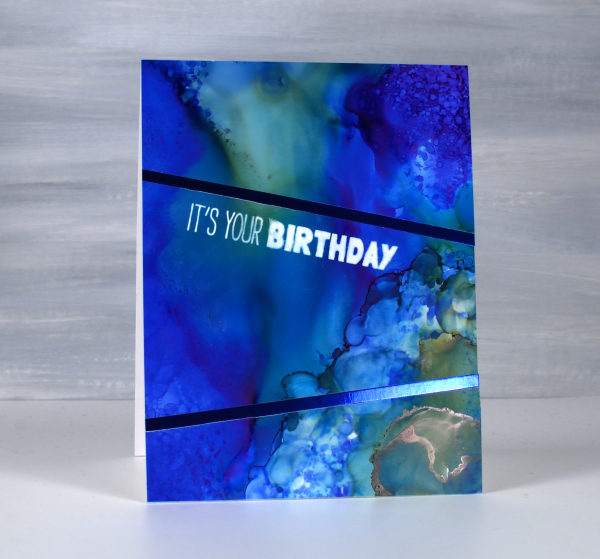
I created some cards using Grafix white craft plastic (also called bright white dura-lar), Grafix metallic foil board and Grafix double tack adhesive. These are all products I’ve used before and definitely recommend. You can see my process in the video below.

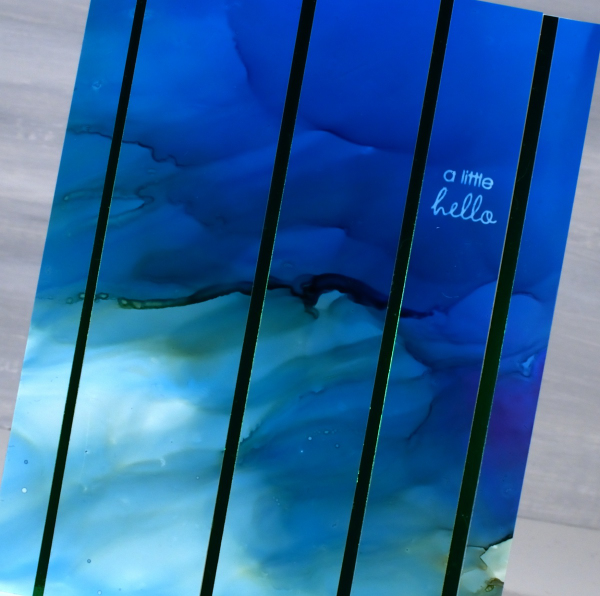
In the cards above and below you can see the wavy ocean effects I achieved easily by applying alcohol inks with a felt applicator. I love watching the inks continue to move after I lift the applicator.
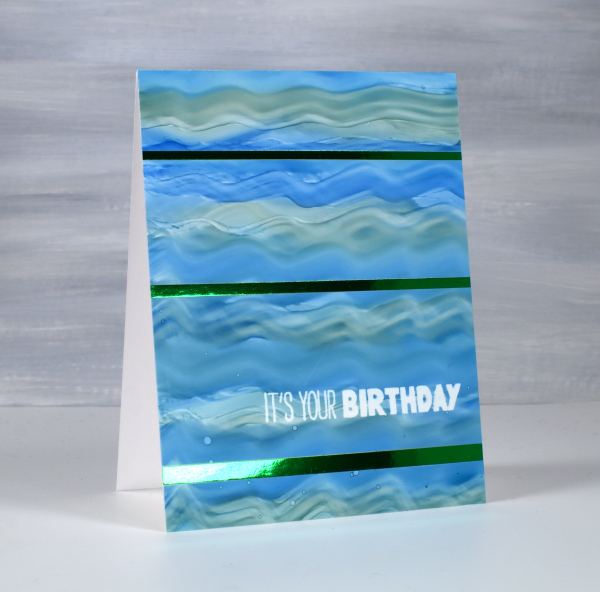
The panels below were all made by moving the alcohol inks and isopropyl alcohol around. I tilt the panel and use an air blower to move the the ink. Where there was too much of one colour or too much intensity of colour I diluted with isopropyl alcohol or just dabbed ink off the panel with a paper towel
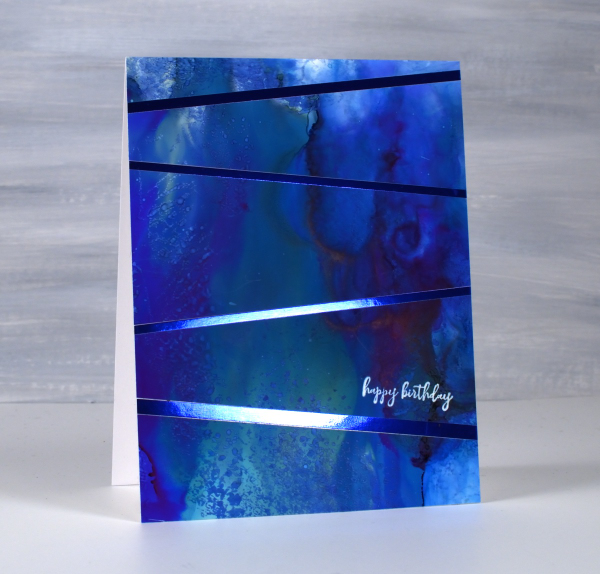
I used some of the green and the blue metallic foil board from Grafix to add to my designs. To see another project using the foil board click here.
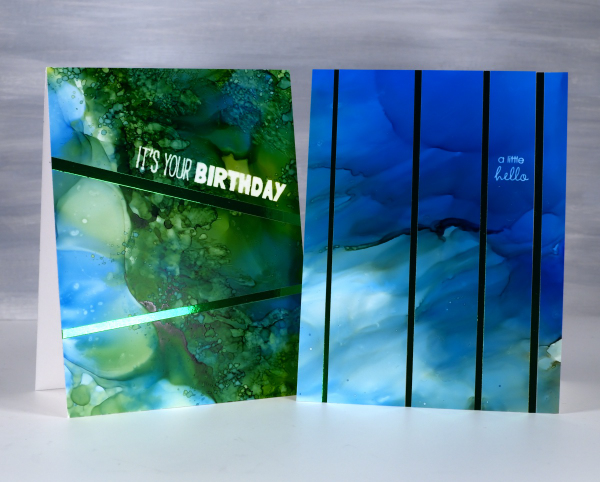
To add the sentiments I used an alcohol lift inkpad from Ranger. Its been a while since I’ve used alcohol lift ink and I was thrilled with how well it lifted the ink from the grafix white craft plastic. With a few repeat impressions and removal of diluted ink I was able to remove the bold green and blue inks to reveal sharp white words.
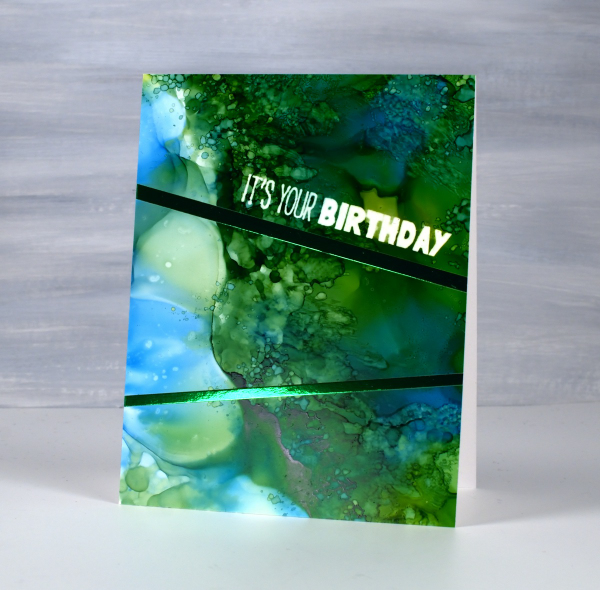
The sentiments are from the Penny Black ‘how sweet!’ set and ‘Let’s Go Wild’ set. Both are rubber cling sets which seem to hold the lift ink well and apply it evenly. This post includes affiliate links from Foiled Fox and Scrap’n’Stamp . If you buy through these links I receive a small commission at no extra cost to you.
Bubble Flowers
Posted: February 29, 2024 Filed under: bubble flowers, cricut, Echidna Studios, gel press, grafix, Taylored Expressions | Tags: cricut, Echidna Studios, gel printing, grafix, Taylored Expressions 3 Comments
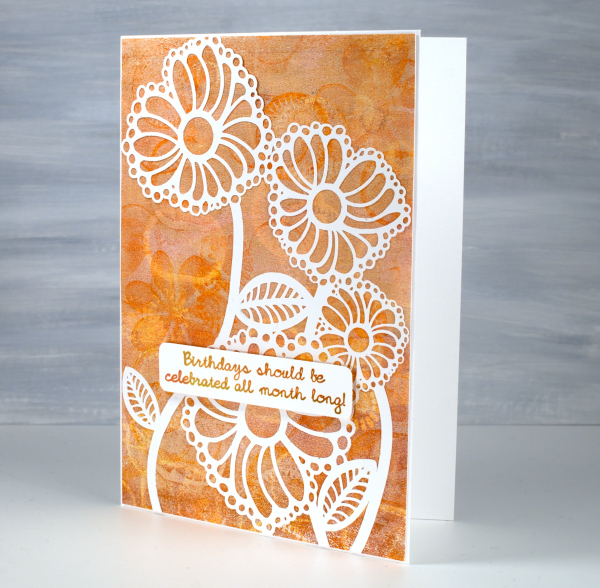
Aren’t these happy flowers? The design is called ‘bubble flowers‘ for obvious reasons and is one of mine. I was inspired by a vintage brooch. The digital design is available in the Echidna Studios etsy store and can be cut on a digital cutting machine as I have for today’s cards. It can also be printed, foiled and cut as a stencil for blending or gel printing. Do you get the idea you’ll be seeing more of the bubble flowers?
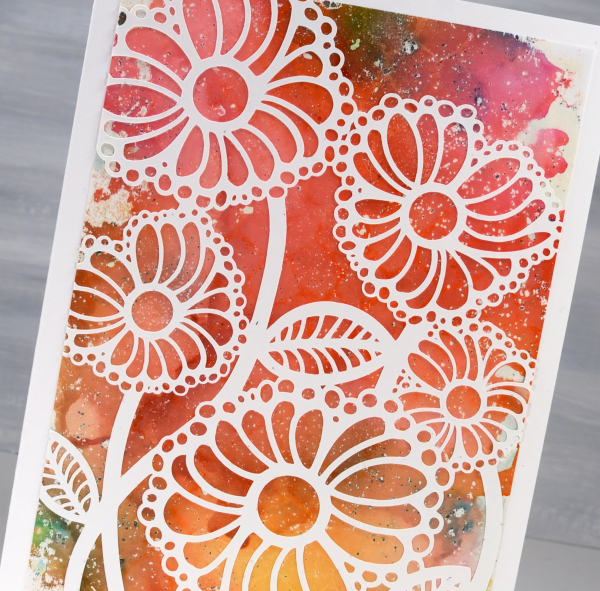
I cut the bubble flowers from thin white cardstock and you can probably tell there are some tiny cuts necessary. If I went much smaller than this I started to lose some of the bubbles so I kept it big enough for a 5″x7″ card.
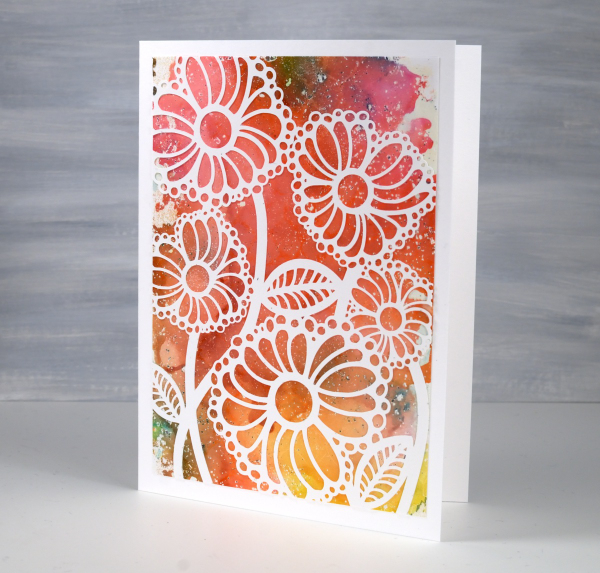
The backgrounds for both cards are gel prints. The multicoloured one above was created with alcohol inks then pulled with white acrylic paint. It was so pretty I didn’t want to cut it up or cut it down, hence the large card with a layer over the top.
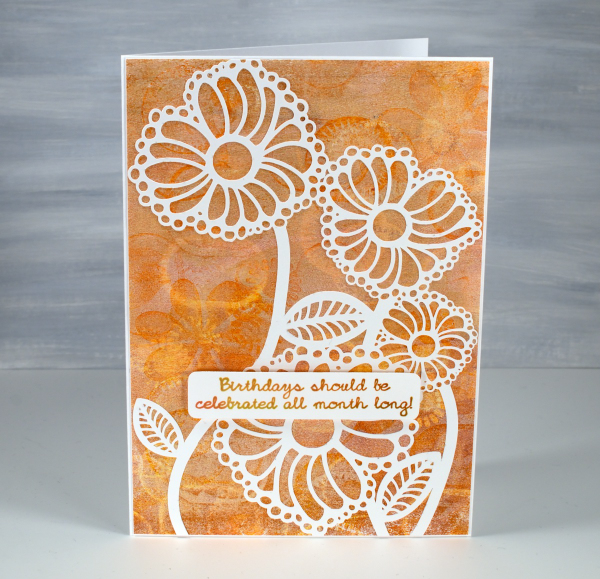
The second background panel was all done with acrylic paints and a selection of objects to add texture. I can see one of my die-cut stamps, some chocolate tray shapes, lid shapes and other found textures. I cover a wide range of techniques in my Gel Print Journey class and I think this might have been a print I did just as we finished filming. All my online classes are currently on sale 40% off by using the code LEAPYEAR40 at checkout or by simply clicking the link above.
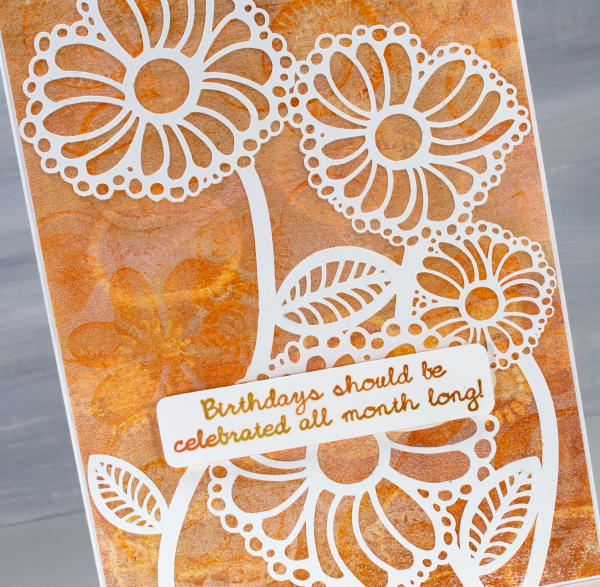
Because the bubble flowers are a delicate and detailed cut-out I used Grafix Artist Tac to glue them down. Once I had pressed the image onto the background I ran it through my die-cutting machine to burnish it. (quicker than doing it by hand). The sentiment is one I totally agree with and is from Taylored Expressions ‘In & Out Birthday’ set. Thank you for your lovely messages about our family’s February festivities; it was fun to share them with you in my previous post.
Foiled and Embossed ornaments – video
Posted: November 27, 2023 Filed under: grafix | Tags: grafix, Penny Black creative dies 5 Comments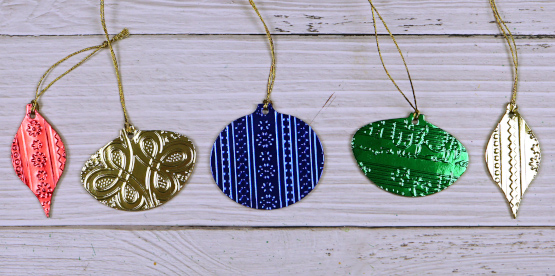
Recently I made a video for Grafix which involved some experimenting with their Metallic Foil board. I created some sweet little foiled and embossed ornaments and a card. I was very impressed with the way the foil board embossed. You can see the whole process in the video below.
The double tack mounting film worked very well also adhering the foil board to the chipboard. It made for some simple but very shiny, eye-catching ornaments. If you don’t have dies that cut chipboard you could always die-cut several baubles from cardstock and stack them to make a firm base for the foiled layers.

I added a single layer embossed bauble to a card front too and the shine of the foil board looks lovely on the very neutral vintage music paper. The ornaments and bow were all cut using the Sizzix ‘retro ornaments’ Bigz die and the word ‘joy’ was cut with the Penny Black ‘joyful winter’ die.