
Bethlehem Mask
Posted: December 4, 2024 Filed under: Bethlehem skyline, Echidna Studios, Finetec paints, gel press, gelli plate | Tags: Echidna Studios, Finetec artist mica watercolour paint, gel press, gel printing 4 Comments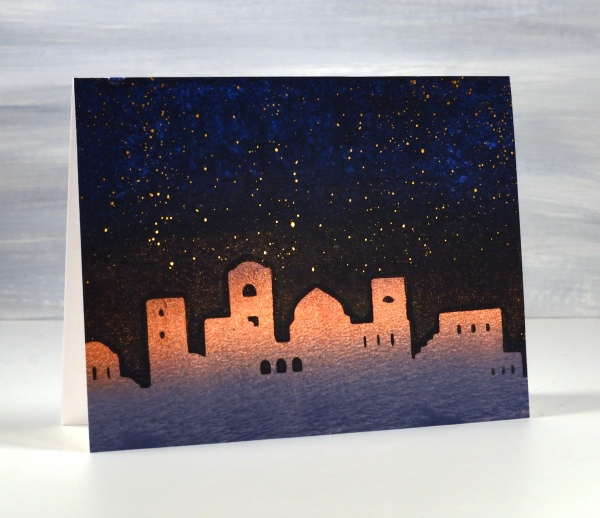
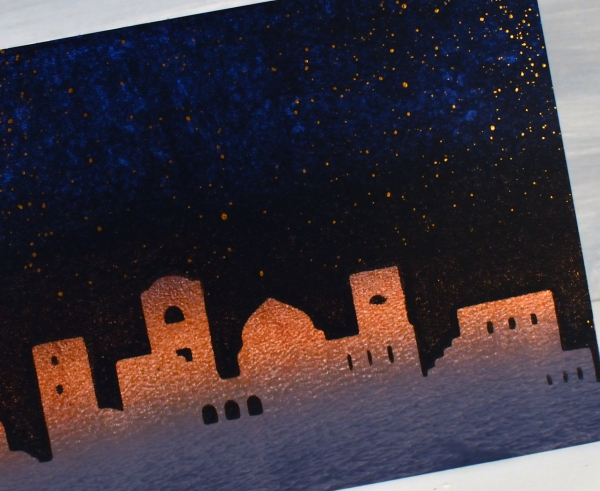
It’s been quite a while since the gel plates have been out of their tins but I was able to do a few prints recently to turn into Christmas cards. I cut a stencil using the Bethlehem Skyline digital cut file from Echidna Studios. To create the scene above I gel printed a blended grey, copper and blue panel. Next I brayered black onto the plate then lay the Bethlehem mask (cut on the Cricut) on the black before pressing the three coloured panel down on the plate. Once I had put the card together I splattered bronze watercolour paint in the sky as stars.
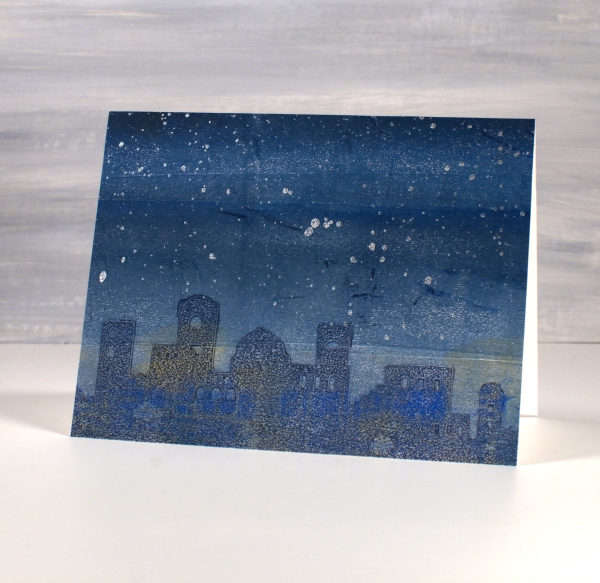
The panel below is less distinct as I pressed the mask into a layer of Paynes grey paint on the gel plate, removed all paint around the mask then lifted it to reveal a shadowy Bethlehem. Once it was dry I brayered blue and gold paints over the top before pulling the print. Once again I added metallic paint splatter to sky, this time lunar silver.
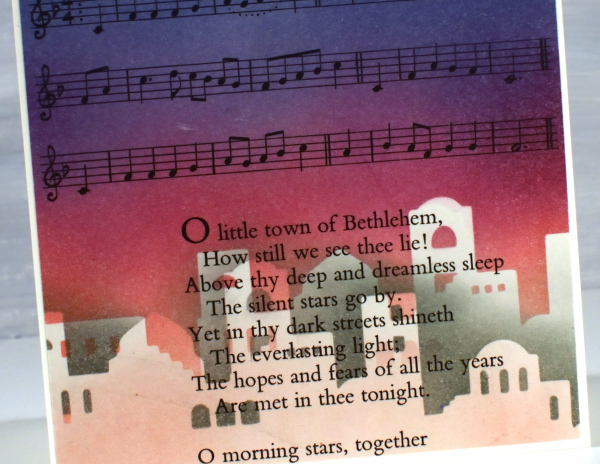
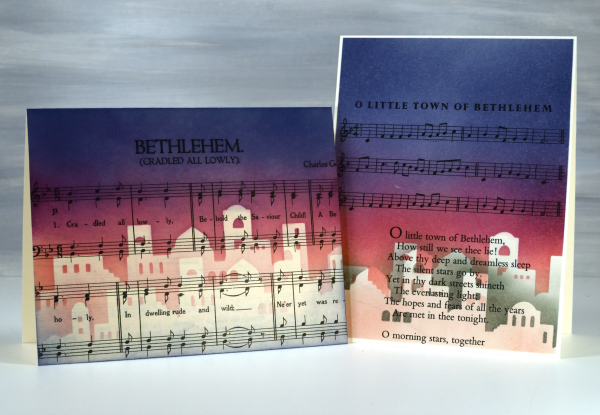
In a similar style to the carol and stencil cards I shared last week I used the Bethlehem mask cut from Matte Dura-lar to blend a scene on two carol panels cut from vintage carol books.
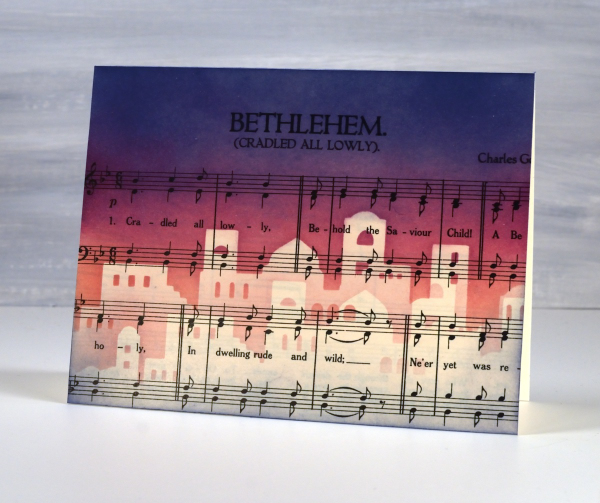
I blended pale peony over the top edge of the mask then switched to seedless preserves, then to chipped sapphire at the top of the panel. To add depth to the buildings I lifted the mask and positioned it below the first silhouette blended with either pink or grey ink
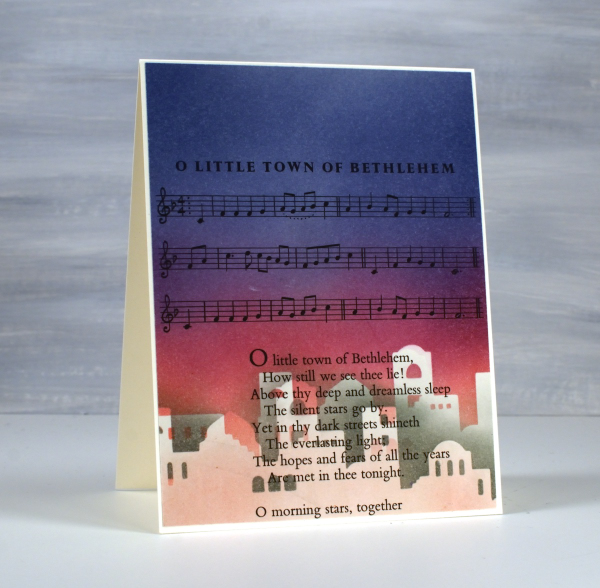
Once again no need for sentiments on the front but I will stamp a message inside.
To see more cards made with this digital set click here. The set includes two versions of the silhouette plus a outline image for printing. Today’s post features affiliate links to The Foiled Fox. If you buy through these links I receive a small commission at no extra cost to you.
The Red Vintage Truck
Posted: November 29, 2024 Filed under: Coloured pencil, Vintage Truck | Tags: Echidna Studios, Faber-Castell Polychromos Colour Pencil 7 Comments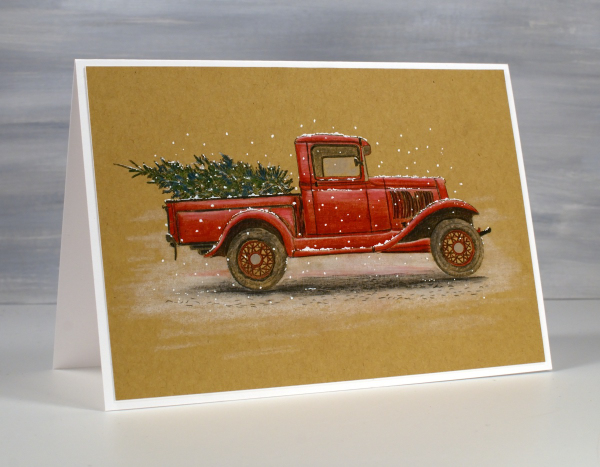
I’m just a wee bit excited about this lovely truck. As you might have guessed, it is one of my daughter’s digital designs and is available as a digital stamp from Echidna Studios to print any size you like. She took a photo of a vintage truck one day and this design is inspired by that truck. It wasn’t in winter and it didn’t have a tree in the back but she added the tree as an optional addition! The digital stamp is called Vintage Truck + Bonus Christmas Tree!
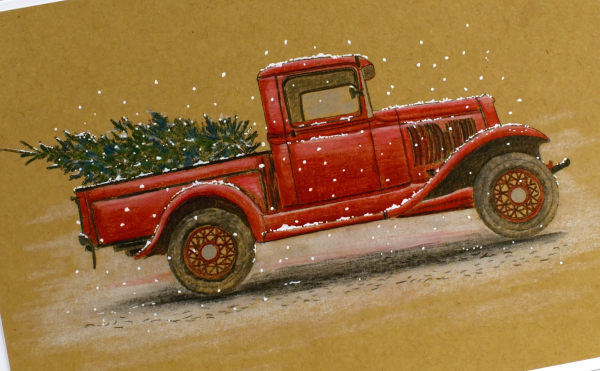
I haven’t done any pencil colouring but I thought it would pop on kraft paper so I printed it on my laser printer. I used Polychromos pencils to colour it and added the snow at the end with a white gel pen
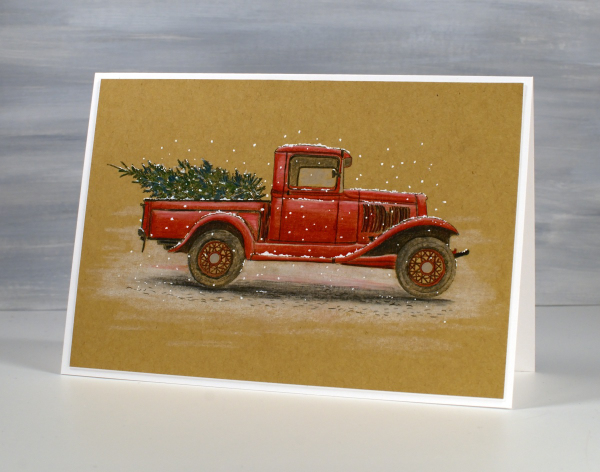
The kraft paper is a thick paper which I bought on Amazon; I like the warmth of the colour. Some kraft papers are a bit more grey. The card is 7″x5″ which is unusual for me but I found an envelope that works. I think I might do more of a burgandy coloured truck next. My daughter did blue on her samples so check them out on the Echidna Studios instagram account. (We’d love you to follow us there and on Pinterest if you’d like to.)
Vintage Stockings
Posted: November 26, 2024 Filed under: Christmas stockings digital stamp set, cricut, Echidna Studios, Gina K, holiday flora embossing folder, mittens | Tags: christmas, crafting, crafts, cricut, diy, Echidna Studios, Penny Black creative dies 4 Comments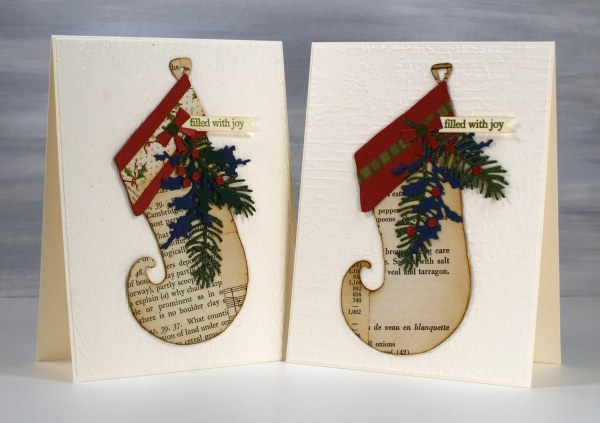
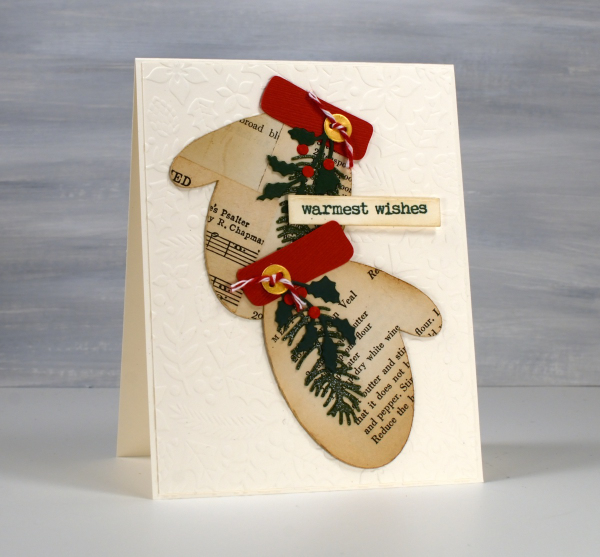
I have more vintage papers on display in today’s cards. These stockings are examples from my recent Bookish Christmas card class where we used book pages from carol books, dictionaries, recipe books and more to add a vintage charm to our cards.
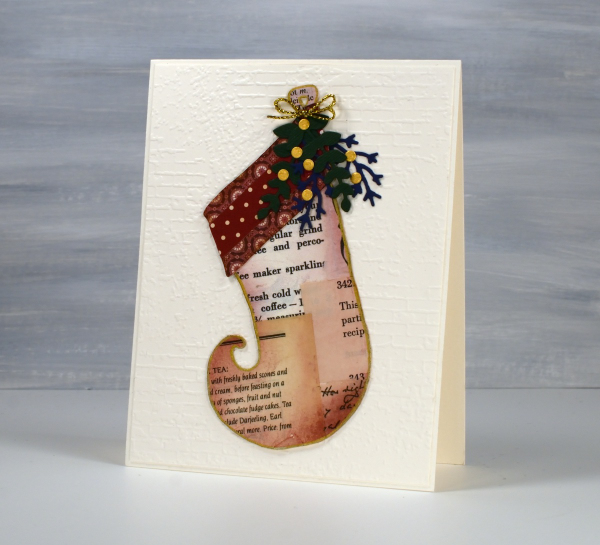
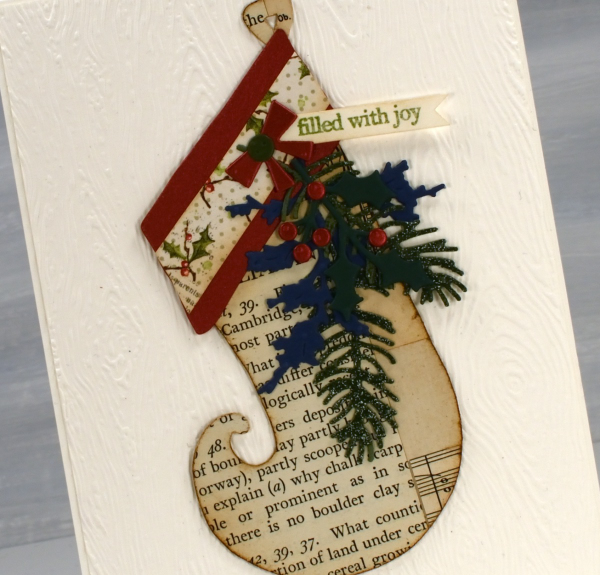
I collaged the vintage papers together then cut stockings from the collaged panels using my Cricut and the Christmas Stocking digital cutting file from Echidna Studios. I love the shape of this stocking my daughter designed; I think I mentioned last year, it makes me think of Narnia with that curly toe!
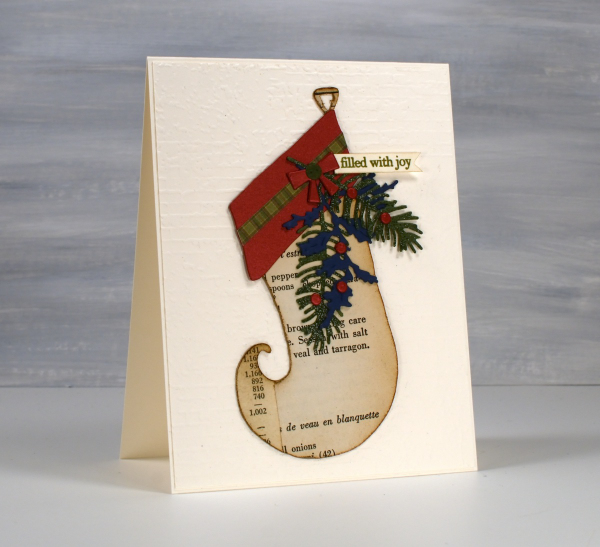
The cutting file includes a cuff for the stocking so I cut them from shimmer cardstock then added all sorts of foliage cut with Penny Black dies.
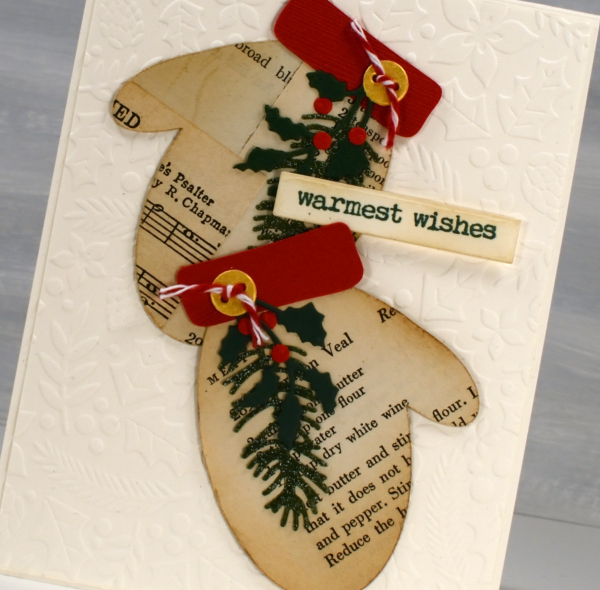
I hope you’re not tired of the mittens that I bombarded you with last week but as you see I also cut some from the collaged vintage papers and added some foliage, gold buttons and bakers twine.
I’ve been using a lot of embossed backgrounds in my Christmas cards this year. There are so many pretty ones including the Gina K ‘holiday flora’ one shown below and the Stampin up ‘exposed brick’ and ‘timber’ shown behind the stockings at the beginning of this post.
Today’s post features affiliate links to The Foiled Fox. If you buy through these links I receive a small commission at no extra cost to you.
Cozy Knitted Mittens
Posted: November 22, 2024 Filed under: cricut, Echidna Studios, mittens, my designs | Tags: cricut, Echidna Studios, Penny Black stamps 1 Comment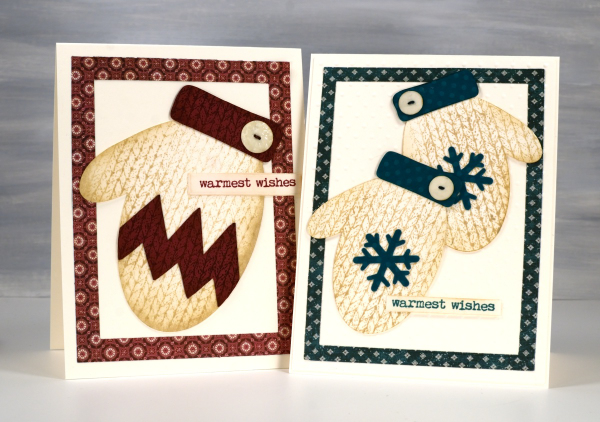
More mittens! To see mini mittens click over to yesterday’s post. I cut the mittens for today’s cards using the ‘Mittens’ digital stamp & cut-file set I designed for Echidna Studios etsy store. It’s the same set I featured yesterday but with a digital file I can cut whatever size I like. The large mitt is 4″ long and the two green mitts are 3″ long.
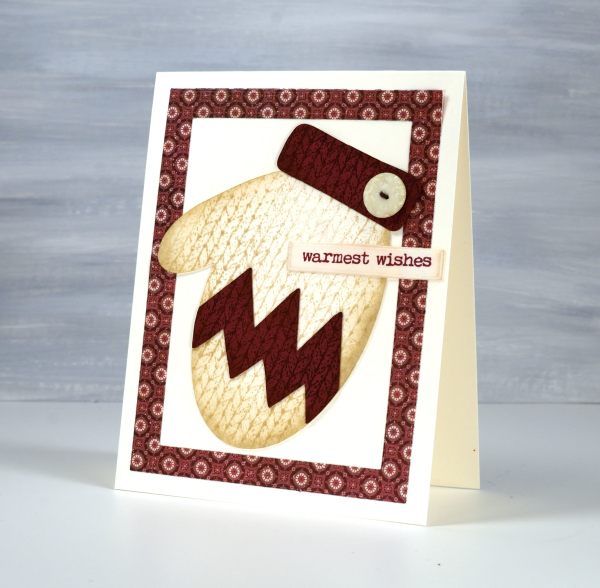
I cut them all from Neenah natural white cardstock along with some buttons. I cut the cuff and Charlie Brown style zig-zag from burgandy cardstock.
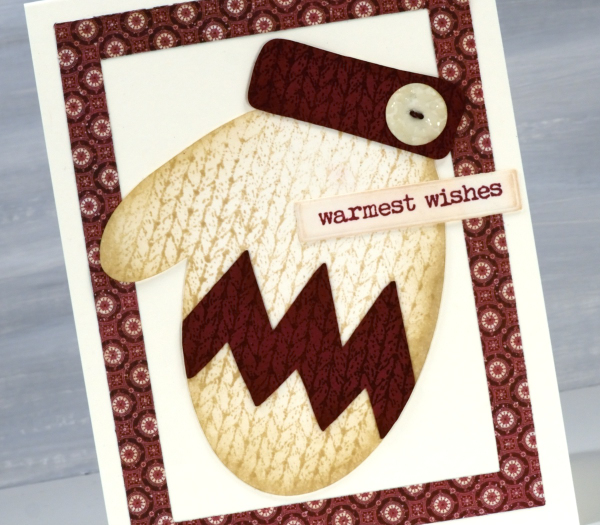
To get the knitted look I stamped the mitts in antique linen distress ink using the Darkroom Door ‘knitting’ background stamp and the cuff and zig-zag in aged mahogany ink. For some depth I blended ink around the edges.
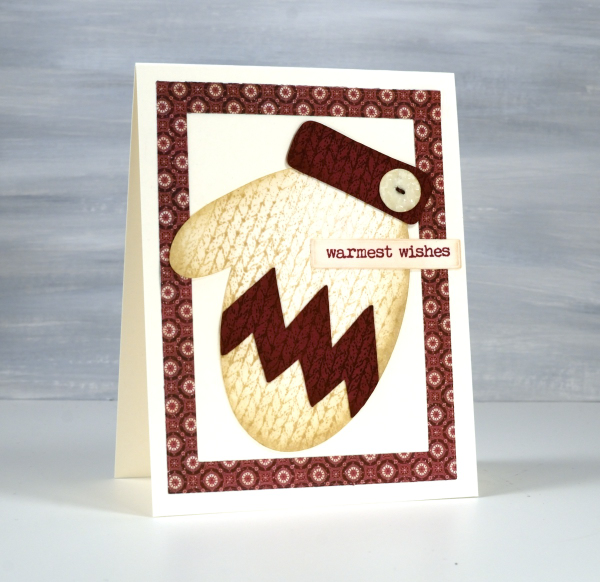
The little buttons continue to delight me so I embossed them with clear embossing powder then coloured some thread with distress markers and threaded it through the little holes.
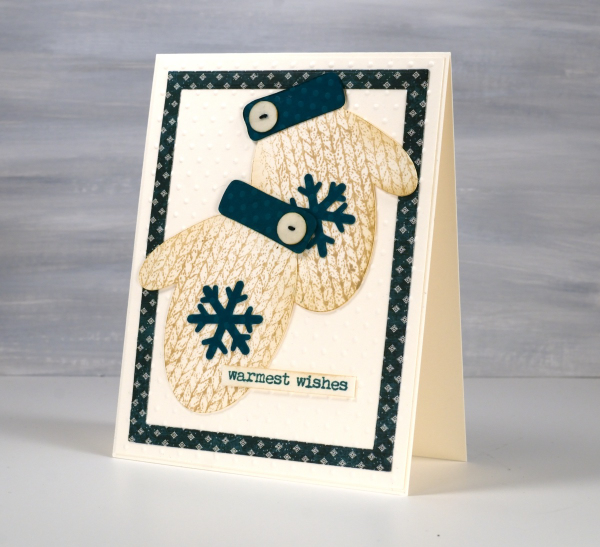
I found Christmas patterned paper from a Graphic45 pad and cut frames using the Waffle flower A2 layer dies. For the green cuffs and snowflakes on the pair of mitts below I used some textured polka dotted cardstock along with an embossed dotted background.
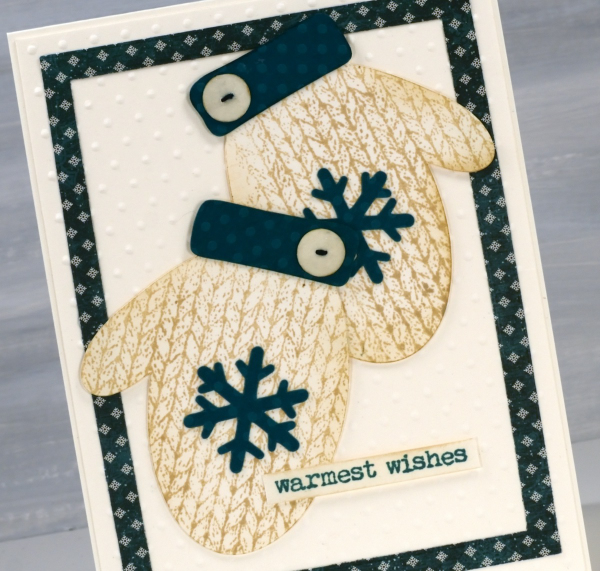
Once again the ‘warmest wishes’ sentiment from ‘Merry Up‘ seemed the best choice and could work any season mitts are worn!
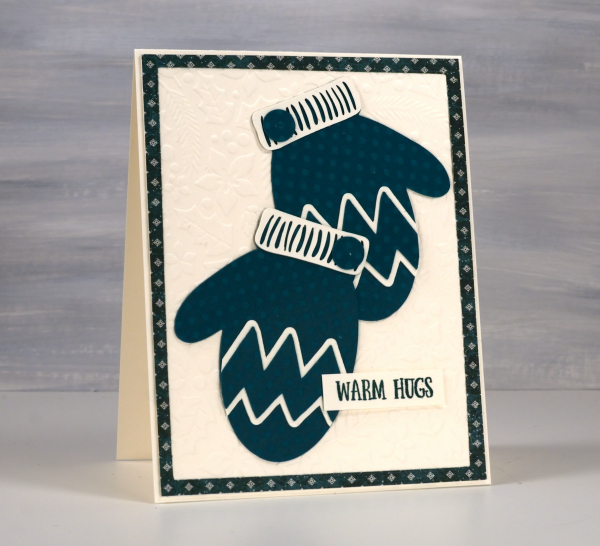
As you can see I am struggling to move on from making mitten cards. Thanks for dropping by.
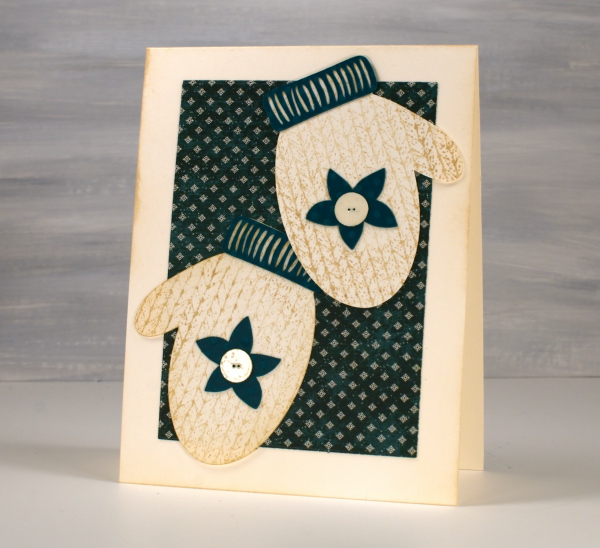
Mini Mittens
Posted: November 21, 2024 Filed under: cricut, Echidna Studios, mittens, my designs, ski lodge embossing folder, Spellbinders | Tags: cricut, Echidna Studios, Penny Black stamps, Spellbinders 9 Comments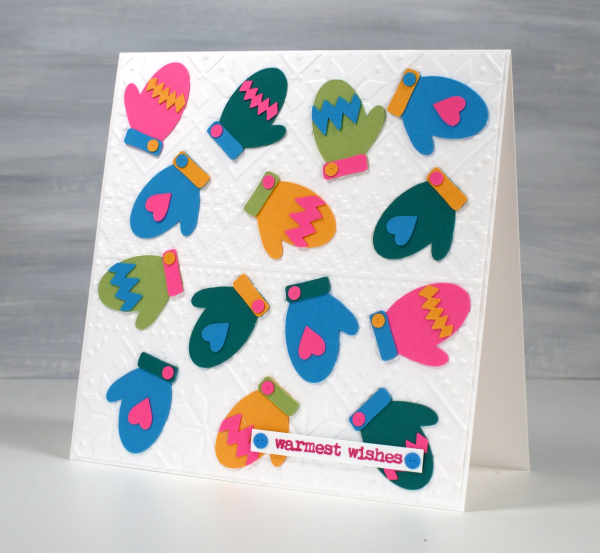
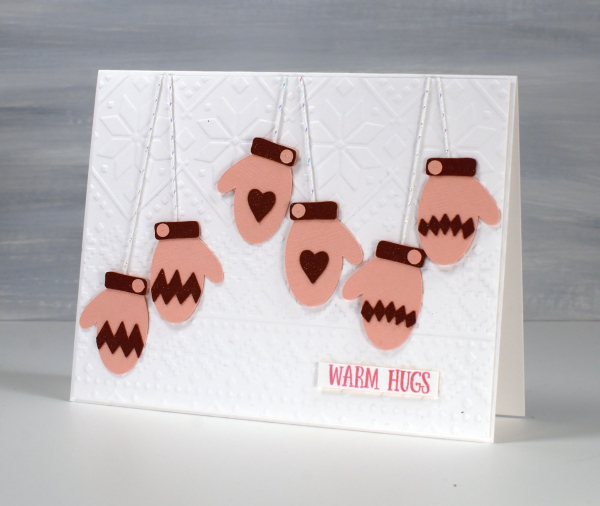
I do like an alliterative title but I restrained myself from calling this post Many Mini Mittens! I designed these mittens and accessories as cutting files for the cricut and I’m having so much fun with them. The Mittens digital stamp & cut-file set is available in the Echidna Studios etsy store. When I taught my bookish Christmas card class recently I had a cool stocking to cut from vintage papers but no mittens. To begin with I just designed the mitt and the cuff but I couldn’t stop so now the digital set has a heart, a poinsettia, diamond pattern, a zig-zag pattern, a snowflake, two cuffs and a little button. The buttons are too sweet.
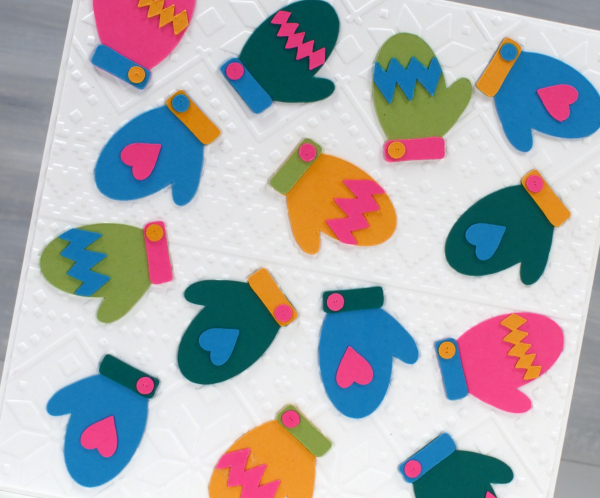
This colourful card started as an experiment to see how small the cricut would cut the mitts without tearing them. These little mitts are 1¼” in length; everything else is obviously smaller and cut just fine.
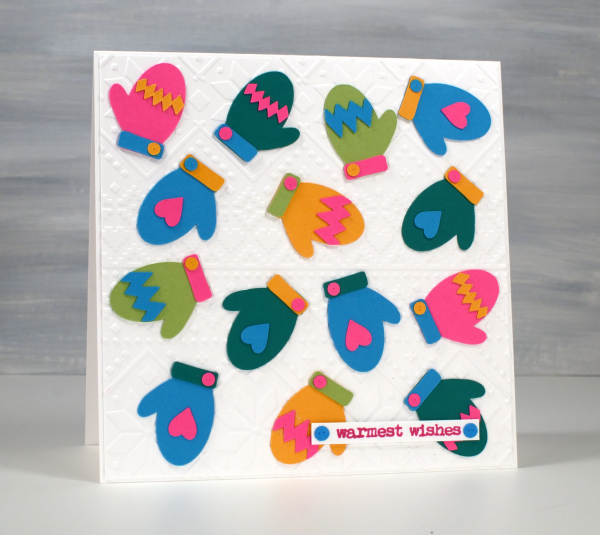
I had fun arranging the elements on the mittens so there wasn’t too much of one colour or repetition of the same coloured patterns. I did create them in pairs because who wants a whole bunch of unmatched mitts? I’ve experienced that in our own mitt basket – why so many right mitts and no left mitts?!
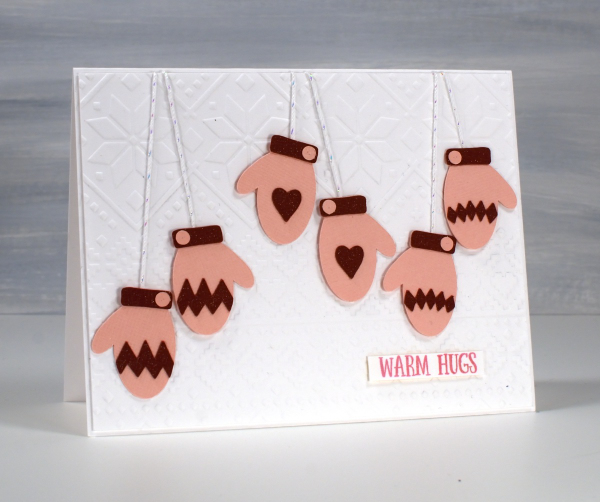
And because I couldn’t stop I cut some matching pairs the same size but using linen textured pink and burgandy cardstocks. I used a clear wink of stella brush pen to make all the burgandy bits sparkle but as I write this I see it didn’t show in the photo. Trust me it adds to the cuteness. ( I had forgotten about my wink of stella pens)
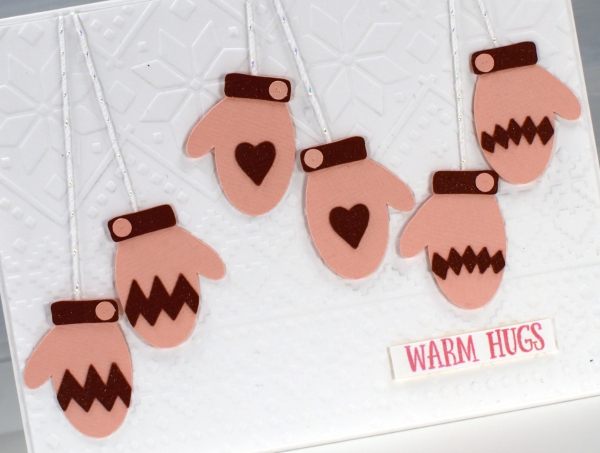
For both cards I used Spellbinders ‘ski lodge’ embossing folder to make a background because ❄! I found suitable Penny Black sentiments from the ‘Merry Up‘ set. Come back tomorrow and I will share the larger, knitted mitten cards I also made with this digital set.
Thunderbird Barbie Car
Posted: October 25, 2024 Filed under: Echidna Studios, Thunderbird Barbie car | Tags: cardmaking, cards, digital stamps, Echidna Studios, Fabriano Watercolour Paper, rubber-stamping, sennelier watercolours, stamping 3 Comments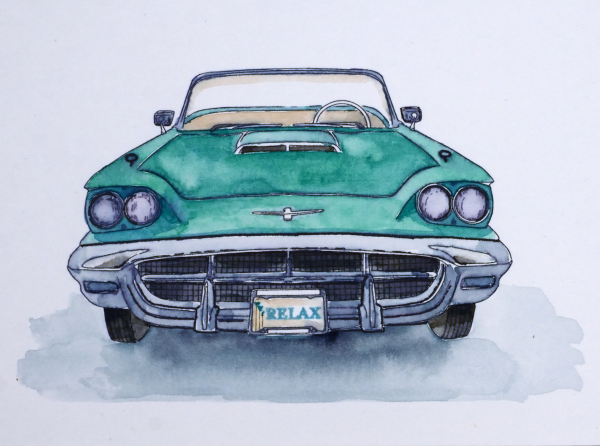
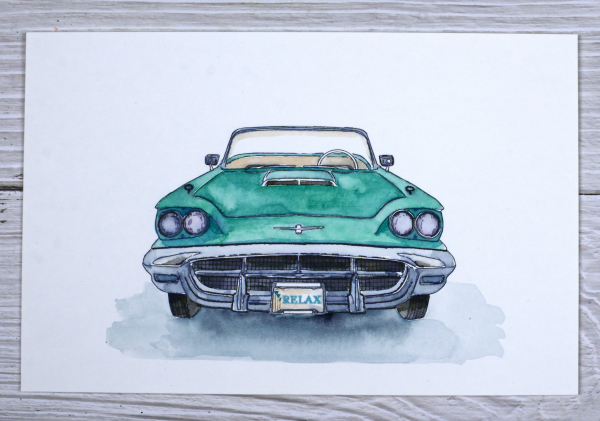
This cool car is the latest design in the Echidna Studios etsy store. The digital stamp set is called ‘Thunderbird Barbie Car‘ and includes the front view, which I chose to watercolour, and a side view; you can see that one in the etsy store.

I printed the image on hot pressed watercolour paper on an inkjet printer. In the past I have used only a laser printer to print the digital stamps but as my daughter has an inkjet printer I thought it would be interesting to compare the two methods. The ink from the ink jet printer did blur ever so slightly when I painted with watercolour paints but not so much that it spoiled the colour or line work.
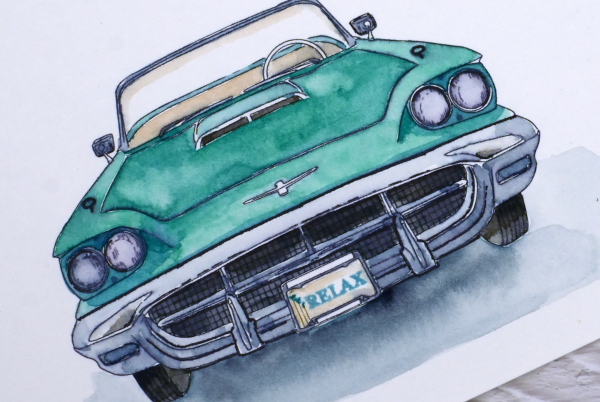
I found a T-bird photo on line and used it as inspiration for this turquoise car. I used Sennelier watercolours and a fine tip Staedtler permanent pen to darken a few lines after painting. I decided not to turn the panel into a card at this stage, perhaps it could end up in a frame instead. The cheeky little ‘Relax’ on the license plate is from the Penny Black ‘Enjoy Builder’ stamp set
This is not the first car image in the Echidna Studios etsy store. My daughter has also drawn a fabulous Vintage Beetle design which I painted last year and a cool Vintage VW bus. This post includes affiliate links from Foiled Fox. If you buy through these links I receive a small commission at no extra cost to you.
Masked & Blended Leaves
Posted: October 24, 2024 Filed under: Echidna Studios, grafix, Leaves digital stamps and cut files, Spellbinders | Tags: Echidna Studios, Fabriano Watercolour Paper, grafix, Ranger Distress inks, Spellbinders 5 Comments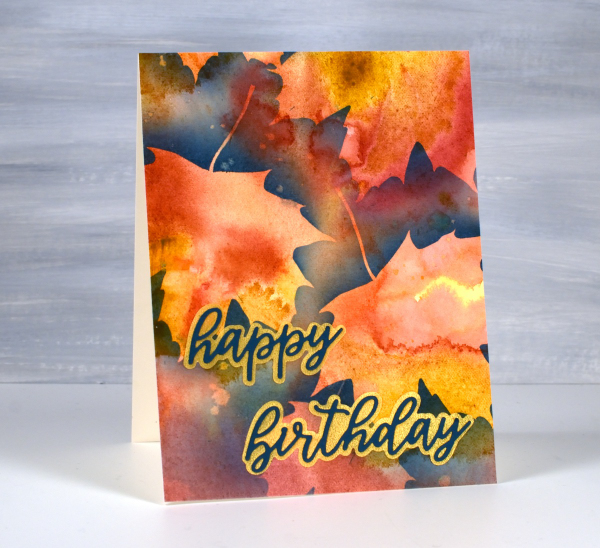
It’s been a couple of weeks since I posted, sorry about the blog neglect. In my last post (which also featured leaves) I mentioned I had just started to see some reds and oranges along with the earlier yellow leaves. This week the colours have been stunning! So many deep reds contrasting with the remaining greens and still more yellows and oranges. Even crawling in traffic has had its upside as I gaze at the autumn leaves.
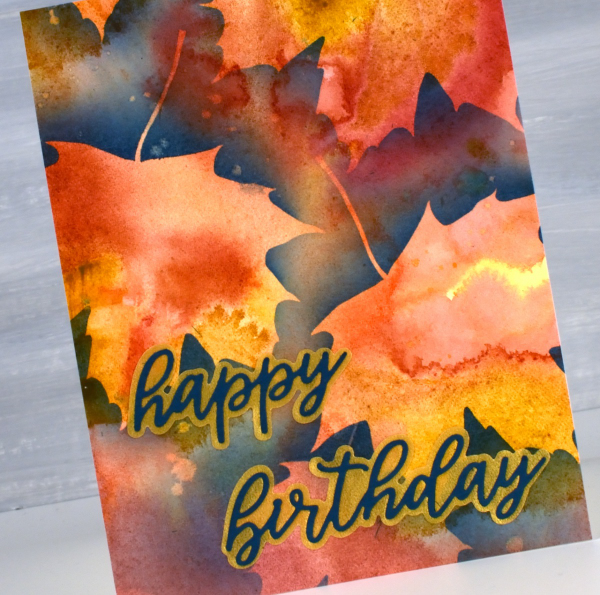
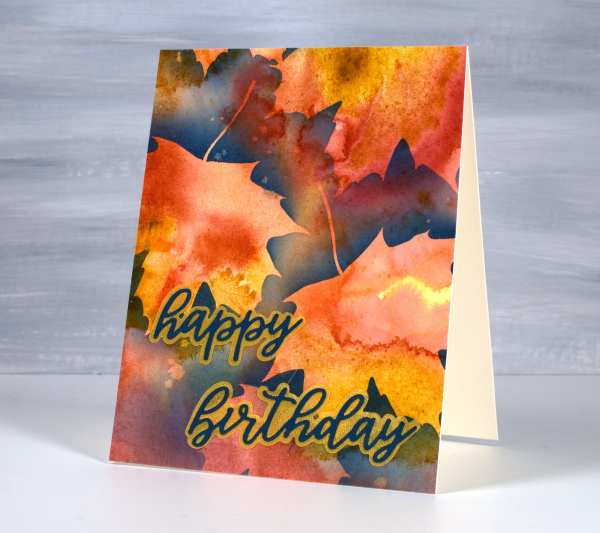
About a month ago I posted a video showing how I created a watercolour painting of leaves using masking (more leaves). Today’s card featured the same process using a maple leaf design from the Echidna Studios Leaves digital stamp set. Instead of painting the final dark layer over the masks, as shown in the video, this time I blended chipped sapphire ink using a blending brush. I think the navy edge around the leaves shows them off beautifully but because I didn’t blended too heavily you can still see the watercolour underneath. I finished this card off with a layered sentiment from the Spellbinders ‘serenade sentiments etched dies set‘
This post includes affiliate links from Foiled Fox. If you buy through these links I receive a small commission at no extra cost to you.
Masked Autumn Leaves – Video
Posted: September 23, 2024 Filed under: Echidna Studios, grafix, Leaves digital stamps and cut files, Tutorial | Tags: Echidna Studios, Fabriano Watercolour Paper, grafix, video 4 Comments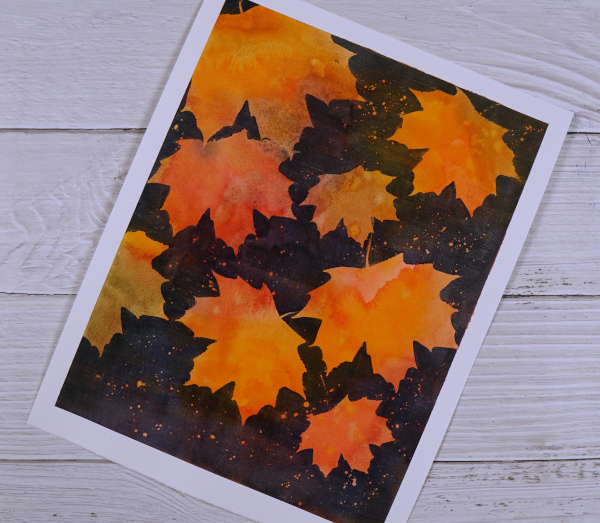
I recently completed an autumn painting using Grafix extra tack frisket film to mask autumn leaves. I began by painting the whole panel in yellows, oranges, reds, browns and greens. I used watercolour paints and did some mixing on my palette and also on the hot pressed watercolour paper.
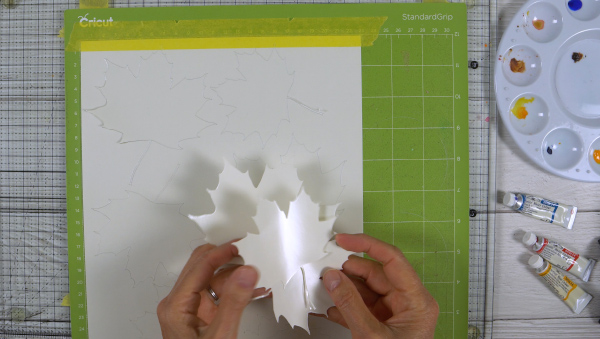
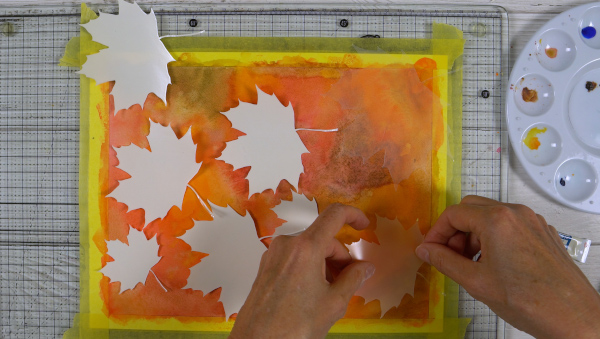
Once I had a multicoloured panel I added maple leaf masks cut on my Cricut from Grafix extra tack frisket film. I used the maple leaf image from the new Echidna Studios Leaves digital stamp and cut files set. The set includes six different leaves: Hickory, Maple, Honey Locust, Linden, Sumac, and Oak. I cut maple leaves in a variety of sizes. Watch the video below to see the whole process.
I liked using this method rather than painting one leave at a time because it was quicker and resulted in more random colour patterns on the leaves.
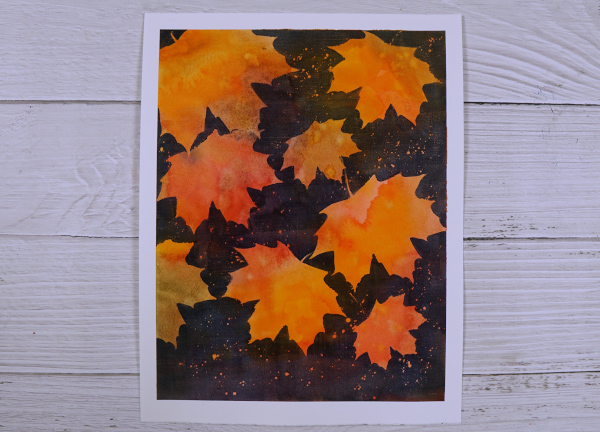
I left my panel as an 8.75″x11.25″ painting but you could also cut a panel up into several pieces to make autumn or thanksgiving cards.
Gone Kayaking
Posted: September 11, 2024 Filed under: Echidna Studios, Gone Kayaking | Tags: Echidna Studios, Fabriano Watercolour Paper 7 Comments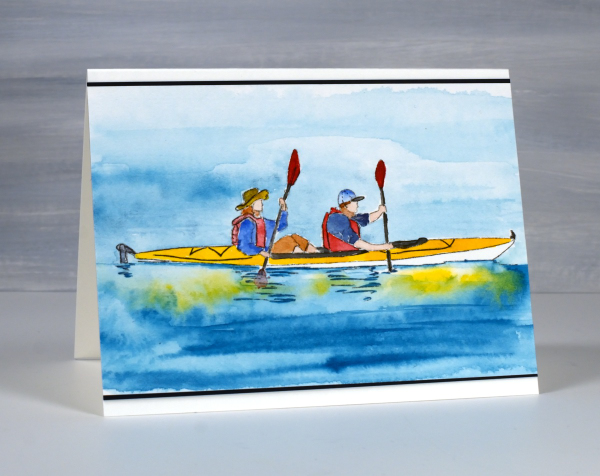
Not only is this a delightful digital stamp from Echidna Studios, it could also be a depiction of what I am doing as you read this post. Even though I am writing this post before I leave home, when it is published I will be camping and could be kayaking, biking, hiking, reading or snoozing in the hammock, who knows?
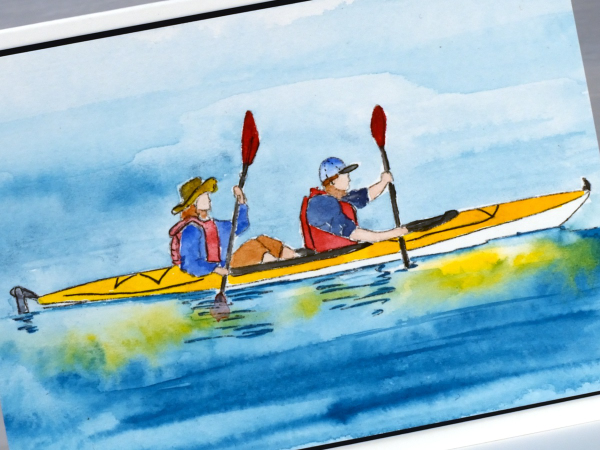
This two-person kayaking image is one of the digital designs in the ‘Gone Kayaking‘ set designed by my daughter. The other image features a single kayak. I printed the image on hot pressed watercolour paper then painted it with Sennelier watercolour paints. I sometimes finish off a watercolour with a finetip marker adding fine lines or definition which might have got lost in the painting process.
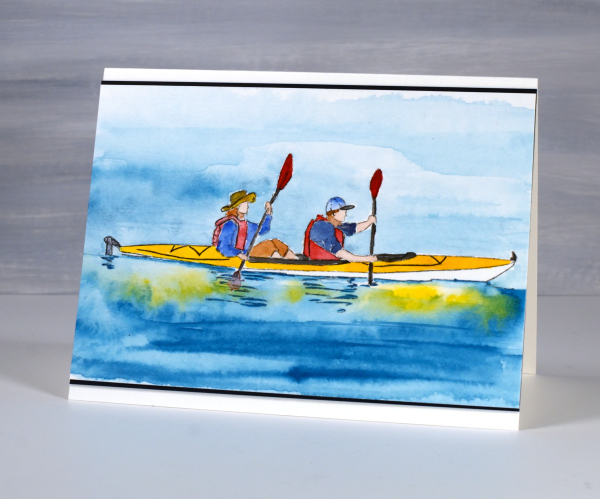
Thanks for dropping in, I’ll be back with more art when I return from my camping get-away.
Window Box
Posted: August 8, 2024 Filed under: Echidna Studios, Finetec paints, Stampin Up, Window box | Tags: Coliro paints, digital stamps, Echidna Studios, Fabriano Watercolour Paper, Finetec artist mica watercolour paint, Staedtler watercolour brush pens, Stampin Up 4 Comments
Don’t you just want a window like this? With blooming flowers not wilting in the heat! This digital stamp is called ‘Window Box’ and it is new from Echidna Studios. My daughter designed it and there are three files to play with in the set, the image you see here as well as a separate window image and a separate window box image. I’m looking forward to trying the window box image by itself enlarged to fill a card front.
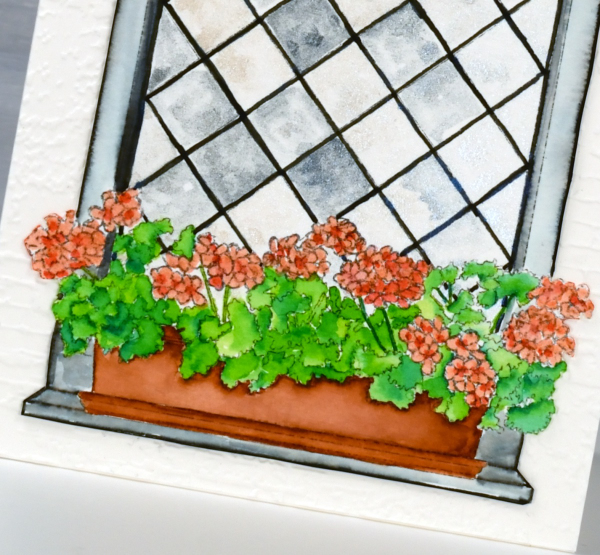
I printed the image on hot pressed watercolour paper and used Staedtler watercolour brush markers to colour the flowers, leaves, box and window frame. The window panes I painted with Coliro pearlcolors from Finetec. Some pearl or metallic paints are ‘interference’ paints which look very different on black paper as compared to white. The blue pearl paint I used from the ‘Ocean’ set looks very blue on black paper but looked silvery grey on white even with a touch of cream depending on the way the light hits it. This was exactly the effect I wanted so the panes appear like old leadlight windows where each pane reflects the light differently.
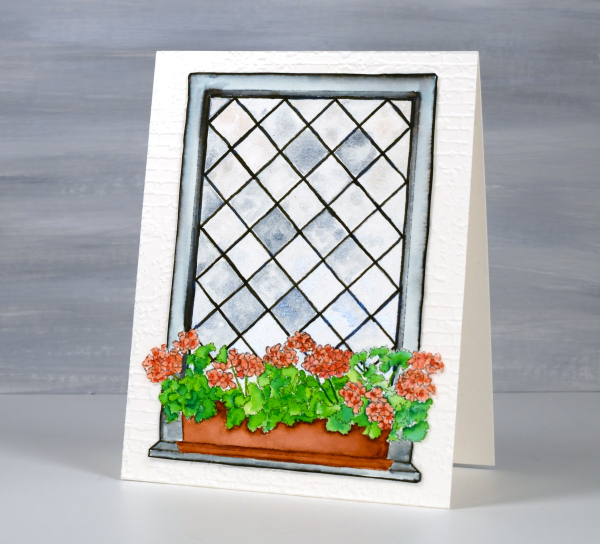
I coloured the leaves with two greens, blending them together with water and a paintbrush. I used the same technique for the flowers with a coral and a peach coloured marker. The planter was painted with a terracotta colour and the frame with black, diluted to appear grey in places. I wasn’t planning to cut this image out but it really needed to be attached to an embossed panel of aged brick. I’m sure you understand. The embossing folder is ‘exposed brick’ from Stampin Up. This post includes affiliate links from Foiled Fox. If you buy through these links I receive a small commission at no extra cost to you.












