Snowy Stamping
Posted: October 26, 2015 Filed under: Snow time, Winter moments | Tags: Penny Black creative dies, Penny Black stamps, Tsukineko Memento inks 8 Comments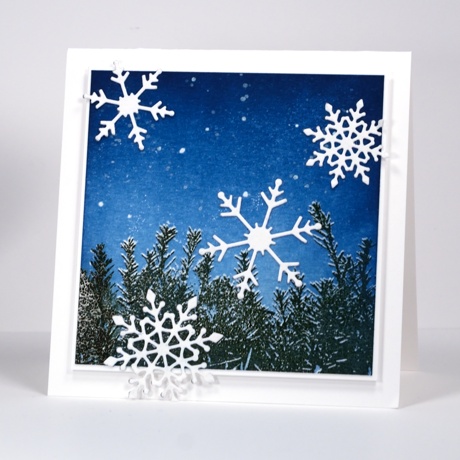
Last week Penny Black released ‘Winter Romance’, a sweet new collection of snowy stamps and dies. I have featured both a new stamp and a fresh die sets on today’s card. I chose to use a technique I haven’t done in a while to make a crisp wintry scene. If you look closely you can see a dusting of snow on top of the hedge. To create this look you need a stamp positioning tool. I used the MISTI (of course) but when I first dreamed up this technique I used a stamp-a-ma-jig.
I stamped the hedge first in versamark on white cardstock then, with the help of the MISTI I stamped the hedge again ever-so-slightly lower in green ink. Next I embossed the hedge with clear powder. I brayered the sky with two blue inks, first the lighter ‘Summer Sky’ then the darker ‘Nautical Blue’. The embossed hedge resisted the ink revealing the fine snowy edge. I splattered white wink of stella over the sky to look like snow or stars then added the four snowflakes cut with the new ‘snow time’ set.
Supplies:
Stamps: Winter moments (PB)
Dies: Snow Time (PB)
Inks: Versamark, Memento Northern Pine, Summer Sky, Nautical Blue (Imagine Craft/Tsukineko)
Markers: White Wink of Stella (Kuretake)
Cardstock: Neenah Solar White 110lb
Also: clear embossing powder
Upcoming Classes
Posted: October 25, 2015 Filed under: Classes | Tags: Classes, Penny Black creative dies, Penny Black stamps, Tsukineko Memento inks 10 CommentsI am teaching at three locations in November so I thought I would let you know just in case you happen to be in the right place to join me.
Studio BBG in Montreal
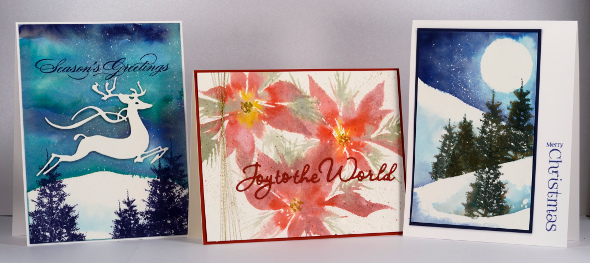
On Saturday, November 7th at 10:00am I will be teaching Winter Watercolours (contact store for details)
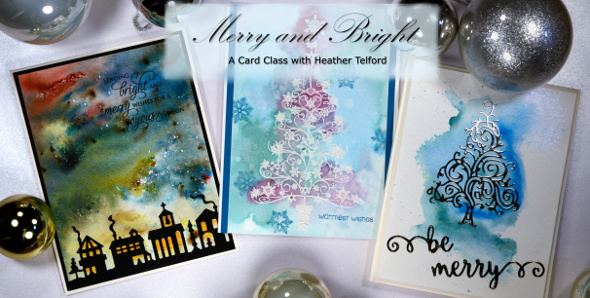
On Saturday, November 7th at 2:00pm I will be teaching Merry & Bright (contact store for details)
Crop A While in Orleans
On Thursday, November 12th at 6:00pm and Friday, November 13th at 12:30pm I will be teaching Woodland Watercolours (contact store for details)

Riverside Drive in Ottawa
On Saturday, November 14th at 1:00pm and Monday, November 16th at 1:00pm I will be teaching Woodland Watercolours (click here for details)
Filigree Tree
Posted: October 24, 2015 Filed under: Christmas story, Filigrees | Tags: Penny Black stamps, Ranger Distress stains 8 Comments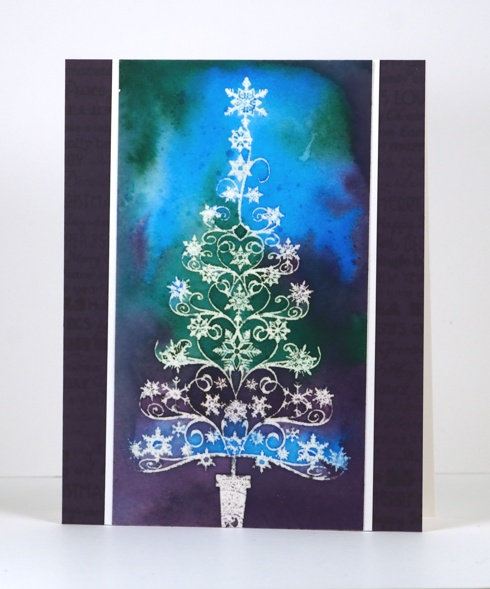
It’s time to break the blog silence with some emboss resist and a pretty filigree tree. I created this card quite some time ago and it has been sitting around waiting its turn. The filigree tree was embossed with clear embossing powder on watercolour paper. The surrounding colour is distress stain painted on and tilted to blend. Once it was dry I added some clear wink of stella to the central sections of the tree for a little sparkle. I then ironed the panel which both flattened it and melted the embossing powder into a piece of printer paper. It doesn’t look that different to an embossed image but surface is smooth so it looks deceivingly clever 😉 To complete the card I added a white mat and a purple border. I also used a large Christmas word background to stamp a tone on tone pattern on the purple cardstock.
If you have been thinking about Christmas cards already you might be interested in participating in the Caring Hearts Card drive. You can find the relevant details here. There are contact details for getting involved in USA, Canada and Australia on Vera Yate’s blog.
Thanks for dropping in; have a great weekend.
Supplies:
Stamps: Filigrees, Christmas Story (PB)
Inks: Salty Ocean, Pine Needles, Dusty Concord distress stains inks (Ranger) Versafine ink (Tsukineko)
Cardstock: Canson 100% cotton hot pressed watercolour paper, Neenah solar white, purple cardstock
Also: clear embossing powder, clear wink of stella
Warm toned leaves
Posted: October 16, 2015 Filed under: Bister, Lush & Lavish | Tags: Bister, Fabriano Watercolour Paper, Penny Black creative dies, Penny Black stamps, Ranger Distress stains 4 Comments
Here are the warm toned leaves I promised in contrast to the cool toned ones I posted a few days ago. Ottawa is enjoying fabulous colours this year; the yellows appeared first but now the orange and reds have joined in and they really are amazing.
Today’s loose and somewhat messy card reminds me of a leaf pile; we have had some pretty impressive ones over the years. Once again I created my panel in a couple of layers, starting with some orange toned leaves stamped onto wet watercolour paper. The leaf images bled in all directions creating the blurry shapes you see in the background. When they were dry I stamped with reds and browns and used a brush to fill in the leaves. I also sprinkled brown bister which ended up separating into black and brown with a few red and blue spots as well. When it was all dry I splattered some gold dots over the panel with a wink of luna pen. To complete the card I cut the ‘thank you’ sentiment out of both the panel and a piece of red cardstock so I could do an inlay to match the mat.
Are you raking leaves or have you yet to start like us?
Supplies
Stamps: Lush & Lavish (Penny Black)
Dies: Stylish Gratitude (Penny Black)
Inks: Rusty Hinge, Mustard Seed, Spiced Marmalade, Barn Door distress stains (Ranger)
Cardstock:Fabriano hot pressed 100% cotton hot pressed watercolour paper
Also: Gold wink of luna pen, brown bister powder
Fancy Foliage
Posted: October 14, 2015 Filed under: Foliage Fancy | Tags: Kuretake Zig clean color real brush markers, Penny Black stamps, Periscope, Tsukineko Versafine inks 7 Comments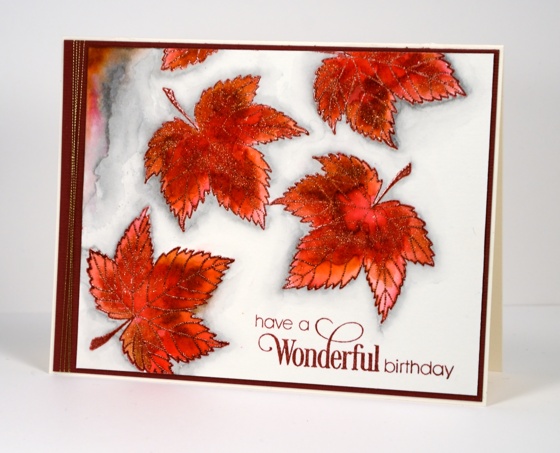
I can’t leave the leaves alone! I am very much a seasonal stamper when choosing my themes, colours and images. Of course I do stamp Christmas and winter images before the season arrives and spring designs are needed before the snow melts but when looking for inspiration I often choose what I see outside.
I embossed these leaves and watercoloured inside with Zig clean color real brush markers, two different reds and a brown. I coloured randomly and roughly then blended the colours with a waterbrush. I also added gold wink of stella to the mix and blended that with water. This gave the leaves a warm shimmery sheen which you can just see in the photo. (I shared the colouring and blending on a periscope here)
When it was all dry I coloured round the edges of the leaves with a grey clean color marker and blended that out with water also. To finish the card I matted with burgandy and added some gold thread and a sentiment.
Thank you for the kind words about my wrist; it turns out it is arthritis at the base of my thumb so I will be looking for ways to work smarter with both time and tools to ease the stress on the joint 😦
Supplies:
Stamps: Foliage Fancy, Sprinkles and Smiles (PB)
Inks: Versafine Crimson Red (Imagine Craft/Tsukineko)
Markers: Zig Clean Color Real Brush Markers, Gold Wink of Stella (Kuretake)
Cardstock: Neenah Natural White 110lb, Canson 100% cotton hot pressed watercolour paper, textured burgandy cardstock
Also: clear embossing powder, gold embroidery thread
Thanksgiving mini cards
Posted: October 12, 2015 Filed under: Filigree Foliage | Tags: Canson watercolour paper, Penny Black stamps, Ranger Distress stains, Tsukineko Versafine inks 9 Comments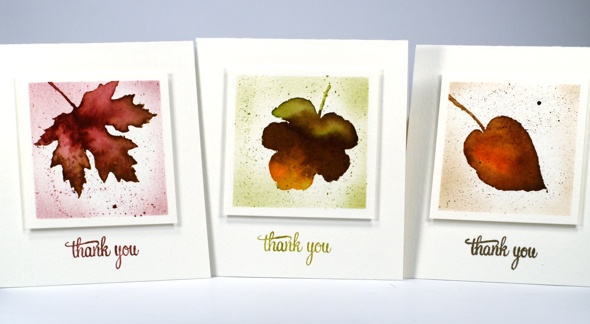
Happy Thanksgiving to all the Canadians; chances are you are enjoying leaves in pretty colours like I am these days. I keep reaching for the filigree leaves set at the moment because it has six lovely leaves which can be stamped simply to feature the pretty filigree patterns or used as I have here to stamp an outline which can be painted for a more realistic leaf look.
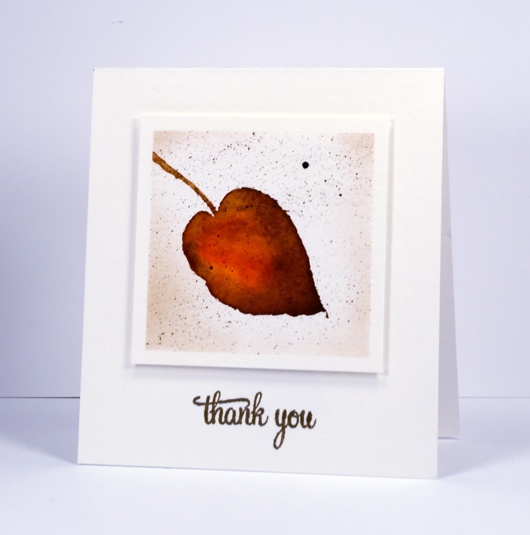
My process for creating these three mini cards was as follows. I masked a square on cold pressed watercolour paper then inked the leaf stamps with two or three distress stains. I stamped then used a paintbrush to blend the colour and fill the leaf. Where necessary I added water but I worked quickly enough to mainly just move the stain. When the leaf dried I splattered some stain over the top and once that dried sponged a little ink around the perimeter to frame the leaf. (I did film myself on periscope using this technique and these stamps. Please be aware that the quality on periscope is not like youtube but you can get the idea of this process at the beginning of the broadcast)
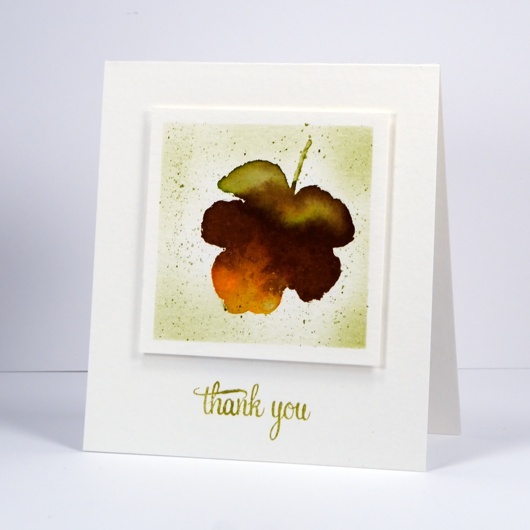
Each card is 4″x4.5″ and the squares have 2 7/8″ sides and are popped up on fun foam.
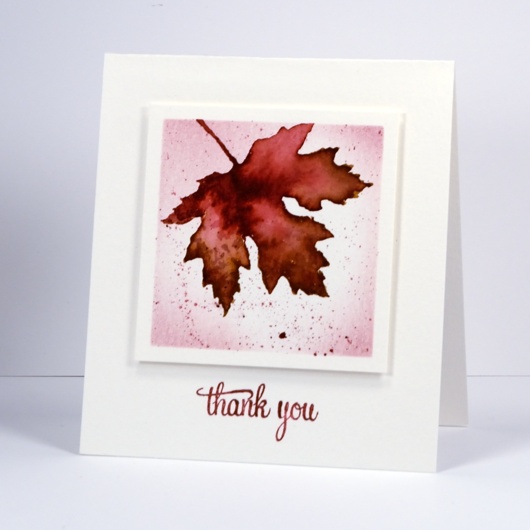
I stamped the sentiment with versafine inks rather than distress because they do such a good job with fine lines.
I hope you are having a wonderful day; thanks for visiting.
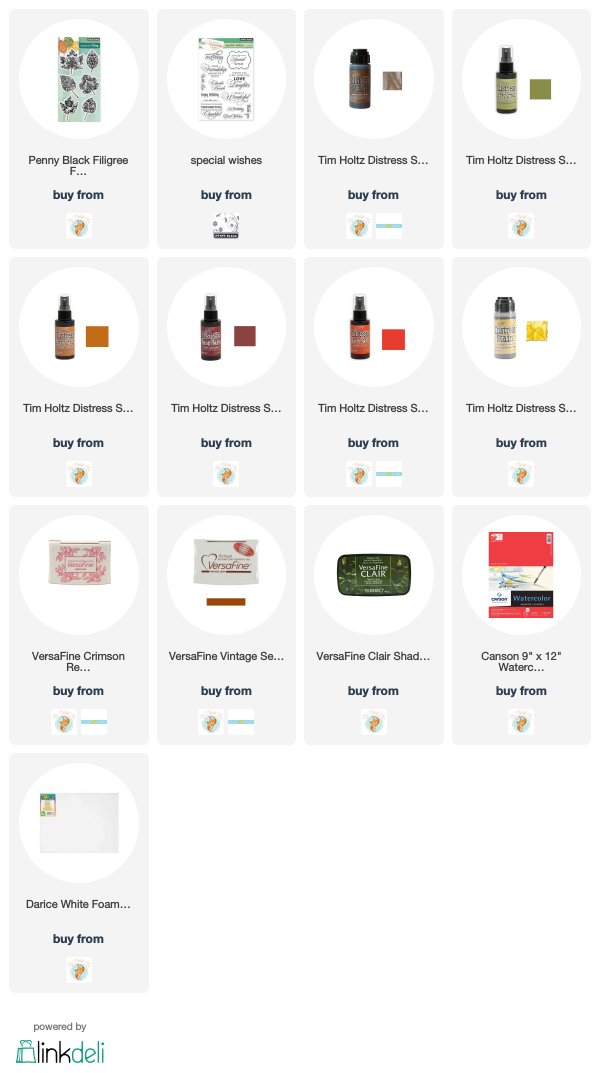
Supplies
Brush Pines tag card
Posted: October 9, 2015 Filed under: Brush Pines | Tags: Penny Black creative dies, Penny Black stamps, Tsukineko Memento inks 5 Comments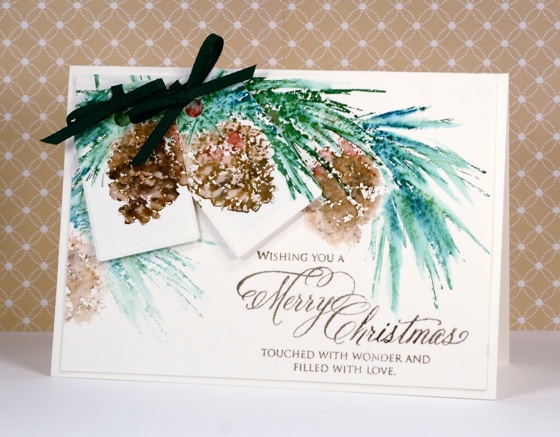
The Penny Black designers are playing with tags again and have added them to cards this time. I chose the ‘brush pines’ stamp and some cold-pressed watercolour paper for my layered pinecones card. I stamped the pine cones several times so I would have extra images for the tags. I also stamped a few times without re-inking to create paler impressions. The ink was applied with Memento markers and blended with water to soften and spread the colours. I die cut the tags with the smaller die from the ‘tagged’ set popped them up over the stamped panel.
Supplies:
Stamps: Brush Pines, Believe (PB)
Dies: Tagged (PB)
Inks: Memento teal zeal, cottage ivy, rhubarb stalk, rich cocoa markers, versafine vintage sepia ink (Tsukineko), gathered twigs distress markers (Ranger)
Cardstock: Canson cold pressed watercolor paper
Also: green grosgrain ribbon
Sunset Forest
Posted: October 6, 2015 Filed under: Nature's Friend, Stamped Landscapes | Tags: Penny Black stamps, Ranger Distress stains 8 Comments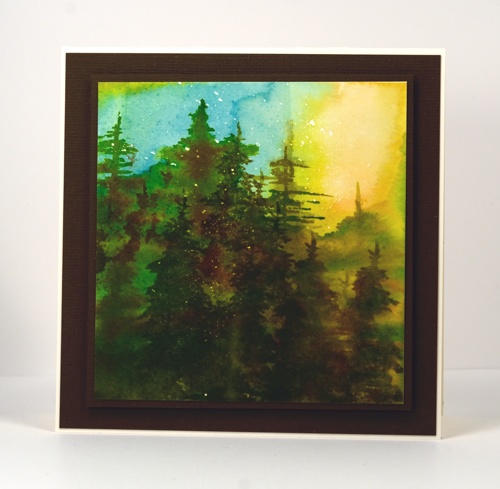
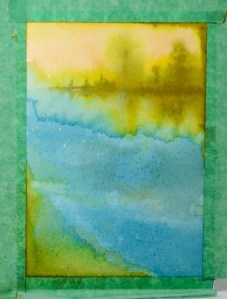
I completed this forest scene months ago but left it unposted. I showed it to a friend recently and she encouraged me to share it here. It is an example of a ‘no card left behind’ project. I was showing my friend how I did the lake on this card. It took us both a few attempts to get our backgrounds looking the way we wanted and the panel below was one of my cast-offs because of the water bloom under the shoreline trees. I pulled the panel out again at a later date and turned it on its side and made the shoreline trees one tall tree instead. I used both painting and stamping to fill the panel with trees. There was a bit of fiddling around with the tree stamp and the layers but I kept adding until it looked forest like! The little white flecks are of course, masking fluid.
So you see you should not throw things away immediately after you ‘mess them up’; set them aside perhaps and come back another day to take a second look. Flip it upside down or 90° just in case you have a lake you can turn into a forest!
Supplies:
Stamps: Nature’s Friend (PB)
Inks: Crushed Olive, Forest Moss, Dried Marigold, Broken China distress stains & Vintage Photo, Forest Moss distress ink (Ranger)
Cardstock: Brown cardstock, Fabriano 100% cotton hot pressed watercolour paper
Also: Winsor & Newton masking fluid
30 Day colouring challenge
Posted: October 2, 2015 Filed under: Fresh, Watercolour | Tags: Kuretake Zig clean color real brush markers, Penny Black stamps, Tsukineko Versafine inks 13 Comments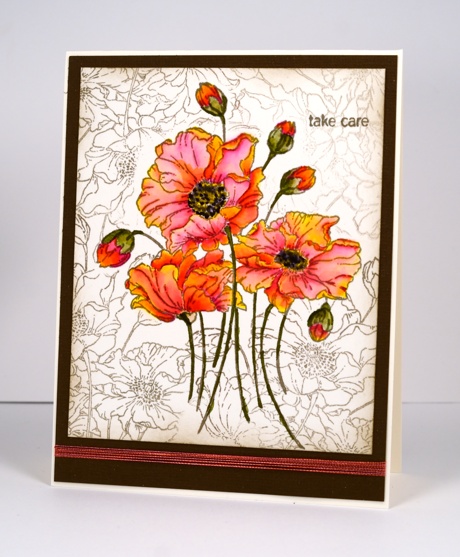
Kathy Racoosin of The Daily Marker is hosting a 30 Day Coloring Challenge during October. It is her third colouring challenge and her videos, blog posts and clever creations are very inspiring. I played along a few times during her last challenge and hope to participate even more this time. For all the details visit Kathy’s blog and check out her instagram also.

The colouring on my ‘fresh’ bouquet was done with Zig clean color real brush markers. I have 14 colours (so far), most of them quite bright so it was not difficult to get vivid petals by blending just the yellow, the pink and a little water. The background did involve fussy cutting a mask! Unlikely to happen often, I know. I stamped the background in versafine vintage sepia ink over the masked central image. Now that I think about it, several masks were needed so the background images did not stamp over the top of each other. This is why you don’t see this sort of thing very often on this blog. I do have a ‘too lazy to fussy cut and mask’ technique which often works well. I will share that some time soon.
Supplies:
Stamps: Fresh , Snippets (PB)
Inks: Versafine Vintage Sepia ink (Imagine Craft/Tsukineko)
Cardstock: Fabriano 100% cotton hot pressed watercolour paper, Neenah Natural White cardstock, Brown cardstock
Also: Zig clean color real brush markers, pink and orange thread
Watercoloured leaves the distressing way
Posted: September 30, 2015 Filed under: Filigree Foliage, Wishes | Tags: Penny Black creative dies, Penny Black stamps, Ranger Distress inks, Ranger Distress stains 18 Comments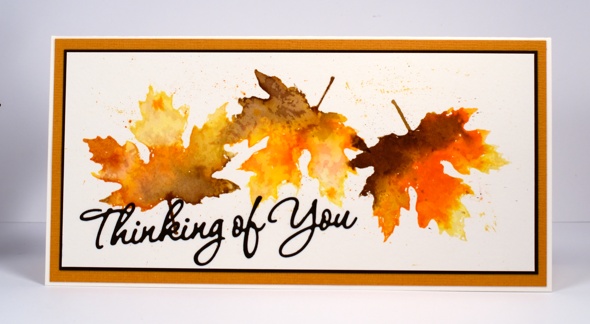
Watercolour and autumn were made for each other were they not? I went for a run this morning and there were deep red maple leaves lying on the path looking like mini masterpieces. I kept wanting to pick them up and bring them home to inspire some painting. I did not want to carry them however and there will be thousands (I am not kidding) in my yard over the next 6-8 weeks (again, not kidding).
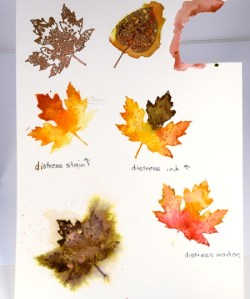
I did a periscope comparing painting leaves with distress stains, ink pads and markers this morning. These cards use the same techniques I demonstrated on the video. The first one is my favourite distress technique, stamping with stains then moving the stain with a paintbrush to fill the stamped image. I added fine splatter to the leaves on this one but kept the next one fairly clean.
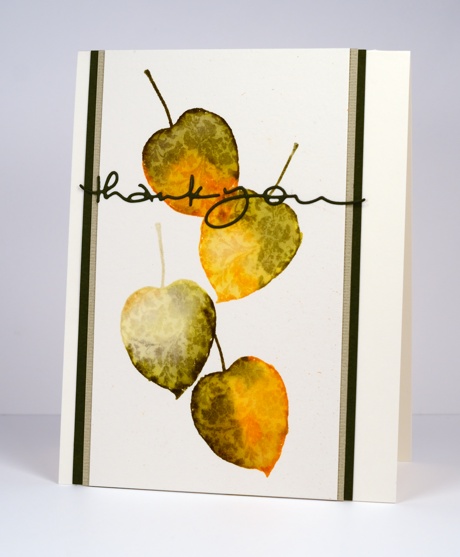
I used the same ‘stamp then paint and blend’ technique for the second card but inked the stamp with ink pads. The main difference is less liquid on the stamp and an image that soaks into the watercolour paper more quickly. The result once blended with water is similar but more of the stamped outline remains. Using markers gives a similar result to inkpads but transfers even less liquid on the stamp. With markers however you can apply colour to small areas of the stamp and have a more detailed and intricate colour result.
To finish I matched cardstock to the stamping for mats and die cut sentiments.
Supplies