
Fancy Foliage
Posted: October 14, 2015 Filed under: Foliage Fancy | Tags: Kuretake Zig clean color real brush markers, Penny Black stamps, Periscope, Tsukineko Versafine inks 7 Comments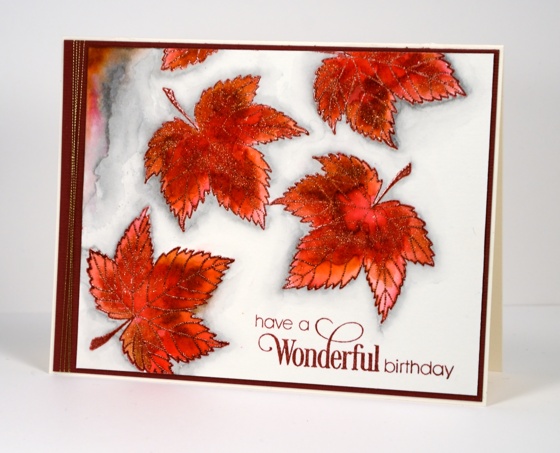
I can’t leave the leaves alone! I am very much a seasonal stamper when choosing my themes, colours and images. Of course I do stamp Christmas and winter images before the season arrives and spring designs are needed before the snow melts but when looking for inspiration I often choose what I see outside.
I embossed these leaves and watercoloured inside with Zig clean color real brush markers, two different reds and a brown. I coloured randomly and roughly then blended the colours with a waterbrush. I also added gold wink of stella to the mix and blended that with water. This gave the leaves a warm shimmery sheen which you can just see in the photo. (I shared the colouring and blending on a periscope here)
When it was all dry I coloured round the edges of the leaves with a grey clean color marker and blended that out with water also. To finish the card I matted with burgandy and added some gold thread and a sentiment.
Thank you for the kind words about my wrist; it turns out it is arthritis at the base of my thumb so I will be looking for ways to work smarter with both time and tools to ease the stress on the joint 😦
Supplies:
Stamps: Foliage Fancy, Sprinkles and Smiles (PB)
Inks: Versafine Crimson Red (Imagine Craft/Tsukineko)
Markers: Zig Clean Color Real Brush Markers, Gold Wink of Stella (Kuretake)
Cardstock: Neenah Natural White 110lb, Canson 100% cotton hot pressed watercolour paper, textured burgandy cardstock
Also: clear embossing powder, gold embroidery thread
Cool tone leaves
Posted: October 13, 2015 Filed under: Bister, Filigree Foliage | Tags: Bister, Fabriano Watercolour Paper, Tsukineko Memento inks 10 Comments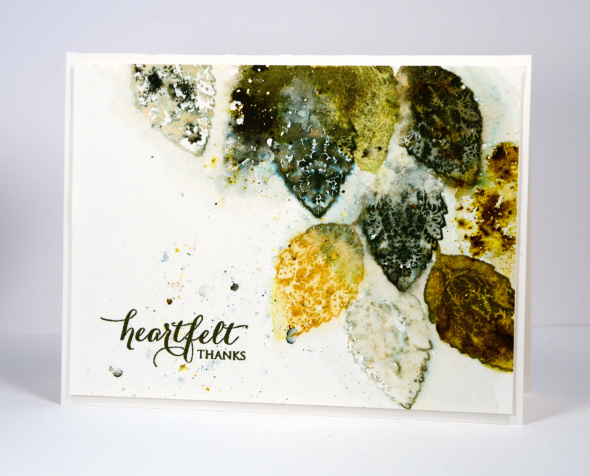
As you can see I haven’t put away the Filigree Foliage set. This time I didn’t paint out the filigree pattern as I have on previous cards; I kept it for a more decorative look. These colours reflect what is in my yard right now. There are plenty of yellow leaves floating down but the deep red ones are holding back.
I created this panel in layers starting by wetting the paper and stamping a few green leaves which then blended into the background laying down colour without leaving distinct shapes. When that had dried a little I stamped again in greens and mustard, spritzed some more water and also sprinkled some bister powder. Finally I stamped with water to create a few very pale impressions which picked up some of the bister lying around. I realise some of my stamped images are incomplete, some are distinct, others are blurred which is not everyone’s preference. I like to let the water and inks bleed and blend a little for some unique effects.
I’ll be back soon with some warm toned leaves. Thanks for dropping by.
Supplies
Thanksgiving mini cards
Posted: October 12, 2015 Filed under: Filigree Foliage | Tags: Canson watercolour paper, Penny Black stamps, Ranger Distress stains, Tsukineko Versafine inks 9 Comments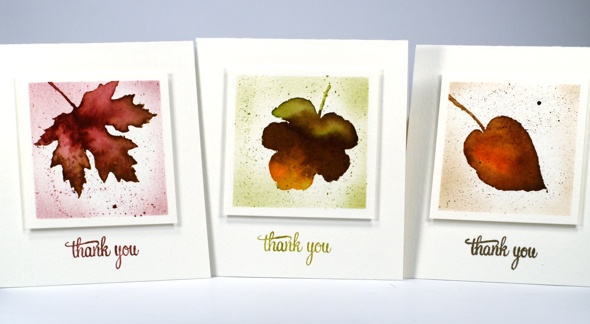
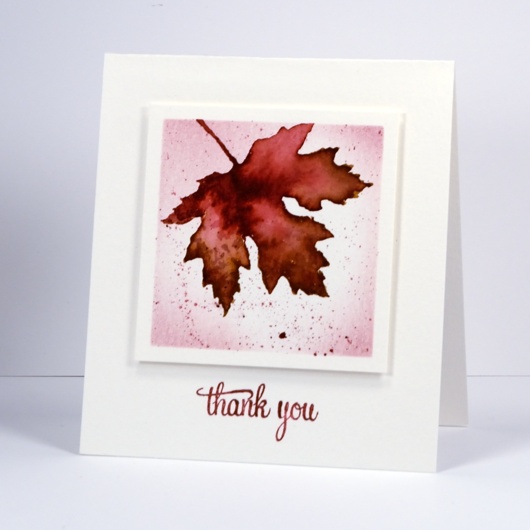
Happy Thanksgiving to all the Canadians; chances are you are enjoying leaves in pretty colours like I am these days. I keep reaching for the filigree leaves set at the moment because it has six lovely leaves which can be stamped simply to feature the pretty filigree patterns or used as I have here to stamp an outline which can be painted for a more realistic leaf look.
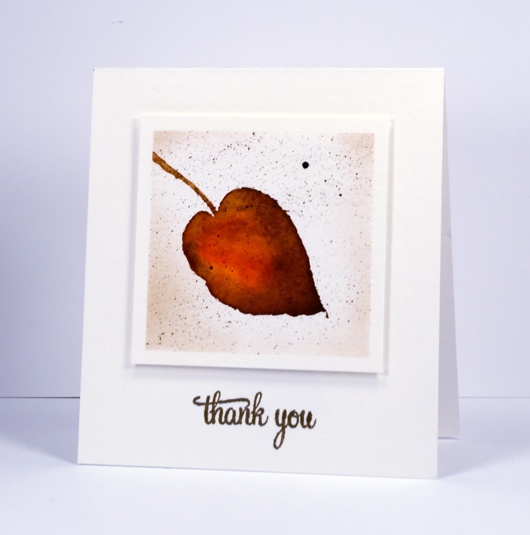
My process for creating these three mini cards was as follows. I masked a square on cold pressed watercolour paper then inked the leaf stamps with two or three distress stains. I stamped then used a paintbrush to blend the colour and fill the leaf. Where necessary I added water but I worked quickly enough to mainly just move the stain. When the leaf dried I splattered some stain over the top and once that dried sponged a little ink around the perimeter to frame the leaf. (I did film myself on periscope using this technique and these stamps. Please be aware that the quality on periscope is not like youtube but you can get the idea of this process at the beginning of the broadcast)
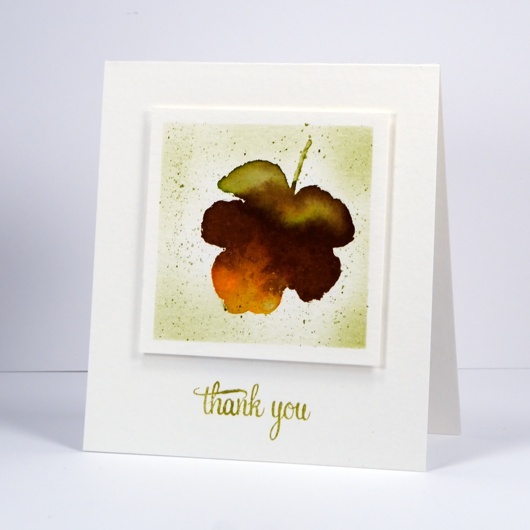
Each card is 4″x4.5″ and the squares have 2 7/8″ sides and are popped up on fun foam.
I stamped the sentiment with versafine inks rather than distress because they do such a good job with fine lines.
I hope you are having a wonderful day; thanks for visiting.
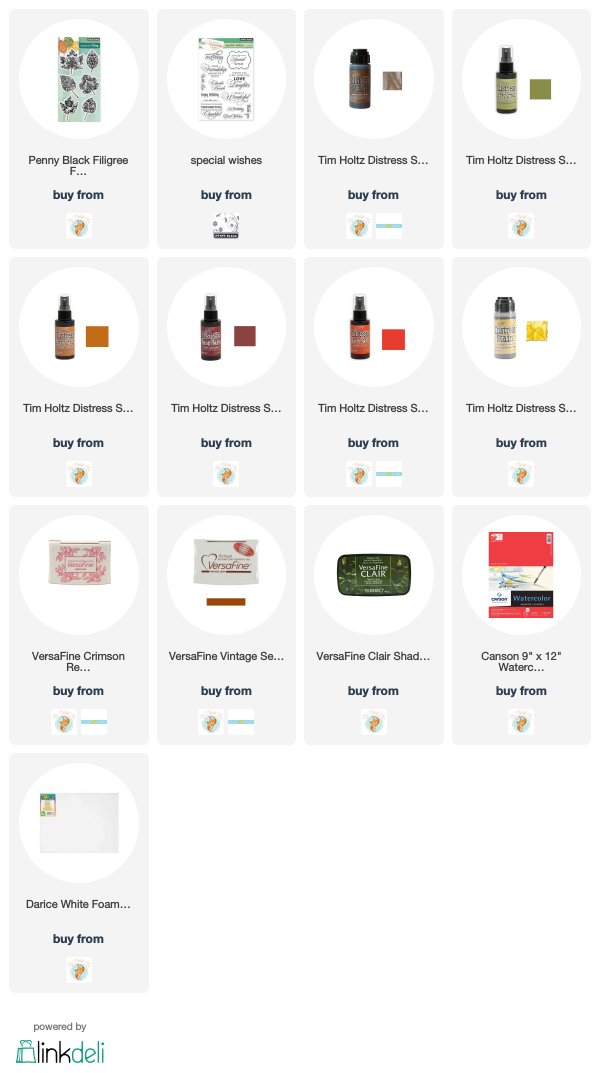
Supplies
Color Burst Birthday
Posted: October 10, 2015 Filed under: Color Burst, Oodles of Love | Tags: color burst, Penny Black creative dies 15 Comments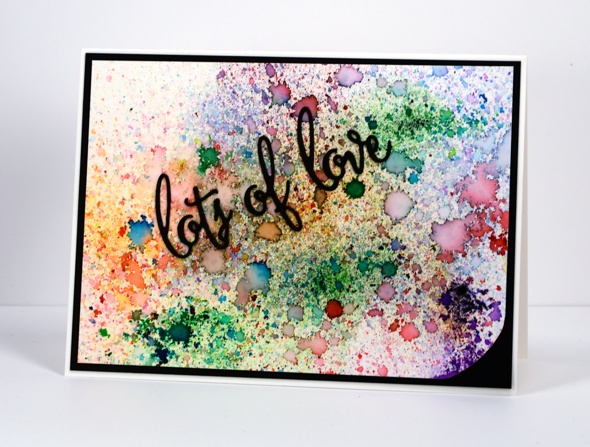
It was my son’s birthday yesterday so I wanted to make a card he hadn’t seen rather than reach into the stash. Unfortunately I am dealing with a sore wrist/hand/thumb at present and of course holding pens, paintbrushes, scissors seems to be the worst thing for it. I needed a technique which didn’t require me to over use the right hand. Working with color burst powder was great because it creates its own magic with the help of some spritzed water. I should have stamped a single sentiment instead of stacking die cuts though.
I created the coloured panel one powder colour at a time by spritzing water, then dropping powder. I tried to take it slowly so I could see how much each colour was going to react before I added the next spritz or sprinkle. I love the way the larger drops of water have their own darker border and then there is a fine splatter of colour around them.
Supplies:
Creative dies: Oodles of love (Penny Black)
Inks: Color burst watercolour powders(Ken Oliver)
Cardstock: Canson hot pressed watercolour paper, Neenah epic black cardstock
Also: Stick it adhesive sheet (Ken Oliver)
Brush Pines tag card
Posted: October 9, 2015 Filed under: Brush Pines | Tags: Penny Black creative dies, Penny Black stamps, Tsukineko Memento inks 5 Comments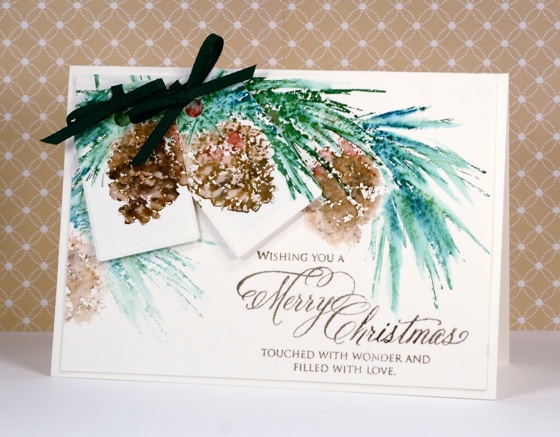
The Penny Black designers are playing with tags again and have added them to cards this time. I chose the ‘brush pines’ stamp and some cold-pressed watercolour paper for my layered pinecones card. I stamped the pine cones several times so I would have extra images for the tags. I also stamped a few times without re-inking to create paler impressions. The ink was applied with Memento markers and blended with water to soften and spread the colours. I die cut the tags with the smaller die from the ‘tagged’ set popped them up over the stamped panel.
Supplies:
Stamps: Brush Pines, Believe (PB)
Dies: Tagged (PB)
Inks: Memento teal zeal, cottage ivy, rhubarb stalk, rich cocoa markers, versafine vintage sepia ink (Tsukineko), gathered twigs distress markers (Ranger)
Cardstock: Canson cold pressed watercolor paper
Also: green grosgrain ribbon
Die cut snowflakes
Posted: October 7, 2015 Filed under: Snow Drops, Snowflake trio | Tags: Penny Black creative dies 9 Comments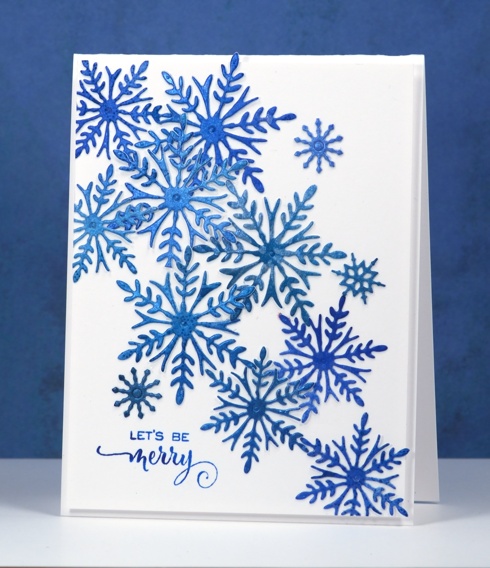
Although this card is very different to the forest card I last posted, the way it came about is similar. When planning class projects I cast aside a couple of panels of shimmery blue. I had brayered two colours of blue ink over the panels to begin then spread interference blue pearl-ex powder over the inking. I used a soft paintbrush to spread it out evenly and the finished effect was very shimmery when tilted in and out of the light. Sadly you can’t see just how shimmery here. I didn’t end up using the panels or technique in my class so I die-cut as many snowflakes as I could from the left over panels then cascaded them down a white card front and added a sentiment.
Supplies
Stamps: Seasons Gifts, (Penny Black)
Dies: Snow Drops, Snowflake Trio (Penny Black)
Inks:Memento Danube Blue, Teal Zeal, (Tsukineko)
Cardstock: Neenah solar white cardstock
Sunset Forest
Posted: October 6, 2015 Filed under: Nature's Friend, Stamped Landscapes | Tags: Penny Black stamps, Ranger Distress stains 8 Comments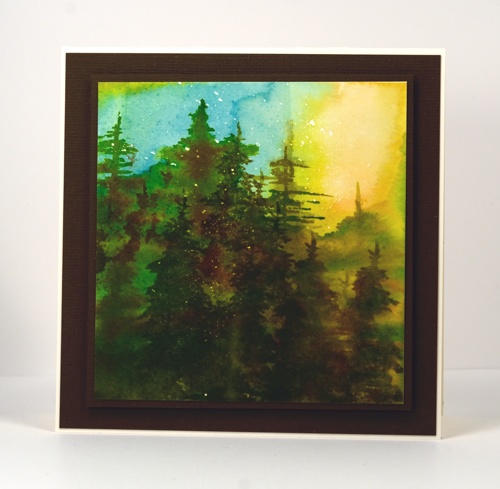
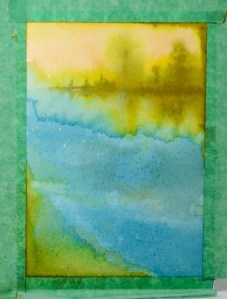
I completed this forest scene months ago but left it unposted. I showed it to a friend recently and she encouraged me to share it here. It is an example of a ‘no card left behind’ project. I was showing my friend how I did the lake on this card. It took us both a few attempts to get our backgrounds looking the way we wanted and the panel below was one of my cast-offs because of the water bloom under the shoreline trees. I pulled the panel out again at a later date and turned it on its side and made the shoreline trees one tall tree instead. I used both painting and stamping to fill the panel with trees. There was a bit of fiddling around with the tree stamp and the layers but I kept adding until it looked forest like! The little white flecks are of course, masking fluid.
So you see you should not throw things away immediately after you ‘mess them up’; set them aside perhaps and come back another day to take a second look. Flip it upside down or 90° just in case you have a lake you can turn into a forest!
Supplies:
Stamps: Nature’s Friend (PB)
Inks: Crushed Olive, Forest Moss, Dried Marigold, Broken China distress stains & Vintage Photo, Forest Moss distress ink (Ranger)
Cardstock: Brown cardstock, Fabriano 100% cotton hot pressed watercolour paper
Also: Winsor & Newton masking fluid
30 Day colouring challenge
Posted: October 2, 2015 Filed under: Fresh, Watercolour | Tags: Kuretake Zig clean color real brush markers, Penny Black stamps, Tsukineko Versafine inks 13 Comments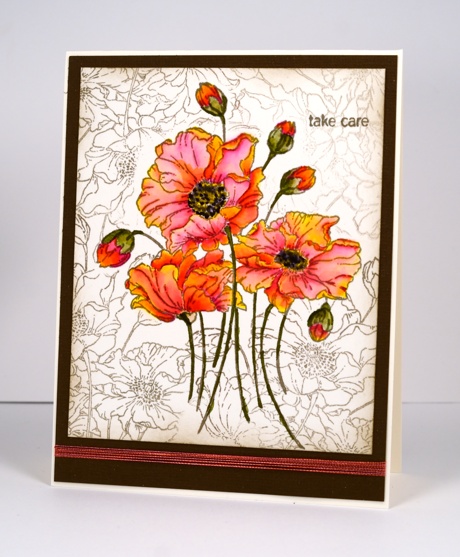
Kathy Racoosin of The Daily Marker is hosting a 30 Day Coloring Challenge during October. It is her third colouring challenge and her videos, blog posts and clever creations are very inspiring. I played along a few times during her last challenge and hope to participate even more this time. For all the details visit Kathy’s blog and check out her instagram also.

The colouring on my ‘fresh’ bouquet was done with Zig clean color real brush markers. I have 14 colours (so far), most of them quite bright so it was not difficult to get vivid petals by blending just the yellow, the pink and a little water. The background did involve fussy cutting a mask! Unlikely to happen often, I know. I stamped the background in versafine vintage sepia ink over the masked central image. Now that I think about it, several masks were needed so the background images did not stamp over the top of each other. This is why you don’t see this sort of thing very often on this blog. I do have a ‘too lazy to fussy cut and mask’ technique which often works well. I will share that some time soon.
Supplies:
Stamps: Fresh , Snippets (PB)
Inks: Versafine Vintage Sepia ink (Imagine Craft/Tsukineko)
Cardstock: Fabriano 100% cotton hot pressed watercolour paper, Neenah Natural White cardstock, Brown cardstock
Also: Zig clean color real brush markers, pink and orange thread
OLS 21 Whatever the Weather
Posted: October 1, 2015 Filed under: One-Layer Simplicity challenge, Summer Fun | Tags: Penny Black stencils, Ranger Distress inks, Tsukineko Memento inks 4 Comments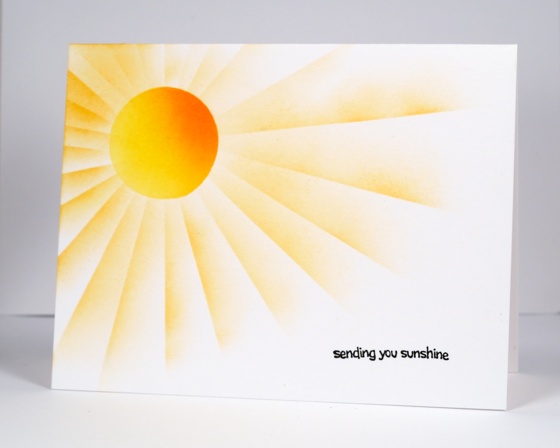
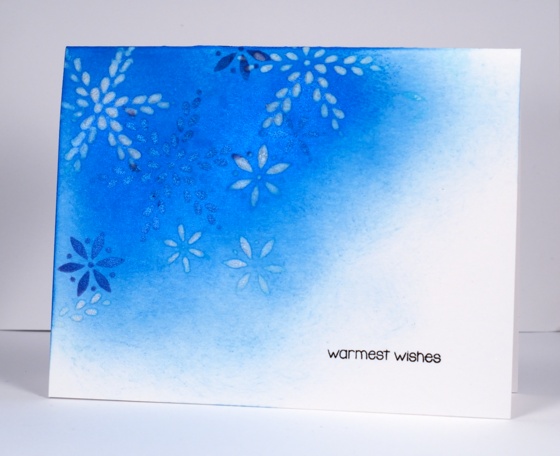
It is time for a new challenge at One Layer Simplicity and I am the October host. The One Layer Simplicity team (Susan, Karen, Ardyth and myself) issues a new challenge each month. We always have a different theme but the same requirement to keep the card one layer and the design simple. This month my theme is ‘Whatever the Weather’. In the southern hemisphere spring has sprung and here in the northern hemisphere the temperatures are dropping as autumn takes over. To participate in the challenge your card needs to be weather related. I used post-it masks to make a warm sunny card and a stencil to create a chilly snowflake card.
Supplies
Stamps: Summer Fun, Holiday Snippets (PB)
Stencils: Snowdance (PB)
Inks: Memento dandelion, cantaloupe, tangelo & versafine onyx black(ImagineCrafts/Tsukineko) Salty Ocean, chipped sapphire distress ink (Ranger)
Cardstock: Neenah Solar White
Also: Pearl-ex Interference blue powder
Watercoloured leaves the distressing way
Posted: September 30, 2015 Filed under: Filigree Foliage, Wishes | Tags: Penny Black creative dies, Penny Black stamps, Ranger Distress inks, Ranger Distress stains 18 Comments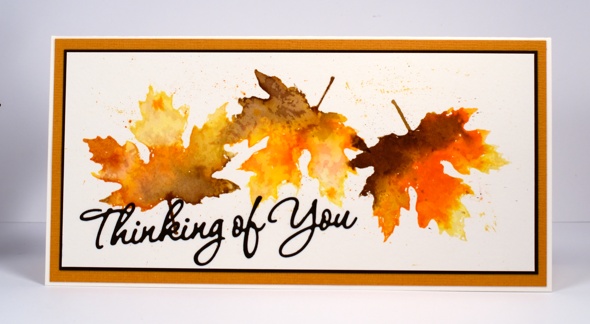
Watercolour and autumn were made for each other were they not? I went for a run this morning and there were deep red maple leaves lying on the path looking like mini masterpieces. I kept wanting to pick them up and bring them home to inspire some painting. I did not want to carry them however and there will be thousands (I am not kidding) in my yard over the next 6-8 weeks (again, not kidding).
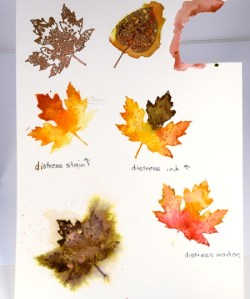
I did a periscope comparing painting leaves with distress stains, ink pads and markers this morning. These cards use the same techniques I demonstrated on the video. The first one is my favourite distress technique, stamping with stains then moving the stain with a paintbrush to fill the stamped image. I added fine splatter to the leaves on this one but kept the next one fairly clean.
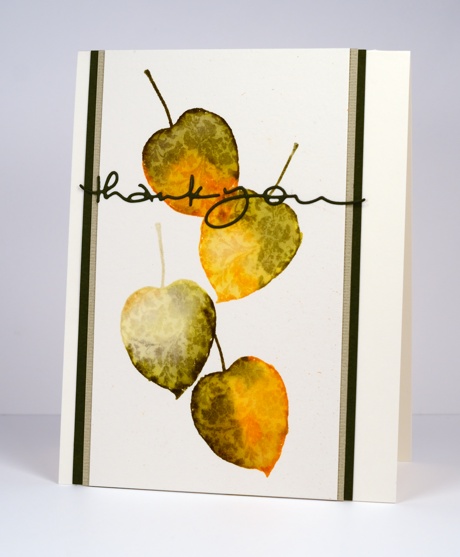
I used the same ‘stamp then paint and blend’ technique for the second card but inked the stamp with ink pads. The main difference is less liquid on the stamp and an image that soaks into the watercolour paper more quickly. The result once blended with water is similar but more of the stamped outline remains. Using markers gives a similar result to inkpads but transfers even less liquid on the stamp. With markers however you can apply colour to small areas of the stamp and have a more detailed and intricate colour result.
To finish I matched cardstock to the stamping for mats and die cut sentiments.
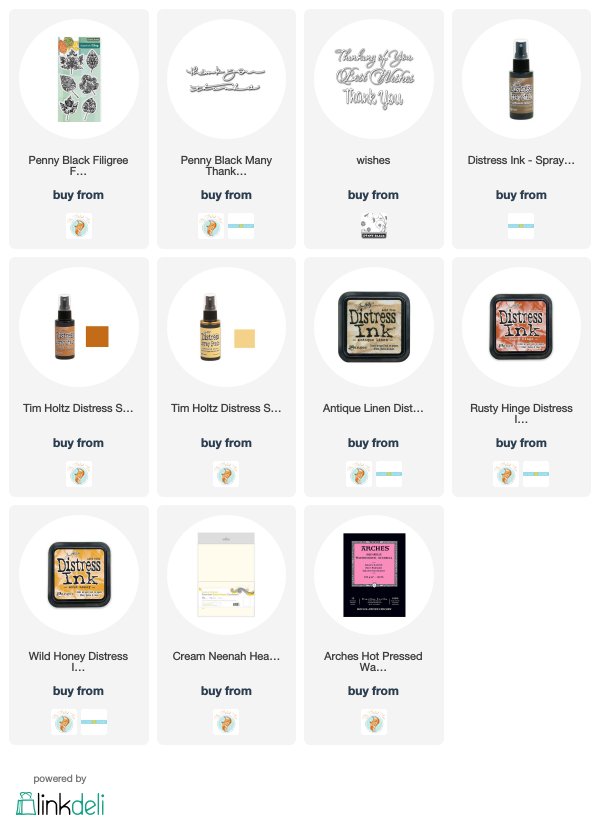
Supplies











 Heather Telford