
Bethlehem Skyline
Posted: November 30, 2023 Filed under: Bethlehem skyline, cricut, Echidna Studios, Penny Black, Silent Night | Tags: cricut, Echidna Studios, Minc, Penny Black stamps, sennelier watercolours 9 Comments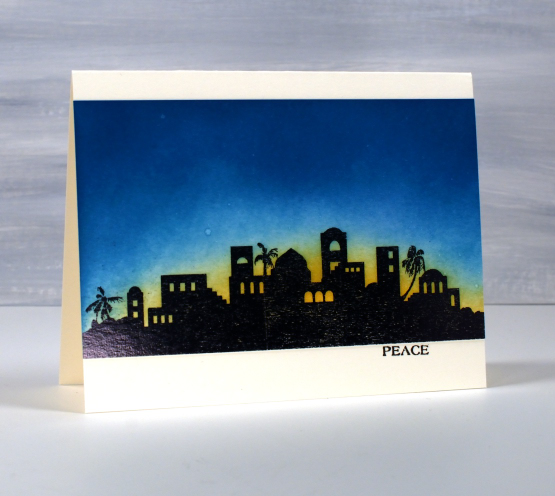
Today’s post is another long one full of photos. I hope you enjoy seeing the different styles and techniques applied to the new Echidna Studios digital set ‘Bethlehem Skyline‘. I requested this image and I think my daughter did a beautiful job with her design. The set includes a black silhouette and an outline image featured further down this blog post.
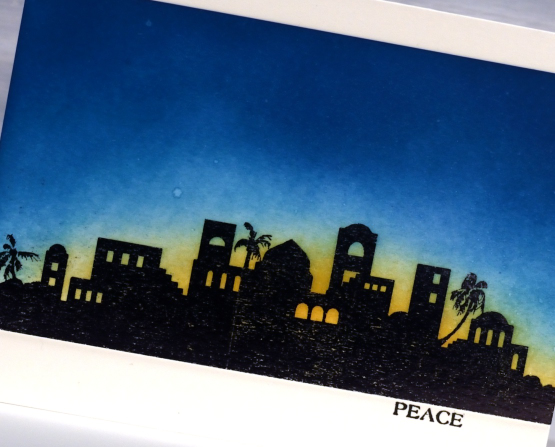
To create these first two cards I printed the silhouette image on white cardstock then foiled over the top with black foil. Using blending brushes I blended first scattered straw distress ink then broken china, and finally uncharted mariner for the deep blue sky. I wanted the colours to blend into each other but I didn’t want too much green where the blue and yellow met so I went carefully in that area.
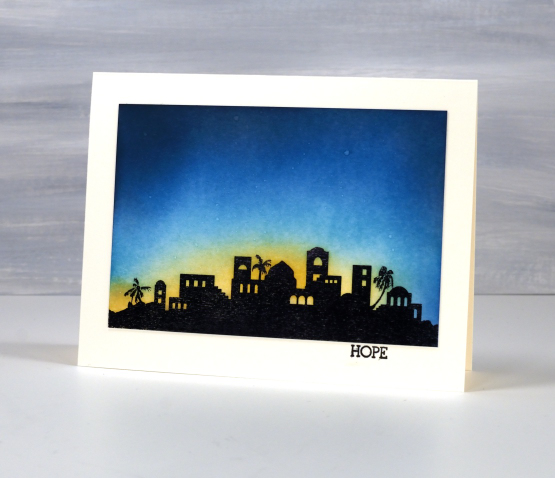
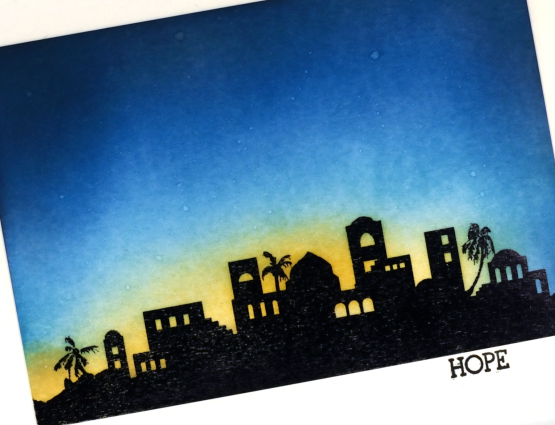
The sky was dark but I wanted a bit darker so blended just a bit of black soot ink around the edges and top of the panel. You might have noticed the image is the same but a different size in each card; that’s the beauty of a scalable digital image. To add stars to the blended sky I spritzed a fine spray of water on the panel and then dabbed it dry with a paper towel. The stars are subtle but they are there. The words Hope and Peace are once again from the PB ‘holiday snippets’ set.
The next style of card features a cut out of the Bethlehem skyline once again using the digital svg file but cut from black cardstock with the cricut. After cutting the silhouette a couple of times we realised the trees were too small for a card sized cut out so added a tree-less image to the set.
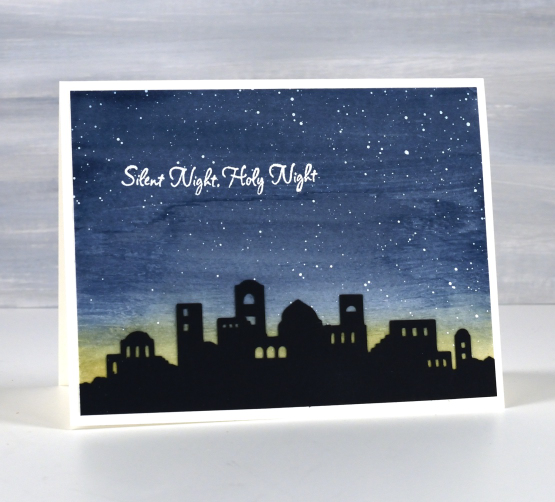
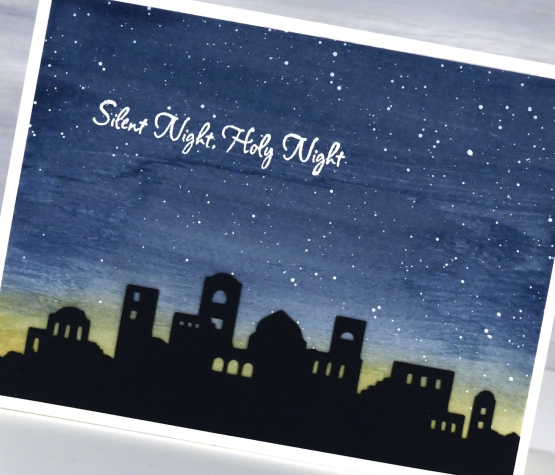
I painted a blue and yellow sky with Sennelier watercolour paints then, once dry splattered white acrylic ink over the blue area. When that was dry I attached the black silhouette and embossed a sentiment from the PB set, ‘silent night’.
When cutting the silhouette from black cardstock I also cut a larger one which I have wrapped around cylindrical glass vase. I put a candle inside the vase and lit it but I am not sure whether the candle is bright enough. I am going to keep experimenting and if I can get a good photo I will share it here on the blog. I think the image would look great cut from vinyl and attached to a wooden panel as a nativity sign. Oh the possibilities!
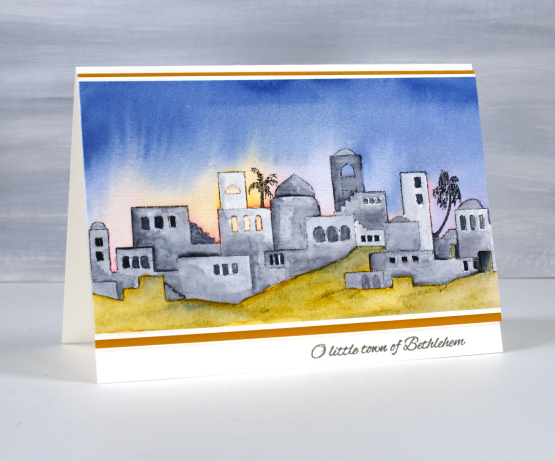
The final card features the other image in the set, an outline of the Bethlehem skyline. I printed it on hot pressed watercolour paper then painted over the buildings with liquid frisket to mask them. The masking made it possible to paint the sky with wet watercolour layers of blue, pink and yellow while preserving the town to paint after the sky dried. To get the soft bleed of pink and yellow into blue I set the panel upside down on the top edge to dry so gravity helped me get the glowing light effect.
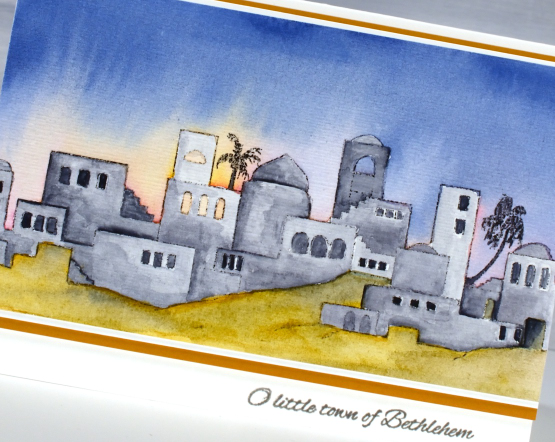
I used a mustard yellow to paint the foreground but it was too bright so I added some of the same blue from the sky to give it some shadow. With both the sky and ground completed I removed the liquid frisket(masking fluid) and painted the buildings with Payne’s grey.
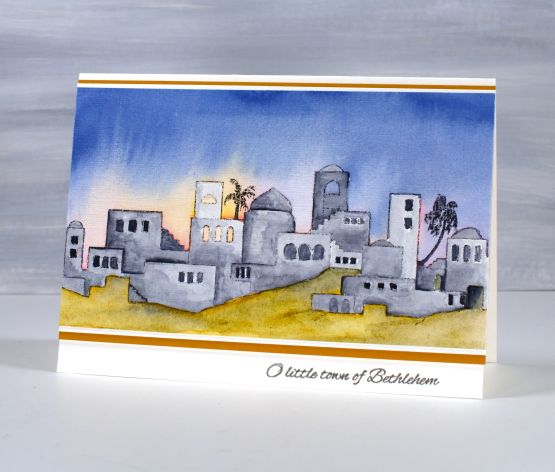
I finished the card with a mat of white then a mat of mustard brown and a little PB sentiment in versafine clair ‘morning mist‘ ink. Thanks for reading this far. I hope you enjoyed my different techniques with this lovely image. I think you’ll be seeing it again; its a new fave!
Today’s post features affiliate links to the following companies. If you buy through these links I receive a small commission at no extra cost to you. The Foiled Fox & Scrap’n’Stamp
Christmas Filigree
Posted: November 23, 2023 Filed under: Christmas filigree, Dies, Echidna Studios, joy of giving, Penny Black, Taylored Expressions | Tags: digital stamps, Echidna Studios, Penny Black creative dies, Penny Black stamps, Taylored Expressions 2 Comments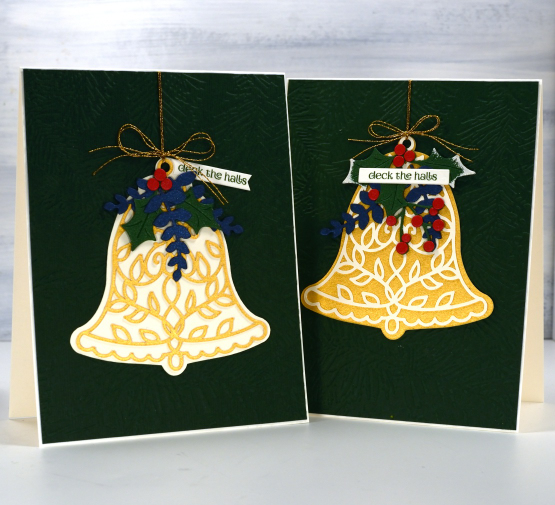
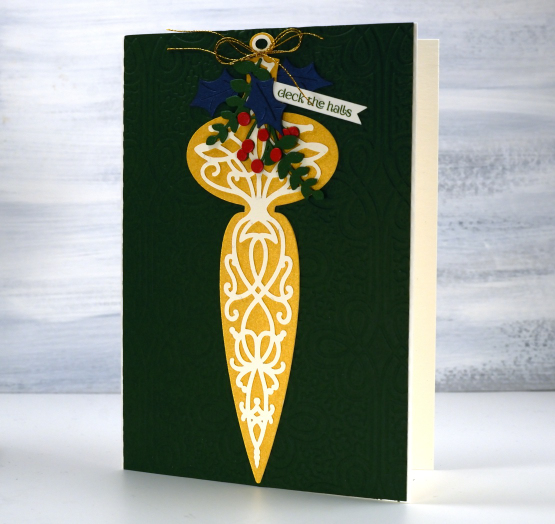
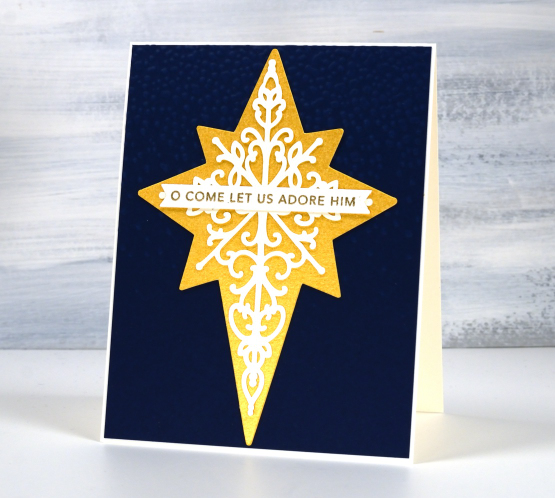
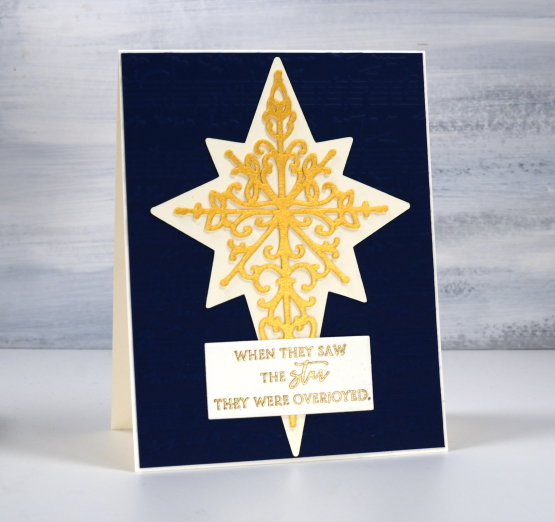
I am pretty excited about these new images. I think filigree patterns are very pretty and once I got the gist of it had a lovely time designing a bell, a star and a finial ornament. I thought it made sense to have a solid background to show off the filigree and, tada, the Christmas filigree digital stamp and cut file set came to be! This set is now in the Echidna Studios store along with three more new sets and some updated Christmas sets from last year. It’s beginning to look more like Christmas every day.
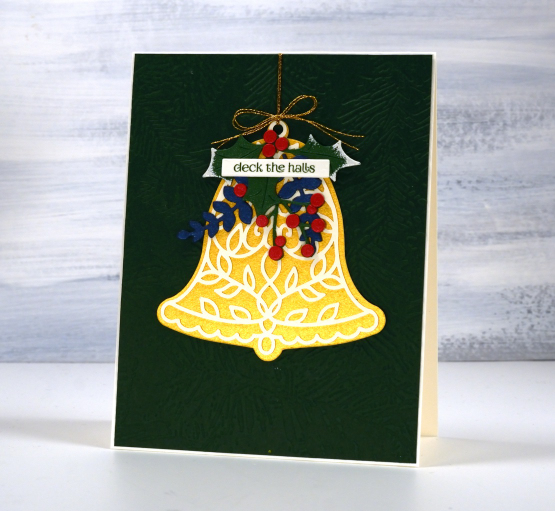
I think the bell is my favourite of the three images and will come in handy making wedding cards as well as Christmas. I wanted to show off the designs on dark backgrounds but when in comes to photographing shimmery gold, embossing on dark green or navy and the high contrast of cream cardstock as well, I can’t always nail it.
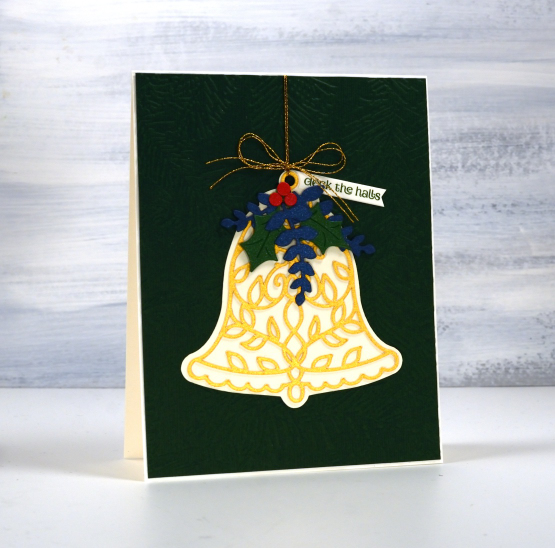
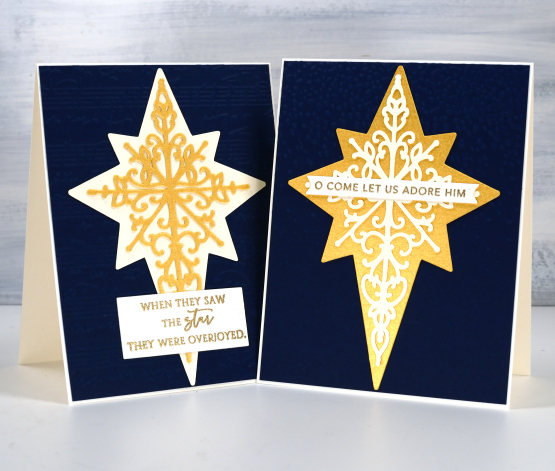
So let me tell you the bells are sitting on dark green panels embossed with Spellbinders ‘forever green’ folder. The green panel on the left below is also embossed with that folder but the one on the right is embossed with the Anna Griffin ‘regal braid’ folder. The star cards at the end of this very long post are on navy blue backgrounds and it is again a little tricky to see one base is embossed with the ‘speckles/snowfall‘ folder and the other with the Taylored Expressions ‘sheet music‘ folder.
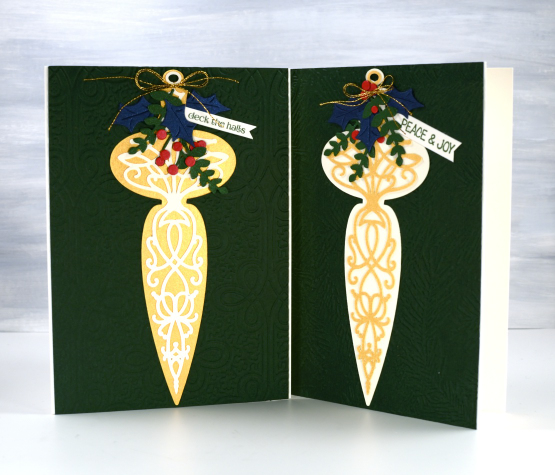
I decorated the finials and bells with a mix of die cut foliage from Penny Black including the ‘joy of giving‘ set.
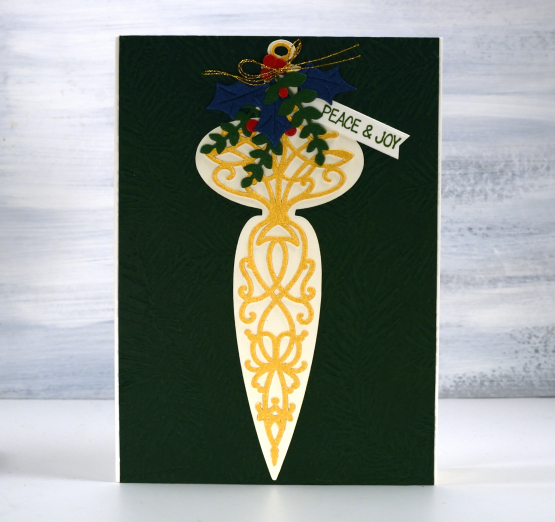
As the finial is such a long thin shape I made the card a little larger than usual, around 6″x4.5″.
I created the star cards without foliage but found suitable sentiment from PB and Taylored Expressions.
I think all three designs would make lovely tree ornaments either stacked to give them extra stability or cut from thick acrylic or thin board on a laser cutter. I don’t have a laser cutter but it is possible to book time on one at the library; if get some cut I will definitely show them here on the blog.
Thanks for scrolling all the way through this long post; I really appreciate you visiting the blog. Have a great day!
Today’s post features affiliate links to Scrap’n’Stamp. If you buy through these links I receive a small commission at no extra cost to you.
Seedling Pots
Posted: November 8, 2023 Filed under: Echidna Studios, seedlings 4 Comments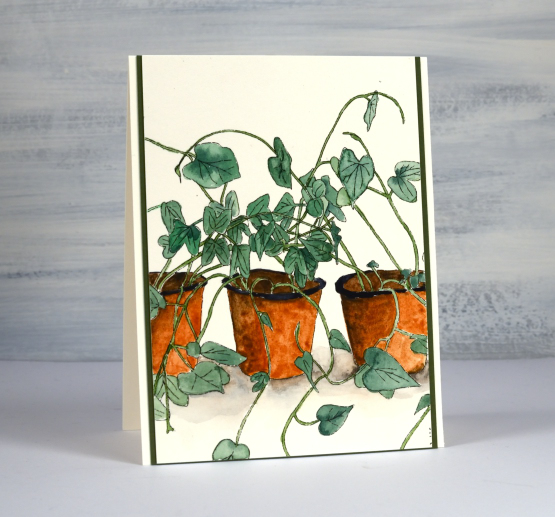
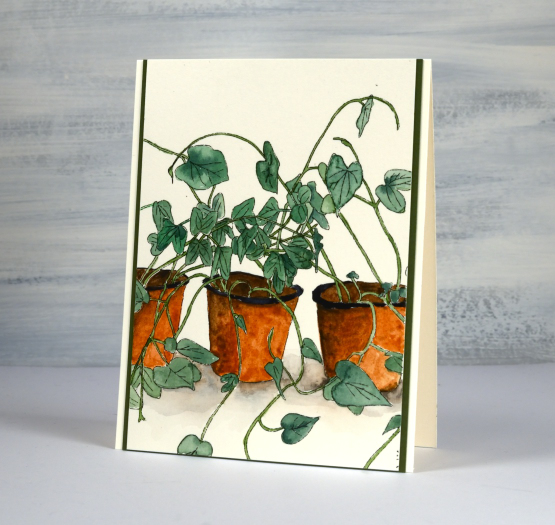
I’m featuring the seedlings digital stamp from Echidna Studios today. You might remember seeing these little pots before but they were sized differently last time to show the whole digital stamp. To create today’s card I printed the image larger on hot press watercolour paper and once again used watercolour paints to add colour.
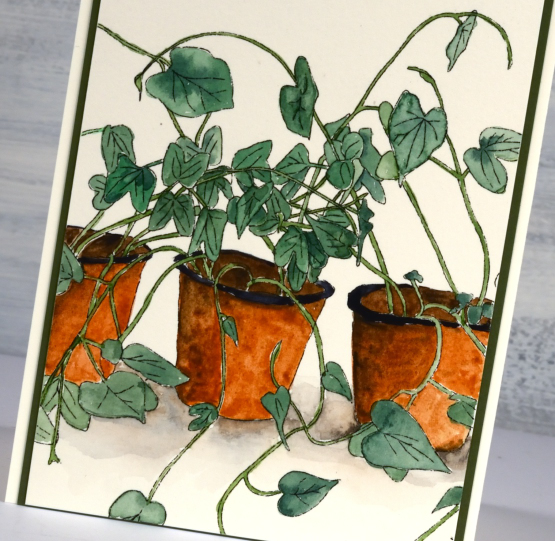
As the image has quite a few leaves and stems it was less fiddly to paint it on a larger scale. I kept my colour palette minimal using a green I mixed myself along with two browns and a black for the pots.
The Echidna Studios etsy store is my daughter’s store and is filled with a mix of digital images, most are her original artwork but there are some of my designs also. We are continuing to add to the store regularly and are working on some videos to introduce you to the world of digital stamps and cutting files. I print on a basic laser printer but my daughter tested some of the images on an inkjet printer recently and they worked very well. I cut the svg cutting files on my Cricut but a Silhouette or a ScanNCut would also work.
Thanks for dropping by today.
Coniferous Silhouettes
Posted: November 1, 2023 Filed under: Coniferous Silhouettes, Echidna Studios | Tags: Echidna Studios, Ranger Distress inks, Taylored Expressions 4 Comments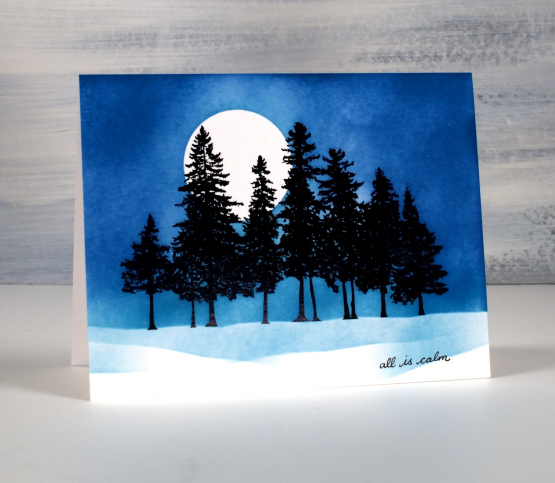
You know me; I am always up for more tree stamps and the latest release from Echidna Studios is made to order. No, really, it is made to order; I asked my daughter for some evergreens and she designed this digital stamp from one of her own photos. It is called Coniferous Silhouettes and includes five different versions: ‘detailed’ which is the one in the card above, ‘solid’ which you can see in the card further down in the post, ‘simplified’ version not shown in this post and two versions with just tree tops – no trunks.

I printed the images on neenah solar white cardstock with my laser printer then foiled with black foil to make them darker. The foil resisted the blended distress ink just as heat embossing would do. You can see how I masked and blended in the short video below.

Even though the cards look very similar you can see some light through the trees in the image above whereas the image below is solid.
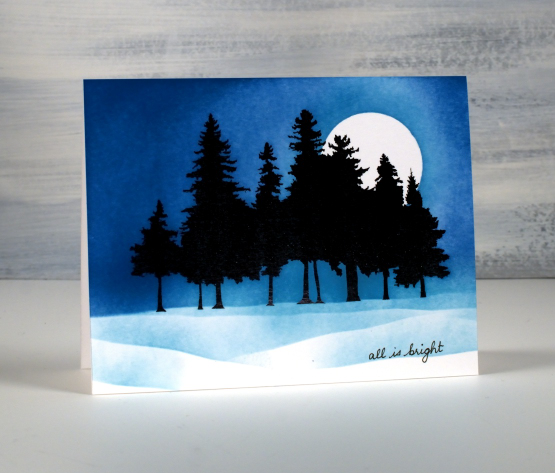
Back in the olden days I blended ink on many scenes like this using sponges; I must admit I like the smoother and faster application of the blending brushes.

Several blog readers have expressed interest in a how-to video to introduce you to using digital stamps and cutting files. We are working on getting that done for you.
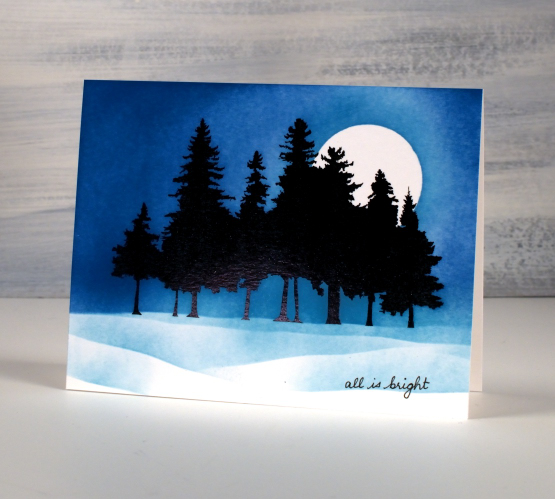
Both cards with dark blue skies feature unchartered mariner and broken china distress inks; I like to have a lighter ink for the foreground snow and to blend around the moon. The card below was my test run and it features tumbled glass and peacock feathers distress inks. You can see I blended across the moon in the card below. I did it to cover a smudge but I think it looks a bit more realistic this way; maybe I’ll go back and add a light blend to the other two moons.
Little did I know that I would have snow on the ground when posting these cards but it’s there!

Today’s post features affiliate links to the following companies. If you buy through these links I receive a small commission at no extra cost to you. The Foiled Fox & Scrap’n’Stamp
Printed Baubles – short video
Posted: October 24, 2023 Filed under: Alcohol Ink, Echidna Studios, entwined, gel press | Tags: Alcohol Ink, Echidna Studios, gel press, Penny Black stamps, Stampin Up, Taylored Expressions 6 Comments
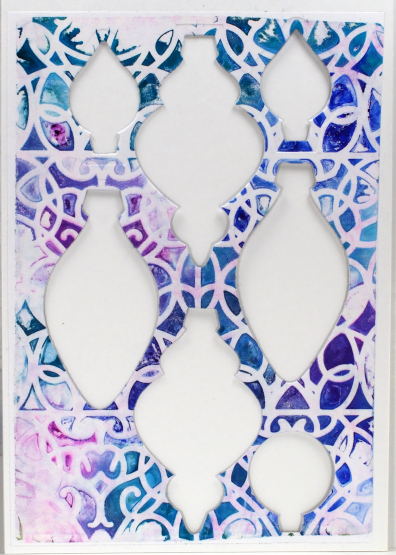
Last month I posted a sped up video on instagram showing how I printed alcohol ink patterns through the entwined stencil onto my 5″x7″ gel plate. I planned to add it to youtube as a vertical ‘short’ because not all my blog readers and youtube followers are on instagram. Sadly I discovered a ‘short’ on youtube must be 60 seconds or shorter. My sped up video was #shortnotshort at 77seconds. I decided to post it on horizontally on youtube anyway so I could share it here along with the cards I made from the panel.
The print you will see in the video above shows how I created the alcohol ink pattern through a stencil then pulled the print on printer paper with acrylic paint. I know there is no narration along with this very short sped up video but I go through the process in more detail with less speed in a couple of other recent videos here and here.

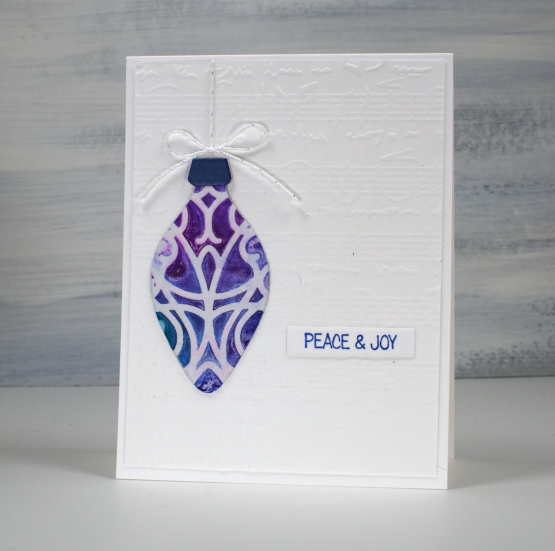
To make the print sturdy enough to die cut I used double sided adhesive to attach the print to thick cardstock. I used dies from a stampin up set ‘holiday ornaments’ which is possibly retired. I borrowed the set because I thought the finial style suited the symmetry of the print.
As I often do with a patterned busy element I embossed white panels to be the background. I used Taylored Expressions sheet music embossing folder, an Spellbinders in the pines folder and the one below that I don’t know the name of. The little sentiments from my well used Penny Black set, ‘holiday snippets’.

The card bases and embossed panels are Neenah solar white 110lb cardstock. That is four more cards added to my Christmas card pile which is definitely not a big enough pile just yet. At class today a few people said they had finished all their Christmas cards, but others were yet to start so I feel happy somewhere in the middle!
Today’s post features affiliate links to the following companies. If you buy through these links I receive a small commission at no extra cost to you. The Foiled Fox & Scrap’n’Stamp
Surf’s Up
Posted: October 17, 2023 Filed under: Echidna Studios, Surf's Up | Tags: digital stamps, Echidna Studios, Penny Black creative dies 2 Comments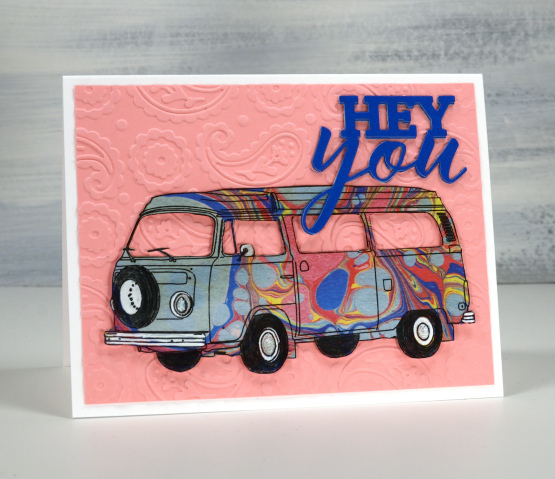
What do you think of today’s funky van from Echidna Studios? A few months back I watercoloured the vintage VW beetle and it’s still one of my favourite digital images from the store. The new Surf’s Up image is equally cool and made me reach for some marbled paper that would make it all the more fun! The digital stamp set includes three surfboard images that can be positioned with the van or used on their own.
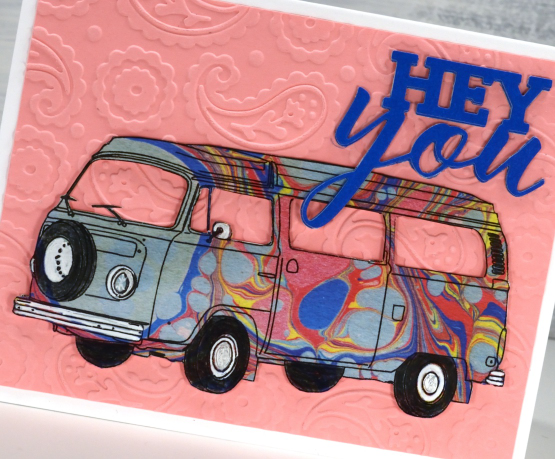
The paper I had was a 6″x6″ square which I was able to manually feed through my printer. I imagine some of you are wondering if I fussy cut this because I have been vocal in my dislike of fussy cutting in the past. Surprisingly I did cut it out and also an extra roof and van body from cardstock to tuck behind to lift and strengthen the cut out. I coloured directly on the marble paper with a black pencil, and white and silver gel pens.
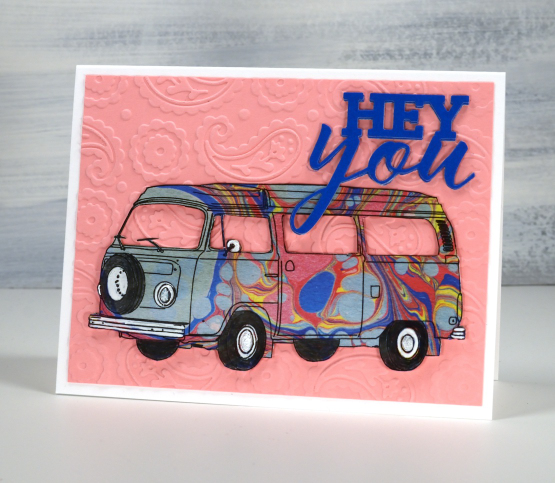
Naturally a marbled van wanted a paisley backdrop so I embossed some pink cardstock with a cuttlebug folder I recently picked up at a garage sale. The bold die cut sentiment is from Penny Black. Hope you have a groovy day!
The leaves are turning – video
Posted: October 16, 2023 Filed under: Echidna Studios, gel press, Mooneys Trees, Stampin Up, timber embossing folder, Tutorial | Tags: Echidna Studios, gel press, gel printing, Tutorial, video 7 Comments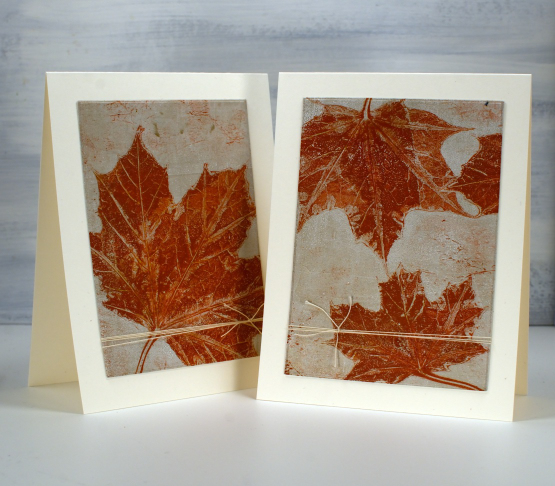
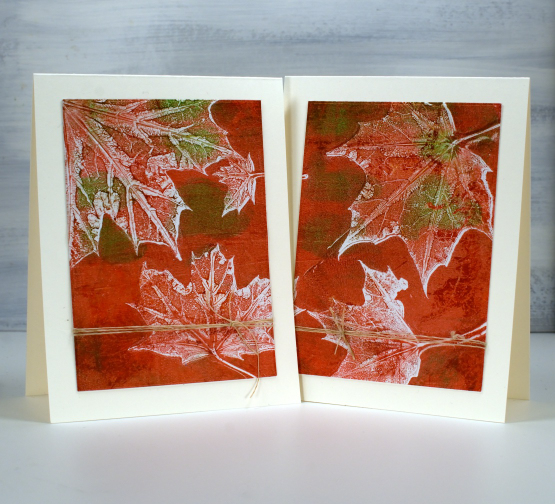
As the leaves start to turn around me I brought a few green ones to the gel plate and printed them in the colours of autumn. I filmed as I printed so you can see a few different techniques. There is a brief appearance of backyard wildlife that must have come in on the freshly picked leaves. Let me know if you know what it was.
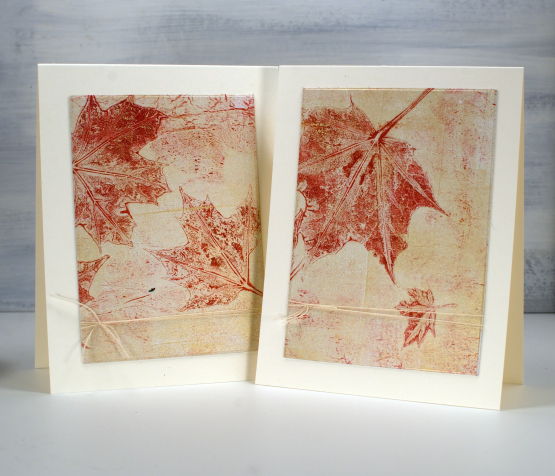
As you will see in the video I used a 5″x7″ gel plate and a mix of liquitex, decoart and sennelier acrylic paints to pull prints on printer paper.
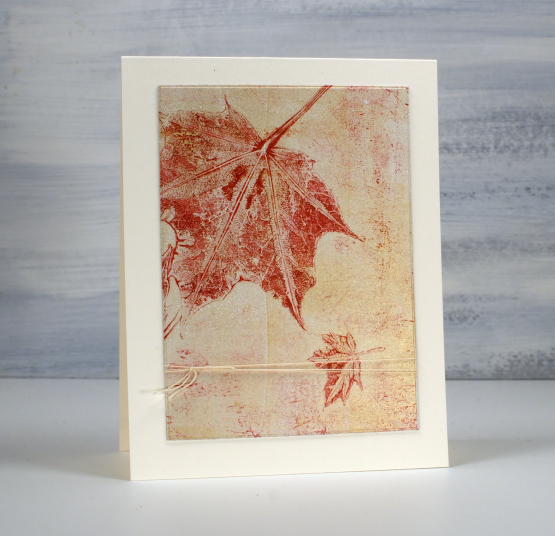
Recently I have been turning 5×7 inch prints into card fronts with a strip left for a matching envelope. For today’s cards I attached the whole print to cardstock then used WaffleFlower rectangle dies to cut panels from each print, added twine to both panels then attached them to cream card bases. There are no strips left for the envelopes but twice as many cards. I have left them without sentiments but if needed I can tie a little sentiment tag onto the twine.
The print below is also featured in the video. I thought it would be fun to print leaves onto the Mooneys Trees cut out. I used the digital cutting file to cut from cream cardstock then picked up the leaf print from the gel plate. My new timber embossing folder from SU was the perfect background.
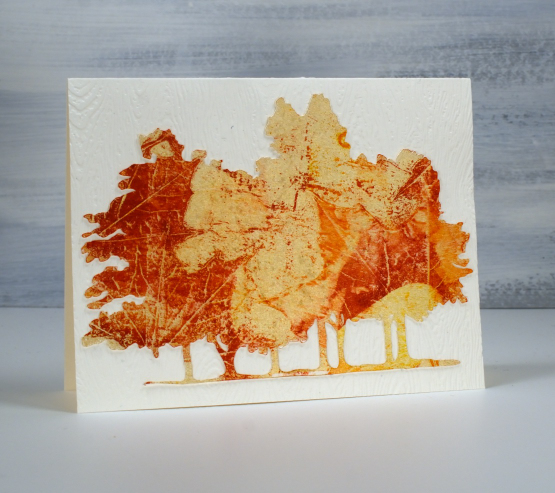
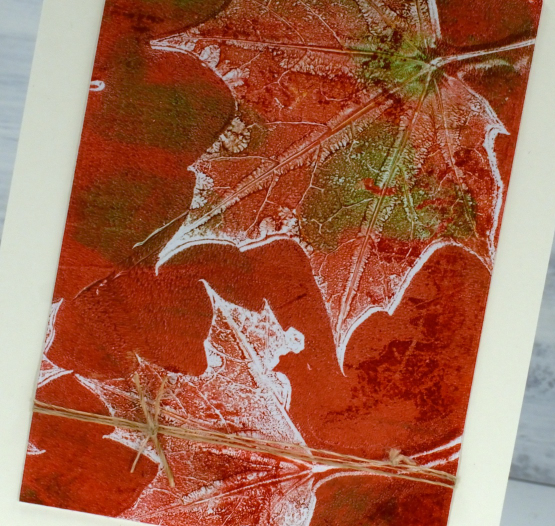
The close up below is the two step print, pulling first the background with the leaves still on the plate, then the leaf texture after they have been removed.
I think this final card might be my favourite. I didn’t plan it this way but it looks like that little leaf is falling away from the bigger one.
Today’s post features affiliate links to the following companies. If you buy through these links I receive a small commission at no extra cost to you. The Foiled Fox & Scrap’n’Stamp
Cape Wickham Lighthouse
Posted: October 13, 2023 Filed under: cape wickham lighthouse, Echidna Studios, Stamped Landscapes | Tags: Echidna Studios, Fabriano Watercolour Paper, sennelier watercolours 10 Comments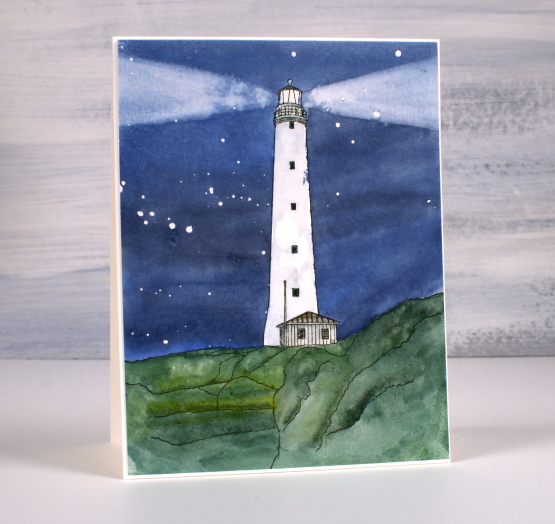
Recently I posted a card featuring a bridge in Oregon and asked if anyone knew or had visited the bridge. It was lovely to hear from people who lived in Oregon or had visited. One person lived very near the bridge. I would love to hear from people who have seen today’s lighthouse, it is quite remote. This image is another Echidna Studios digital stamp and is special to me for several reasons.
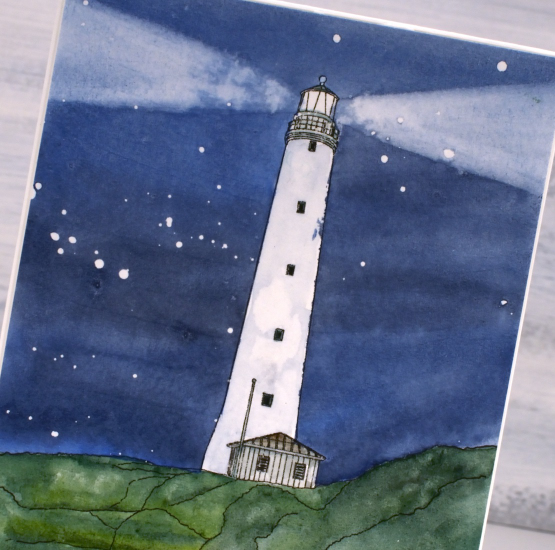
The lighthouse is called the Cape Wickham Lighthouse and it is on King Island in Australia. My daughter created the digital design from a photo but it wasn’t one of her photos; she’s never been there. The reference photo is from a slide my dad took in 1963 when our family lived on King Island. I was born there and at age 2 had my photo taken in front of the lighthouse. So you see there is input from three generations of my family in this card!
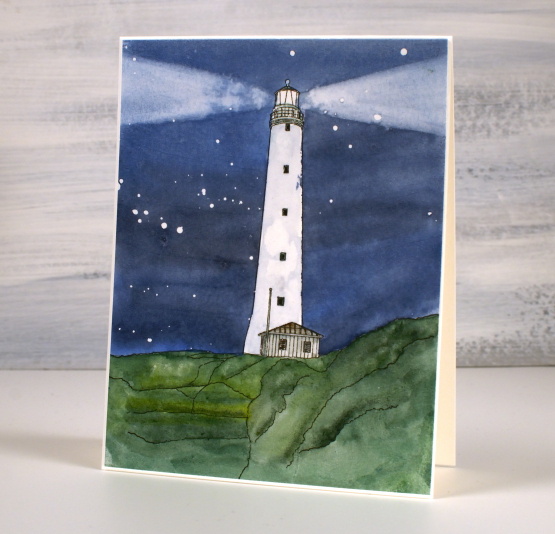
I printed the digital image on hot pressed watercolour paper, masked the lighthouse with a few strips of painter’s tape then splattered masking fluid over the sky. I painted the sky with Sennelier watercolours and while it was still damp painted removed paint with a damp brush to create the beams of light. Once the sky was dry I removed the tape so I could add some shadow to the lighthouse and paint the grass and hut. I removed the masking fluid to reveal the stars once everything was dry. (now I’m not sure that the Cape Wickham light shines out both ways like that but I used artistic license).
Let me know if you have seen or heard of the Cape Wickham lighthouse; it is the tallest in the Southern Hemisphere!
Happy Thanksgiving
Posted: October 9, 2023 Filed under: Echidna Studios, Mooneys Trees | Tags: digital stamps, Echidna Studios, sennelier watercolours 3 Comments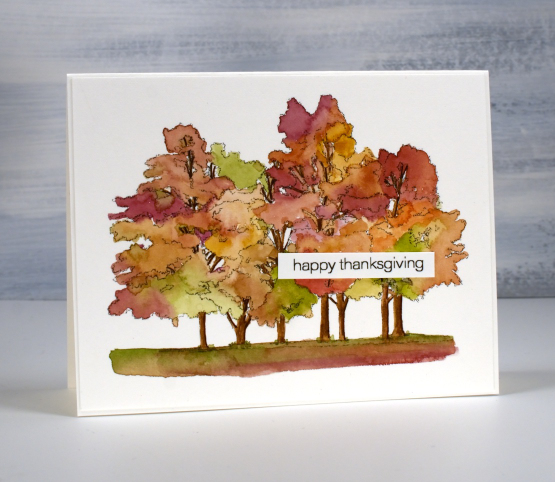
Happy Thanksgiving to all my Canadian readers. Hope you’re having a relaxing weekend maybe enjoying some autumn colour.
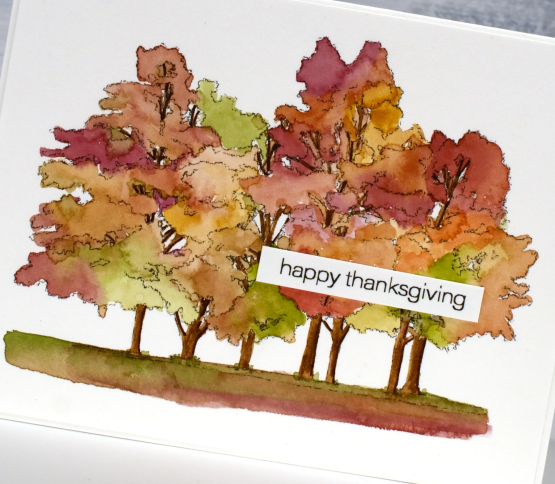
These trees are a digital image based on trees in a park not far from our home. What a treat to have such a personal image to paint. I used the simplified cut-out image in Friday’s blog post; this is the sketch version of Mooneys trees from Echidna Studios.
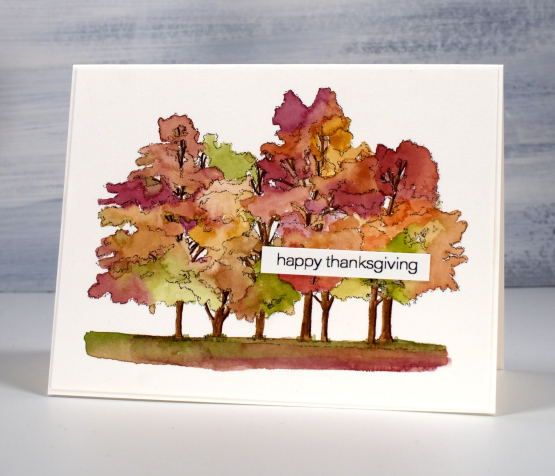
To see these trees beautifully painted with bister watercolour powders pop over here.
Mooneys Trees
Posted: October 6, 2023 Filed under: baby blue leaf embossing folder, Echidna Studios, Mooneys Trees, Paper Rose, Taylored Expressions, weathered | Tags: Echidna Studios, gel press, gel printing, Paper Rose, Taylored Expressions 6 Comments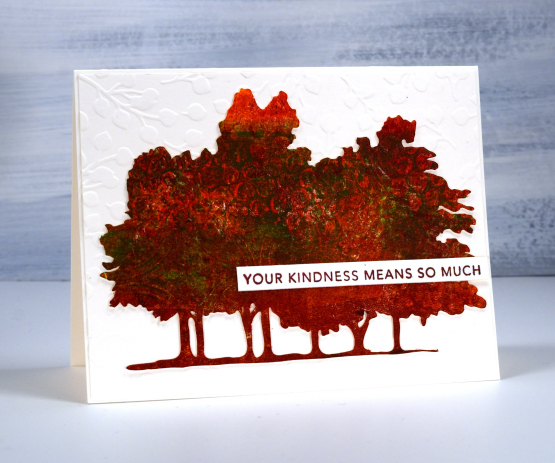
If you live in the same city as me you might have walked past these trees, sat under them or perhaps photographed them. My daughter worked from her own photo to create some digital stamps in different forms. Check out the sketch style, outline, silhouette and simplified version in the Echidna Studios etsy store. The set is named Mooneys Trees because they are growing in Mooneys Bay park.
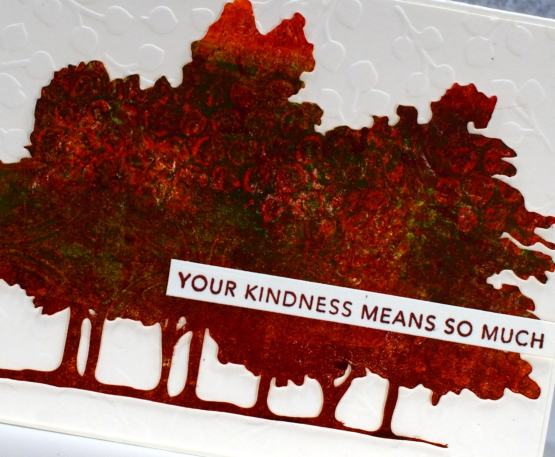
I used the simplified version to cut several pieces to gel print on. As you can see the trees fit on a 5.5″x4.25″ card base so I was able to print patterns on them on a 5×7 gel plate. If you are on IG you can watch a very short video of me printing the one above.
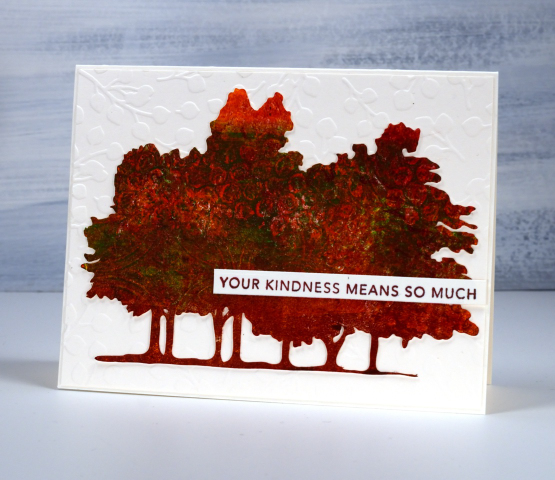
All the trees featured in this blog post were made by printing three layers of paint on top of each other, letting the paint dry in between layers. I varied the paint colours and texture on each layer. On the card above you might be able to pick out bubble wrap and textured cardboard patterns.
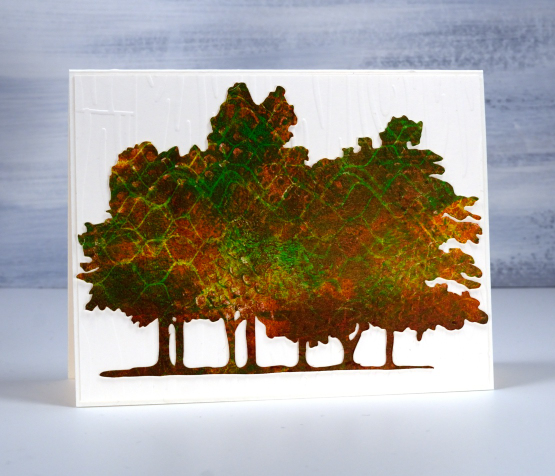
On the card directly above and below I used hessian (burlap) to add one texture as well as cardboard packaging on another layer. I also had plastic trays featuring criss-cross patterns to press on the gel plate.
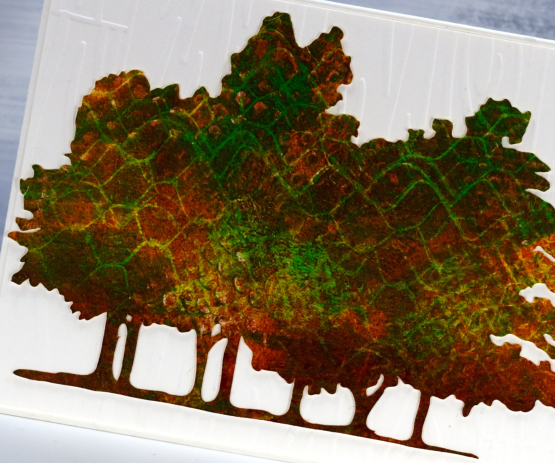
Each printed tree cutout is attached to an embossed panel of cardstock. Only one of the tree cutouts is popped up because that task had too much of a fiddliness factor! The embossed background below is called ‘weathered’ from Taylored Expressions. The embossing folder used on the card at the top of the page is ‘baby blue’ from Paper Rose Studio and the embossing folder on the second card is from Close to my Heart but I don’t know the name; it creates the look of a wooden fence.
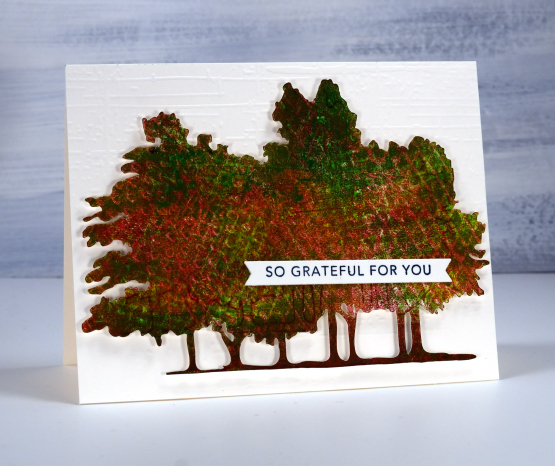
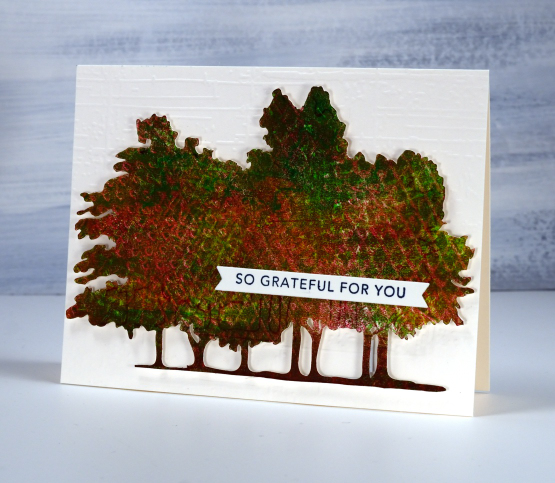
The two sentiments are from Taylored Expressions ‘simple strips background stamp‘ which stamps 18 sentiments to be cut out with the co-ordinating die. I really enjoyed making cards featuring local trees which are changing colour right now and of course I loved gel printing the cutouts to look autumnal.
My blogpost today features affiliate links to Scrap’n’Stamp. If you buy through these links I receive a small commission at no extra cost to you.












