
Calla Lilies
Posted: February 12, 2024 Filed under: calla lilies, Coloured pencil, Echidna Studios | Tags: Echidna Studios, Faber-Castell Polychromos Colour Pencil, Fabriano Watercolour Paper, sakura Koi watercolor brush pens 11 Comments
Time for new digital stamps from Echidna Studios and these two, Calla Lilies, are stunners. Once again my daughter drew the designs from one of her own photos. I printed this first one on kraft paper and coloured it with Faber Castell polychromos pencils.

My palette was quite limited as I completed most of the colouring with a pink, a green and a white. When most of the colouring was complete I used a darker pink, a darker green and a black to add final shadows and shading.

I used watercolour techniques to paint the second lily design after printing it on hot pressed watercolour paper.
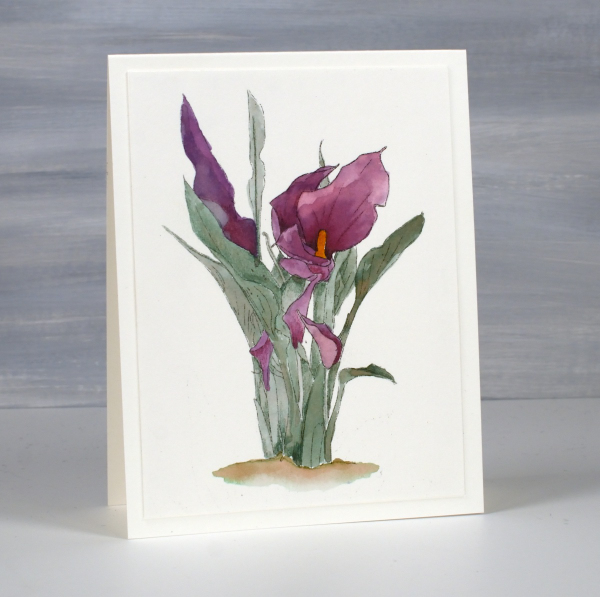
I found a photo on line to give me some colour inspiration and worked with watercolour brush pens. to get the wine colour I mixed purple and red on a glass mat then picked up the ink with a paintbrush. When using two colours in this way it is easy to get different tones for the shadows and variations just by adding more of either the purple or the red to the mix. I used one green mixed with a small amount of the same red brush pen ink to give me a more muted tone.
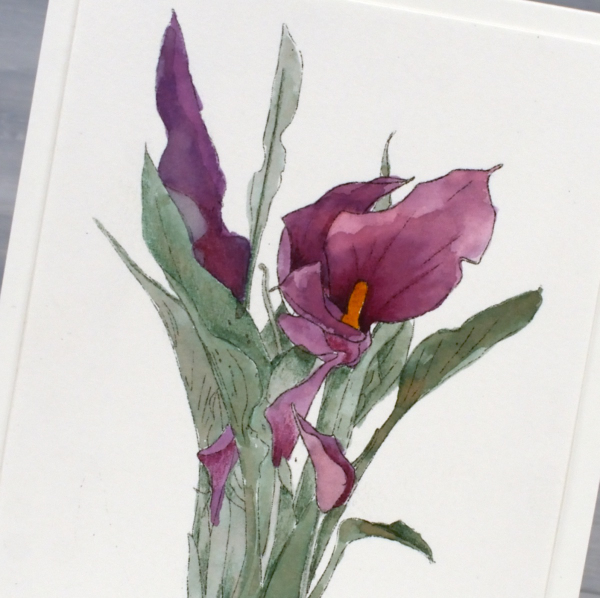
To see another colour scheme and orientation pop over to Echidna Studios instagram and take a look. I chose not to add sentiments even though they would make nice Easter cards. I think they would also be suitable sympathy cards so for now I’m leaving them blank. This post includes affiliate links to The Foiled Fox, if you use them I receive a small commission at no extra cost to you.

Roses Stencilled
Posted: January 29, 2024 Filed under: Alcohol Ink, Echidna Studios, gel press, Roses digital stamp set | Tags: Alcohol Ink, Darkroom Door stamps, Echidna Studios, gel press, gel printing, Taylored Expressions 2 Comments
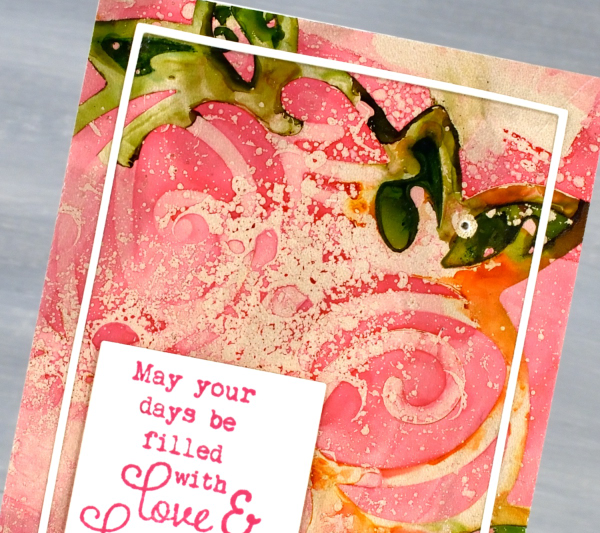
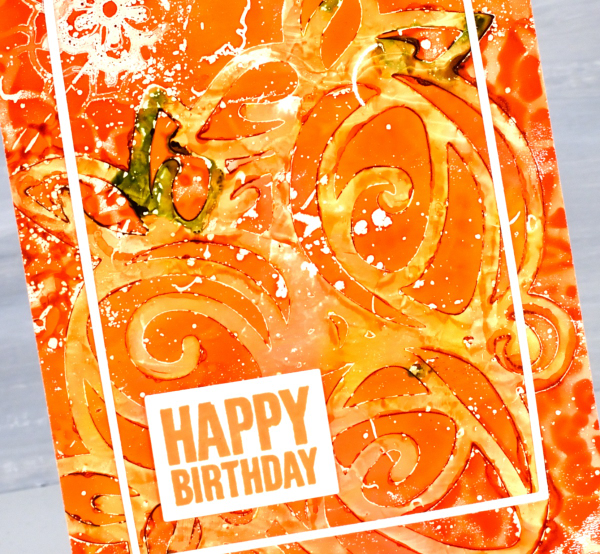
Last week I featured the Roses digital stamp set from Echidna Studios by cutting the rose trio from cardstock with my cricut. I have also cut dura-lar stencils with the same digital files. I cut them in different sizes for gel printing, blending or working with alcohol inks. To create both the pink and the orange panel I used alcohol inks on a gel plate and either dropped the rose trio stencil on top of the alcohol inks or lay the stencil down on the gel plate then added the inks. Both techniques work but by adding the alcohol ink after the stencil you have a bit more control of your ink placement. But you know alcohol inks; they kind of have a mind of their own.
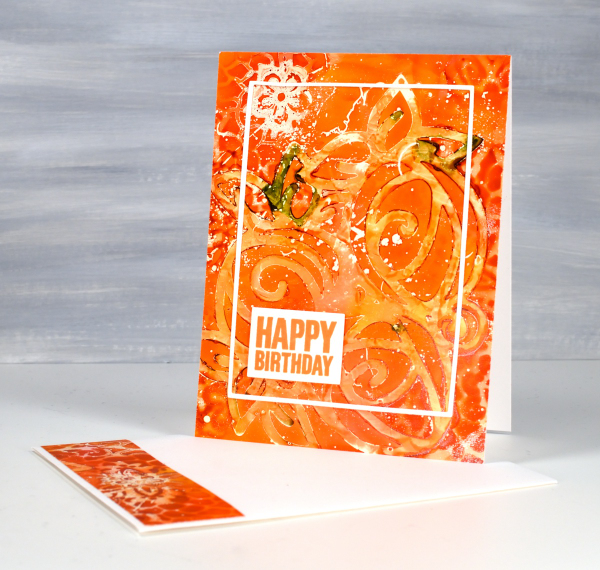
On the card above you can see two patterns. The roses stencil was laid down on the inked gel plate first so you can see the whole design. The Finnabair/Prima ‘floral net’ stencil was laid over the top so there are snatches of that pattern around the edges where it made contact with the alcohol inks. If you are interested in using alcohol inks on the gel plate, check out my video here.
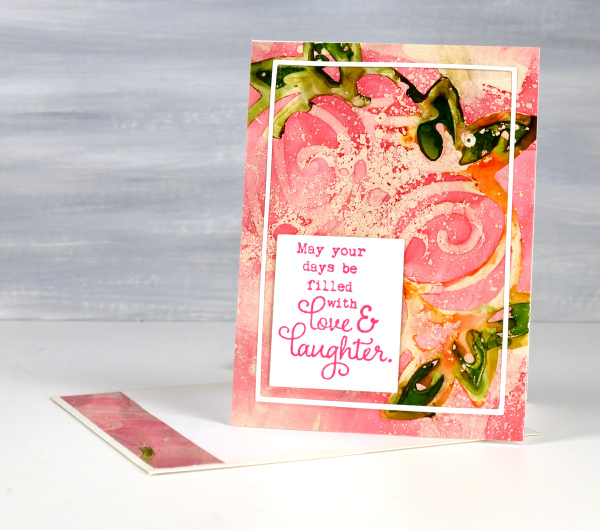
You can see from the photo at the top of the post that the pink one is a smaller card; it’s 5″ x3¾. This print doesn’t include a second stencil pattern but does have some isopropyl alcohol splatter adding interest. The sentiment is from Taylored Expressions ‘In & Out Birthday’ set.
The sentiment below is from the Darkroom Door ‘Happy Birthday‘ set.
I used Waffle Flower A2 layers and Additional A2 layers die sets to cut the narrow border frames. These two sets have been so useful for cutting out panels and sentiments and adding very neat and correctly sized mats.

I’ll be back tomorrow to show you my project from Craft Roulette. Thank you to those of you who tuned in on youtube. It was lovely to have you there. Today’s post features affiliate links to The Foiled Fox. If you buy through these links I receive a small commission at no extra cost to you.
Roses on gel printed collage
Posted: January 25, 2024 Filed under: Echidna Studios, gel press, Mixed Media, Roses digital stamp set | Tags: Echidna Studios, gel press, gel printing, Mixed Media, Penny Black stamps 3 Comments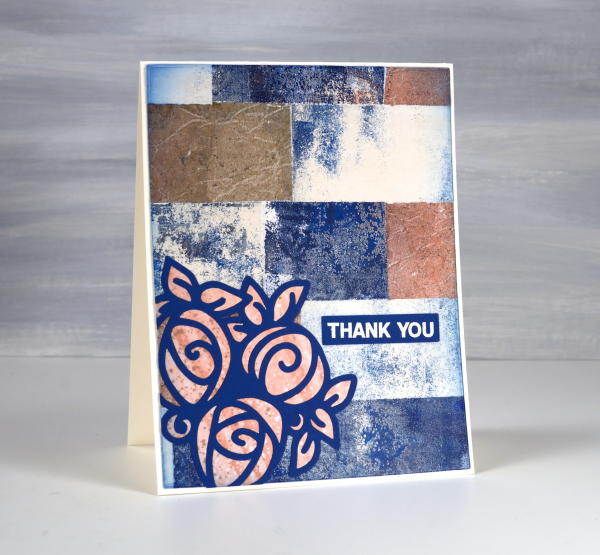
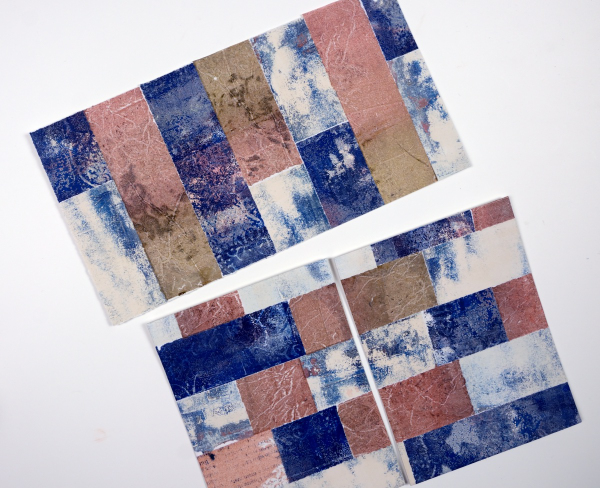
Unsurprisingly I have built up quite a supply of gel prints. Recently I turned a bunch of them into collaged panels. You can see in the photo below the simple collage I created by gluing torn strips of three different prints in a brick-like arrangement. To make things easy I tore the strips the width of my ruler so they are all 1¼” wide.
Once I trimmed the collage panel to card sized pieces I chose a trio or roses that I designed for printing and cutting and cut it from blue cardstock using my cricut. It is one of three designs in a set called ‘Roses‘ which is available in the Echidna Studios etsy store.

When you cut a design on the cricut or with a die you often have inside pieces you can discard or use to fill in the cut out shape. I cut the rose trio from dark blue and from pink patterned paper then saved the inside pieces from the pink to inlay the blue outline.

I added embossed sentiments from the Penny Black set ‘ever thanks‘ and some embossing around one of the panels with Ranger rose gold embossing powder.
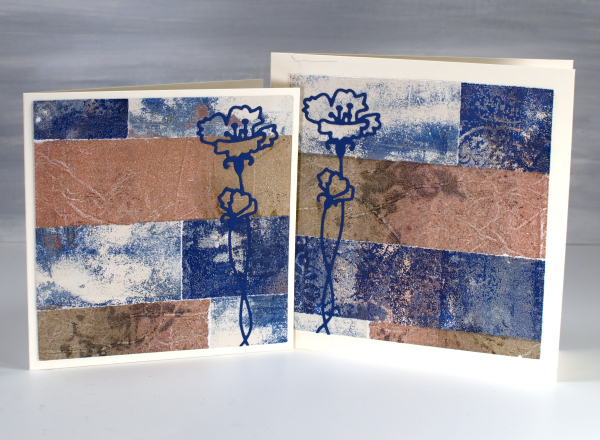
I was able to cut two smaller square panels which I also make into cards featuring the Penny Black die, ‘harmonious’. When you look at the gel prints themselves they don’t look all that fancy but when combined this way I really like the play of colours and textures.
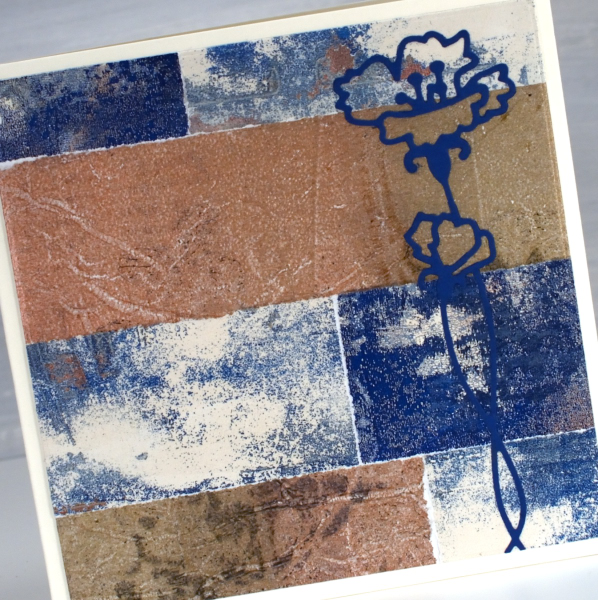
I created a few more A4 panels from collaged gel prints and they are waiting for inspiration. I will share them here once I have a plan for them. Today’s post features affiliate links to the following companies. If you buy through these links I receive a small commission at no extra cost to you. The Foiled Fox & Scrap’n’Stamp.
Like a box of chocolates
Posted: January 17, 2024 Filed under: Echidna Studios, valentines chocolates | Tags: Echidna Studios, Faber-Castell Polychromos Colour Pencil, Fabriano Watercolour Paper, sennelier watercolours 6 Comments
We have been enjoying a rather nice selection of chocolates at our place; the Christmas stash is lasting well! Not long after Christmas my husband and I celebrated our anniversary and it is only a month before our February birthdays so we’ve never really been big on celebrating valentines day. That being said, I loved painting this box of chocolates. It wasn’t better than eating chocolate but it was very satisfying all the same. The digital image is from the Valentines Chocolate stamp set which includes two images; the other one has chocolate coated strawberries. And yes they are from Echidna Studios, more of my daughter’s art work.

I printed the image on hot pressed watercolour paper and painted with a limited palette of browns, paynes grey, pink and yellow. I used a white gel pen to add some details and did extra shading with coloured pencils after all the painting was completed.
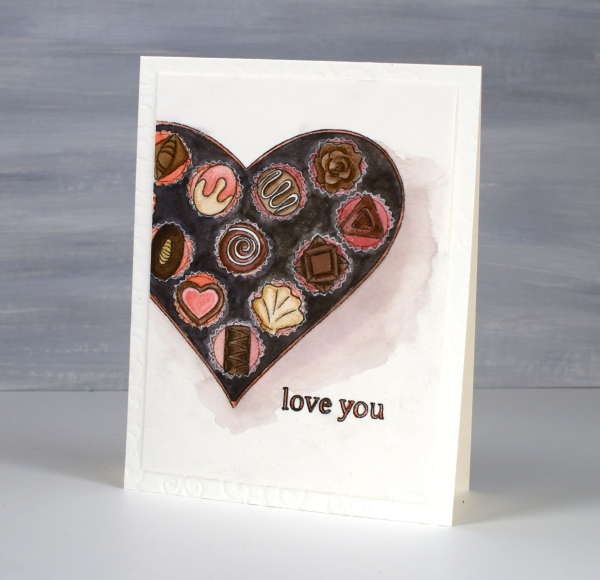
It’s not very obvious but you might just be able to see the texture of an embossing folder on the card base. I used a large cuttlebug folder with curly patterns, subtle but cute. Thanks for dropping by. May your chocolate stash be ever enough! Today’s post features affiliate links to The Foiled Fox. If you buy through these links I receive a small commission at no extra cost to you.
Digital Stamps for Starters – videos
Posted: January 11, 2024 Filed under: Christmas stockings digital stamp set, digital stamps for starters, Echidna Studios, Tutorial | Tags: digital stamps, Echidna Studios, video 4 Comments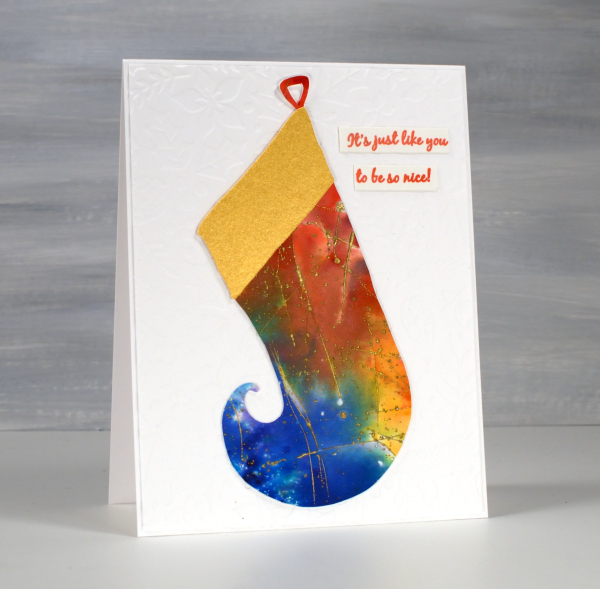
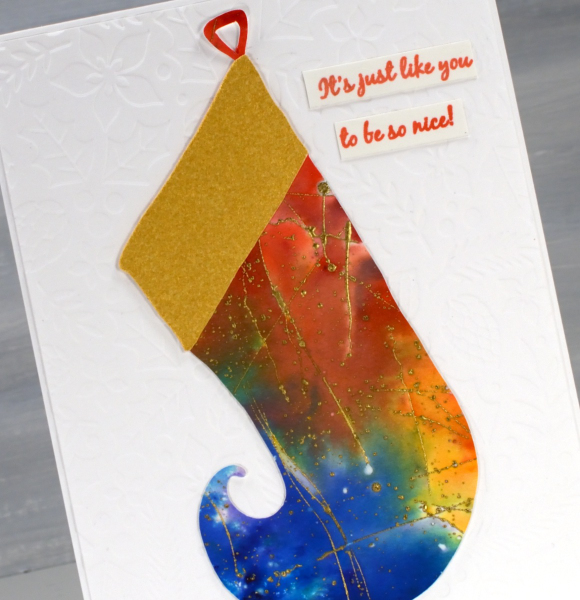
I know the 12 days of Christmas are over, but I have one more Christmassy card to share before other themes and occasions start to appear. The style of this card will be familiar to you as I have become a fan of embossed backgrounds; this one is Gina K’s ‘holiday flora’ folder. On top is a stocking from Echidna Studios. Last year the digital Christmas Stocking stamps were released including three intricately patterned stockings for printing. This year the set is expanded to include cutting files so you can cut these lovely curly toe stockings from any cardstock you like. I chose an embossed and watercoloured scrap I had been hoarding for years!
Over the past year as I have featured digital stamps from Echidna Studios many of you have expressed interest but not known where to start with digital designs. As promised we have some how-to videos created by my daughter and posted on the Echidna Studios youtube channel. The first video explains how to buy a digital stamp on Etsy. If you find my daughter is speaking rather quickly just change the setting to 75% or hit pause to catch your breath; she is quite speedy in this first video!
In the second video she explains how to open the SVG file on your computer for printing. She and I both use inkscape to open our digital files, it is free to install on your computer. But I’ll let her explain all that:
The third video explains how to use the files to create a card. Resizing, centering and adding words are all covered in detail and I followed her instructions myself the other day to print a couple of the gingerbread digital stamps on cardstock for future cards. I definitely paused the video at times to re-watch and take note of all the steps. When I had a question I did have the video creator in the house to ask but if you have questions please put them in the comments under the video and one of us will get back to you as soon as possible.
We hope you will follow the Echidna Studios youtube channel and consider trying digital stamps and cutting files if you haven’t already. There are more videos and products coming this year. As this is my first post of 2024 I wish you happy new year! I look forward to creating and sharing all sorts of projects on the blog this year. There will be cards, art journaling, watercolouring, gel printing, collage, handmade books and more. What are you hoping to create this year?
Christmas Storefront
Posted: December 21, 2023 Filed under: Christmas bush, Christmas storefront, Darkroom Door | Tags: Darkroom Door stamps, digital stamps, Echidna Studios, Fabriano Watercolour Paper 3 Comments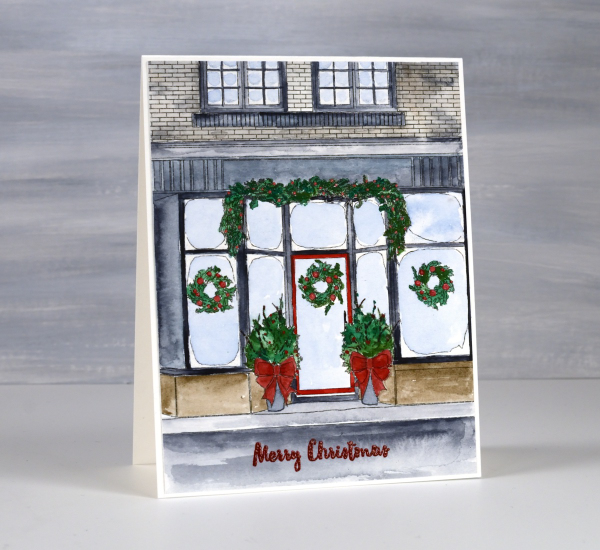
This delightful Christmas storefront is a digital design from Echidna Studios. Once again my daughter took a photo and sketched it into a digital stamp. I was delighted with the result as I had taken photos of a similar store front in Wakefield Quebec last January and sadly my photos did not represent well the beauty of the decorated store.
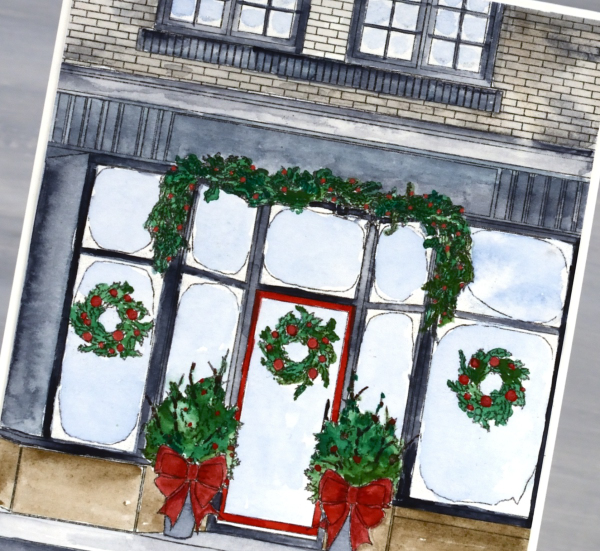
I printed the image on hot pressed watercolour paper then painted the scene with Sennelier watercolours. I kept the palette simple, painting the building in pale brown and Payne’s grey so the decorations would stand out. I don’t think you can see in the photo but all the icy edges of the window are coloured with wink of stella markers both the white and the clear, for a little sparkle.
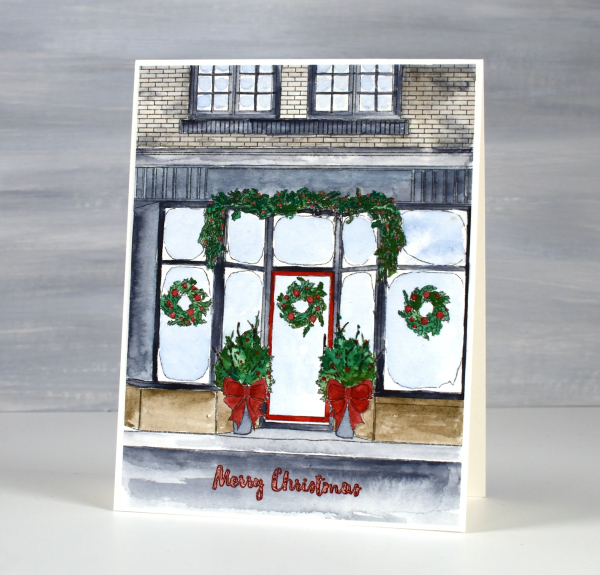
Once finished, the grey in the foreground seemed like a good place for the Darkroom Door sentiment from the ‘Christmas Bush‘ set stamped and embossed in red to match the bows and berries.
I mentioned in one of my posts that I sprained my ankle in November. An aircast has made it possible to walk on it but subsequent x-rays showed a fracture so it has now been in an aircast for over five weeks. I had a follow up and more x-rays today and have been approved to walk around without the aircast at home. So it is getting better…literally one step at a time. As you can imagine I haven’t really been strolling around pretty little stores this year, my family has been running errands for me and there have been a few deliveries to our door.
Peaceful Conifers
Posted: December 18, 2023 Filed under: Coniferous Silhouettes, Echidna Studios | Tags: Echidna Studios, Foiling, Penny Black stamps 10 Comments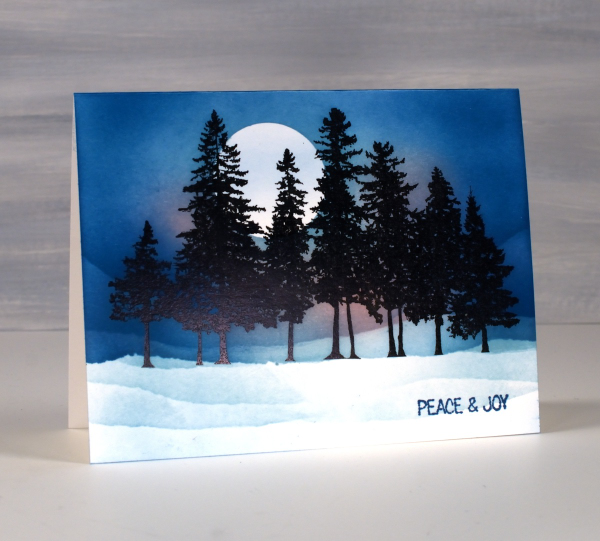
This digital tree stamp from Echidna Studios is definitely a favourite of mine so here is another version of a masked moonlit winter scene. I printed the detailed ‘Coniferous Silhouettes‘ image on neenah solar white cardstock and foiled the print with black foil for extra blackness.
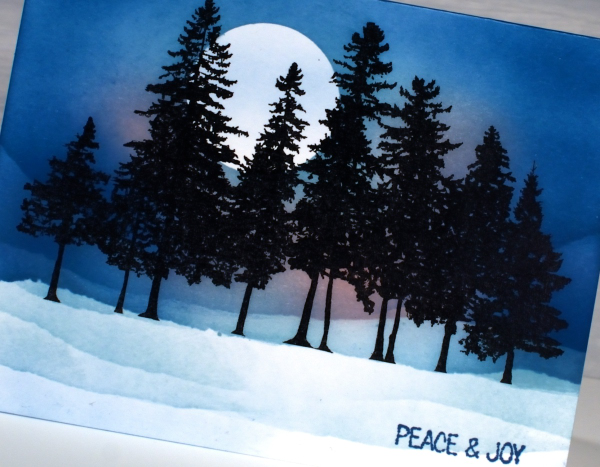
I punched a moon mask from a post-it note and tore snow masks from painters’ tape then used blending brushes and speckled egg, uncharted mariner and spun sugar distress inks to create the moonlit scene.
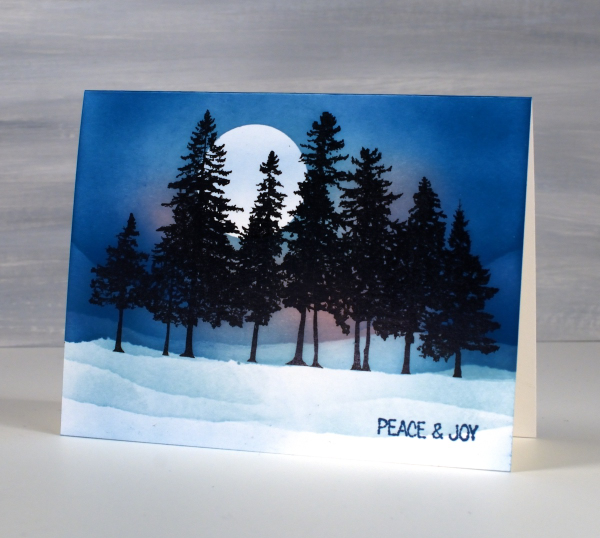
Looking at it as I write this blog post I realise there should be tree shadows in the foreground…a challenge for another day. Today’s post features affiliate links to The Foiled Fox. If you buy through these links I receive a small commission at no extra cost to you. Peace & Joy everyone.
Cosy Cocoa & Cookies
Posted: December 15, 2023 Filed under: cocoa and cookies, cricut, Echidna Studios, Spellbinders | Tags: cricut, digital stamps, Echidna Studios 1 Comment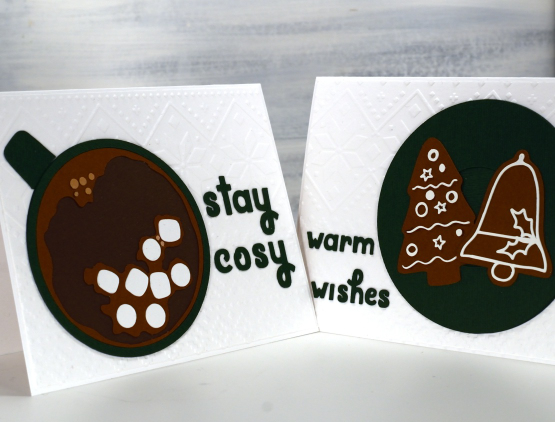
It’s hot chocolate season and my husband has already made a rich, yummy Mexican hot chocolate on two occasions. The cocoa and cookie cutting files from Echidna Studios are almost as appealing as the real thing! I have also made my first batch of gingerbread including plenty of tree and bell shapes.
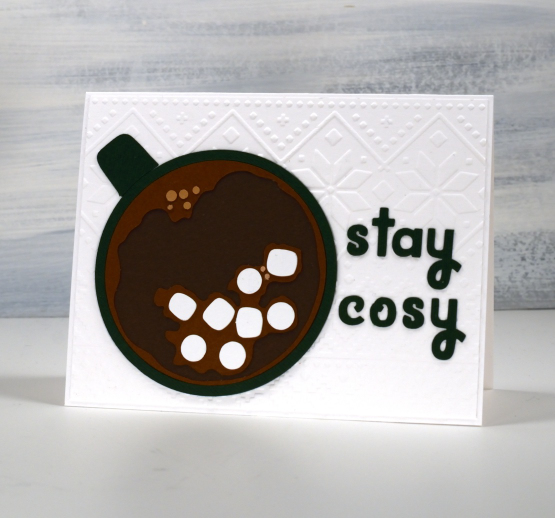
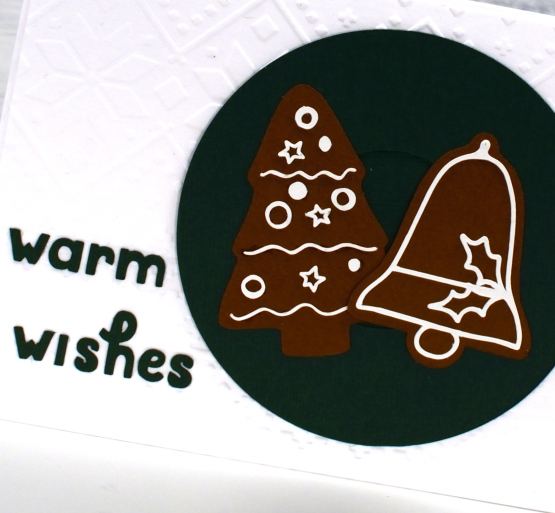
These birds eye views of a mug and a saucer of cookies cut beautifully in different colours for layering a cup of cocoa complete with bubbles and marshmallows and a saucer of decorated gingerbread cookies.
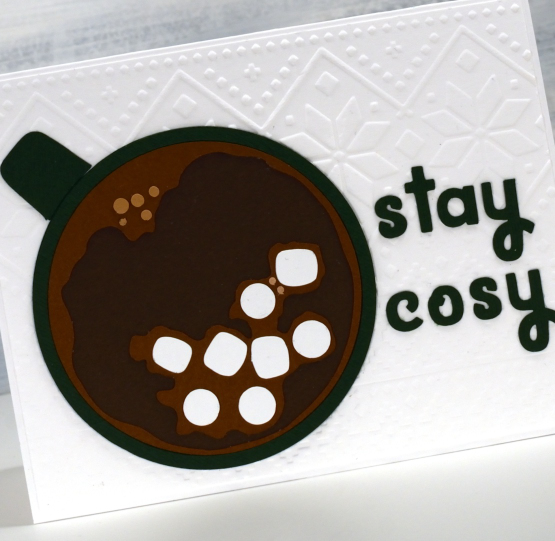
My mug and saucer are dark green even though they might look black and I used three different shades of brown cardstock for the cup of cocoa. I thought the ‘ski lodge‘ embossing folder from Spellbinders made an appropriate background. My sentiments are also cut from green cardstock using the free ‘Agent Q’ font from Cricut design space.
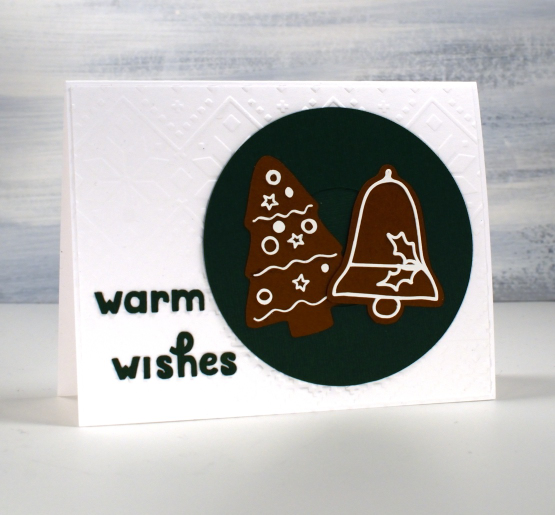
For these cards I cut the image out on the cricut but the files can also be printed for colouring.
Today’s post features an affiliate links to Scrap’n’Stamp. If you buy through this link I receive a small commission at no extra cost to you.
Holly Leaves – framed
Posted: December 12, 2023 Filed under: Echidna Studios, holly leaves, Karin brushmarkers | Tags: Echidna Studios, Fabriano Watercolour Paper, Karin brushmarkers, Penny Black stamps, sennelier watercolours 1 Comment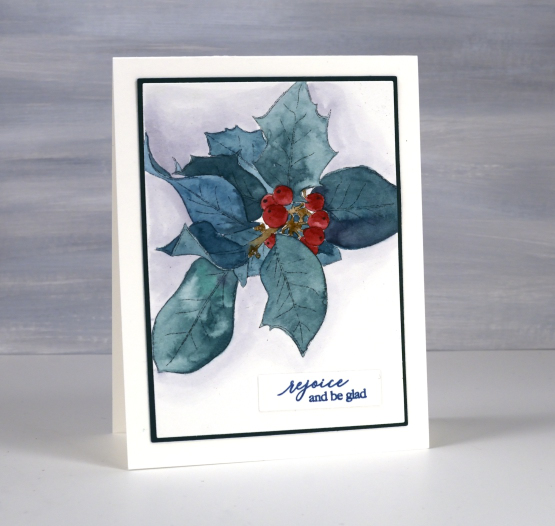
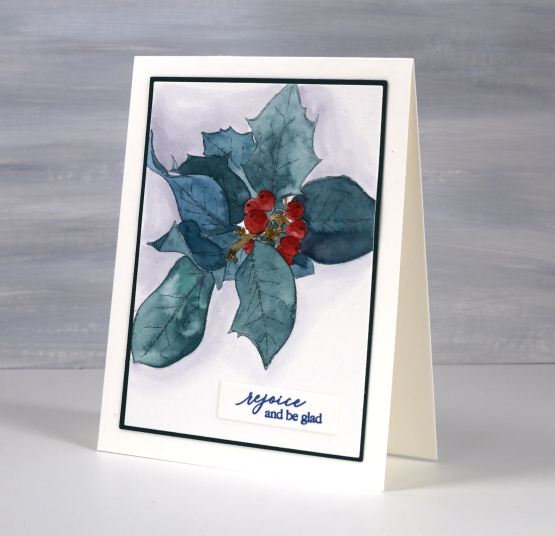
This is my second pair of cards featuring the new ‘holly leaves‘ digital stamp set from Echidna Studios. In an earlier post I shared the foiled cards which were overfoiled by accident but came out looking very shimmery and still accepted watercolour. For today’s cards I printed the holly images larger and didn’t foil them. I once again used Fabriano hot pressed watercolour paper and Sennelier watercolours to paint the two images.
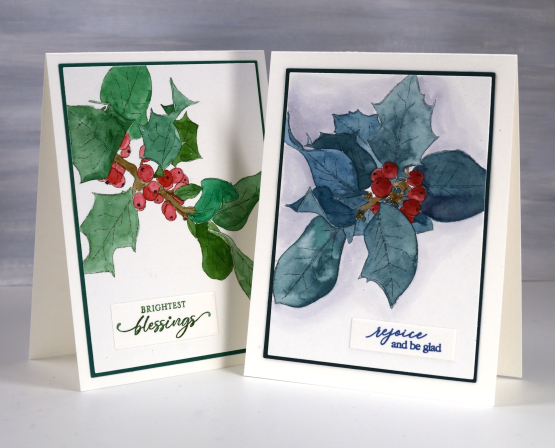
If you remember the foiled post you might notice I made the same colour choices, an unrealistic blue-green and a more realistic green-green! A little hint if you are painting berries, it is always nice to have a darker and a lighter side to suggest dimension but even without that a little black or white dot can make them immediately more realistic.
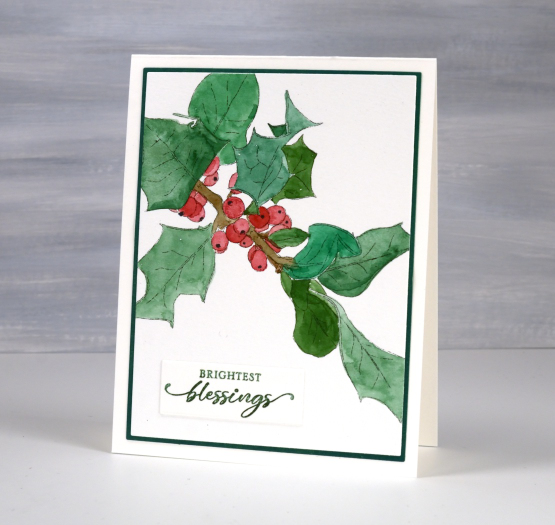
I chose to mat these panels and found a suitable blue green but ended up blending mowed lawn distress ink over a piece of light green cardstock to create a matching green for the card above. Blending ink to create matching mats is something Ardyth does all them time. She is full of clever strategies. I chose to add a shadowy background around the blue-green leaves using a grey Karin marker and water to dilute and spread the ink. The sentiments are from PB ‘jolly snippets‘ and ‘light of Christmas‘ sets.
Today’s post features affiliate links to The Foiled Fox. If you buy through these links I receive a small commission at no extra cost to you.
Holly Leaves – foiled
Posted: December 7, 2023 Filed under: Echidna Studios, holly leaves, Taylored Expressions | Tags: Echidna Studios, Fabriano Watercolour Paper, sennelier watercolours, Taylored Expressions 5 Comments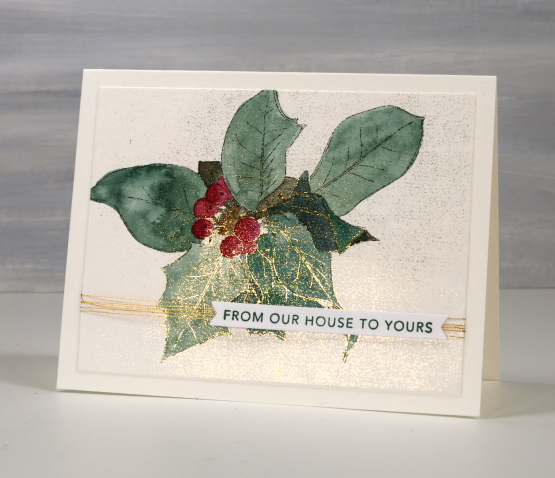
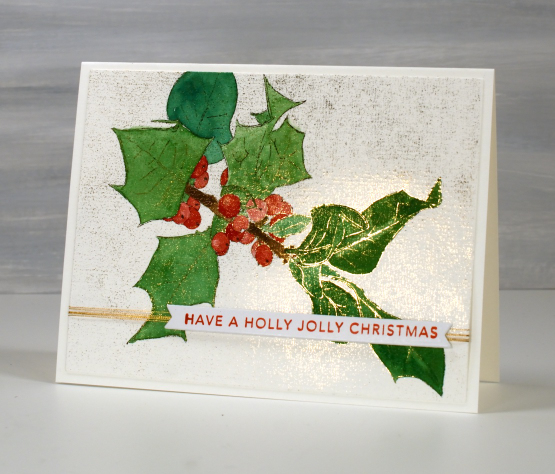
The foiling on these cards didn’t work properly yet here they are on display on my blog. I decided the foiling error was pretty enough to use anyway, I just can’t tell you for sure how to achieve this accidental look! The images are new digital stamps from Echidna Studios, called ‘Holly Leaves‘. I printed both images on hot pressed watercolour in my laser printer then foiled with gold foil. Whether it was a smudgy print or a different type of foil I’m not sure but foil attached to the background as well as the outline image.

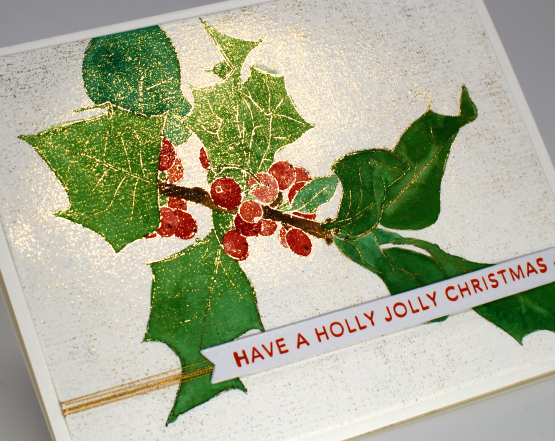
As you can see, I was still able to watercolour the images using Sennelier watercolour paints. Even though the camera didn’t capture it, the whole outline image is foiled plus some speckling in the background.
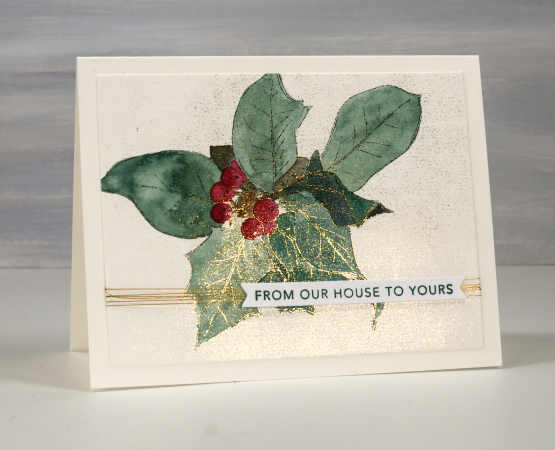
I’m not sure that holly comes in the blue green colour I chose for the card above but I like a bluey green so I keep choosing it on my projects. The green shown below might be more realistic.
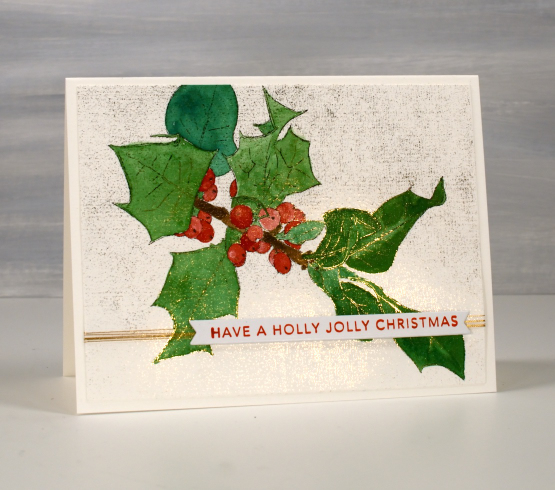
I added some gold metallic thread then finished both cards with Taylored Expressions sentiment strips.
I have also painted these holly images without foiling but I think this post is long enough so I will share those cards another day. I’ve noticed lately that when my posts are quite long an ad appears before the end of the post. Sadly I have no control over that. If I don’t want ads I have to pay extra to not have them. Just think of my posts like a magazine page, ads do pop up here and there.
I don’t make money from the ads but I do make a small commission if you click one of my links from Foiled Fox or Scrap’N’Stamp. When you buy a digital stamp or cutting file from Echidna Studios both my daughter and I get very excited and congratulate each other! You might have heard the line, ‘When you buy from a small business, an actual person does a little happy dance.’ We dance!












