Merriest
Posted: November 4, 2021 Filed under: Catherine Pooler inks, Karin brushmarkers, merriest, Penny Black, Tutorial, winter branches | Tags: Catherine Pooler inks, Fabriano Watercolour Paper, Karin brushmarkers, Penny Black stamps, Tsukineko Versafine inks 7 Comments
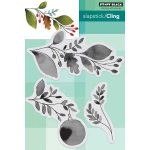
The new ‘Making Spirits Bright’ release from Penny Black is full of beautiful festive foliage. As you know I love working with florals and foliage especially on rubber cling stamps so these new stamps are definitely my thing!
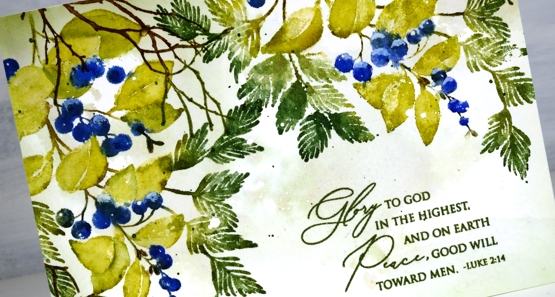
I used Catherine Pooler inks for this design and the colours worked beautifully. I sometimes forget my CP inks, then when I put them to use I remember now juicy and vibrant they are. Take a look at my process below; I have used some of my favourite techniques on this one. (by the way I think I call the release ‘keeping spirits bright’ and the branch stamp fragile beauty instead of ‘winter branches’. Oops)
I know I have been hinting and promising the new class release for the last week. So thanks for your patience; it’s coming, it’s really coming!
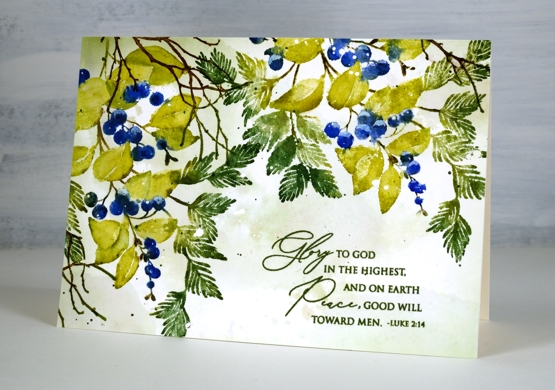
I know it’s subtle but one of my favourite things about this card is the muted background, just some pale greens and brown tones with tiny white dots from the masking fluid.
Thanks for dropping by today. I’ll see you again tomorrow.
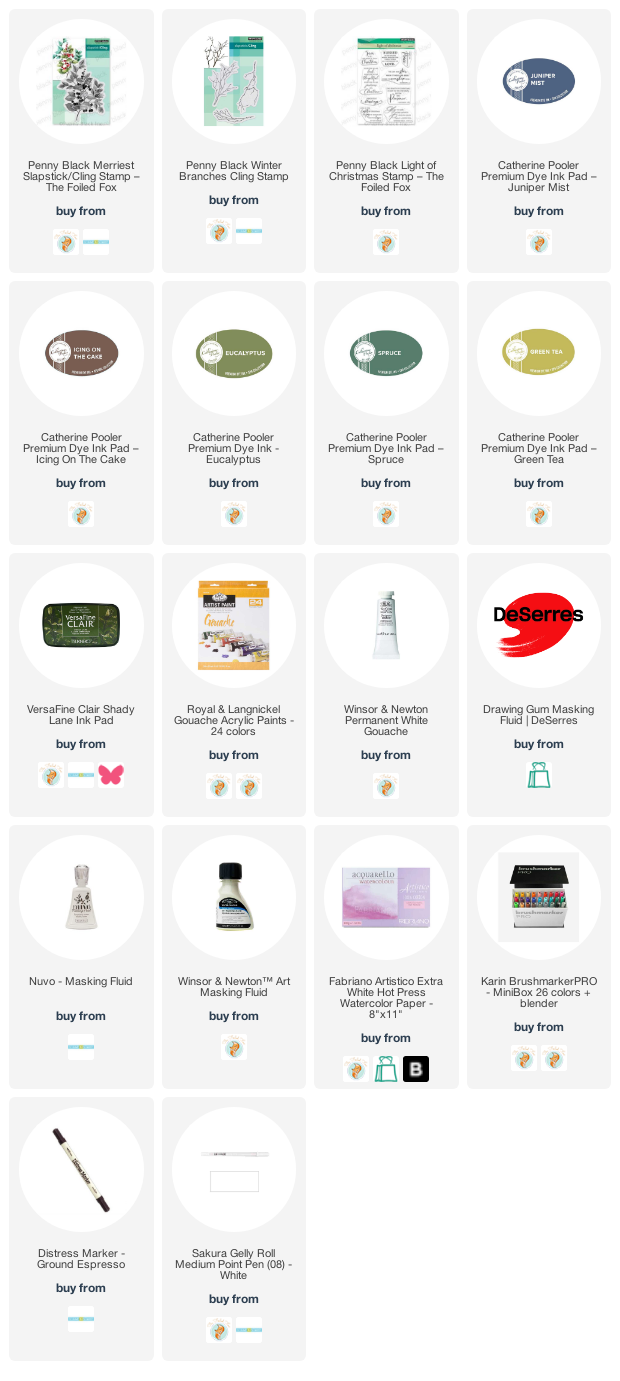
Supplies
(Compensated affiliate links used when possible)
Flower fantasy blossoms
Posted: May 15, 2019 Filed under: flower fantasy, Penny Black, winter branches | Tags: no-line watercolour, Penny Black creative dies, Penny Black stamps, Ranger Distress inks 6 Comments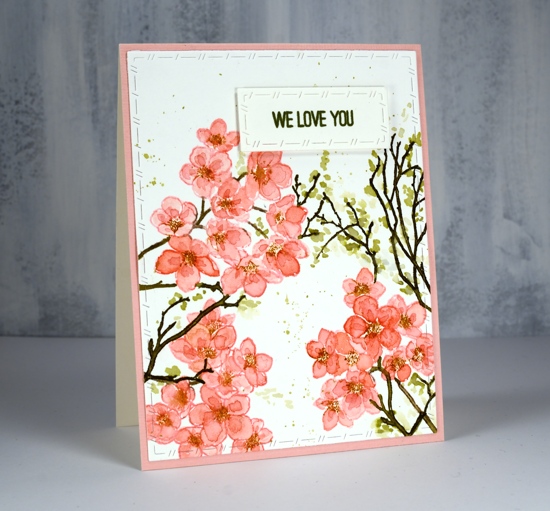
Blossoms are finally appearing in Ottawa! I even have a daffodil or two in my garden.
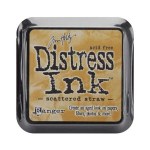
There are two blossom stamps on the PB ‘flower fantasy’ set and I paired them up to create this spring card. I used spun sugar distress ink to stamp the blossoms then painted the petals first with spun sugar ink then a second layer with worn lipstick ink. My painting is inside the lines for the first layer but I added the darker layer more loosely just wanting some extra depth in the flowers. I was working in my MISTI so I was able to ink the centres in rusty hinge ink and stamp them over the flowers once the painting was dry. This is an example of what is known as ‘no-line watercolouring’. Distress inks are great for this technique as you can stamp with them and then smoosh them on a glass mat or acrylic block and paint with the ink. The original stamped outline blends with the painting making the lines less obvious or disappear entirely. I often use antique linen distress ink for no-line watercolouring but the spun sugar did a good job for today’s panel.

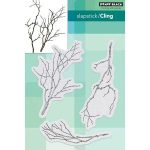
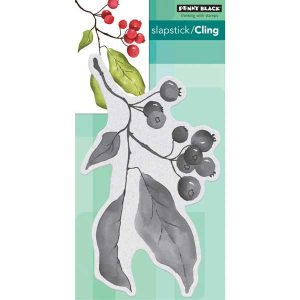
To fill in the design I added some twigs using the ‘winter branches’ stamps and forest moss distress ink. I painted little dabs of shabby shutters and diluted forest moss ink around the twigs to look like leaves budding.

To add some subtle decoration I used the new stitched nested frames dies to cut the stamped panel and the sentiment strip. I stamped the sentiment in peeled paint archival ink; having archival inks in distress colours is a wonderful thing! The sentiment is from the ‘best mom’ stamp set and I think it is so nice to have a ‘we love you’ stamp as this card is going to a friend and will be from our whole family.
Supplies
Blooming journal page
Posted: April 8, 2019 Filed under: Art Journal, Hand lettered, Hypnotic, Penny Black, Script, timeless, winter branches | Tags: Penny Black stamps, Penny Black stencils, Ranger Distress inks, Ranger Distress stains 13 Comments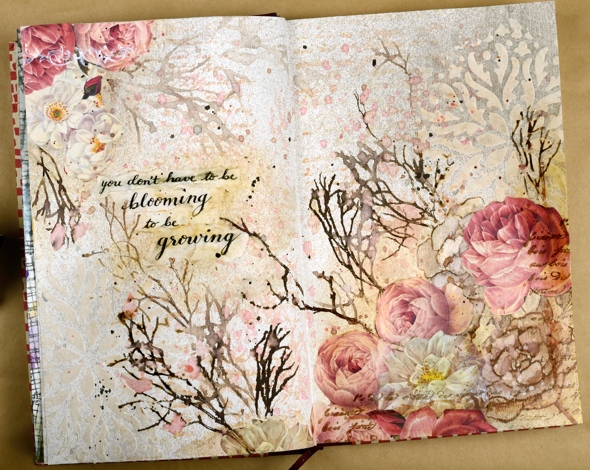
I’m been working in one of my Fabriano Venezia art journals again experimenting with vintage style. I started by painting absorbant ground over the double page spread then stamped the PB ‘script’ stamp in tea dye and antique linen distress inks. I spritzed the inked stamp before pressing it onto the page so I would get blurred prints.
Once that dried I spread modeling paste through the PB hypnotic stencil and had to go and do something else so I wouldn’t mess it up before it was dry. Even so I still stuck my finger on it while it was wet and smudged some.
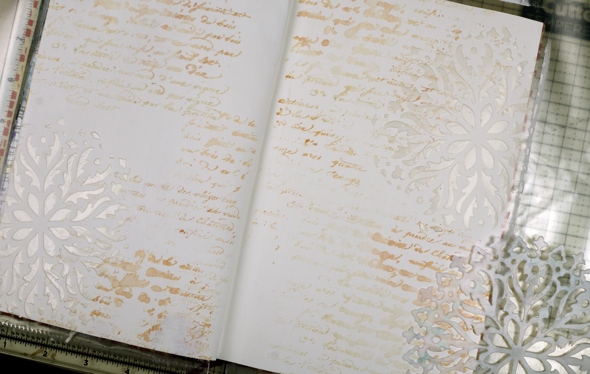
Once the paste dried I spritzed the ‘see ya latte’ shimmerz spray over the pages then wiped it off the stencilled area so it would darken the background. I am not an experienced art journaller but I am using one to try things out. On this page I was trying to create a vintage look. I stamped the ‘timeless’ rose stamp from Penny Black three times in brown distress inks then blended the ink into the petals. My journal is not watercolour paper so ink and paint don’t move on the page as easily. I didn’t like the roses enough to keep them all, instead I covered some with flowers cut from leftover Italian papers. I glued them on with matte medium and painted diluted gesso over them to decrease the contrast then added a bit of distress vintage medium for the aged tea stain look.
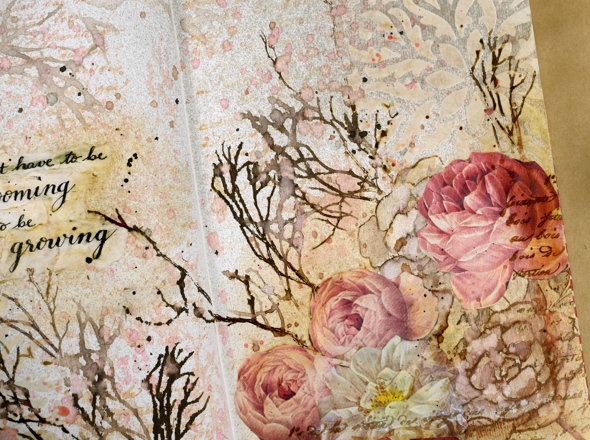
I did a smaller collage of flowers on the opposite corner then stamped PB winter branches over the pages with vintage photo and ground espresso distress inks. I added some pretty scroll stamping with the PB set ‘flourish borders’ in white ink and some more of the ‘script’ stamp in brown ink. Tattered rose distress stain matched the paper flowers so I splattered a decent amount of that over everything too! I mentioned on my previous journal page post how I struggle with adding words to a page. I chose a quote from Ruth Chou Simon’s book ‘Gracelaced‘ which encourages and challenges me every time I open it. I wanted to write the words with my nib pen but when I tried, the ink spread into the page and looked like a blob so I wrote on calligraphy paper, tore the words into strips and glued them over the blob. Some of the letters are blurred because I didn’t let it dry long enough. I need a bit more patience when working in my art journals…
Not exactly what I set out to create but as I said, the art journal is for playing with mediums and ideas. Have a great day
Supplies
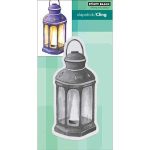
Lantern
Posted: November 9, 2018 Filed under: winter branches, Xmas sprigs | Tags: Penny Black stamps, Ranger Distress inks, Ranger Distress stains 8 Comments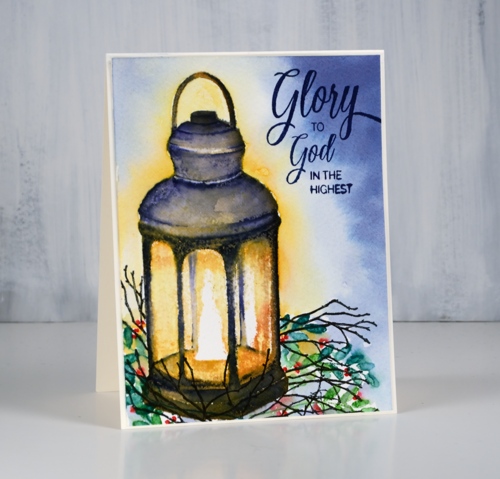
This little light of mine is the ‘lantern’ stamp from Penny Black paired with the ‘Xmas sprigs’ and ‘winter branches’ for added interest. I worked on this panel over several days leaving it in the MISTI the whole time so I could add a bit anytime I was waiting for something else to dry. I definitely made use of the MISTI to build up colour without loosing much detail from the stamp.

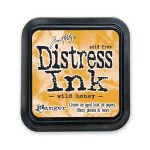
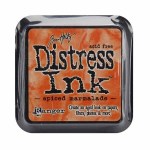
The panel is cold pressed watercolour paper; you can see a bit of texture in the yellow areas. I began by stamping the whole lantern in scattered straw distress ink. Next I stamped all but the very centre around the flame with wild honey ink, after than spiced marmalade ink and finally rusty hinge ink, each time leaving more of the centre of the stamp un-inked so the brightest ink was central and the darkest around the edges. At this point I hadn’t done any blending, it was all just stamped. I switched to a chipped sapphire marker and began stamping the details of the lantern and blending them with a wet paintbrush. Dark blue over all the orange tones looked almost black. I stuck with the chipped sapphire marker and kept adding detail, blending, then letting it dry before doing any more. I added detail and shadow to the lantern by painting with chipped sapphire ink then dried the panel before blending the warm tones inside the lantern.

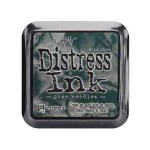
I stamped some foliage around the lantern after positioning a mask over it. I stamped a leaf stamp from the Xmas sprigs set in mowed lawn and pine needles distress inks then dotted some small berries with a candied apple distress marker. I added some winter branches stamped in versafine black then coloured with a fine black micron pen.
I wasn’t sure whether to try adding background colour at this point; It can be a bit risky. I painted scattered straw stain around the lantern and chipped sapphire stain around the edge of the panel then blended some water in between the colours because I didn’t want the yellow and blue mixing to create a strange green light! And it worked better than expected. The final detail was a sentiment in dark blue from the ‘holy night’ set.
Thanks for dropping in today. Enjoy your weekend.
Supplies
Stamps: lantern, Xmas sprigs, winter branches, holy night (PB)

Inks: scattered straw, wild honey, spiced marmalade, rusty hinge, mowed lawn, pine needles, chipped sapphire distress inks & nocturne versafine clair, majestic blue versafine


Markers: chipped sapphire, candied apple distress markers, micron pen
Paper: cold pressed watercolour paper, neenah cream cardstock
Stains: chipped sapphire, scattered straw

Also: MISTI, masking paper
When a plan goes awry
Posted: October 17, 2018 Filed under: Christmas berries, dancing daisies, gift card pocket, winter branches | Tags: Penny Black creative dies, Penny Black stamps, Ranger Distress inks 10 Comments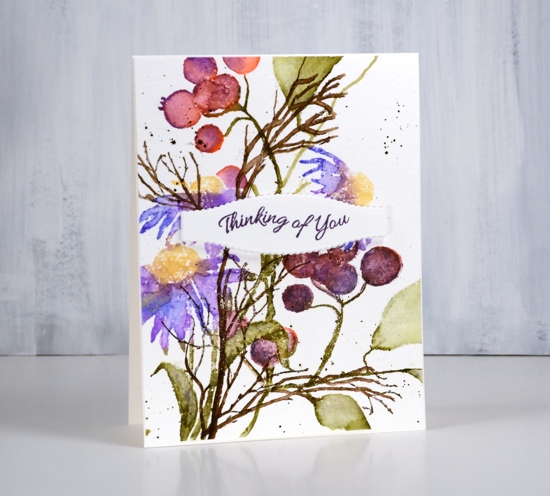
Today’s card was the result of a thought I had after making a Christmas themed card featuring the berries seen on this one. The Penny Black berry stamp is called ‘Christmas berries’ so it is hardly surprising that I made a Christmas card with them but I wanted to see if I could put them to use in a non-Christmas card too.
I started by stamping the dancing daisies in blue, purple, green and yellow (they were all distress inks and I will make a guess at them in the list below but once again I didn’t write them down). After stamping I blended the petals and leaves with water and a paint brush. I masked the daisies as I had saved masks from a previous project, stamped the berries in pinky, purply colours so they wouldn’t look Christmassy and blended again with water.
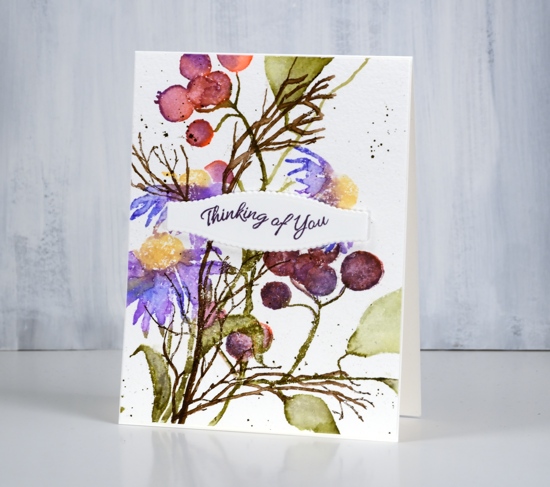
Finally I added some ‘winter branches’ in brown ink. This is where my plan started to unravel. I didn’t want to mask all those berries and flowers to put the winter branches in the background so I stamped them over the top and blended them with a paintbrush also. With the blending they became more prominent than I wanted; without the blending they looked badly stamped because I was working on textured cold pressed watercolour paper.
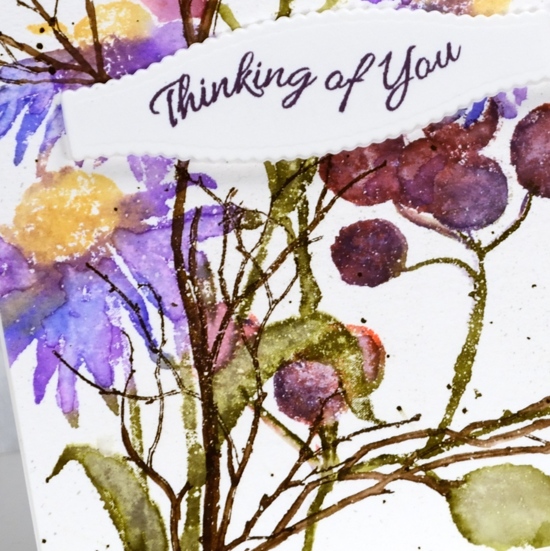
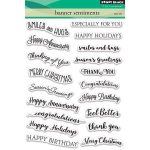
I finished off the panel with some dark brown splatter then moved onto another project undecided whether to turn this one into a card or not. When I came back to this panel later I decided to break up the dominance of the brown winter branches with a sentiment panel. I used a die from the gift card pocket set to cut a decorative shape from hot pressed watercolour paper and adhesive backed foam then stamped a sentiment from the banner sentiments set. I ended up liking the idea and the colours of this card but it’s not my best layout.
Supplies
Stamps: dancing daisies, Christmas berries, winter branches, banner sentiments (all PB)
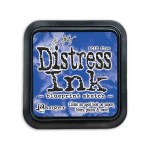
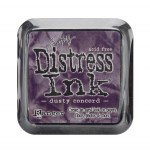
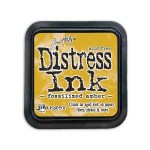
Inks: blueprint sketch, dusty concord, fossilized amber, forest moss, festive berries, gathered twigs distress inks & monarch versafine clair

Paper: cold pressed watercolour paper, hot pressed watercolour paper

Die: gift card pocket (PB)
Tools: adhesive backed foam, Misti