What I like about Gel Printing
Posted: October 31, 2024 Filed under: Branch 9 die, gel press, Moda Scrap, online class | Tags: gel press, gel printing, online class, Penny Black creative dies 3 Comments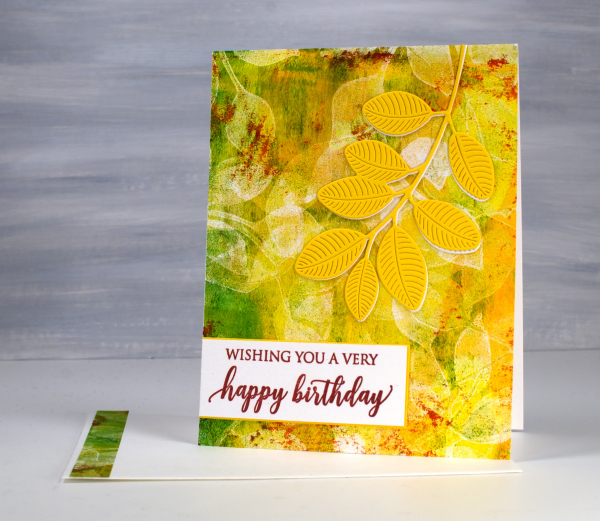
I think you already know I like gel printing: I’ve made that very clear! This card includes many of the reasons I enjoy it. There is a lot of layering, colour and imperfections in the print on this card and that often happens when gel printing. I didn’t strategically add grazes of red paint to the gel plate; they were left there from a previous print. They add so much that I chose to match the sentiment to those ‘leftovers’.
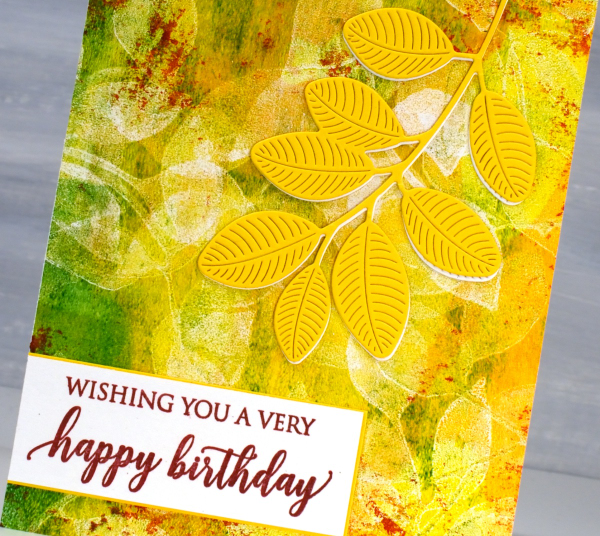
The leaves on the top of the panel are definitely die cut but the leaves on the print were added using my homemade stamp. I have quite a few homemade gel printing stamps; I don’t worry about cleaning the paint out of the stamp and I use scraps of cardstock and fun foam to make them very cheaply.
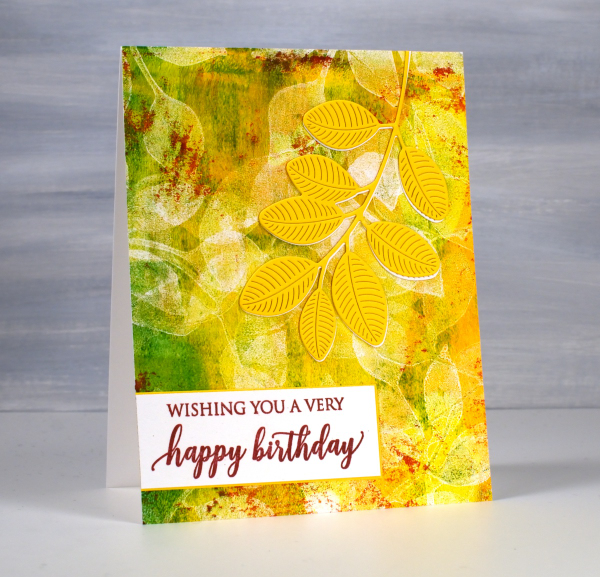
Gel printing is full of surprises; some of my favourite prints are not ones I carefully planned, they are ghost prints or partial prints, what some would call ‘fails’. There is often beauty in the texture, leftover paint and pale patterns of these prints. This card was made from a print demonstrated in my online class ‘Gel Print Journey‘ an introductory gel printing class. I created a 40% off discount coupon for the class if you are interested. Just use the coupon code SURPRISE at checkout anytime before the end of November. This post includes affiliate links from Foiled Fox. If you buy through these links I receive a small commission at no extra cost to you.
Wishing you comfort
Posted: August 3, 2023 Filed under: Branch 9 die, gel press, Moda Scrap, Penny Black, whisper | Tags: gel press, gel printing, Penny Black creative dies, Penny Black stamps 3 Comments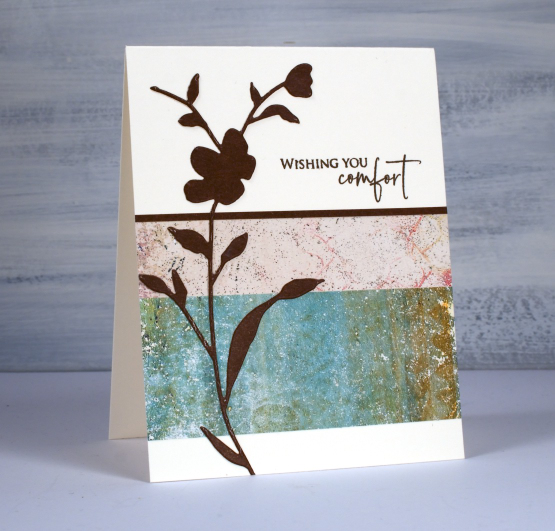
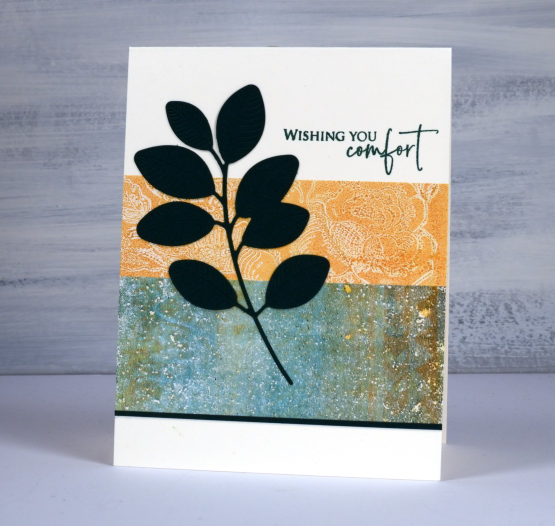
I’m always looking for ways to use my gel prints because I have many and want to make more! I found this two panel idea on Victoria Wilding’s instagram. I chose not to stamp on my prints but instead added the Penny Black ‘whisper’ die-cut over the top, a strip of cardstock along the edge and a sentiment from the PB set ‘strength‘.
If you don’t have gel prints you could use any kind of patterned paper but I would encourage you to check out my online course ‘Gel Print Journey‘ if you are interested in learning or trying new techniques.
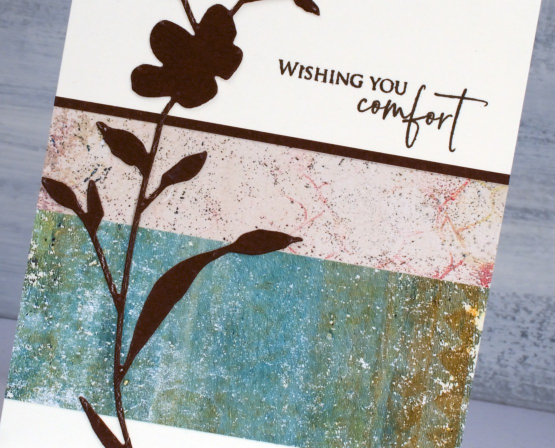
I thought the muted tones of the gel prints lent themselves to a sympathy card as did the dark brown cardstock rather than bold black.
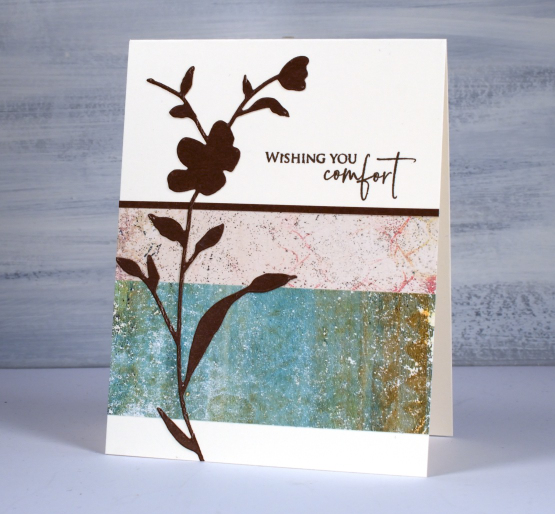
These gel prints are not very bulky as I printed on paper not cardstock. I added double sided adhesive to the back then attached the strips to the card base and trimmed off any overhanging paper.
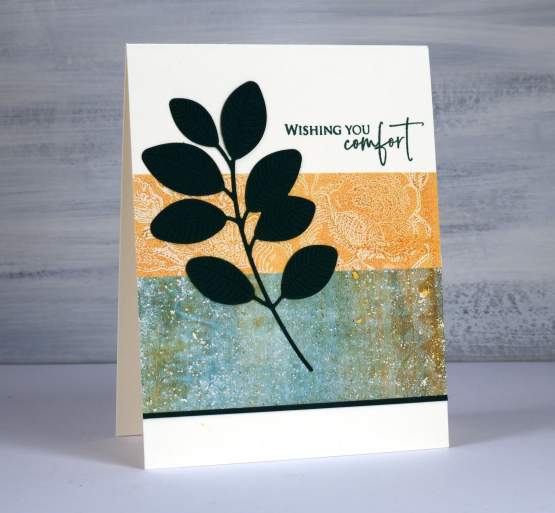
You might recognise the same greeny brown print on this second card but this time paired with a print featuring the PB background stamp, ‘bed of roses’.
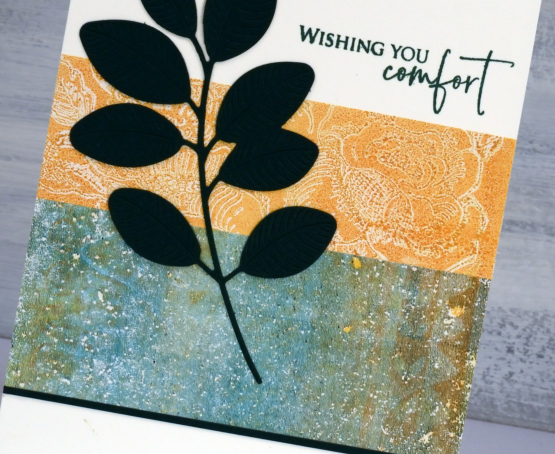
I cut both the Moda Scrap ‘branch 9‘ die and the edge strip from dark green cardstock and used a similar coloured ink for the sentiment. I know the cardstock looks black in the photo but it is truly dark green in real life.
I liked the clean but pretty effect of two gel printed strips together and was able to make several cards using bits of 6″x6″ prints. I kept all the left over scraps too; you will see them in an upcoming journal page.
New YouTube channel – New Video
Posted: February 11, 2023 Filed under: Alcohol Ink, baby blue leaf embossing folder, Branch 9 die, cricut, Dies, grafix, Moda Scrap, my designs, ornate tile embossing folder, Paper Rose, Penny Black, Pink & Main, scripty, silhouette birds, so extra supporting sentiments, Stampin Up, thank you squares, Tim Holtz, Tutorial | Tags: cricut, grafix, grafix craft plastic, Penny Black creative dies, Penny Black stamps, Ranger Alcohol Ink, Stampin Up, Tim Holtz 6 Comments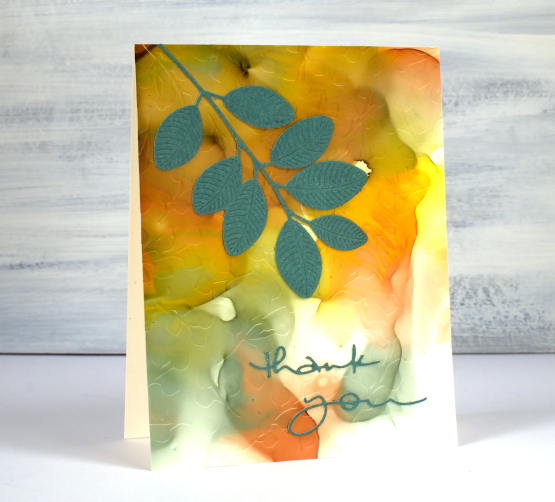
If you have been visiting this blog for a while you will know I had a youtube channel for many years. In 2022 after ten years of adding videos and gathering a community of 7000 subscribers my channel was deleted. In recent weeks I have started again with a new channel and some videos ‘from the archive’. My new channel is called Heather Telford Art and I would be very happy if you decided to like, subscribe and tell your friends! There is content on there that you may remember from the last few years and starting today there is new content also! The new ‘2 for 1 Alcohol Ink Panels’ is freshly filmed for my new channel and I hope it will be the first of many!
There are quite a few photos in this post because, well, this is a 2 for 1 technique and I created three panels which of course became six panels and one was cut in half so there are seven cards to show you in this blog post! Grab a cup of tea. I have added a linked supply list at the very bottom of this long post.
As well as a new youtube channel I am also a new Cricut owner. The stencil used on the card below was designed by me and cut on my Cricut. It is available as a cutting file from Echidna Studios etsy store.
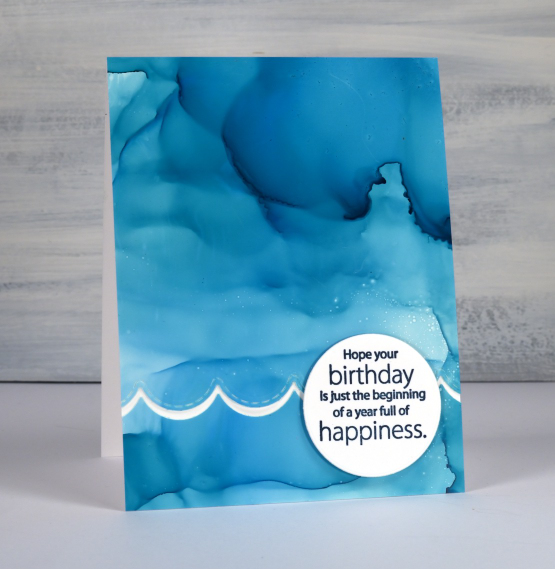
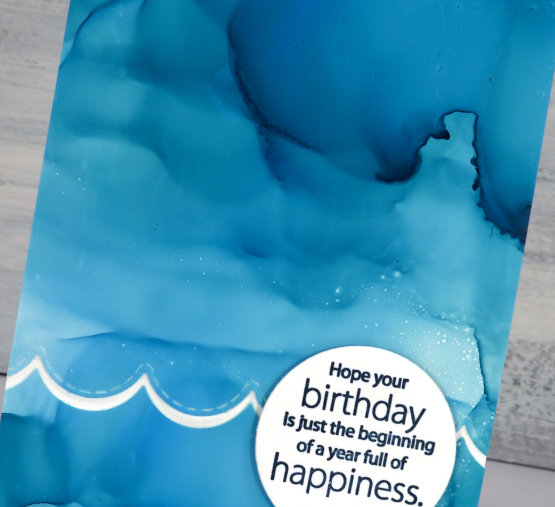
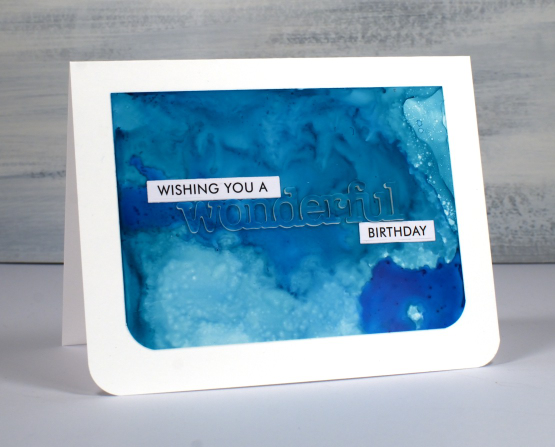
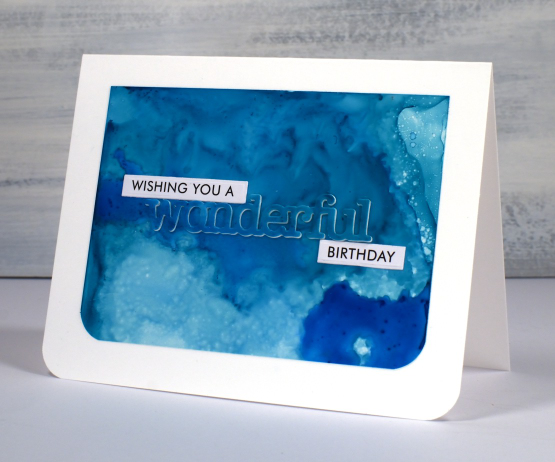
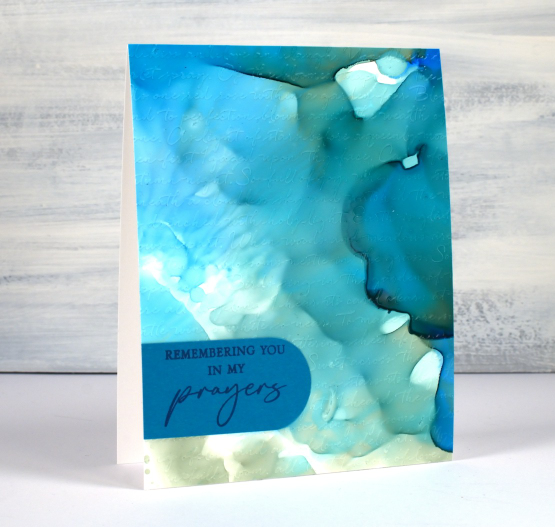
Most of the 2 for 1 smooshed panels I left as a full card fronts adding only a sentiment or some die-cutting. As the panel below reminded me of the ocean, the PB wavy scallop border seemed a nice touch.
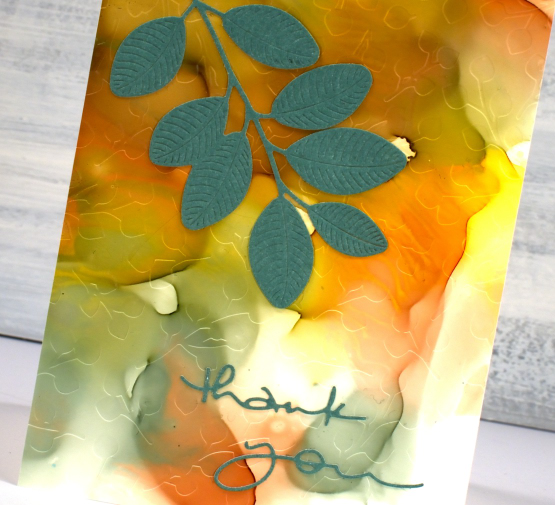
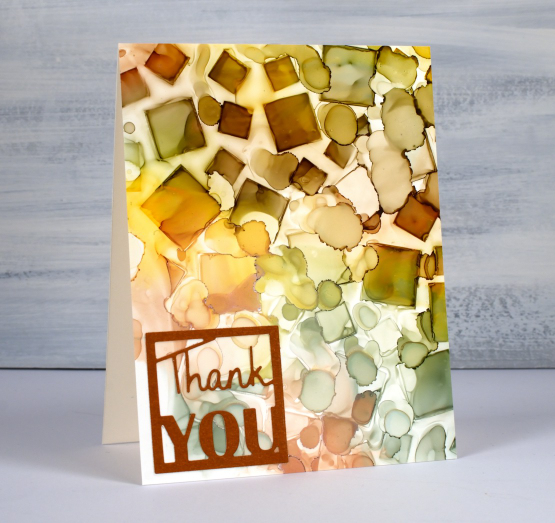
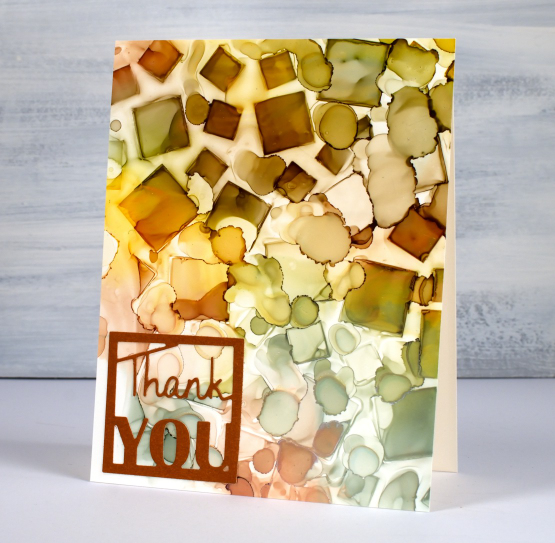
The panel below is a half panel from the first one I showed on the video. I love the patterns from the isopropyl alcohol ink spray even though they don’t stay distinct. Even when die-cutting the word from the panel I couldn’t leave it off so I popped it up. Not so funny story: I guess I haven’t popped up a die cut word in a while because I flicked those little shapes inside the letters into the garbage when I poked the word from the die. So yes, I had to hunt through my garbage to complete the card.
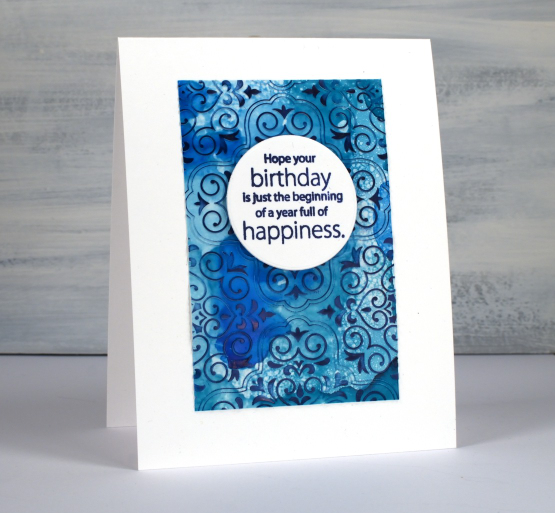
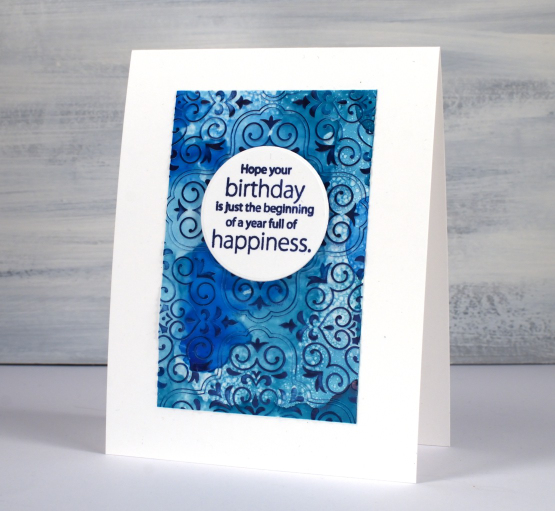
I don’t know why I hadn’t tried it before but seeing how well Grafix craft plastic responds when put in an embossing folder has been a revelation! I thought it might crack but it doesn’t so you can have the subtle impression of your embossing folder on a panel or the bold inked pattern as I’ve done on the card below. Sentiments in circles might be a little fad I go with for a while too; they look cute!
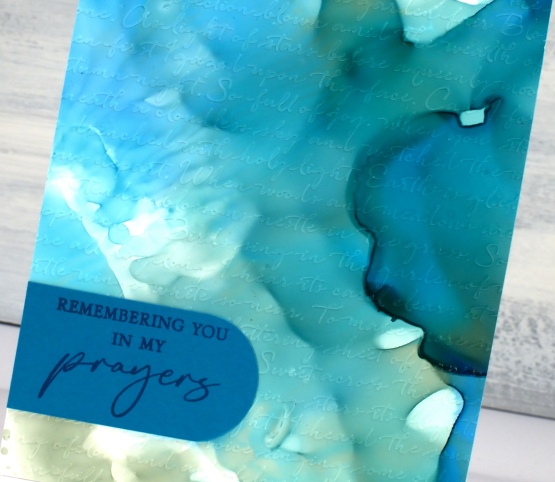
You can see the soft look of embossed script on the panel below, especially in the close up. This detailed embossing folder is from Stampin’ Up and is called ‘scripty’. I don’t think it is available anymore but you might something similar.
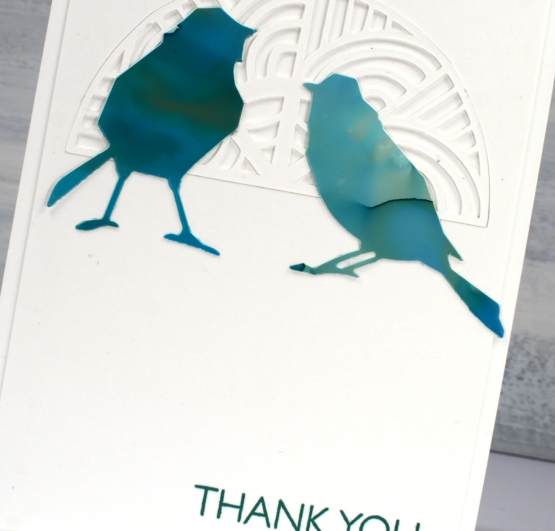
For this final card I cut six little birds from the panel and played with layouts for quite a while. I ended up just using two which means I have four birds in hand for another project. (pun definitely intended)
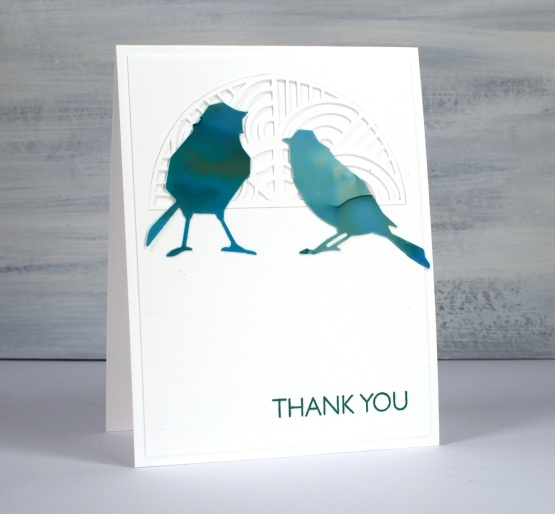
The intricate half circle cut out behind the birds is also one of my new cricut cutting files but more about that in another post. If you got this far, you’re a champion. Thank you for supporting me here on my blog and I would love to see you over on youtube as well.
(Compensated affiliate links from Foiled Fox, Scrap n Stamp)