Gel Printed Pods
Posted: March 25, 2024 Filed under: artsy stems, framed fern, gel press, Lavinia, online class, Penny Black, Tim Holtz | Tags: gel press, gel printing, Lavinia, online class, Penny Black creative dies, Tim Holtz 3 Comments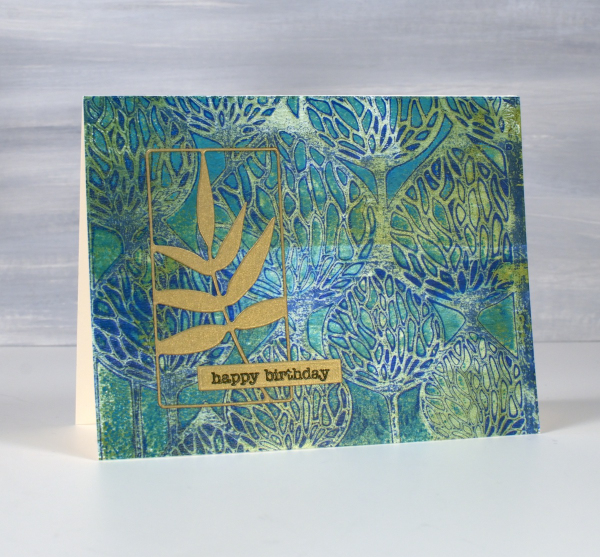
It’s been a while since I gel printed but that there is no lack of gel prints to show you. I currently have boxes of prints and and a stash of cards made from prints.

These two cards were made from the same stencil print, one of the examples from my Gel Print Journey online class (which is on sale along with all my online classes until March 29; just use the code LEAPYEAR40 at checkout)
If you are a fan of Lavinia stencils like I am you probably recognise the ‘Pods’ stencil used for this print. I printed on a 6″x 6″ gel plate giving me a print big enough for two cards. It’s hard to see in the photo but some of the paint was metallic so the print has some shimmer and shine on it.

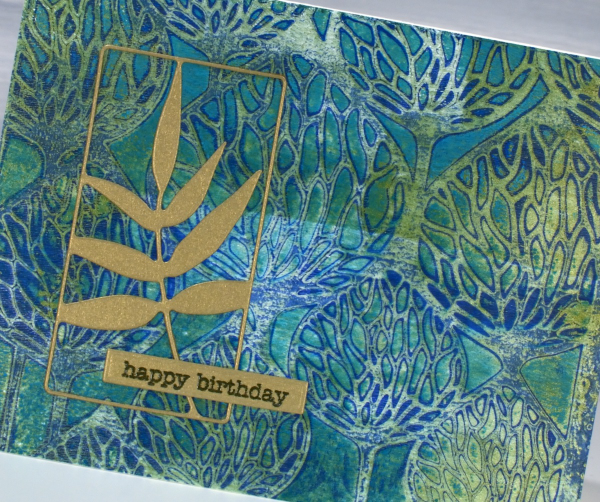
I looked through my botanical dies and gold cardstock in order to fine co-ordinating elements for the cards. On the card above I used the ‘framed fern’ die from Penny Black and on the card below the die featured is from Tim Holtz artsy stems die set.

I hear my gel plate calling to me so hopefully I will soon dedicate a few days to happy printing. If you are looking for a beginner gel printing class or a refresher please check out Gel Print Journey. This post includes affiliate links from Ecstasy Crafts, Foiled Fox and Scrap’n’Stamp . If you buy through these links I receive a small commission at no extra cost to you.
Artsy Alcohol Ink on the Gel Plate
Posted: September 26, 2023 Filed under: Alcohol Ink, artsy stems, Darkroom Door, gel press, Tim Holtz | Tags: Alcohol Ink, Darkroom Door stamps, gel press, gel printing, Ranger Alcohol Ink 4 Comments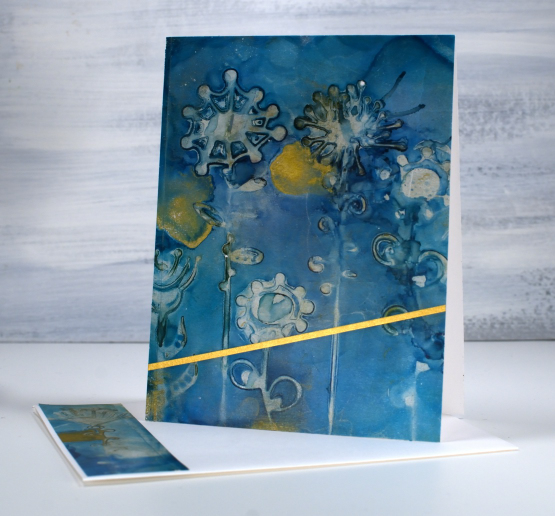
I have a couple of cards made from alcohol prints on the gel plate which is the technique feature in my last two youtube videos. I love the colours in this one and the funky patterns made using die-cut artsy stems, which are Tim Holtz dies.

The technique used in the recent youtube videos involves stencils not die-cuts but the effect is the same when the die-cuts are cut from stencil film or similar thin non-porous material. I use films from Grafix, either matte duralar or craft plastic.
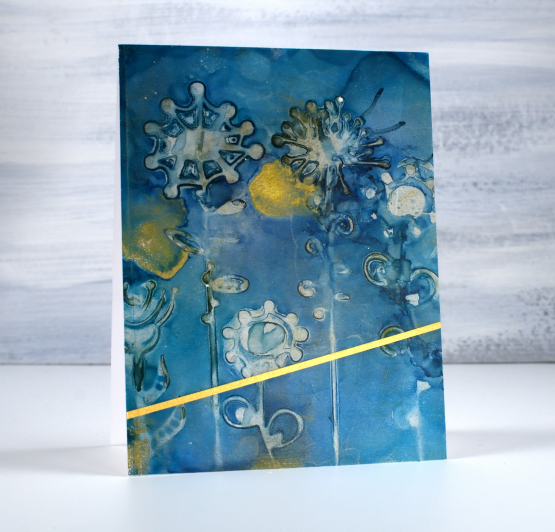
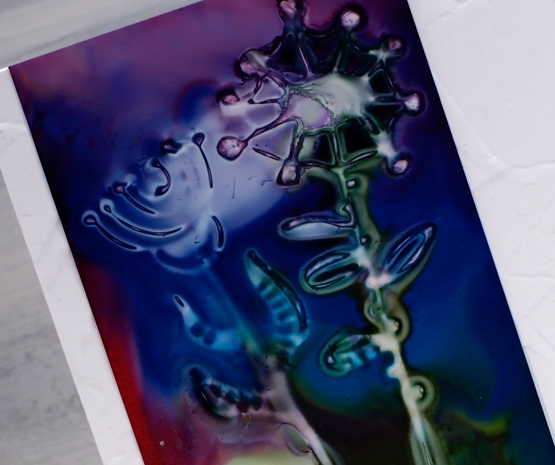
I can’t remember the exact inks I used for the panel above but my guess is a deep blue such as glacier as well as some gold mixative or alloy ink. I pulled the print with the transparent gold paint used in this video so the panel has a subtle shimmer to it in real life. I loved the pattern so much I decided to add the narrow strip of gold but no sentiment.
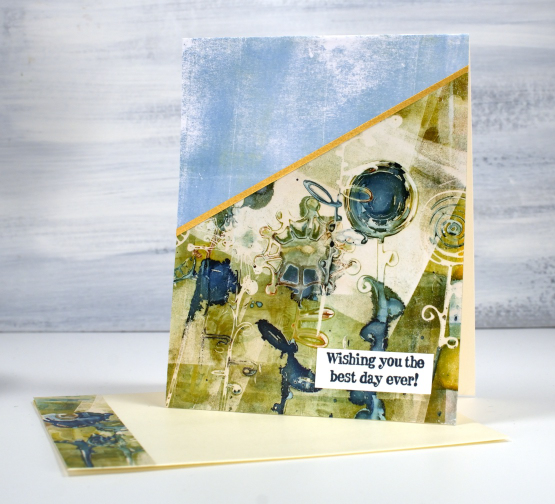
The second card was also made using alcohol inks on the gel plate but is a more grungy print due to the mix of green and cream paint used to pull the print and the mix of yellow, green and blue alcohol inks used to make the pattern on the gel plate.
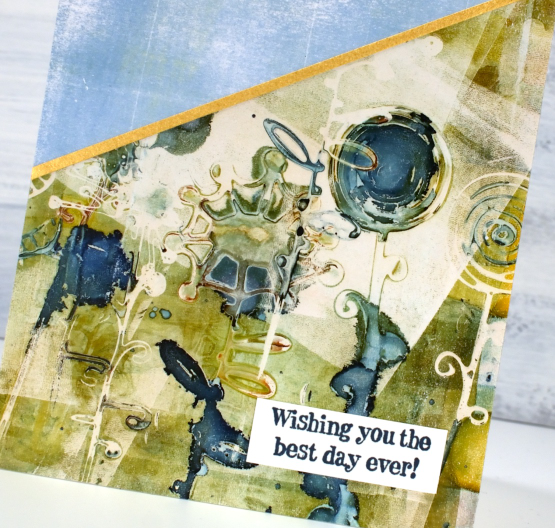
Rather than use the whole panel I added a simple blue gel printed piece to the top of the card front and once again a gold strip of cardstock. The sentiment is from the Darkroom Door happy birthday set.

I hope you enjoy these two examples of what can be made from alcohol ink gel prints. Let me know if you try the technique.
This post features affiliate links to the Scrap’n’Stamp. If you buy through these links I receive a small commission at no extra cost to you.
Alcohol Ink Gel Print
Posted: June 19, 2023 Filed under: Alcohol Ink, artsy stems, gel press, little lowercase letters, My Favorite Things, Tim Holtz | Tags: gel press, gel printing, My Favorite Things, Ranger Alcohol Ink, Tim Holtz 3 Comments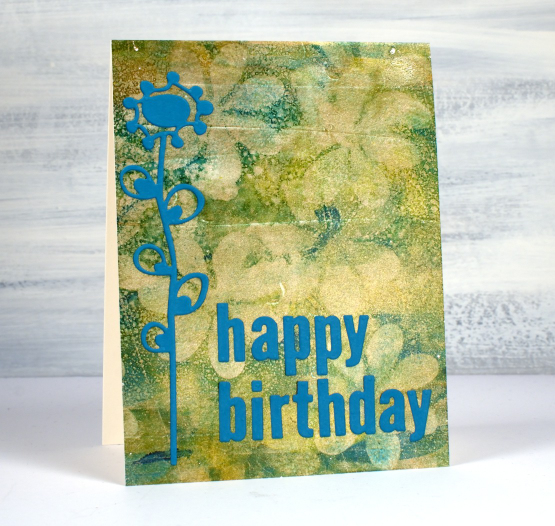
Last Monday I posted a faux batik look created on the gel plate. Today’s card is not faux alcohol ink; I did create a design on the gel plate with alcohol inks then picked it up with acrylic paint. Alcohol inks dry quite quickly so they are fun to fiddle with on a gel plate.

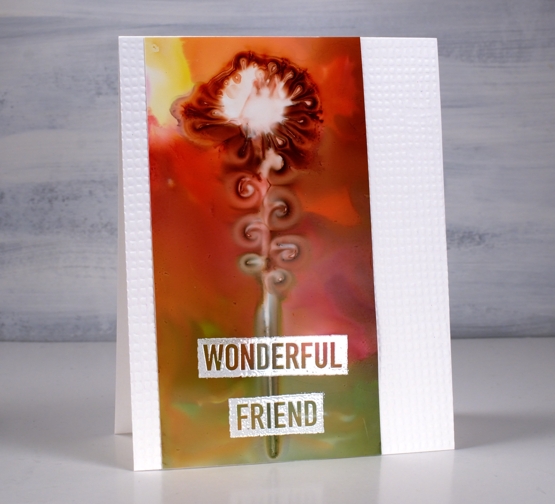
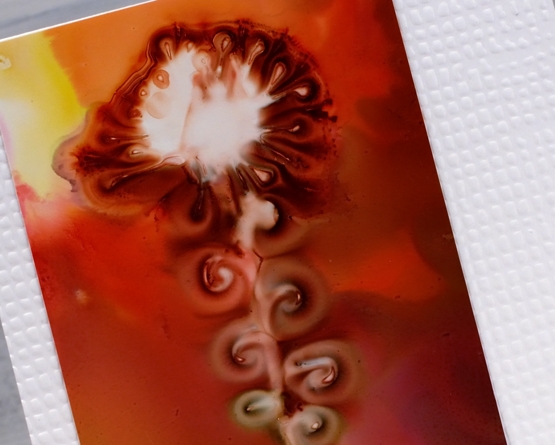
I can’t remember exactly which inks I used but I imagine there was a blue and yellow alcohol ink involved and perhaps ‘stream’ which is a deep teal colour. I sprinkled them on the gel plate, added some isopropyl alcohol to get the colours moving and then used a homemade stamp to add the flower shapes. In my online gel printing course I have a whole lesson about making and using homemade stamps with acrylic paints. Using them with alcohol inks is also an option as shown on this card. The speckled look over the panel is from adding a spritz of isopropyl alcohol to the plate before letting it dry.

I pulled the print with gold acrylic paint which has given the whole panel a goldish tint and in real life a bit of shine and shimmer. To finish the card I added a die-cut flower and letters in a co-ordinating colour. The letters were cut with MFT ‘little lowercase letters’ which might not be available anymore but I have linked to a similar set.
(Compensated affiliate links from Foiled Fox & Scrap n Stamp)
Alcohol Ink + Masks
Posted: July 13, 2022 Filed under: Alcohol Ink, artsy stems, classic motorcycles, Darkroom Door, grafix, Sizzix, you are everything | Tags: Darkroom Door stamps, grafix, grafix craft plastic 6 Comments
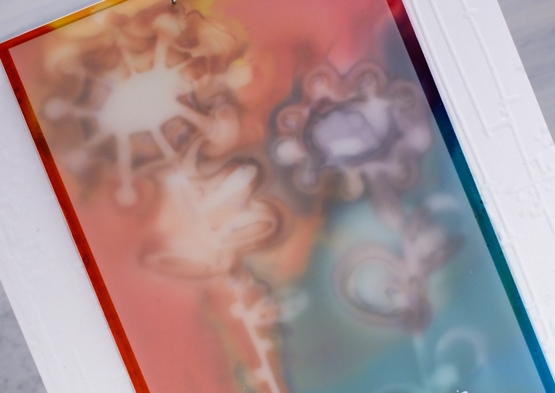
I’ve played with stencils and alcohol inks before so it wasn’t much of a stretch to try the same with masks. Masks are basically stencils without any frame around them. The ones I used for today’s cards are homemade from Grafix white craft plastic (also known as white opaque dura-lar).
I used the Sizzix ‘artsy stems’ dies to cut flowers from craft plastic. I also used craft plastic for the alcohol ink panels. I first tried this technique when making bookmarks for a Grafix video tutorial. I used the same funky die-cuts and alcohol inks so check out the video below for the process.
One thing I really like about working with Grafix craft plastic and matt dura-lar (in the final card) is that you can emboss on it. I make sure I preheat the heat tool so I can quickly activate the embossing powder. The craft plastic doesn’t melt or warp if you keep the heat tool moving.
All the sentiments are from Darkroom Door sets (linked below) two were embossed and the other stamped with a new ink from Ciao Bella. It took a while to dry on the craft plastic but I am impressed with the solid matte look once dry.
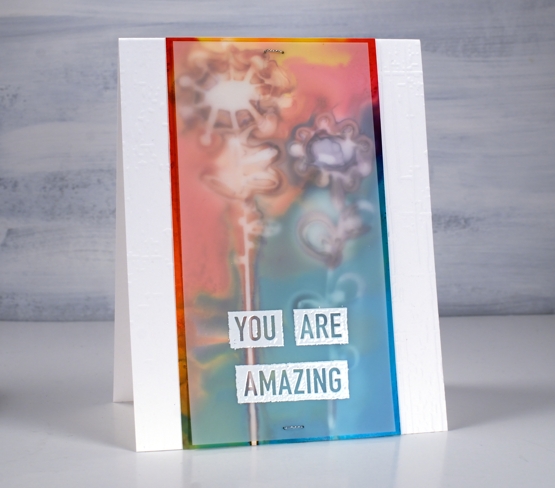
You can see on this last card I had to come up with a way to attach the semi transparent matte dura-lar to the coloured panel underneath. I didn’t want to use tape which would show so I poked a couple of holes through both layers and sewed the panels together with some silver cord.
All the alcohol ink panels are attached to white card bases embossed with embossing folders for some subtle texture and interest.
Supplies
(Compensated affiliate links used when possible)