Leaf & Stencil print – Video
Posted: July 16, 2024 Filed under: Darkroom Door, gel press, gelli plate, simply perfect mix & match sentiments, Tutorial | Tags: Darkroom Door stamps, gel press, gel printing, Spellbinders, video 6 Comments
Last week I shared a leaf and lavender gel print video; in today’s video I have added some gold dots through the totally dotty stencil for some shimmer and extra interest. In the video you will see the gel printing process. I turned the printed panel into five cards and I have listed the added stamps or dies below each card photo. I have an in-person botanical gel printing class coming up on Saturday July 27th and there are a couple of spaces left if you’re interested.
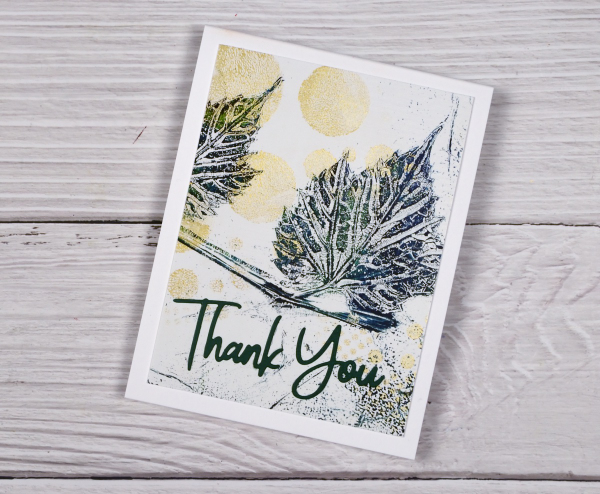
I added a die-cut sentiment in dark green to the panel above using the Spellbinders ‘simply perfect mix & match’ sentiment dies.
Even though I brayered blue, green and black paint very randomly on the plate, I like the way patches of one colour or another appear on the leaves.
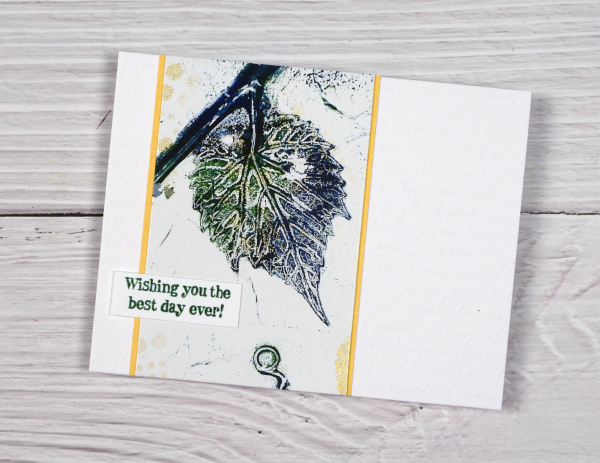
To create the card above I embossed a white panel using the Stampin’ Up embossing folder scripty, added a gold mat behind the gel printed panel and added a Darkroom Door sentiment from the ‘happy birthday’ sentiment strip.
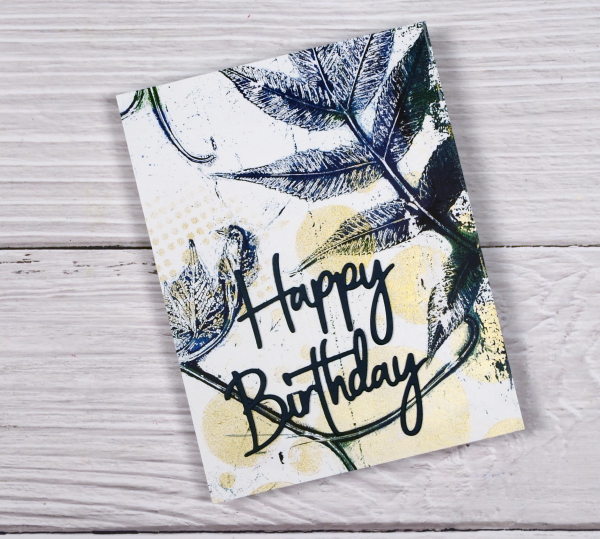
The panel above covers the whole card front and has a stacked green die-cut sentiment from the same Spellbinders set mentioned earlier. I stacked two layers for the sentiment to help it stand out from the stems on the gel print.
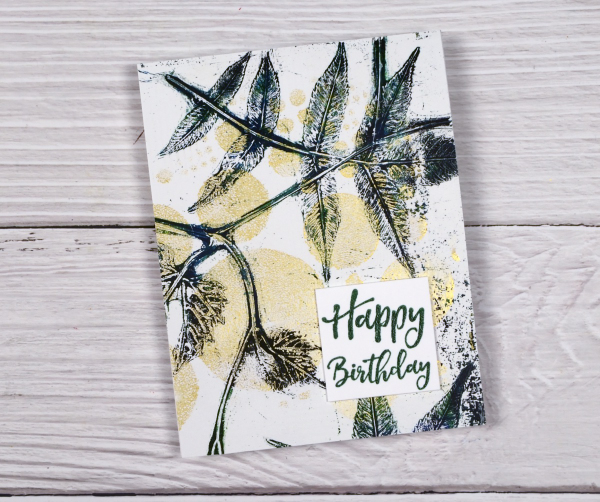
Another full card front panel above with a Darkroom Door sentiment. The gold looks shinier in real life but I think you can see some shimmer on both the card above and below.
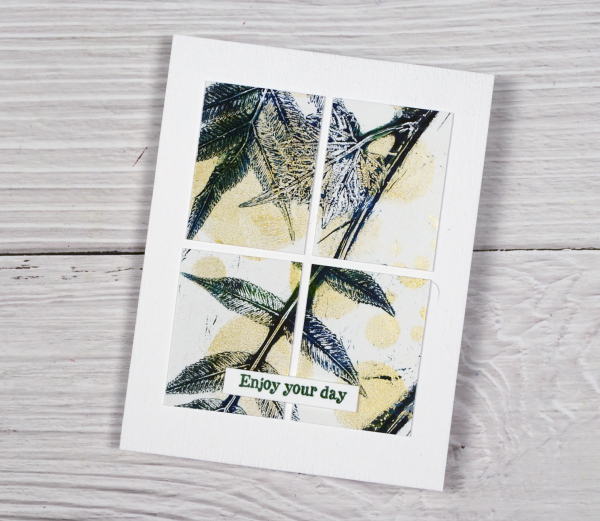
You can cut your gel print panels to any size, sometimes cutting a large shape into smaller shapes is a good way to add interest to a layout. I’ve added another DD sentiment to the card above. I had fun printing the panel and working out how to get the most out of it for cards. I can give these away individually but I think I might keep them together as a gift set.
Stencils + Alcohol Inks
Posted: July 5, 2024 Filed under: Alcohol Ink, brush lowercase alphabet, coloring book stencil, cricut, grafix, Picket Fence, Spellbinders | Tags: Alcohol Ink, cricut, grafix craft plastic, picket fence, Spellbinders 6 Comments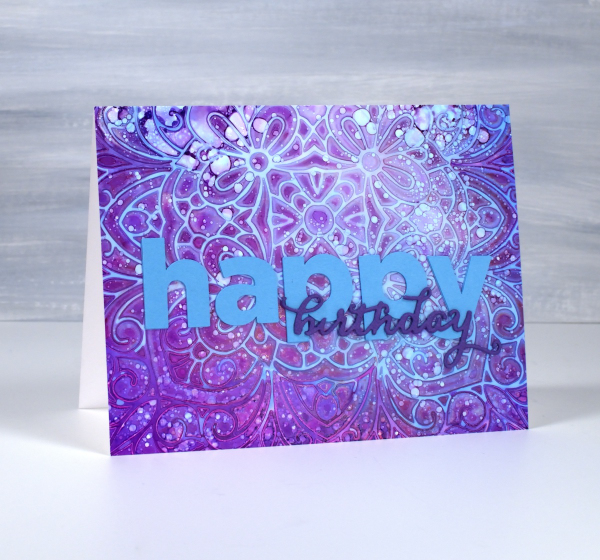
An amazing thing happened with this card. It arrived on the birthday, after being sent from Canada to Australia by an unreliable sender(me)! So now the recipient has it I am posting it here on the blog.
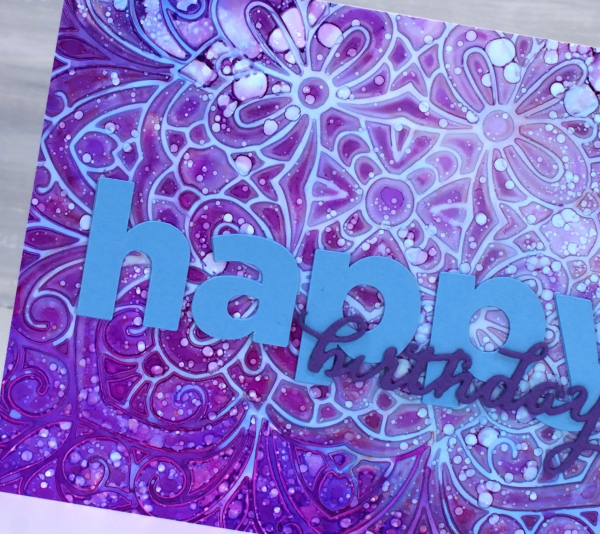
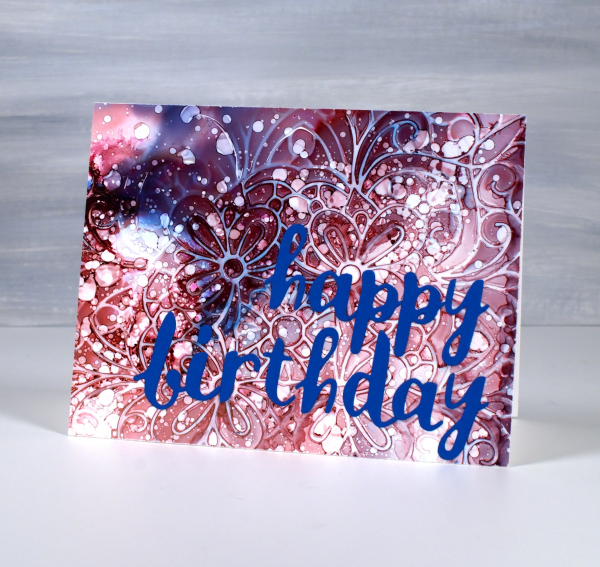
I have shared cards made with this technique before; it’s a fun one. I used alcohol inks on Grafix white craft plastic and for both cards I only used two inks along with isopropyl alcohol.

I start with a layer of isopropyl alcohol on the panel, then add a couple of alcohol inks and tilt the panel to move the inks and cover the whole panel. Next I drop a stencil on top, for both these cards I used the Picket Fence ‘coloring book’ stencil; it’s 6″x6″ so the panel was larger than needed for my finished card.
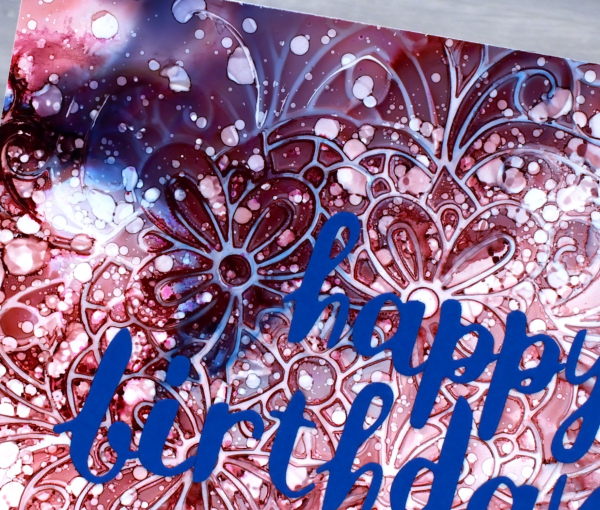
Because the ink is trapped under the stencil it takes a while to dry. Sometimes I help it along with an air pump, not a heat tool. When it is dry I like to splatter some isopropyl alcohol lightly over the panel to get little dots here and there. I don’t flood it because that would take me back to the beginning of the process. When the ink is dry I lift the stencil to reveal the intricate pattern, then choose which part of the panel I want for my card front. If I don’t like the finished panel I add more isopropyl alcohol and tilt the panel to dilute all the ink and start again. That is the beauty of working on grafix white craft plastic; you get second chances and even third or fourth if you’re fussy like me!
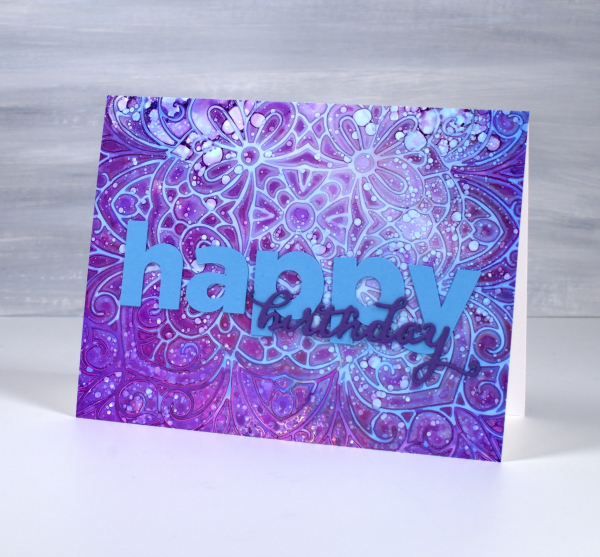
The sentiment on the card above is a combination of cricut letters and a Penny Black birthday die. On the card below I used the Spellbinders brush The sentiment on the card above is a combination of cricut letters and a Penny Black birthday die. On the card below I used the Spellbinders brush lowercase alphabet dies.
Cosy Cocoa & Cookies
Posted: December 15, 2023 Filed under: cocoa and cookies, cricut, Echidna Studios, Spellbinders | Tags: cricut, digital stamps, Echidna Studios 1 Comment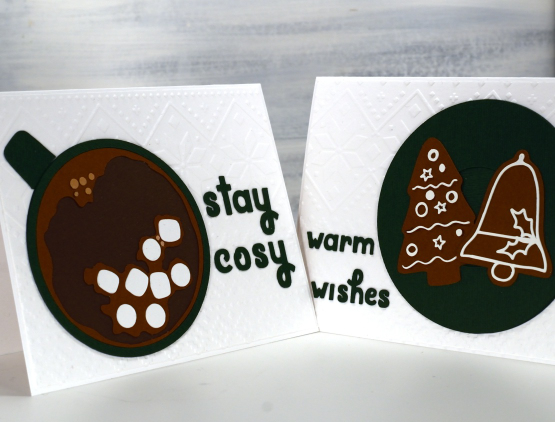
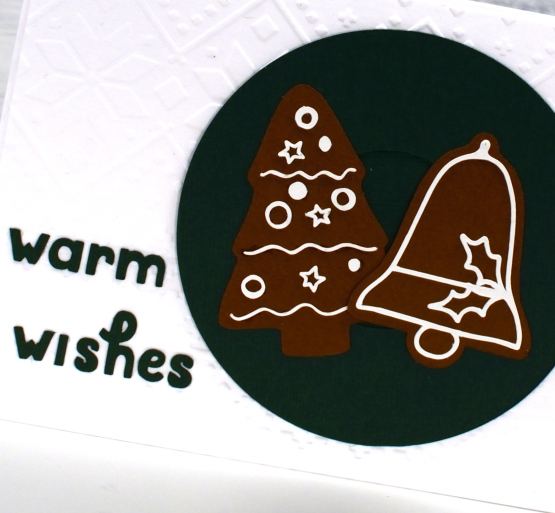
It’s hot chocolate season and my husband has already made a rich, yummy Mexican hot chocolate on two occasions. The cocoa and cookie cutting files from Echidna Studios are almost as appealing as the real thing! I have also made my first batch of gingerbread including plenty of tree and bell shapes.
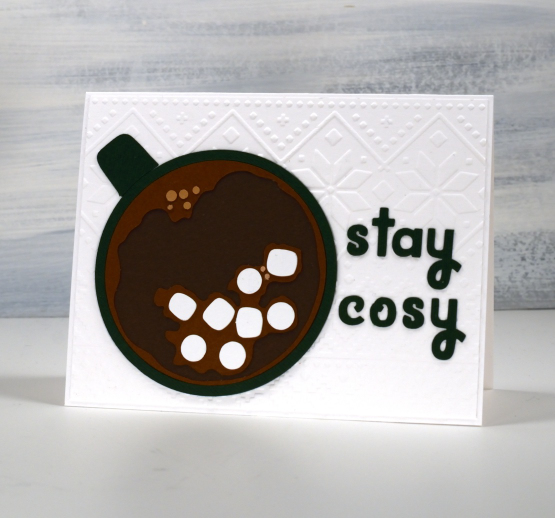
These birds eye views of a mug and a saucer of cookies cut beautifully in different colours for layering a cup of cocoa complete with bubbles and marshmallows and a saucer of decorated gingerbread cookies.
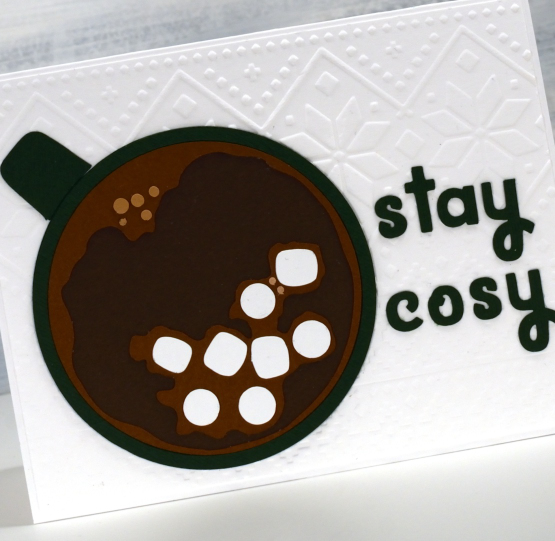
My mug and saucer are dark green even though they might look black and I used three different shades of brown cardstock for the cup of cocoa. I thought the ‘ski lodge‘ embossing folder from Spellbinders made an appropriate background. My sentiments are also cut from green cardstock using the free ‘Agent Q’ font from Cricut design space.
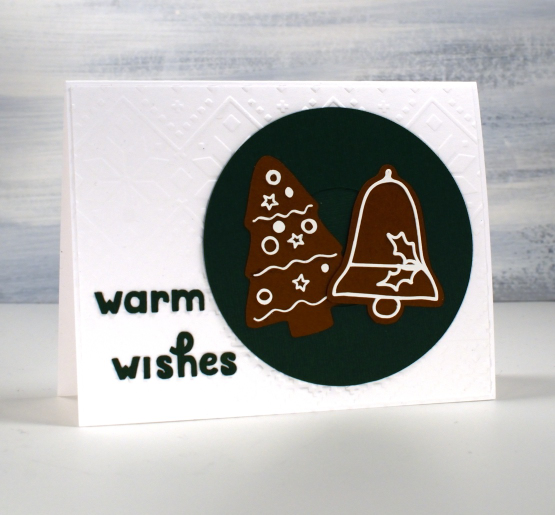
For these cards I cut the image out on the cricut but the files can also be printed for colouring.
Today’s post features an affiliate links to Scrap’n’Stamp. If you buy through this link I receive a small commission at no extra cost to you.
Gel Print Journey
Posted: May 31, 2023 Filed under: Elizabeth Craft Designs, florals 13, gel press, online class, pretty plaid, Spellbinders | Tags: Classes, gel press, gel printing, online class, video 4 Comments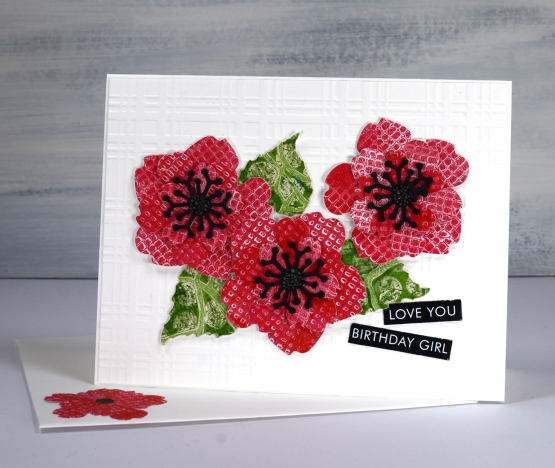
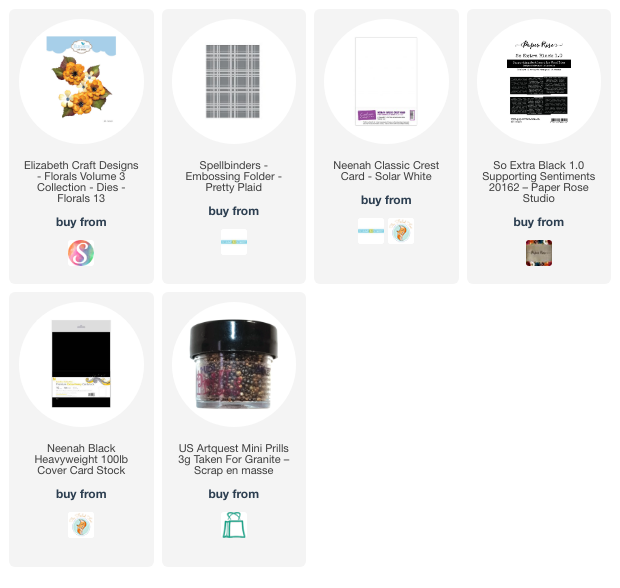
As I have mentioned a few times lately I have a new online class available. It’s called Gel Print Journey. I added the promo on Youtube today and thought I would share it here with you my blog readers as well. It is a class for both beginners and enthusiasts (and those who like me, tried it once and took a while to try it again). The card shown above is just one of the projects I made after a gel printing session. I grabbed the red print from the embossing folders lesson and the green print from one of the stencils lessons and die-cut all my elements to make a birthday card. Although there are project ideas at the end of the class the focus of the lessons is all gel printing. I just thought I would share one of the projects with you today because it is a bright happy card!
If you haven’t tried gel printing at all, GASP, this class will take you through the basics and provide you with oodles of textures and techniques to try. If you have tried gel printing I am sure you will enjoy putting your dies, stencils, embossing folders, recycling and plants to work to create one of a kind prints.
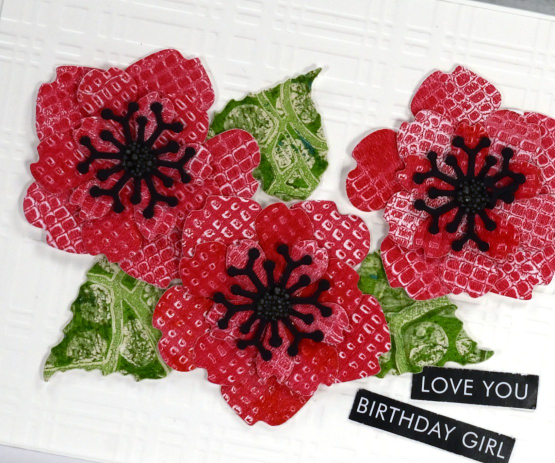
I added the red petals and green leaves to an embossed white background to keep them looking fresh and bright. There are little prills in the centres and a sentiment from Paper Rose studio.
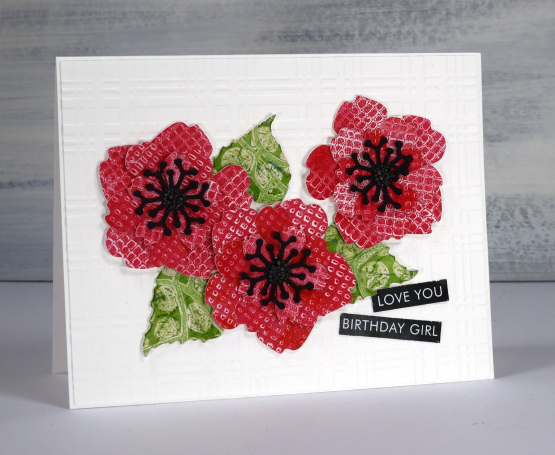
As blog readers you have just one more day to use the TEAMBLOG10 discount code but if you read this after May has ended just pop over to youtube to see the code I shared over there. If you have any questions don’t hesitate to leave a comment below. I will continue to share gel printed cards and projects here on the blog and have some upcoming videos on youtube as well.
Have a great day!
(Compensated affiliate links from Foiled Fox & Scrap n Stamp)
Holly Days
Posted: August 16, 2022 Filed under: Dies, holly-days, jumbo bauble, Penny Black, Spellbinders, stocking stuffers | Tags: Penny Black creative dies, Penny Black stamps 3 Comments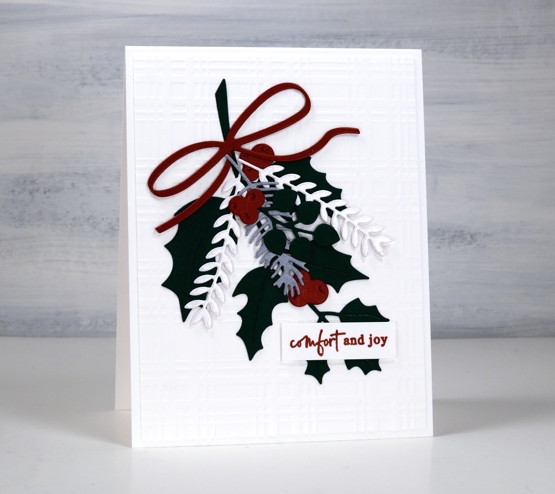
Today’s simple fresh card showcases some new dies from Penny Black. I chose solid colour cardstock, some shimmery, to create this little garland but I know I will use these dies again with gel prints or patterned papers.
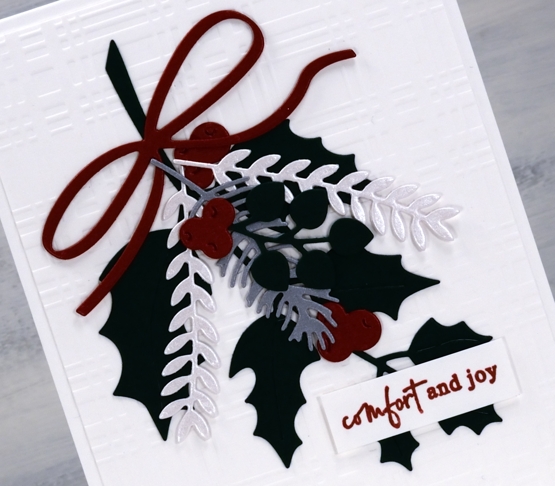
It is a little hard to tell in the photo but I have red shimmer, quartz shimmer and silver shimmer cardstock along with matte green for the leaves. The dies are from three new PB sets, holly-days, stocking stuffers and jumbo bauble. The card design is clean and simple but I added texture to the background with a spellbinders plaid embossing folder.
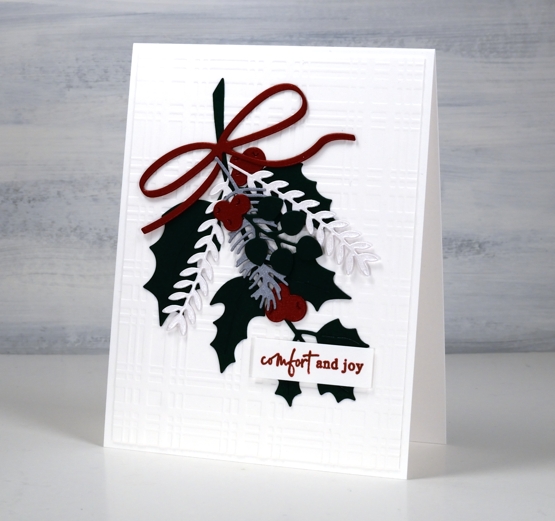
I finished off the card with one of the new little sentiments from the PB ‘jolly sentiments’ set. I think I have mentioned before how much I like little sentiments so a whole new set of them is exciting.
(Compensated affiliate links from Foiled Fox, Scrap n Stamp and Ecstasy Crafts)