
Far North Village
Posted: February 9, 2022 Filed under: Penny Black, picturesque, snowy village | Tags: Penny Black stamps, Ranger Distress inks 18 Comments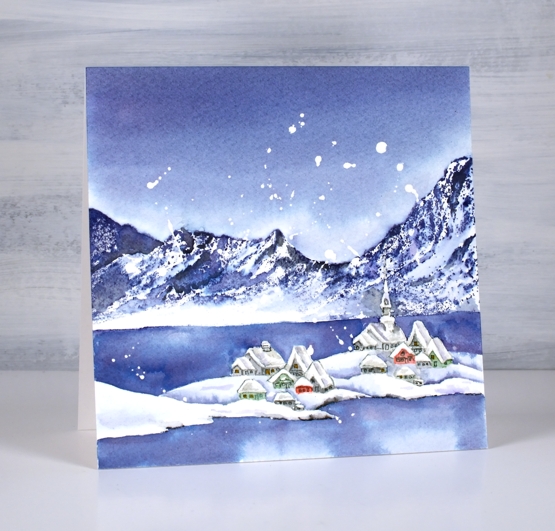
It is a little while since I stamped and watercoloured a card. It’s been all alcohol-inky and art-journally around here lately. Yesterday I stamped, painted and blended three cards with PB stamps which was a nice way to spend the day.
I had two pieces of inspiration for this scene. One is a youtube channel I have been enjoying for a year or so about life in Longyearbyen, the world’s most northern town situated on Svalbard, an island between Norway and the north pole. The other inspiration was a watercolour painting I saw on instagram by Evgenia Gorbacheva. My scene is different from both inspiration pieces as I featured the PB stamps, ‘picturesque’ and ‘snowy village’.
My panel of cold pressed watercolour paper already had masking fluid splattered over it so that is why there are random white ‘snowflakes’. I worked out roughly where the mountains would go then stamped the village below in soft sky ink. The first impression included the church spire but I left it un-inked for the second print so the building would look different. After stamping I sketched the snowbanks and coast line in pencil then painted over the church spire with liquid frisket (masking fluid).
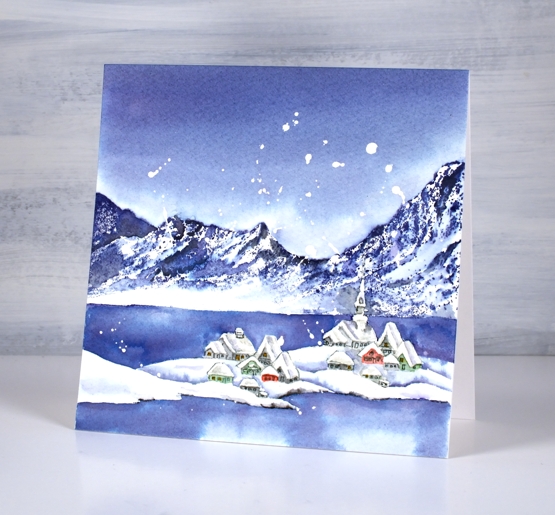
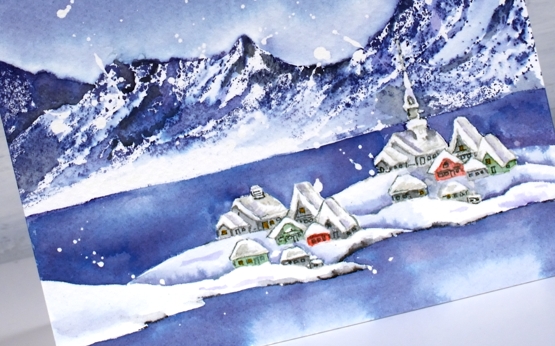
I stamped the mountain stamp in chipped sapphire (also known as absolute favourite blue ink) taking care to leave a bit of the stamp un-inked so there would be an open white area of snow. I blended some of the stamped ink, adding black here and there but kept some untouched to look crisp.
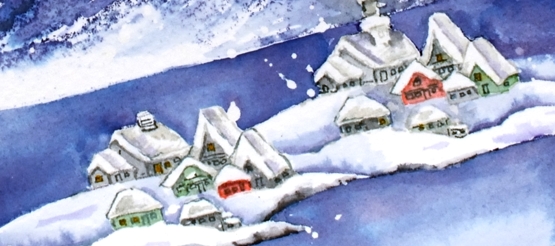
I painted all the buildings with distress inks smooshed on my glass mat (iced spruce, hickory smoke, rustic wilderness and candied apple). While they dried I painted the water and the snowbanks around the village. After that all dried I painted the sky with chipped sapphire then returned to the buildings to add grey shadows on and around the snow covered rooftops. I added the windows and doors with a grey marker and extra definition to the shore line with a black marker.
Not sure if I will send this one anywhere; I’ve grown a little attached to it!
Supplies
(Compensated affiliate links used when possible)

Gouache skies
Posted: August 2, 2021 Filed under: Gouache, Penny Black, snowy village, soulful silhouettes | Tags: Gouache paints, Penny Black stamps, Tsukineko Versafine inks 9 Comments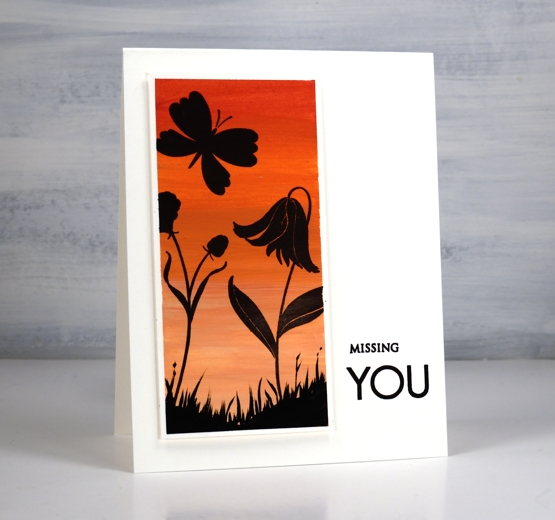
Some of you may remember me mentioning a while back an interest in trying gouache paint. The Foiled Fox kindly sent me some to try and I have been learning and practicing the techniques over the last couple of months. I am sharing over on their blog today so make sure you visit to read more about my process. Gouache is an opaque acrylic paint with some similarities to watercolour paint. It is possible to dilute with water until it becomes somewhat transparent but it is more common to see it used in its opaque form. I watched several videos to learn what to do (and what not to do!) and will continue to experiment.
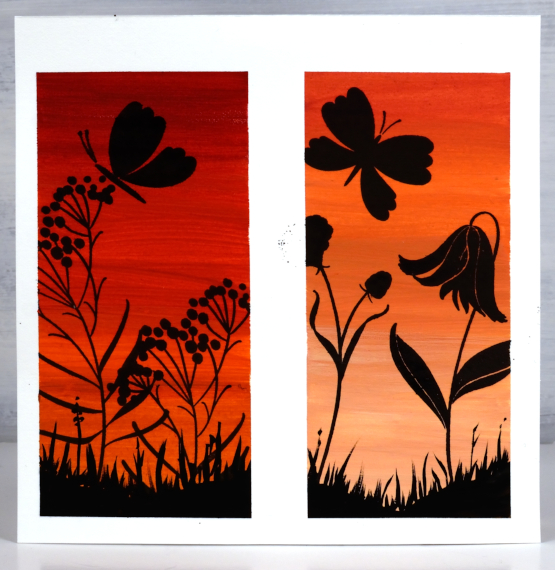
One key fact I learnt after trying to paint with several colours right out of the tube is the need to mix with a little water to get a creamy consistency. Another important thing to note is that unlike watercolour, where I add water to get a lighter shade, with gouache I add white paint. In the photo above you can see two panels side by side. I taped the watercolour paper with washi tape and painted the one on the left without adding white paint to the red and orange paints used. For the one on the right I added white to both the red and the orange increasing the amount of white to get the lighter colour at the bottom.
I also included the photo of the uncut panel so you could see how well the washi tape masked against the paint but was not thick enough to keep out all the versafine clair nocturne ink.
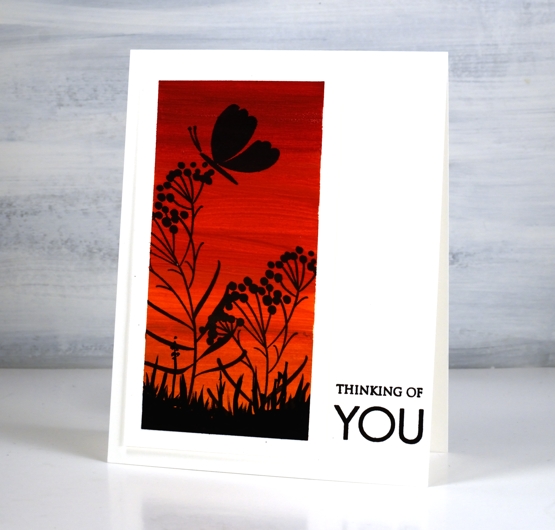
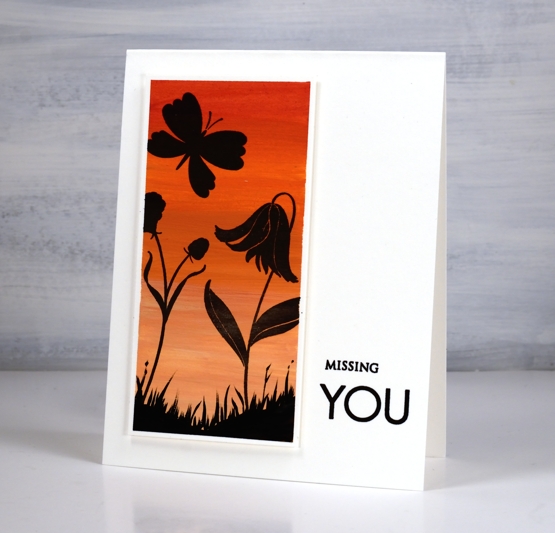
To turn the painted panels into scenes I used PB ‘soulful silhouettes’ stamped in nocturne versafine clair ink. It stamped really well on the gouache.
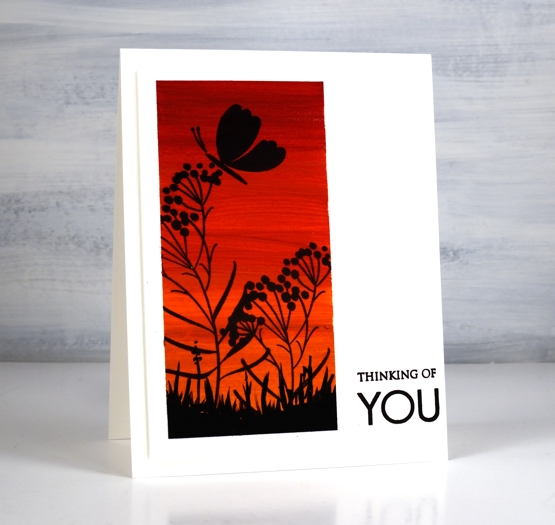
I popped up the panels and added sentiments using the PB ‘only you’ sentiment set.
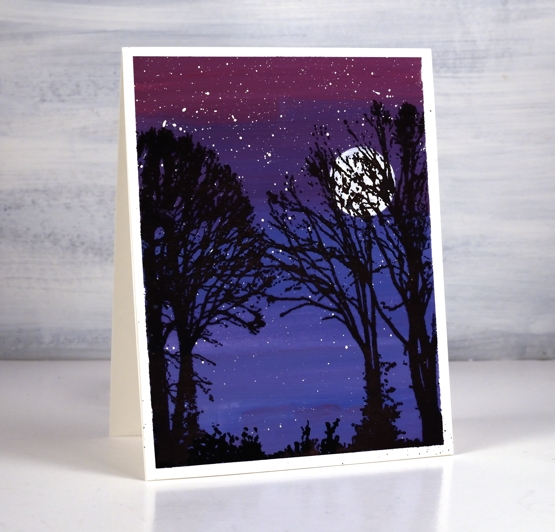
After some success with the warm toned panels I taped off a larger one and used blues and red to create a gradated purple sky. Although it is quite dark I did mix white paint with each of the colours used. ( I listed the paint colours used on the Foiled Fox post)

Once the background sky paint dried I splattered white gouache for stars then painted a circle for the moon. Once again the nocturne ink worked beautifully over the painting as I stamped trees from the PB ‘snowy village’ set.
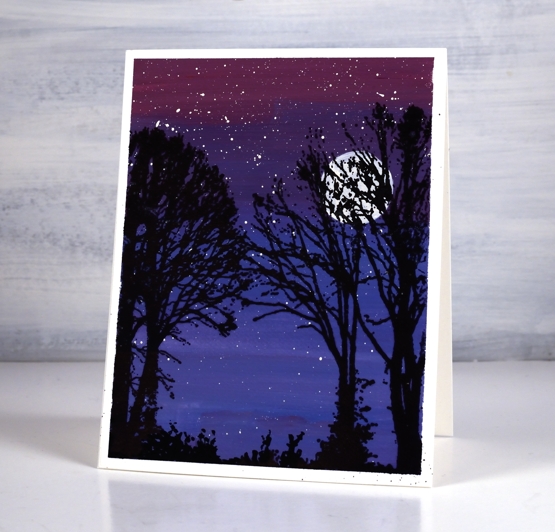
I finished all three panels by painting some black foliage along the base to look like grass and plants.
Let me know if you use gouache either for cards or other purposes. I have a few projects I hope to try as I continue to learn more about the medium. Thanks for dropping by.
Supplies
(Compensated affiliate links used when possible)

Winter sky
Posted: January 12, 2018 Filed under: dressed in snow, peaceful winter, snowy village, Stamped Landscapes | Tags: Brusho, Penny Black stamps, Ranger Distress inks, Tsukineko Memento inks 8 Comments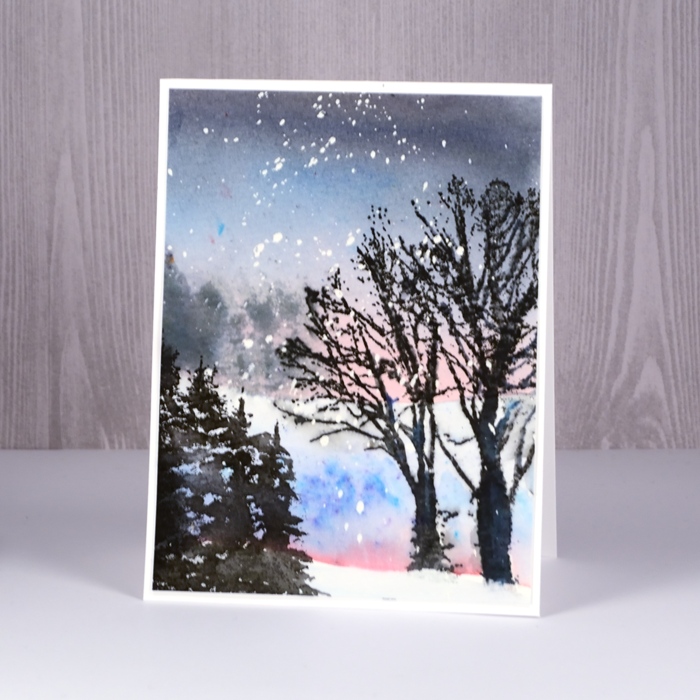
It’s taking me a while to get back into gear here on the blog but I have been busy planning my next class. Living as I do surrounded by winter beauty I often look a the sky or the landscape and wonder how I can turn it into a card. This is one such attempt. I looked at the sky one afternoon, because the sun sets in the afternoon around here, there is no waiting for evening! There was a pale pink glow above the horizon, a little blue then grey reaching up. I was managing to create some subtlety with this scene right up until the brusho shook out of the bottle rather more generously than intended! No matter, a lot of water and paper towel calmed things down again.
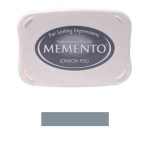
I started with a panel of hot pressed watercolour paper splattered with masking fluid. I painted some water across the panel where the horizon would be then sprinkled a little ost. red brusho above and blended it in with a paintbrush. Next I added grey brusho and blended that to fill the sky and finally some ost. blue brusho for some blue tones. I kept adding, blending and diluting until I was happy with the soft gradation of colour. While the sky was still damp I pressed just the small tree part of a landscape stamp out of the PB peaceful winter set repeatedly across the horizon inked with memento London fog ink.
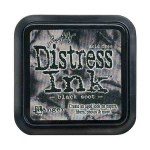
I used the stamping platform to stamp and restamp the trees on the right from the PB snowy village set in black soot distress ink. As distress ink is water soluble I was able to paint over the stamping with water to make the image bolder and darker. I added a little blue brusho as I painted to give the tree some light and shadow. I dried the panel before painting another line of water, this time across the panel in line with the base of the tree trunk. Again I added the same brusho colours but got a bit more blue than I’d bargained for.
After drying that section I stamped just the left hand trees from the PB dressed in snow stamp again in black soot ink. I used a paintbrush to darken the stamped image and extend the trees a little more on the right. To finish I rubbed off the masking fluid and mounted the panel onto a white card base. All the supplies are linked below. I hope you have had a great week.
Supplies
Stamps:
Inks: black soot distress, London fog memento
Paint: brusho


Paper: hot pressed watercolour, neenah solar white


Also: masking fluid
Winter Thank you
Posted: December 20, 2017 Filed under: Nature's Friend, snowy village, Stamped Landscapes, Woodland Beauty | Tags: Penny Black stamps, Ranger Distress inks, Ranger Distress stains 5 Comments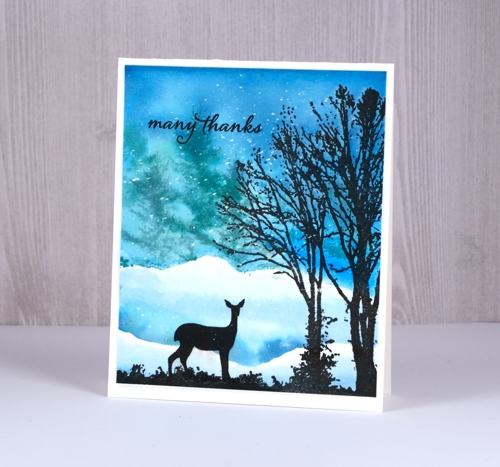
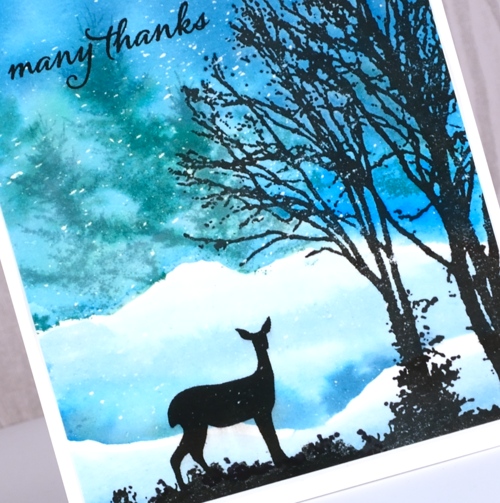
I’m a guest over at the Foiled Fox blog today; you know that is one of my favourite places to share my cards. With less than a week until Christmas I have switched to making thank you cards. This one combines several Penny Black stamps, one from this year and others from Christmasses past. All the snow falling is the effect created when painting over splattered masking fluid. After the painting has dried I rub off the masking to reveal little white dots – snow! The black stamping is done with pigment inks to preserve the sharp defined edges of the trees and deer. The soft tree shapes in the background are stamped in distress inks to enable blending and bleeding into the watercolour sky.
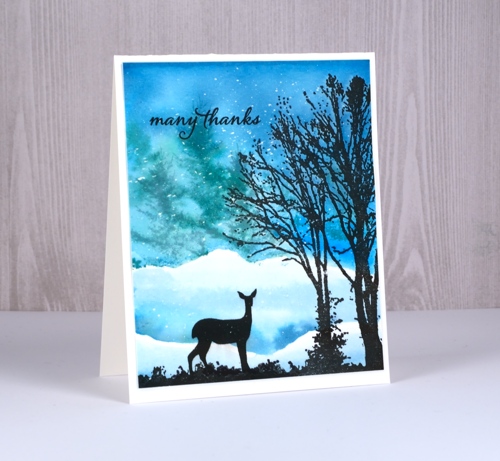
The whole process is described in detail on the Foiled Fox blog and supplies are listed below.
Supplies
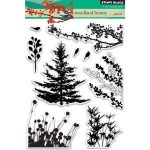
Stamps: snowy village, nature’s friends, woodland beauty, happy snippets


Inks: versafine onyx black, evergreen bough distress ink
Distress Stains: salty ocean, faded jeans, evergreen bough


Hot pressed watercolor paper
Also: masking fluid, stamping platform

Snowy Village
Posted: December 6, 2017 Filed under: snow covered, snowy village | Tags: Peerless Transparent Watercolors, Penny Black creative dies, Penny Black stamps 2 Comments
The second of my winter landscapes this week combines two outline stamps, the little village in the background is from the ‘snowy village set’ and the trees and fence stamp is from the ‘snow covered’ set. I stamped both stamps in versafine onyx black ink onto hot pressed watercolour paper. To make sure the two stamps created a cohesive scene I extended some of the snow bank lines with a black embossing pen both to the right of the village and to the left behind the trees then added some mountains in the background. I embossed all the stamping and pen work with clear embossing powder.
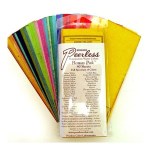
To add colour to scene I used the ‘wet into wet’ technique, painting water first into sky area filling all the space above the mountain tops. I worked with peerless watercolours to next add blue paint, then purple and grey to the wet area gradually filling the sky with colour. One by one I painted water into each hill shape then added blue and purple paint from the bottom blending to pale at the top of each hill. I did the same on all the snow banks.
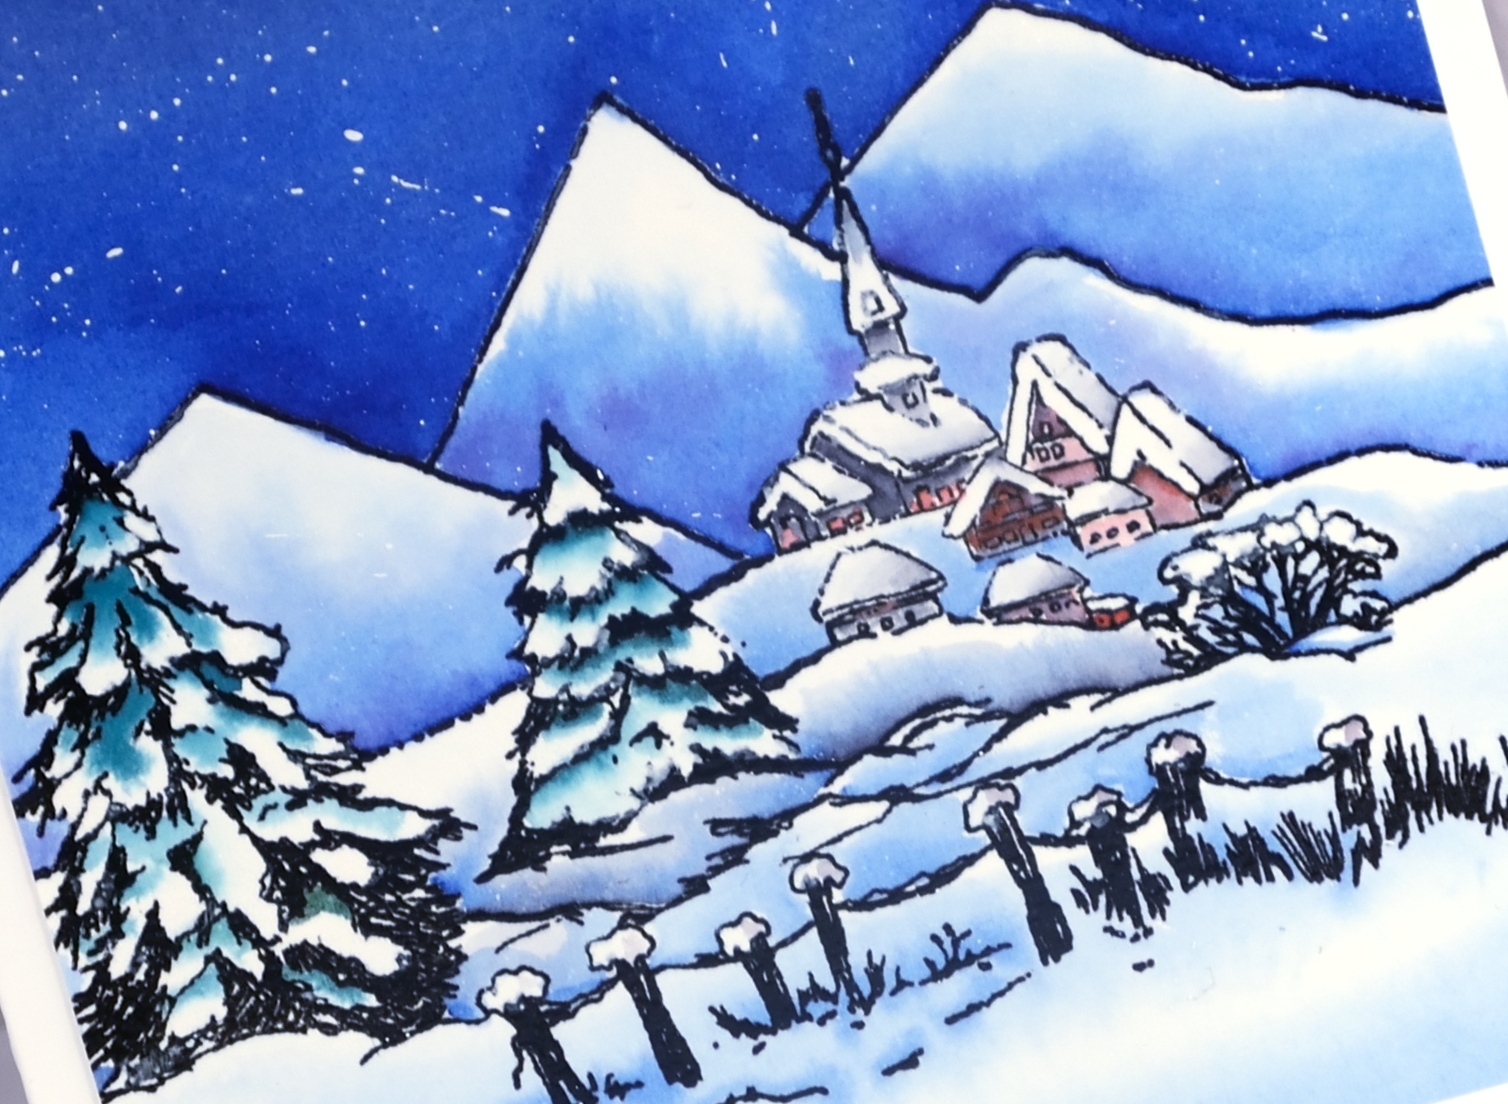
To colour the trees I also painted water over them and added small amounts of green paint while preserving some areas as white. I used grey and red paint to fill the buildings taking care to keeping the snowy roofs white or with minimal grey shading. I splattered white gesso over the sky using a small brush and a toothpick then attached the panel to a white card base.
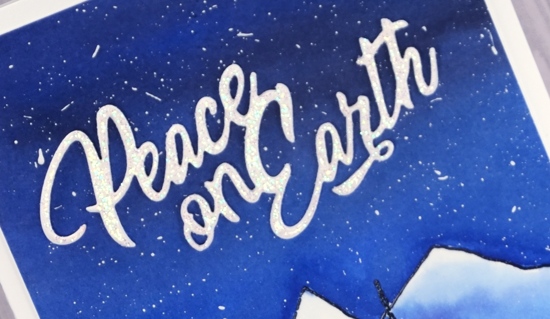
As the sky filled almost half the panel I decided to create a large sparkly sentiment. I cut the ‘peace’ die from white cardstock three times and embossed one with clear sparkle embossing powder. I added glue to the back of each die cut and stacked them on top of each other. I have found the easiest way to get them to line up is to squeeze the layers together from above with a pair of tweezers. It is a quite large card so I did a side fold rather than my usual top fold.
Supplies
Stamps: snowy village, snow covered
Die: peace

Inks: versafine onyx black, black embossing marker
Paint: Peerless transparent watercolors, white gesso

Paper: neenah solar white cardstock, arches hot pressed watercolour paper
Also: WOW clear sparkle embossing powder, clear gloss embossing powder
![]()
Bright night
Posted: November 4, 2017 Filed under: peaceful winter, snowy village 11 Comments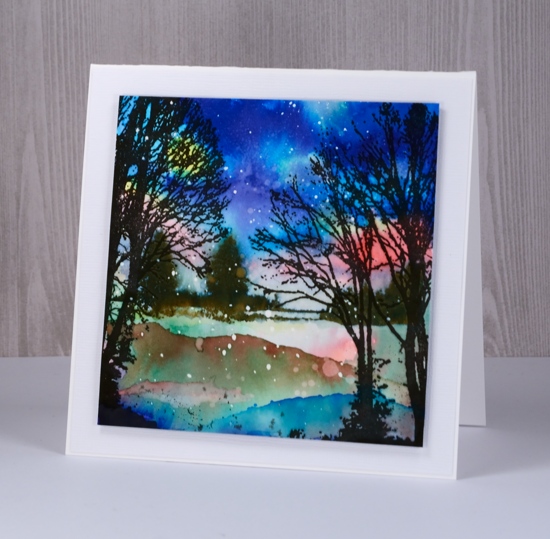
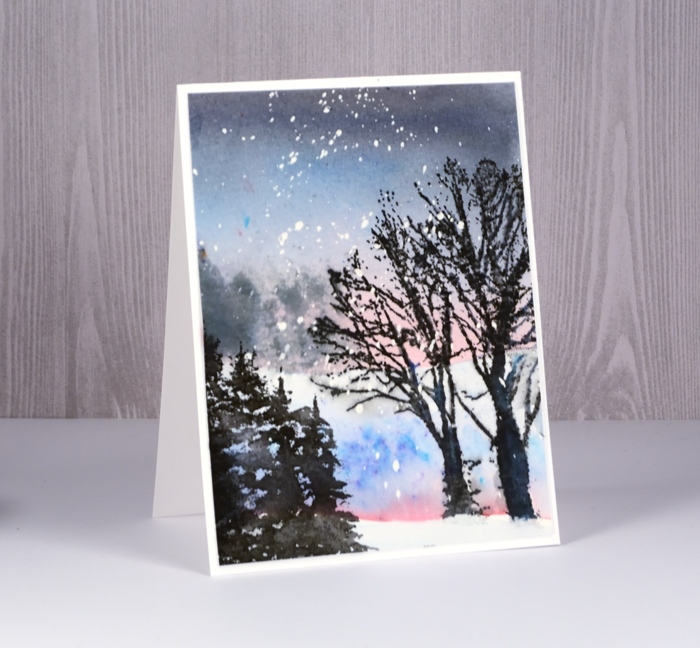
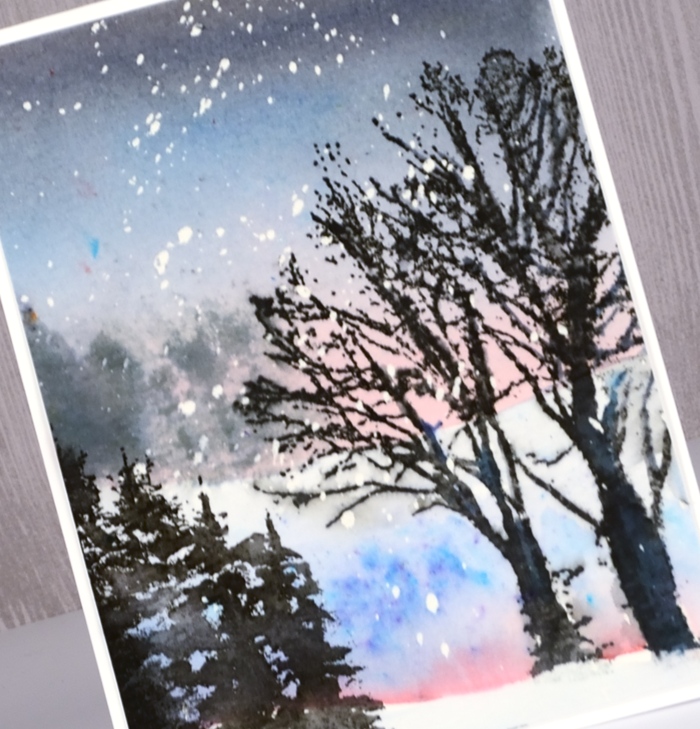
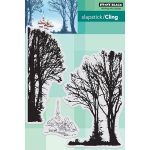
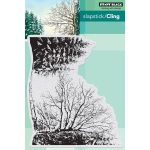
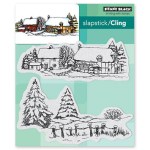
Would you believe some new tree stamps join my collection? You can never have too many! These two artistic silhouettes are not two halves of the same tree as you might first think but two separate stamps by Penny Black which come in a set of three, Snowy Village, including a little village stamp that would look cute in the distance between the two trees. My scene leans a little more to the whimsical side of things with a multicoloured starlit landscape.
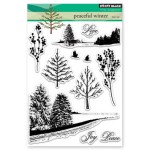
I started by splattering masking fluid over a piece of hot pressed watercolour paper. When it was dry I used a stamp positioning tool to stamp the two large trees on either side of the panel. The stamp positioner made it possible to stamp several times with versafine onyx black ink so I had completely black images. Once the ink dried I began painting with a range of Ken Oliver’s colorburst powders. I tapped a tiny bit out of a bunch of bottles into a palette then added a drop of water when I was ready to use that colour. I began by painting a section of water in the middle of the panel which stayed fairly light as I added colour above and below. I used mainly blues and pinks above the horizon with a spot of yellow here and there. Below the horizon I added more green and painted some hard edges to suggest gullies and rises. I let the panel dry a bit but not completely before I stamped a strip of distant trees in memento northern pine ink. The strip of trees is from another new PB set, Peaceful winter. As the panel was still damp the background trees softened and bled into the surrounding area.
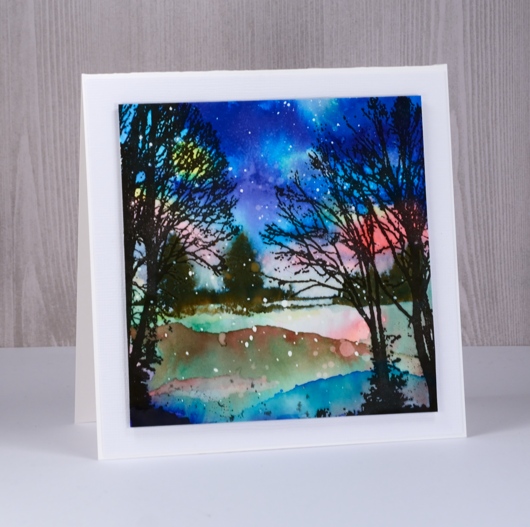
To finish the scene I splattered water then soaked it up again with a paper towel to get some ghostly dots then splattered a bit of black over the base area. It was tricky deciding whether to mat or not but I ended up popping it up over a white card base.
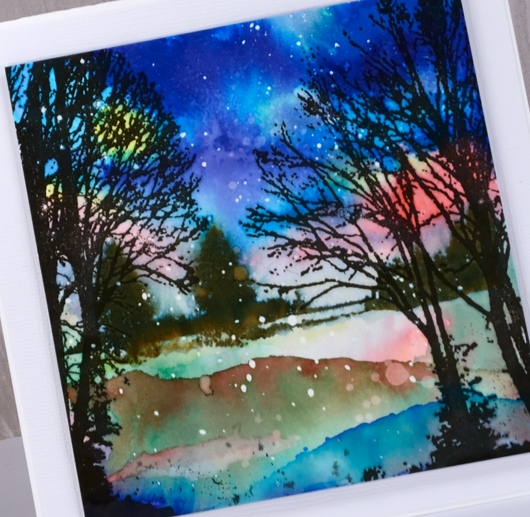
My inspiration for this bright scene was a painting I saw on Pinterest; you can see the artist’s work here.
Supplies
Stamps: Snowy Village, Peaceful winter (made by Penny Black)
Inks: versafine onyx black, memento northern pine (made by Tsukineko)
Paint: Colorburst ultramarine blue, indigo, cerulean blue, tangerine, terre verte, pthalo green, chartreuse, burnt sienna, fuchsia
Papers: Neenah solar white 110lb, Fabriano hot pressed watercolour paper, white textured cardstock
Also: Pebeo drawing gum


