Autumn Bouquet
Posted: September 17, 2021 Filed under: autumn bouquet, fragile branches, fresh ferns, Penny Black | Tags: Fabriano Watercolour Paper, Penny Black stamps, Ranger Distress inks 12 Comments
Are the leaves changing where you are? I noticed this morning a few patches of colour on the predominately green trees. The mornings are quite fresh too and the sunsets are amazing. Today’s card features a new Penny Black stamp ‘autumn bouquet’ teamed up with a couple of favourite filler stamps, ‘fresh fern’ and ‘fragile beauty’.
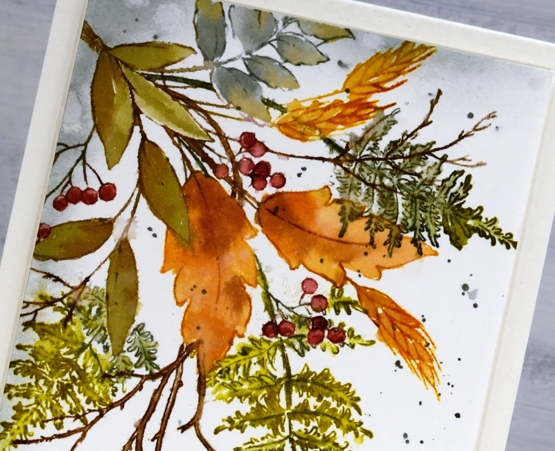
I kept the autumn bouquet stamp in the positioner so I could stamp each element one at a time. There are three types of leaves plus the wheat and the berries. All were done with a combination of inks. Often I ink the image using markers then smoosh the corresponding ink pad on my glass mat to give me ink for painting inside the stamped image.
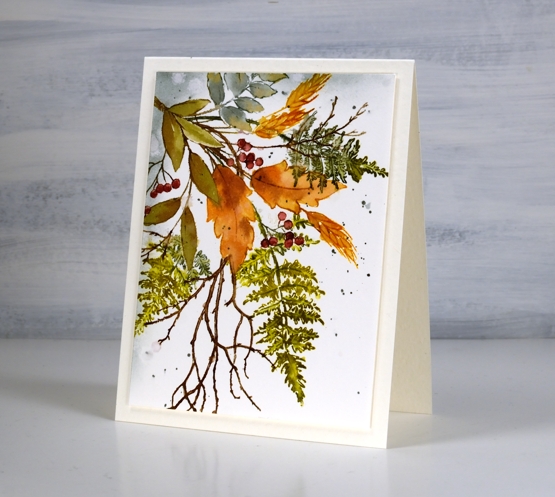
I used partial stamping to add the fern fronds and twigs. I usually ink the bit furtherest from the existing stamping then fill more in each time I stamp so as to avoid stamping over the top of other elements. This is because I am often too lazy to mask the stamping I’ve already done.
After painting and blending inside all the stamped images I used blending brushes to add iced spruce to two edges and splattered some over the panel. I trimmed and popped up the panel on a white luxe card base.
Have a wonderful weekend, thanks for dropping by.
Supplies
(Compensated affiliate links used when possible)

Bell & Berries
Posted: October 28, 2020 Filed under: bell & berries, Coliro paints, Finetec paints, fragile branches, Penny Black | Tags: Coliro paints, Fabriano Watercolour Paper, Papertrey ink, Penny Black stamps, Tsukineko Memento inks 13 Comments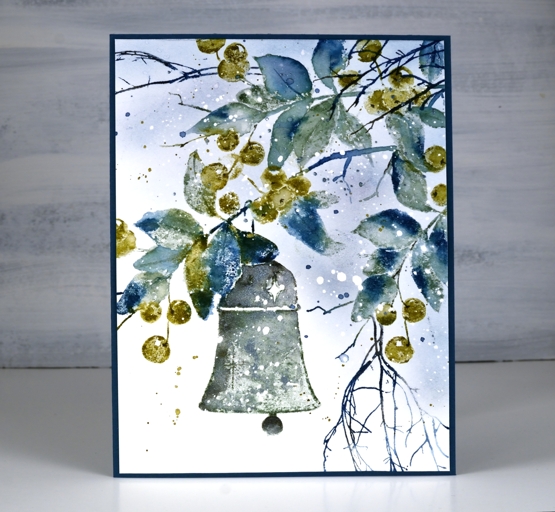
Over the summer I kept reaching for the blues and greens; they were refreshing in the hot weather. It appears that my fascination with them is continuing into the winter! I created this wintry panel with the Penny Black ‘bell & berries stamp and the versatile PB ‘fragile beauty’ set.
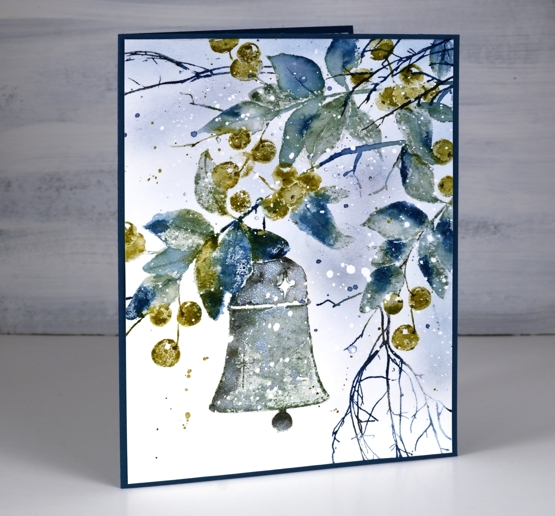
When I started this panel by stamping only the branch section of the stamp at the very top I chose only blue, grey and green inks. Choosing green over red for the berries helped to create a fresh frosty look. After stamping only the top branch I repositioned the stamp and stamped the whole image then finally a bit more branch on the right hand side. The extra twigs were added in dark blue.
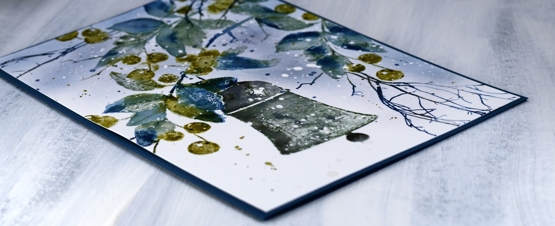
I inked the leaves with papertrey ‘enchanted evening’, a dark blue and ‘stormy sea’, a grey blue. I used the olive toned ‘prairie grass’ for the berries. When I spritzed the stamp before stamping on the hot pressed watercolour paper the inks began to blend. I did further blending on the paper with a paint brush and water but didn’t blend every part of the image, some leaves and berries I kept unblended to show the texture of the paper and stamp.
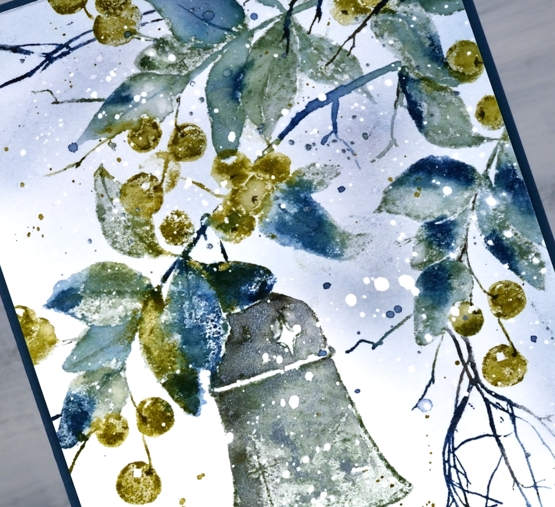
The paper had spots of masking fluid splattered over it before I began which caused the white dots you see in the finished panel.
I stamped the bell in a mix of stormy sea and true black ink and also added ‘blue silver’ pearlescent paint from the Coliro ‘ocean’ set so there is a shimmer to it in real life.
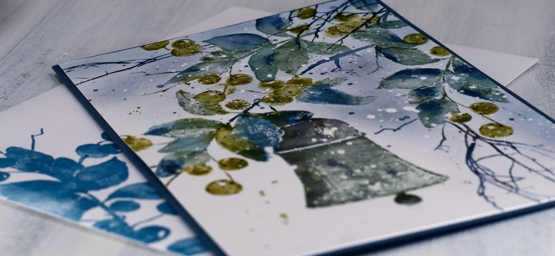
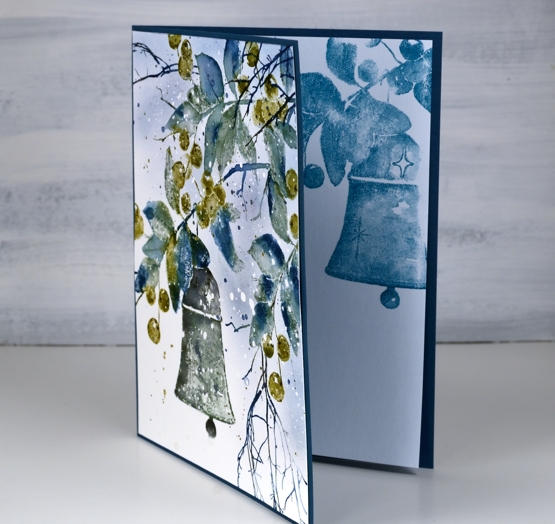
I used a piece of dark blue cardstock for a card base then stamped the ‘bell & berries’ on both an insert panel and the envelope.
I woke up to the frosty look of fresh snow on autumn leaves this morning; it’s pretty but it can go now!
Supplies

Autumn lanterns
Posted: October 14, 2020 Filed under: Flower lanterns, fragile branches, Penny Black, Script | Tags: Fabriano Watercolour Paper, Penny Black stamps, Tsukineko Memento inks, Wendy Vecchi 5 Comments
I have some dried Chinese lanterns in the corner of my workroom. They are lasting well, I’ve had them at least seven years, probably longer. A few have broken or fallen off the stems and the colour has faded so they are not the deep orange you see in the image on my card. I used Penny Black’s ‘flower lanterns’, ‘fragile beauty’ and ‘script background’ stamps to create this panel.
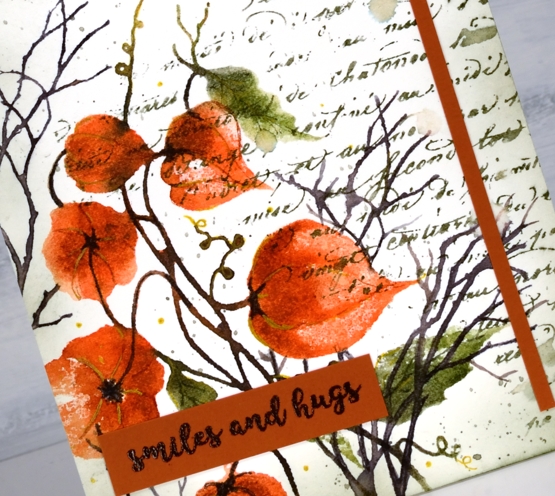
Just to mix things up a bit I pulled out memento inks for this project. There was a time when I used memento inks on every project and they are still within reach of my work table. The ‘Morocco’ browny orange is a beautiful colour so I started with that and used potter’s clay, olive grove, bamboo leaf and espresso truffle, some inkpads, some markers. I was very happy to see the ink pads are juicy as ever.
Memento inks don’t always blend once on the watercolour paper so I blend with a spritz of water to the stamp before stamping. I also smoosh some ink on my mat and pick it up with a brush if I want to add depth to a very specific area. I added some details with a gold gel pen after I had built up the lanterns and leaves with ink.

You can see some of my favourite ‘finishing touches’ on this panel: a script stamp, splatter and ink blended edges. I added two strips of co-ordinating cardstock as a half frame then balanced them with the sentiment from PB ‘banner sentiments’.
Supplies
Forests
Posted: October 24, 2019 Filed under: fragile branches, Stamped Landscapes, Winter tree | Tags: Penny Black stamps, Ranger Distress inks, Tsukineko Memento inks 21 Comments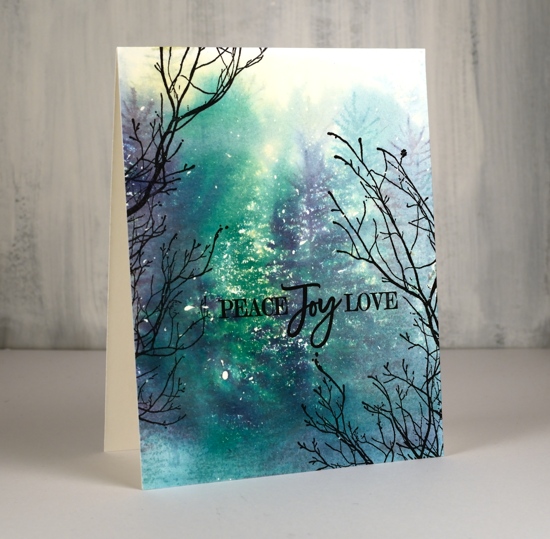
If you are new around here you might not know that I love tree stamps, tree scenes and wintry tree scenes in particular. ‘You can never have too many tree stamps’ are words I live by! So it will come as no surprise to see four different but similar tree cards today. All four are on hot pressed watercolour paper and all had masking fluid splattered on the panels before I began.

To create these first two cards I used the same method, stamping first, spritzing with water second. I stamped the PB ‘winter tree’ stamp in chipped saphpire, shabby shutters and pine needles distress inks then spritzed water generously over the panel so the colours bled into each other. Any where the ink and water was pooling too much I dabbed away with a paper towel. Once the panel was dry I stamped PB fragile branches around the edges to so it appeared that we were looking through to a clearing.
I used the same method for this card but used iced spruce, stormy sky and forest moss distress ink before spritzing with water. After the panel had dried a little but not totally I stamped a foreground tree in forest moss (or maybe a different ink, I’m not sure). After the panel was completely dry I added the fragile branches in black archival ink and in a stamp positioner so I could stamp a few times for a bold impression.
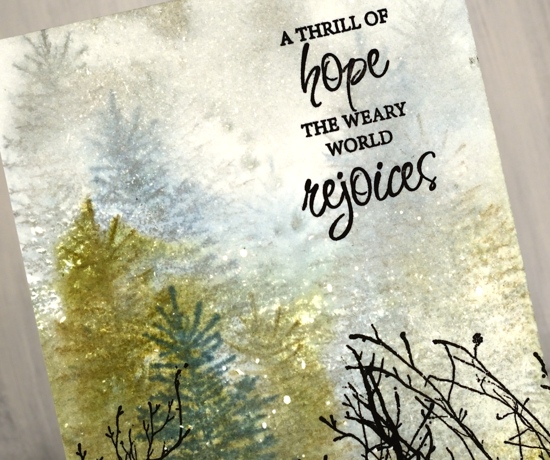
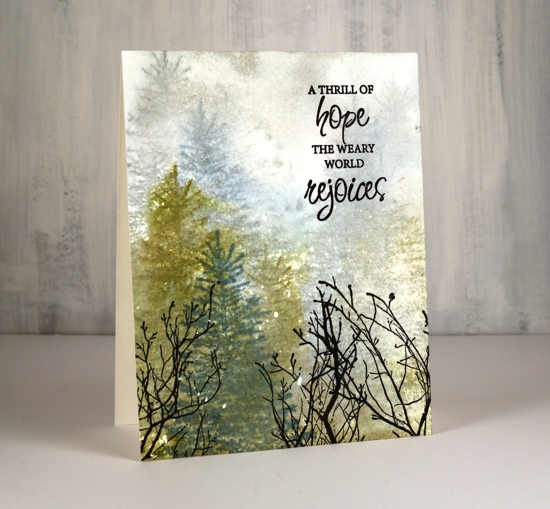
For these last two cards I used the same stamps but switched to a magic ink! Yes, it’s truly a magic ink; on the two cards below I used only one ink (other than the black for sentiment and fragile branches.) The dark green, pale blue, olive green and brown tones all come from the magic ‘northern pine’ memento ink from Tsukineko.

On the panel above I stamped the trees repeatedly in northern pine getting first, second and third generation images then I spritzed the panel so the ink would separate and bleed into the rest of the panel.

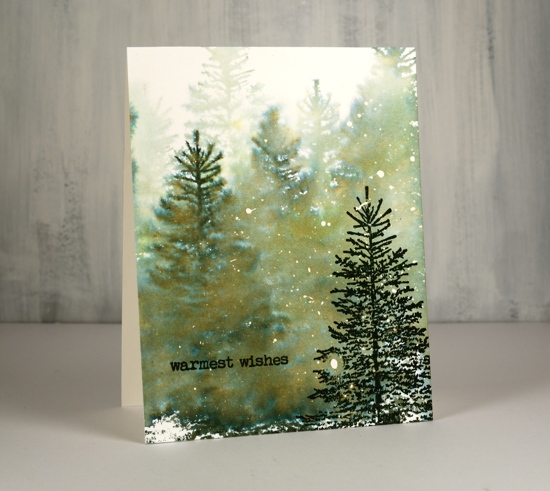
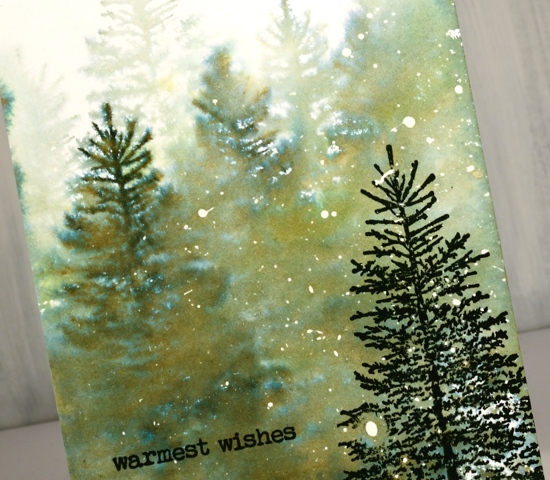
On the panel below I wet the panel first and then stamped the trees in northern pine memento ink. The result is blurrier images but beautiful blends of green, brown and blue.
Once the panel above was dry I stamped the tree again in northern pine ink in the right hand corner. One ink, one magic ink!
Once all the panels were totally dry I rubbed off the masking fluid to reveal the snow falling, you can use your fingers or an adhesive eraser. I added the sentiments from PB sets (linked below) in black archival ink.
Thanks for dropping by; make sure you come back tomorrow to see what the Foiled Fox and I have dreamed up for you.
Supplies