Flower truck…is coming
Posted: February 8, 2021 Filed under: ...is coming, A2 layers, Additional A2 layers, buckets of flowers, hanging planters, Penny Black, pretty picket, silver linings, Waffle Flower | Tags: Penny Black creative dies, Waffle Flower dies 3 Comments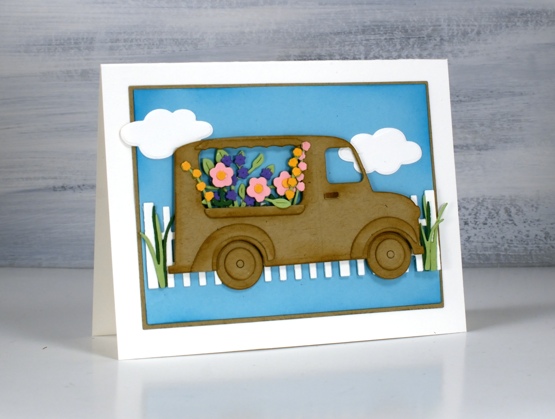
Not my usual style, you know I don’t often take the cute route (pun intended) but this little truck really appealed to me. As I worked on this card and looked through my dies for flowers I realised I could also turn it into an icecream truck or a pumpkin truck and maybe a postal delivery truck.
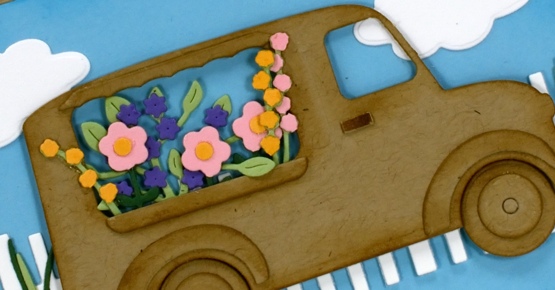
My initial plan was to die cut everything from kraft cardstock except for the flowers but once I’d done the truck and flowers I decided to add more colour with a picket fence and some clouds on a bright blue background. I used a blending brush to add ‘brushed corduroy’ distress ink around all the pieces of the truck and ‘mermaid lagoon’ around the blue panel. I’ve listed all the dies below; as you can imagine the fiddliness factor on this card was high but I persevered and the satisfaction factor is also high.
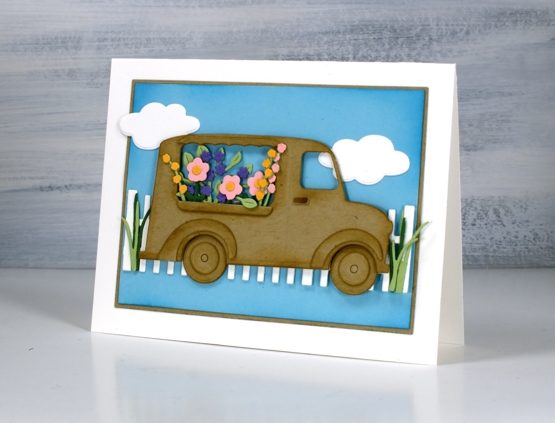
I haven’t added a sentiment but feel that it could be good for many occasions so I will wait and see. I’d be happy to see a truck bursting with flowers in my driveway right about now when everything is covered in snow.
Supplies
(Compensated affiliate links used when possible)

Gel print pumpkins
Posted: September 21, 2020 Filed under: gel press, leaf pattern, Penny Black, pretty picket, pumpkin & leaves, sign, trio of trees | Tags: gel press, gel printing, Penny Black creative dies, Penny Black stamps 4 Comments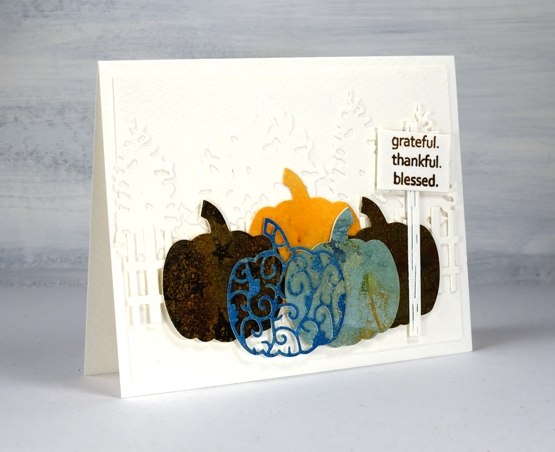
Despite what the title suggests this post isn’t about gel printing, it’s about using more dies on one card than I’ve ever done before. I tend to use dies sparingly, not because I don’t like them, but because they are usually called in to highlight or frame some watercolouring. This time the dies are the feature and I used some leftover pieces of gel printed paper for the pumpkins.
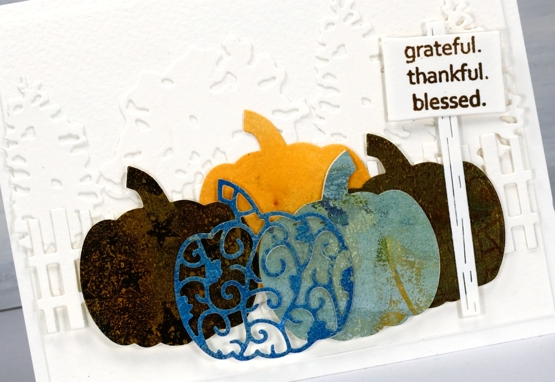
On the first card I built up a background for the gel print pumpkins with a row of die cut trees and then a die cut picket fence. Each pumpkin is two layer as the original cardstock used for printing was light weight. I tried to find prints in pumpkin colours and found a couple of blue/greens, some goldy browns and a pale orange; I didn’t have a strong orange in the pile. The fact that one of the prints had stars on it was definitely a bonus.
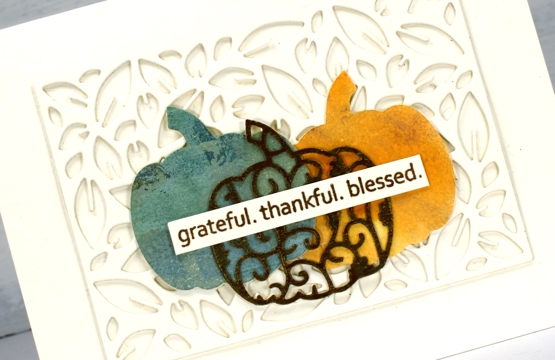
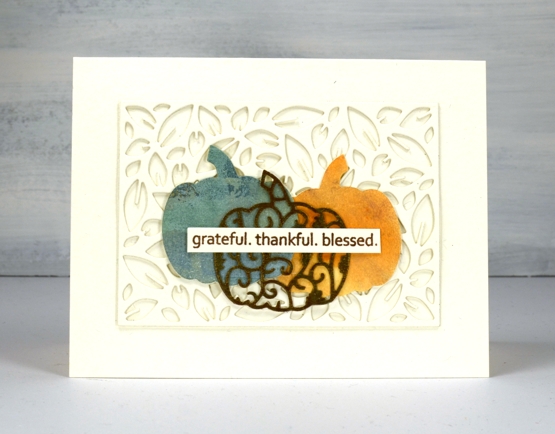
On the second card I stacked two leaf pattern die cut panels to create a textured background then layered the pumpkins on top of that. All the background die cutting and card bases are either luxe textured white cardstock or a cheap cold pressed watercolour paper that I thought was luxe textured white until I placed them side by side and had to rearrange things a bit.
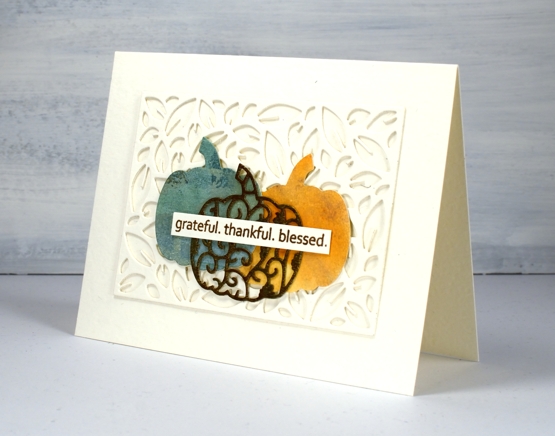
All the dies are listed and linked below and I made two messages with the same ‘golden delight’ sentiment stamp. I know I have other sentiments for thanksgiving but I can’t go past this one. For the cute little sign by the pumpkin patch I stamped one word, masked, then next word, masked and then the last one and wonder of wonders, it worked first go!
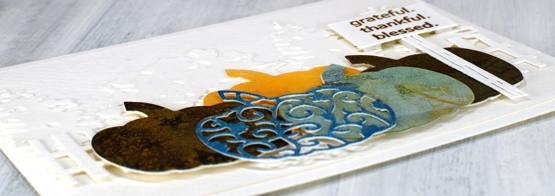
The layering and adhering of dies was a labour of love because I am just not great at the whole fiddly nature of gluing die cuts. When I imagined the card in my head it was way more intricate than either of these but it’s important to know your own limits and sometimes quit while you’re ahead!
Supplies