
Joy
Posted: December 19, 2013 Filed under: CAS, Dies, Snowflake trio | Tags: Penny Black creative dies, Tsukineko Memento inks 4 Comments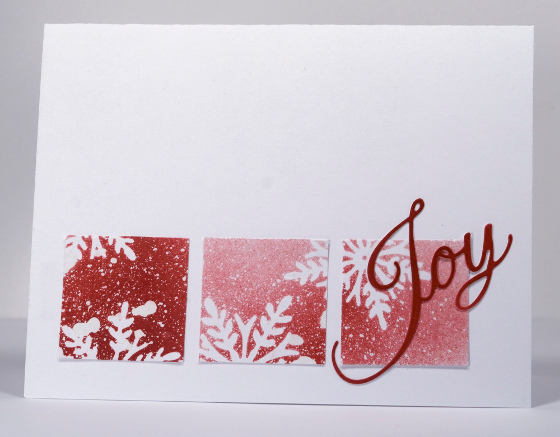
This is the second card I created to play along with the Through the Purple Haze Challenge Blog where the theme is Christmas. Just as I did with my Monday card I used only die cuts, masking fluid and ink to make this card, no stamps. It did not start out as a three square layout even though this design is a favourite of mine. It began as a one layer design with a lot of masking fluid and ink involved. Things got a little messy so I decided the best thing to do was to save the best parts of the panel and create a new design. I punched three squares, popped them up and added a die cut sentiment.
Supplies:
Inks: Memento Rhubarb Stalk (Tsukineko)
Creative Dies: Snowflake trio, Love & Joy
Also: Winsor & Newton Masking Fluid
Peace
Posted: December 17, 2013 Filed under: CAS, Nature's Song | Tags: Penny Black creative dies, Tsukineko Memento inks 8 Comments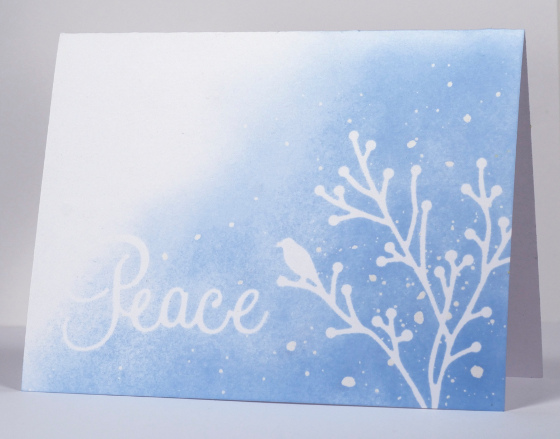
This week Penny Black is playing along with the Through the Purple Haze Challenge Blog. The theme is `Christmas`so I pulled out the masking fluid again. Before I added masking fluid I die cut the word Peace and the Nature`s Song branches out of post it notes and stuck them on the card base as masks. I didn`t flick the masking fluid on for this design; I painted it on with a paintbrush. After it dried I sponged Memento Summer Sky ink over the masking getting gradually paler as I moved from right to left.
It`s nice to create a one layer card again, made even simpler by using only one ink and no stamps.
Supplies:
Inks: Memento Summer Sky(Tsukineko)
Creative Dies: Nature’s Song, Love & Joy
Also: Winsor & Newton Masking Fluid
Berries in Snow
Posted: December 12, 2013 Filed under: Christmas reds and greens, Dancing Leaves, Stamped Landscapes | Tags: Penny Black creative dies, Penny Black stamps, Tsukineko Memento inks 7 Comments
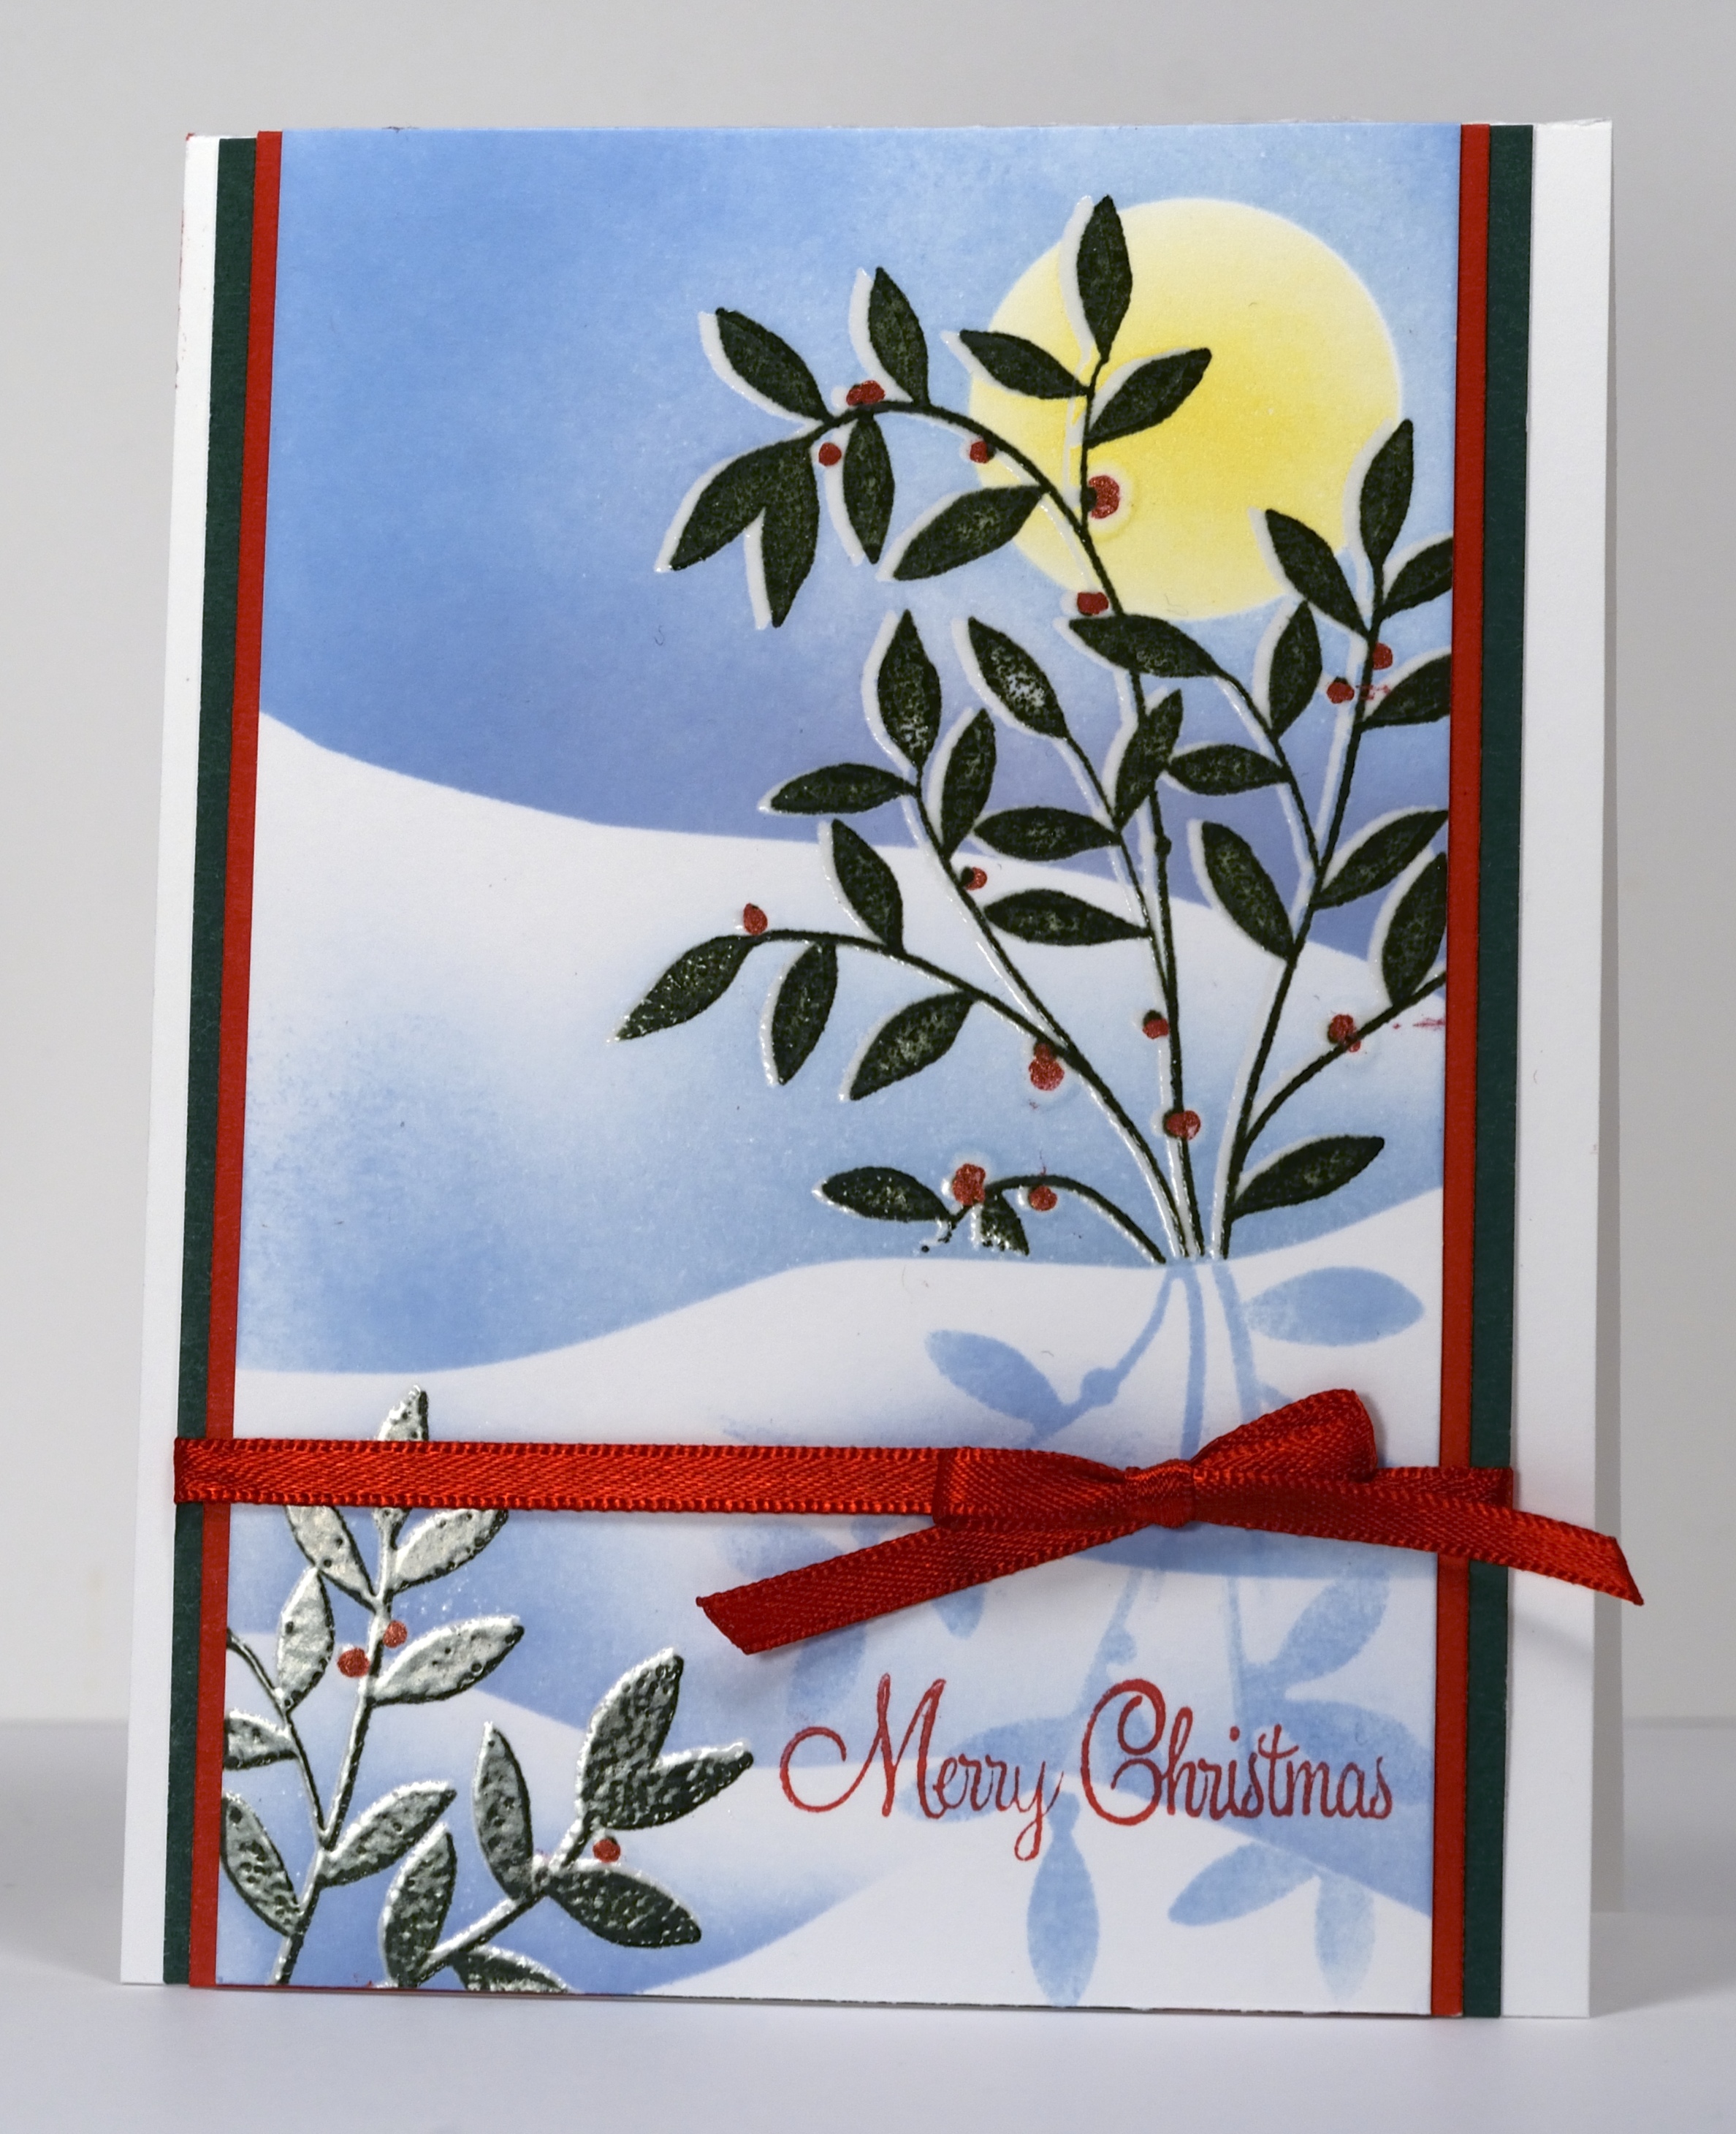
The snowscapes continue today and tomorrow on the Penny Black blog. Today’s card is the only one this week that does not feature “masking fluid snow”. This is the kind of scene you might see when the snow has stopped falling and the sun shines on the crisp white world.
To create this snowscape I first stamped the Christmas Reds & Greens stamp with versamark taking care to put a stamp positioner in place before I lifted it. I then inked the same stamp with dark green pigment ink, moved the stamp positioner slightly down and to the right and stamped again. I repeated the double stamping in the opposite corner and then embossed all in clear powder. The double stamping is a technique I use to make a thin layer of snow appear on a branch or tree. (I have a tutorial showing the steps of the technique here)
Supplies:
Stamps: Christmas Reds and Greens , Yuletide Greetings (PB)
Creative Dies: Dancing Leaves
Inks: Memento Summer Sky, Dandelion & Versafine Northern Pine, Satin Red & Versamark (Tsukineko)
Cardstock: Mix & Match papers Fall Festival and Spring meadow
Watercoloured Holly
Posted: December 9, 2013 Filed under: Flourish Holly, Holly Berries, Watercolour | Tags: Fabriano Watercolour Paper, Penny Black creative dies, Penny Black stamps, Tsukineko Memento inks 7 Comments
A week of Winter Wonderland on the Penny Black blog starts today featuring the snow scapes I love to create.
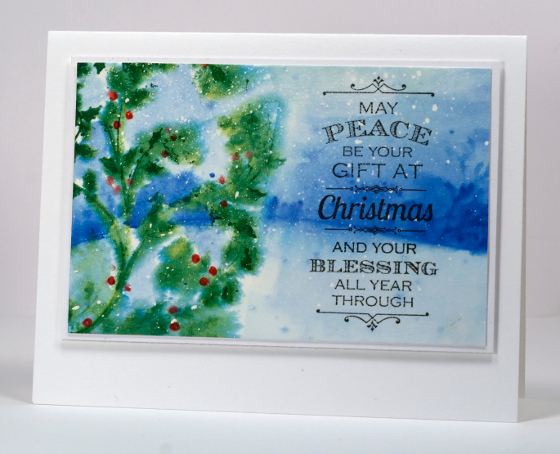
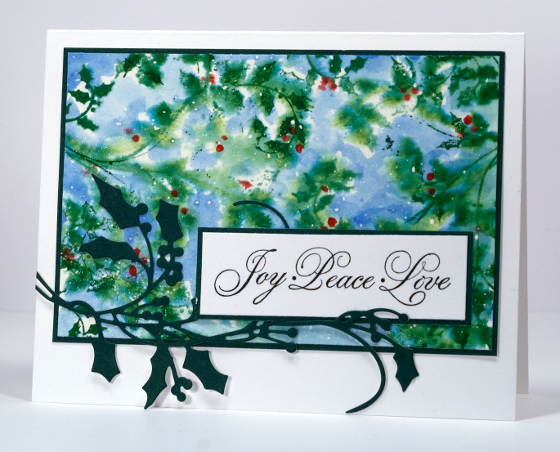
To make today’s cards I created one watercoloured panel which I then cut into two for a wintry scene and a holly background. I flicked masking fluid over the watercolour paper with a toothbrush and let it dry completely. I then wet the whole panel before stamping the holly stamp several times to fill two thirds of the area. The ink bled into the wet paper losing most of its definition. I added berries with a red marker then reinked parts of the holly stamp in green to stamp over the blended green of the first impression. To complete the snowscape I painted a blue watercoloured background stamping a little branch stamp to create a blurred distant wooded area behind the holly and snow. When I want to paint with Memento ink I press the ink pad onto an acrylic block so I can add water and pick up the ink with a paintbrush. Finally I removed the masking fluid, matted both panels and added die cut holly to the card below.
Supplies:
Stamps: Flourish Holly, A better world, Glad Tiding, Season’s Wishes (PB)
Creative Dies: Holly Berries die 51-019
Inks: Memento Cottage Ivy, Danube Blue, Love Letter & Versafine Onyx Black (Tsukineko)
Cardstock: Fabriano 100% cotton hot pressed watercolour paper, Penny Black mix & match Spring Meadow
Also: Winsor & Newton Masking Fluid
Snow Storm
Posted: December 3, 2013 Filed under: Berry red snow white, Nature's Song, Stamped Landscapes | Tags: Penny Black creative dies, Penny Black stamps, Tsukineko Memento inks 20 Comments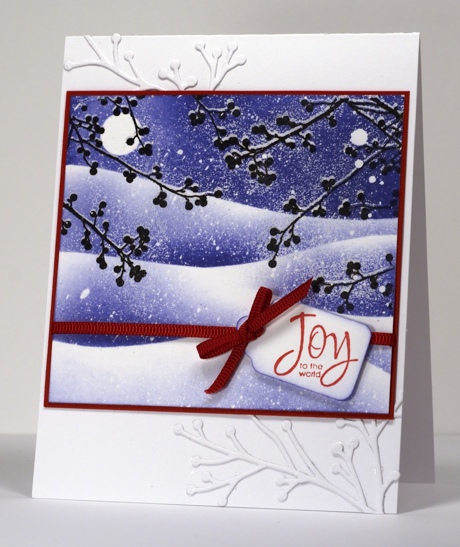
This little scene ended up being considerably snowier than I first thought it would be, hence the title. I double embossed the branches using the method shown here. Extra embossing powder stuck on and around the masking fluid droplets creating the appearance of very fine snow over most of the panel. The moon and snow banks were masked after the embossing using post it note masks. I did all the sponging with one colour, Memento Paris Dusk, and knew when I had finished that I needed some red somewhere to add a little contrast. I played around with adding a little red bird but seriously, what bird would be out in the snow at night during a storm? The answer was to add the sentiment in red. After messing it up on the panel I restamped and punched the sentiment out with a tag punch and totally covered my mistake.
To finish the card I tried several positions for the panel. To position it up the top or at the bottom meant leaving a large empty white space. I don’t usually mind doing that but neither up nor down looked balanced. In the middle looked better especially with a little texture above and below the panel.
Supplies:
Stamps: Berry Red Snow White, A wish for Peace (Penny Black)
Inks: Memento Paris Dusk, Versamark , Versafine Onyx Black & Satin Red(Tsukineko)
Creative Dies: Nature’s Song
Also: Clear e.p., red ribbon
Holly Concert
Posted: November 21, 2013 Filed under: Holly Berries, Holly Concert, Watercolour 10 Comments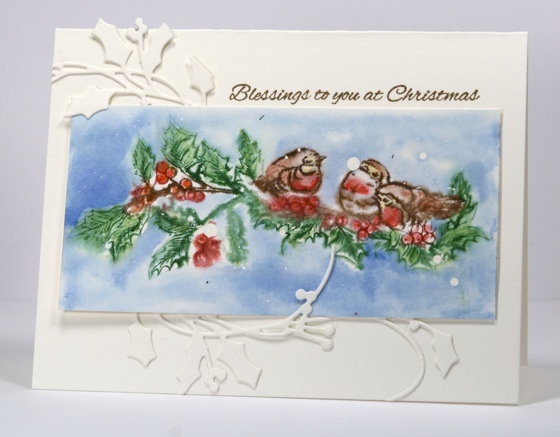
I am enjoying pairing the lovely new Christmas dies from Penny Black with the Christmas stamps. When I had finished this panel featuring the sweet little birds I wanted to frame it on the cardbase. A co-ordinating mat could have worked but the die cut holly added a bit more interest without detracting from the scene.
The white circles are “snow” made by flicking masking fluid onto the paper before I started. I applied ink to the Holly Concert stamp with markers then stamped it on wet watercolour paper so that the colours bled into each other. Using both Memento markers and inks I coloured and blended with water to fill all the images. I then restamped the image to redefine the outlines. I wet all the surrounding space and painted blue ink into it sometimes blending with the image, at other times stopping short of the image.
I am very fussy about colour matching so I have been making card bases for my watercolour cards from watercolour paper. I use 25% cotton for the card base as it is much cheaper than the 100% cotton that is my preference for painting and stamping. If I found a cardstock the right colour I would use that instead but my white is too white and my cream, too cream.
Back soon, I hope…
Supplies:
Stamps: Holly Concert, Silent Night (PB)
Creative Dies: Holly Berries
Inks: Memento Danube Blue, Cottage Ivy, Rich Cocoa, Lady Bug (Tsukineko)
Cardstock: Fabriano 100% cotton hot pressed watercolour paper, Fabriano 25% cotton hot pressed watercolour paper
Also: Winsor & Newton Masking Fluid
Snowflake dies
Posted: October 25, 2013 Filed under: Background Stamps, CAS, Snowflake trio 13 Comments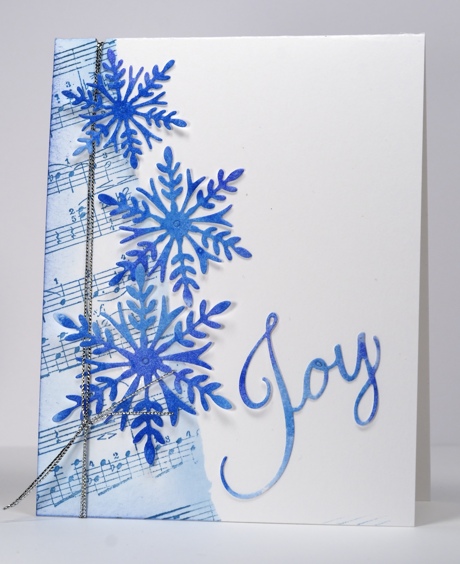
The Penny Black blog has continued to showcase the new Christmas dies this week. I have featured two on this card.
The layout was inspired by a lovely earth toned card by BIrgitta. I blended three blue gelatos with water on a piece of cardstock then cut the snowflakes and word out of it. The diagonal section was first masked with a torn post-it note then stamped with Music background and sponged with Memento Summer sky and Danube Blue.
Thank you for your kind words and your prayers for my family. My mother was very happy to come home from hospital today and we were very thankful that the home was safe from threat of fire. I must admit it is a little crazy for me to be posting a snow flake card from a hot dry sunny land. On the other hand I believe Ottawa had its first frost last night so snowflakes might even have fallen by the time I get home!
Supplies:
Stamps: Music Background (PB)
Creative Dies: Snowflake Trio, Love and Joy (PB)
Inks: Memento Summer Sky, Danube Blue (Tsukineko)
Gelatos: three shades of blue
OLW 162 Leaves
Posted: October 16, 2013 Filed under: CAS, Hot Rod, Leaves, OLW 12 Comments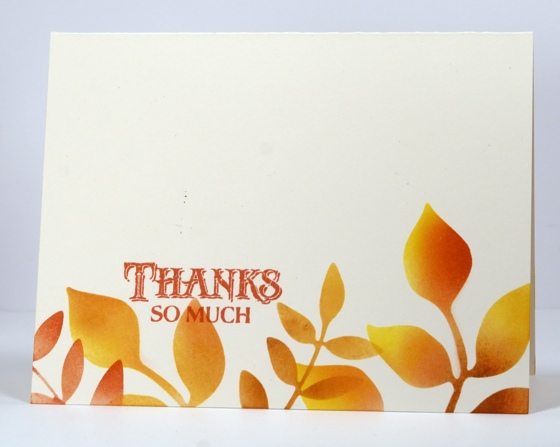
As I write this post our backyard is beginning to fill up with leaves. The strange thing is that by the time this post goes live I will be far away from our autumn leaf filled yard in another season and country all together!
Wherever you are and whether you can see golden, red or green leaves the challenge this week is to feature them on your one layer card. I used one of the leaf dies from the Penny Black creative die set Leaves to cut a couple of masks from post it notes. I then sponged over the masks in warm fall colours and added a thankful sentiment.
Supplies:
Stamps: Hot Rod (PB)
Inks: Memento Dandelion, Potter’s Clay, Cantaloupe, Morocco (Tsukineko)
Dies: Leaves

City skyline
Posted: October 14, 2013 Filed under: CAS, Downtown, Peace on Earth 6 Comments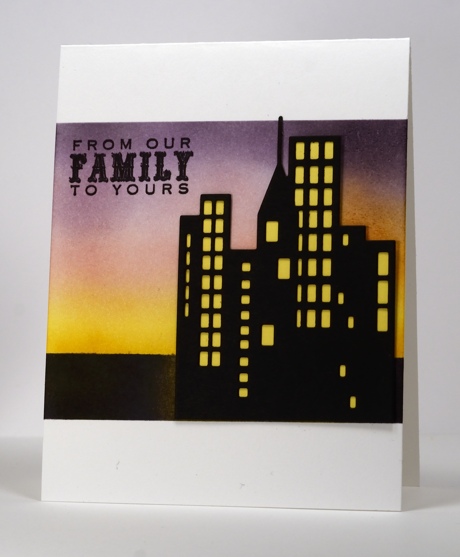
On the Penny Black blog this week you will see that the design team have been having fun with the new Christmas Dies. I chose to show off the ‘Downtown” die in front of a warm sunset. I die cut the downtown shape from black then hand cut a piece from yellow to place behind it. I masked the sky area and sponged yellow from the bottom up, sweet plum from the top down, a bit of angel pink in the middle and some elderberry on the top right. I then re-positioned the top mask down lower so I could sponge the dark area below the horizon in black.
Supplies:
Stamps: Peace on Earth (PB)
Creative Dies: Downtown (PB)
Inks: Memento Sweet Plum, Angel Pink, Dandelion, & Versafine Onyx Black (Tsukineko)
Mini Journal boards – Autumn & Winter
Posted: August 22, 2013 Filed under: Background Stamps, Floral Applique, Japanese Maple, Leaves, Mixed Media, Tagged 10 CommentsOn Tuesday I posted the spring and summer mini journal boards I made as part of the Penny Black collaboration with Design Memory Craft Faber Castell.

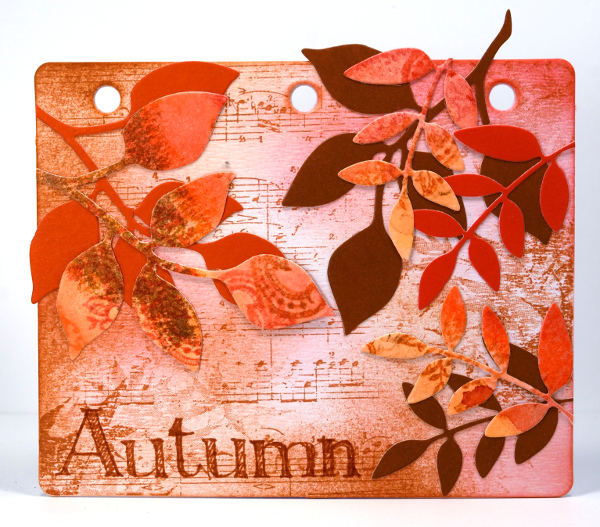
Today I have the autumn and winter boards along with a description of my creative process. Once again I relied heavily on the new creative dies from Penny Black and the gelatos from Faber Castell. I began my autumn board by creating a collage background in red and rust. I used the music background stamp, the Japanese maple stamp and some sponging. The next layers are all die cut using the Leaves dies. Some are cut from Penny Black mix & match fall festival papers; the patterned leaves are cut from a watercolour panel I created using red cherry, tangerine and chocolate gelatos and a stamp from the Floral Applique set.
Supplies:
Stamps: Music Background, Japanese Maple, Floral Applique (PB)
Creative Dies: Leaves (PB)
Gelatos: red cherry, tangerine, chocolate (Faber Castell)
Mini Mixed Media Journal (Faber Castell)
Inks: Potter’s Clay, Rhubarb Stalk (Tsukineko)
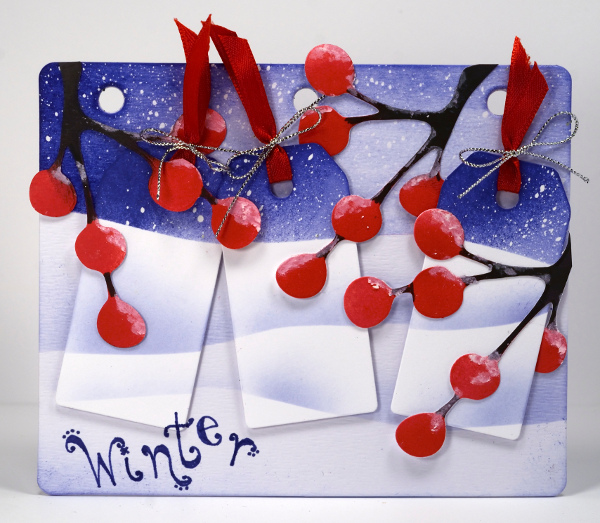
Last but not least, the winter board. To create the co-ordinated board and tags I cut a hill mask from two post-it notes at once so the masks were identical. I positioned one mask on the board then layered the tags on another post-it note to hold them together while positioning the second mask across the tags. Before applying any ink I flicked masking fluid onto both the board and the tags then let it dry. To create the night sky I used a combination of gelato and ink blended over the masking fluid. When the sky was complete I repositioned the hill mask on both the board and the tags to create a couple of snow banks by sponging. The berries were die cut from white cardstock then coloured with red and brown inks and the snow was added with a coconut gelato. To finish I removed the masking fluid, popped up the tags and arranged the berries across the top.
Supplies:
Creative Dies: Leaves (PB)
Gelatos: boysenberry, coconut (Faber Castell)
Mini Mixed Media Journal (Faber Castell)
Inks: Memento love letter, rich cocoa, Paris Dusk(Tsukineko)












