Foiling without heat
Posted: August 10, 2020 Filed under: balloons!, Brutus Monroe, Catherine Pooler inks, Penny Black, silver sketch deco foil | Tags: Brutus Monroe, Catherine Pooler inks, Foiling, Penny Black creative dies, sizzix embossing folder 4 Comments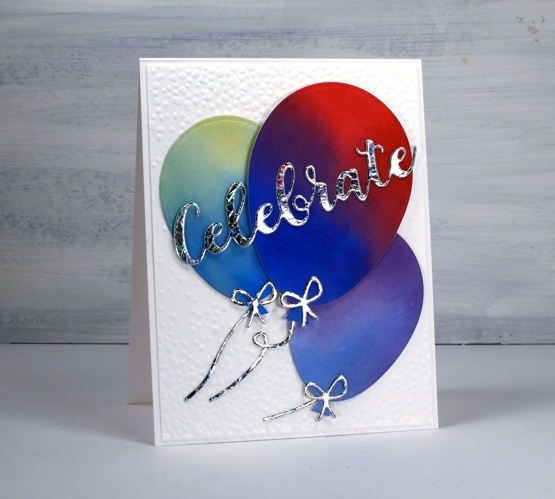
I’m celebrating the opening of my online class today. All the lessons and projects are now available so if you haven’t heard click here to see what it’s all about.
What’s a celebration without balloons and shiny things? I know you don’t see too much sparkle and shine around here but I was intrigued to see how this Brutus Monroe deco foil would look with some watercoloured balloons.
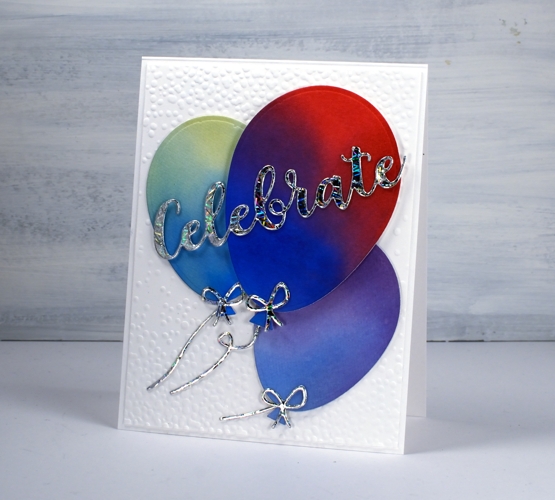
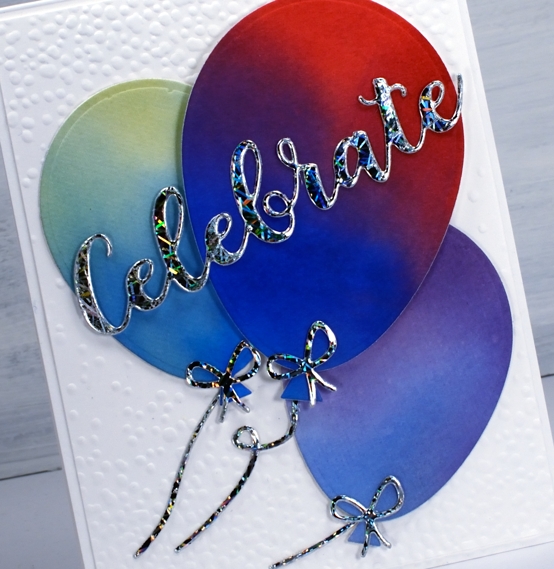
Once I had created a foiled sentiment and some bows I flipped the arrangement and paired foiled balloons with a blended sentiment. As you can see in the photos below I allowed some of the foil to be over exposed in the photo so you could see how it pretty the pattern is as it picks up the light.
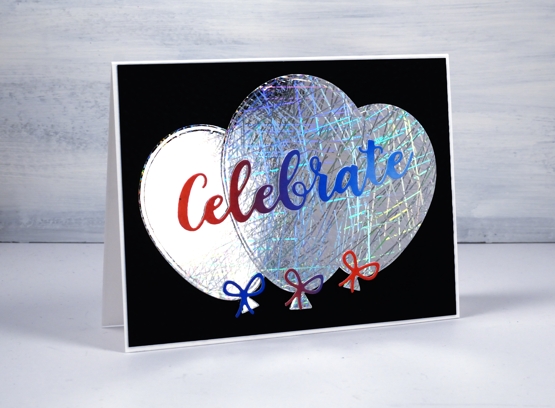
I did my foiling without heat by attaching double sided adhesive (stick-it) to cardstock then removing the backing so I could lay the ‘silver sketch’ transfer foil’ directly on the adhesive. I pressed it down with my fingers carefully to avoid air bubbles then die cut the balloons, strings and sentiment from the foiled cardstock. Once cut I removed the foil top layer to reveal beautifully foiled die cuts. Rather than attaching the balloons to plain black or white card stock I ran the panels through my die cutter inside the ‘snowfall/speckles embossing folder, then flipped the panel around to emboss speckles on both ends.
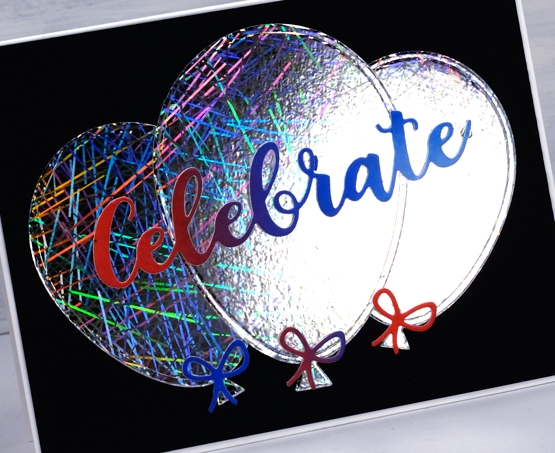
You can see all that pretty reflective pattern on the foil even better in this close up. Thank you Foiled Fox for sending pretty shiny things my way!
Supplies
Oh Baby
Posted: May 27, 2020 Filed under: balloons!, City Stacks dies, Concord & 9th, Papertrey Inks, Penny Black, sennelier watercolours, simple serif alphabet dies | Tags: Concord & 9th, Papertrey ink, Penny Black creative dies, sennelier watercolours 8 Comments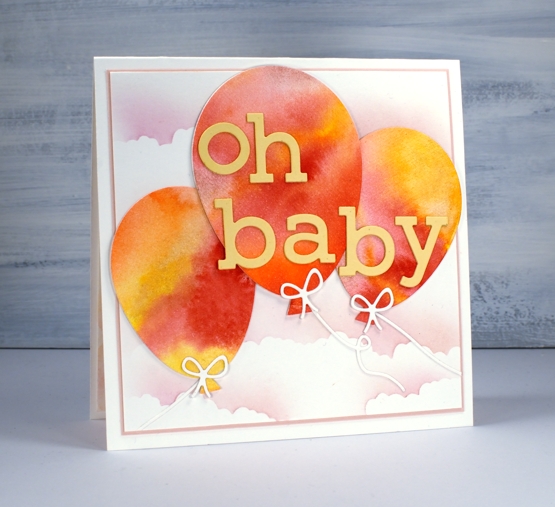
I’m not sure if I have ever posted a baby card on my blog; if I have it was so long ago I can’t remember! This one is a commission for a friend; she asked me months ago and I totally forgot. When she texted the other day to see if it was ready I admitted it was not but I would make sure it was by the next day! I was happy to have thought up a concept all those months ago and my idea came together without hiccoughs.
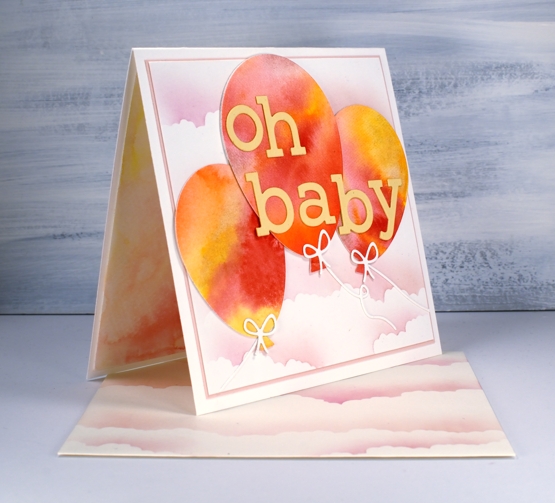
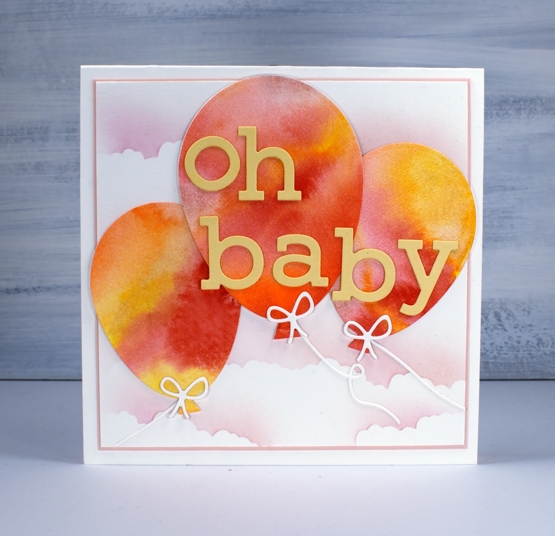
I painted pink, yellow and orange paint on watercolour paper, added water then let it blend and bleed together. Once it was dry I used the Penny Black ‘Balloons!’ die set to cut three balloons then cut the strings and bows from unpainted watercolour paper. I added stick-it adhesive to the back of some peach coloured cardstock then cut two sets of letters to stack for the words using the C&9 ‘simple serif alphabet’ dies.
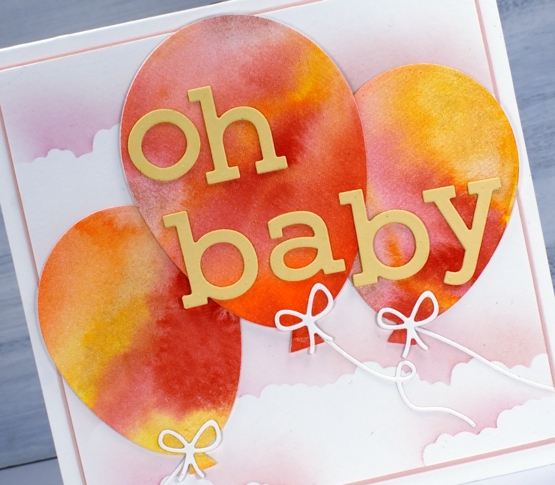
To create the cloudy sky I cut post-it masks using the cloud die from C&9 ‘city stacks’ die set then blended over the edges on a background panel and an envelope using Papertrey ink cubes in ‘sweet blush’ and ‘lovely lady’. I cut a very narrow mat of pale rose cardstock to frame the panel and attached everything to a cream card base.
I wondered about cutting more balloons to put inside but instead painted some of the same pink, yellow and orange paint on my glass mat, spritzed it generously to dilute it then placed an extra panel of watercolour paper on top to pick up a pale wishy-washy print.
Seeing that I rarely make baby cards this might become my design of choice when I do need one; I’ll just change the colour scheme to keep things interesting.
Supplies