Mini Festive Fragrance
Posted: December 28, 2023 Filed under: festive fragrance, Penny Black, Sizzix | Tags: Penny Black stamps, sizzix embossing folder 5 Comments
Today’s card features ‘festive fragrance‘ a Penny Black brushstroke stamp, which I think could be used all year round especially if you choose colours accordingly. I used the following distress inks (either ink pads or markers) to ink the stamp: brushed corduroy, forest moss, rustic wilderness, mowed lawn, festive berries, aged mahogany, candied apple. I spritzed the stamp lightly before stamping on hot pressed watercolour paper. After stamping once I reapplied ink to the stamp if necessary to get more coverage but in some cases all that was needed was some blending with a paintbrush to fill the leaves or berries.
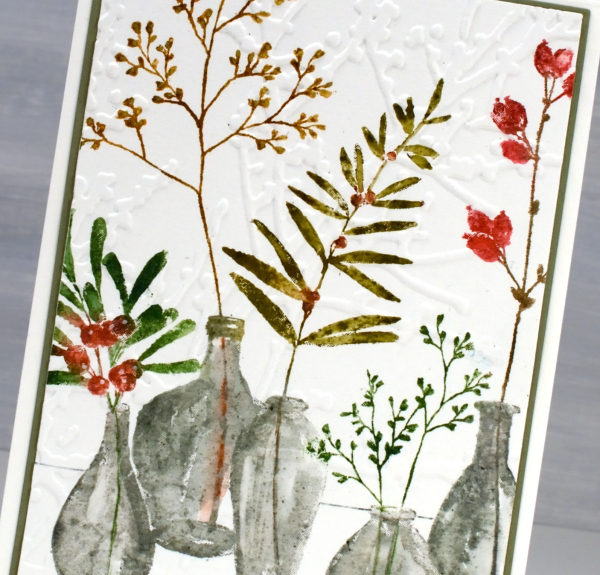
I definitely did more blending on the vases then ruled a thin line behind the vases to ground the image. You may have noticed on some of my recent cards I have embossed the panels after stamping and watercolouring. I did so on this one with the twiggy embossing folder from Sizzix/Tim Holtz (sorry I don’t know the name). I knew I was taking a risk embossing a perfectly good panel with a large non-symmetrical embossing folder but I think it worked.
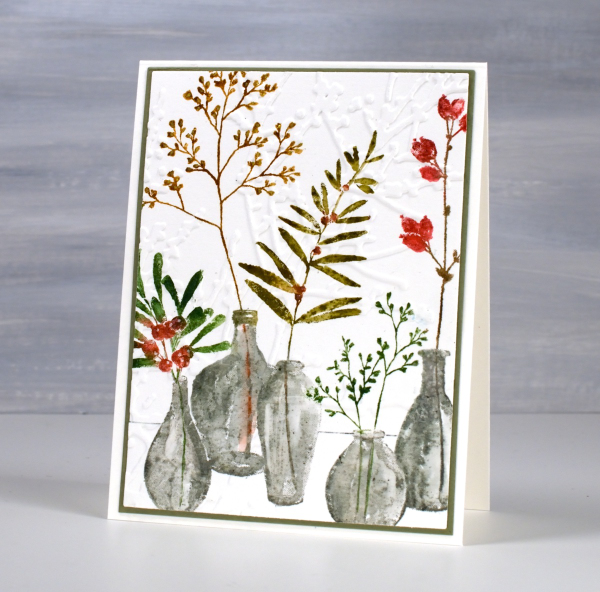
You can’t tell from the photo but this is a smaller card than my usual A2 cards. This one is 5″x 3¾”, which is half an inch smaller in height and width. I’ve chosen to make some cards this size because I have some envelopes this size to use up and sometimes smaller is cuter. To see the image on an A2 card take a look at an earlier card here. Today’s post features affiliate links to the following companies. If you buy through these links I receive a small commission at no extra cost to you. The Foiled Fox & Scrap’n’Stamp.
Christmas baubles
Posted: December 13, 2021 Filed under: Alcohol Ink, bird ornament, Dies, manger, paint pouring, Penny Black, Taylored Expressions, weathered | Tags: Penny Black creative dies, Penny Black stamps, sizzix embossing folder, Taylored Expressions 8 Comments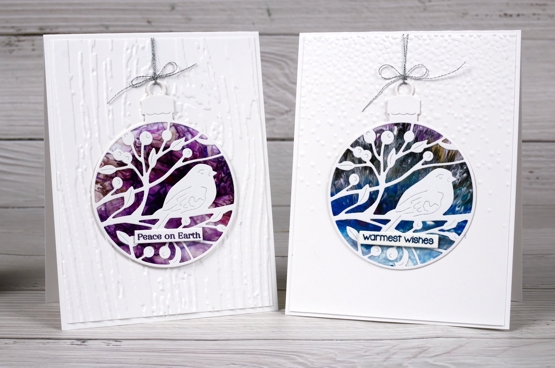
Here are a few more cards made from patterned panels I had sitting around. The panels were very pretty experiments using brusho, paint poring and alcohol inks but at the time I made them I didn’t have a plan for them. Last week they came into their own when paired with Penny Black dies and a few of my favourite embossing folders.
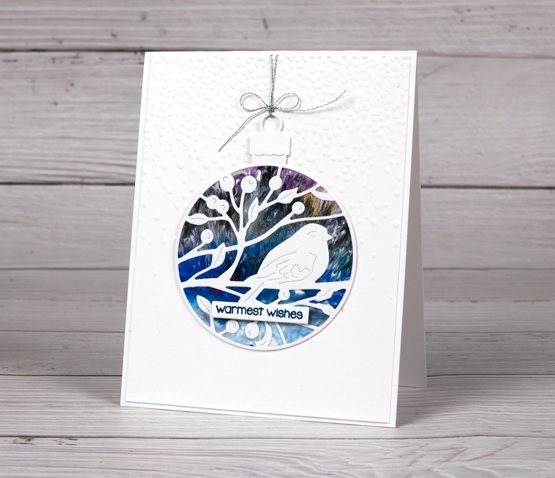
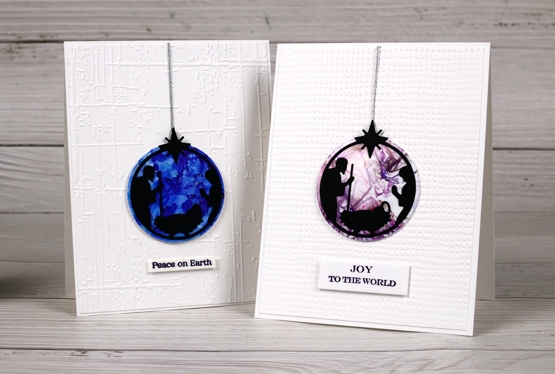
The background above is from an acrylic paint pouring day I had with a friend. The result looked like peacock feathers but works well as a northern night sky too.
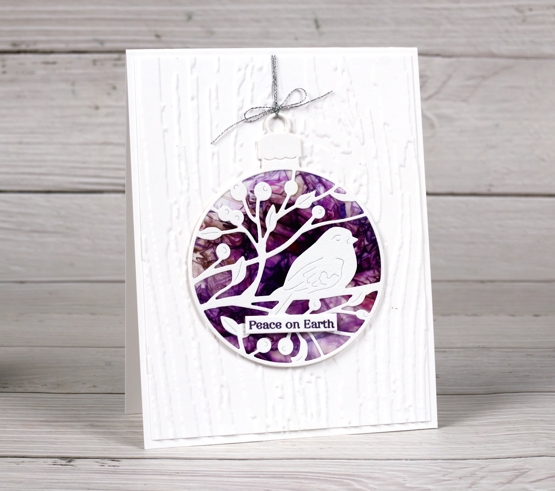
The purple panels above and below right were brusho & cling wrap on photo paper another technique taught to me by a friend.
The blue background below is alcohol ink; you probably recognise the patterns made possible with just one or two colours plus some isopropyl alcohol.
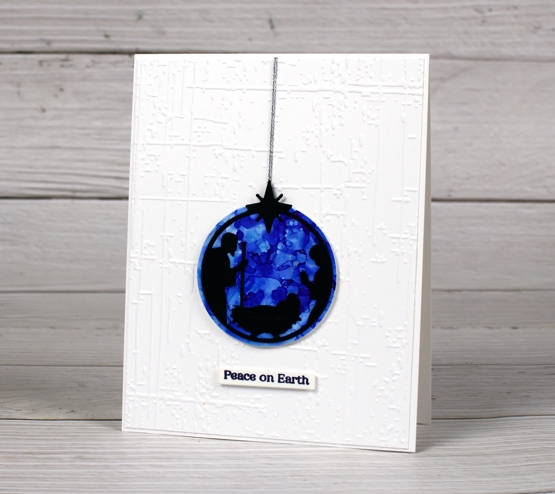
The dies are listed below and the embossing folders are a mix of currrent and retired. Above is ‘weathered’ from Taylored Expressions. The tiny squares folder is a retired Spellbinders one (SEL 006), the woodgrain is Tim Holtz/Sizzix also retired but there are plenty of new options around. The Tim Holtz/Sizzix Snowfall fade folder at the top of the page is still available and I often reach for it.
I enjoyed using some scraps and samples that were too pretty to throw away to make simple but unique Christmas cards. I think I almost have enough for this year so I will start next year’s stack early!
Supplies
(Compensated affiliate links used when possible)
Foiling without heat
Posted: August 10, 2020 Filed under: balloons!, Brutus Monroe, Catherine Pooler inks, Penny Black, silver sketch deco foil | Tags: Brutus Monroe, Catherine Pooler inks, Foiling, Penny Black creative dies, sizzix embossing folder 4 Comments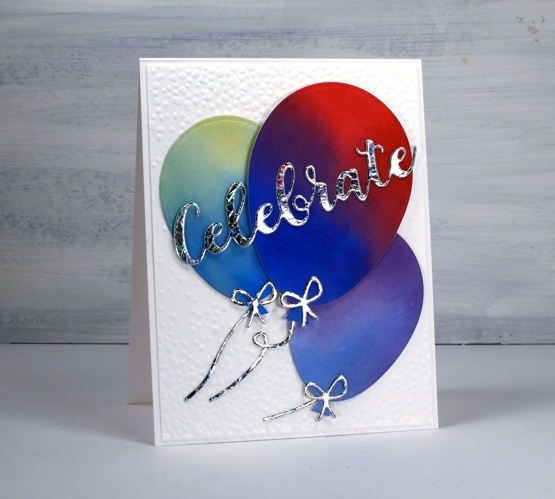
I’m celebrating the opening of my online class today. All the lessons and projects are now available so if you haven’t heard click here to see what it’s all about.
What’s a celebration without balloons and shiny things? I know you don’t see too much sparkle and shine around here but I was intrigued to see how this Brutus Monroe deco foil would look with some watercoloured balloons.
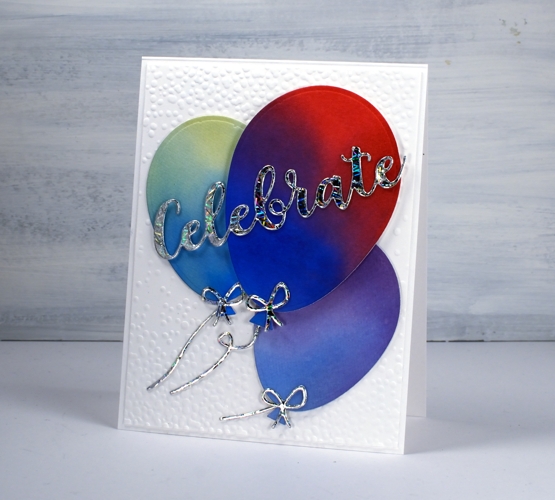
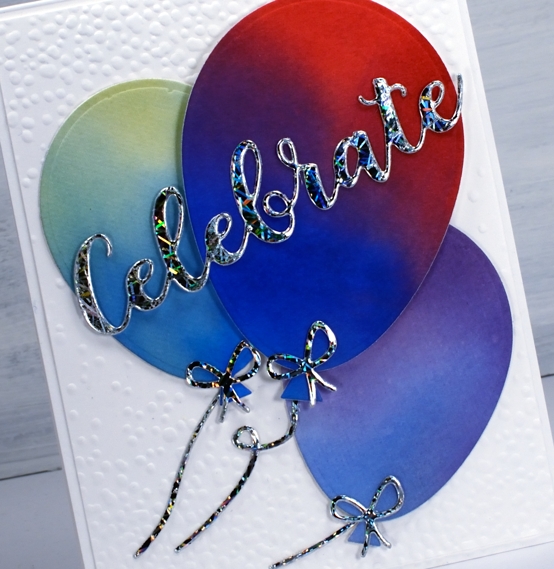
Once I had created a foiled sentiment and some bows I flipped the arrangement and paired foiled balloons with a blended sentiment. As you can see in the photos below I allowed some of the foil to be over exposed in the photo so you could see how it pretty the pattern is as it picks up the light.
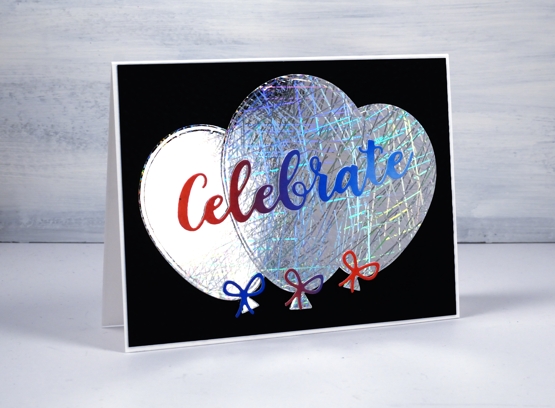
I did my foiling without heat by attaching double sided adhesive (stick-it) to cardstock then removing the backing so I could lay the ‘silver sketch’ transfer foil’ directly on the adhesive. I pressed it down with my fingers carefully to avoid air bubbles then die cut the balloons, strings and sentiment from the foiled cardstock. Once cut I removed the foil top layer to reveal beautifully foiled die cuts. Rather than attaching the balloons to plain black or white card stock I ran the panels through my die cutter inside the ‘snowfall/speckles embossing folder, then flipped the panel around to emboss speckles on both ends.
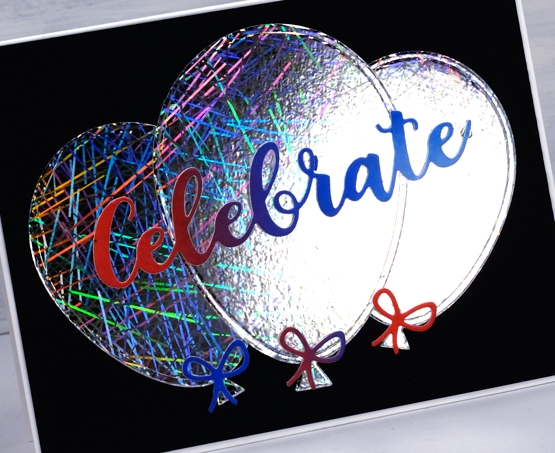
You can see all that pretty reflective pattern on the foil even better in this close up. Thank you Foiled Fox for sending pretty shiny things my way!
Supplies