
To Treasure
Posted: July 16, 2014 Filed under: A Pocket Full, By the numbers, Dazzlers, Footnotes, Gelatos, Let's Chat, Life's Journals, Mixed Media, Remember This, Rose, Scrapbook Page, Textures | Tags: Faber Castell gelatos, Faber Castell Textural Accents, Faber-Castell Albrecht Durer Watercolour pencils, Fabriano Watercolour Paper, Penny Black creative dies, Penny Black stamps, Ranger Distress stains, Tsukineko Memento inks, Tsukineko Radiant Neon inks 13 Comments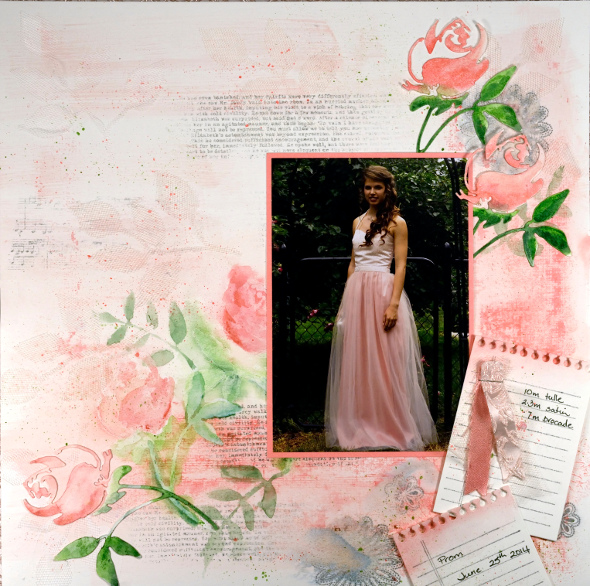
The new Pocket Treasures release from Penny Black inspired me to do something I haven’t done in years; I created a scrapbook page! I designed my page around one of my daughter’s prom photos. As the dress was finished the day before prom I still had all the fabric scraps lying around so I incorporated some of them into the page along with watercolouring, die cuts, stenciling and stamping. I used three new background panels from the Pocket Treasures release, text and music from “Footnotes” as well as canvas from “Textures”. I also used several intricate circle designs from the transparent set “Dazzlers”. The cute little notebook pages are cut with a die from ” A Pocket Full” set.
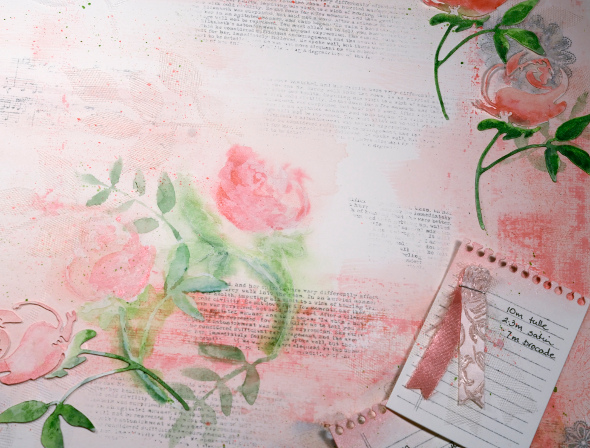
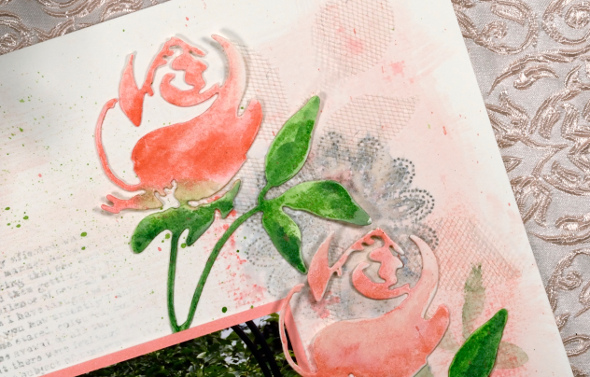
The 12 x 12 panel is watercolour paper. I have a large block of hot-pressed paper so I did all the work on the page while it was still attached to the block then peeled it off at the end and trimmed it to size. Three of the roses are die cut from watercolour paper and coloured with gelatos. The two paler roses were painted onto the page through a die cut stencil with gesso; I then added colour with gelatos.
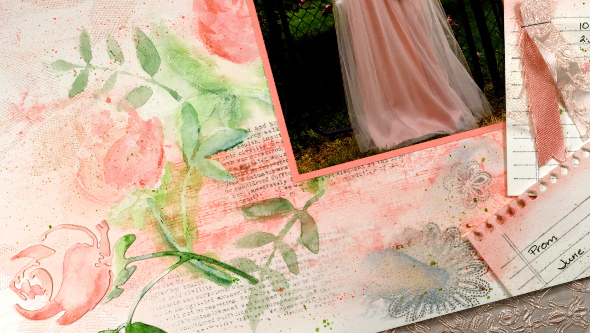
I used two dies from the “Leaves” set, one to die cut leaves out of tulle (the dress had four layers of tulle in the skirt), the other to create a stencil to paint through.
Supplies:
Stamps: Dazzlers, Footnotes, Life’s Journals, Textures (PB)
Creative Dies: A Pocket Full , Rose, (PB)
Gelatos: Metallic Melon, Green Tea, Guava (Faber Castell)
Watercolour Pencils: Medium Flesh 131, Pompeian Red, Pine Greren 267 (Faber Castell)
Inks: Memento London Fog, Cottage Ivy & Olive Grove Memento markers (Imagine Crafts Tsukineko), Worn Lipstick distress stains and ink (Ranger)
Textural Accents: Gesso, Gel Medium (Faber Castell)
Paper: Fabriano 100% cotton hot pressed watercolour paper, PB Mix & Match Coral Reef Paper
Also: Tulle, Satin, Staple
and now for something completely different…
The stamps and dies in the Pocket Treasures release are not just for scrapbooking. I went in a very different direction when using some of the new products on a card. I can hardly bear to keep my soft romantic rosy scrapbook page and my neon grunge style card in the same post they are so contrasting. To create my card I used a brayer to apply blue and pink ink onto white cardstock then cut out a piece with the “By the Numbers” die. I used the same Radiant Neon inks to apply pale blue and pink to a white card base with the brayer. I featured yet another background stamp to add arrows along with canvas in grey ink. I then wiped the grey ink pad along the edges of card base for a distressed look. I stamped arrows from “Let’s Chat” in black and the sentiment from “Remember This” also in black. Finally I cut a speech balloon from “A Pocket Full” set out of brayered pink cardstock and stamped words in black ink.

Supplies:
Stamps: Textures , Let’s Chat, Remember This (PB)
Creative Dies: A Pocket Full , By the Numbers (PB)
Inks: Memento London Fog ink, Radiant Neon Electric Blue, Electric Pink, Versafine Onyx Black(Imagine Crafts Tsukineko)
Paper: Neenah Solar White 110lb card stock.
Summer Sun Collaboration with Faber Castell
Posted: June 12, 2014 Filed under: Fresh Breeze, Fuchsia, Gelatos, Mixed Media, Tutorial | Tags: Faber Castell gelatos, Faber Castell Paper Crafter Crayons, Faber Castell Textural Accents, Penny Black creative dies, Penny Black stamps, Tutorial 4 Comments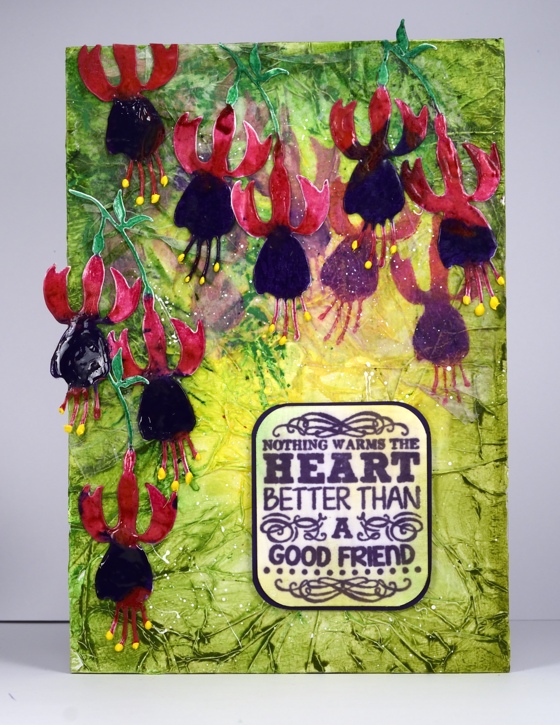
All this week there is a special collaboration occuring between Faber-Castell Design Memory Craft and Penny Black. There are projects on the PB blog using Paper Crafter Crayons and Double Scoop Gelatos AND you’ll find projects from the Faber-Castell Design Memory Craft designers on their blog featuring PB stamps. Visit both Penny Black and Faber Castell Memory Craft for details of giveaways.
.
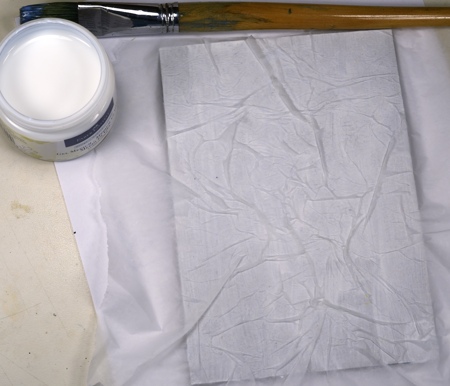
I decided to create a mixed media panel, a rare occurrence for me. I really enjoyed playing with the Textural Accents and the gorgeous colours in the Paper Crafter crayons and gelatos. (if you click on the tutorial pictures you will see more detail)
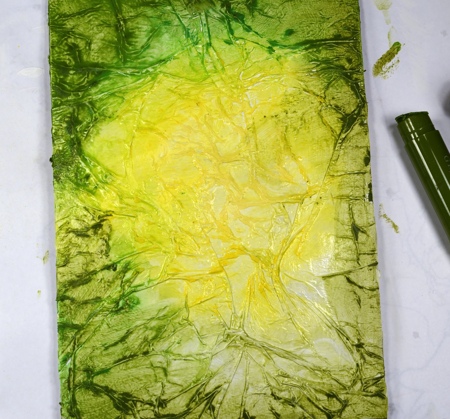
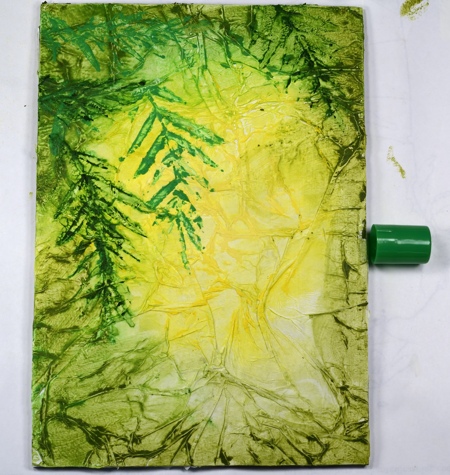
Next I spritzed with water and blended the colours with my fingers.
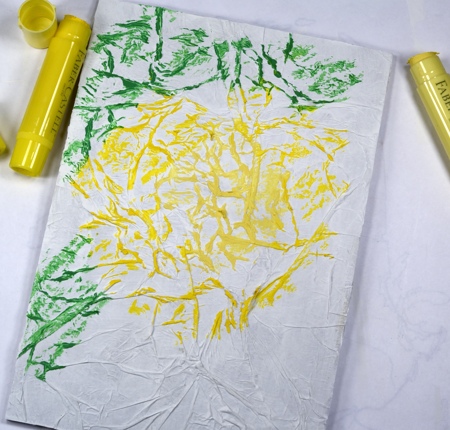
Using stencil plastic I created a stencil using the Fresh Breeze die. (I can’t find the packaging for the stencil plastic so I am not sure what brand but it was sold specifically for creating your own stencils. In order to cut it with a Big Kick I used a metal shim in the sandwich) I applied colour through the stencil with gelatos.
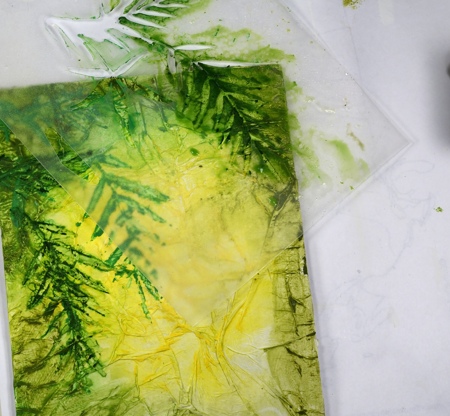
Next I spritzed with water and blended the greens with my fingers through stencil.
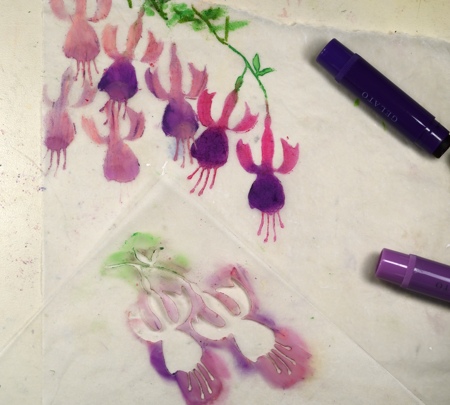
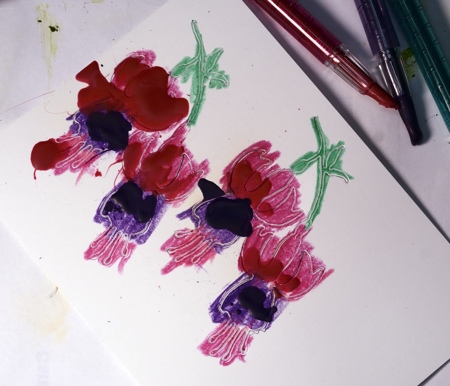
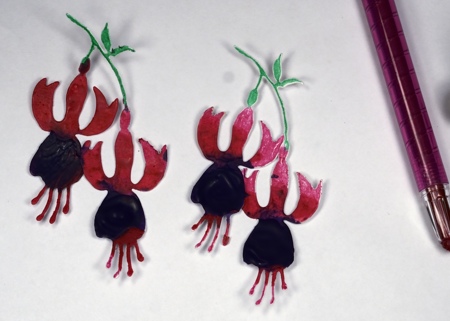
I created another stencil using the Fuchsia die and applied colour to tissue paper with lime, lavender, grape and guava gelatos, then blended with my fingers.
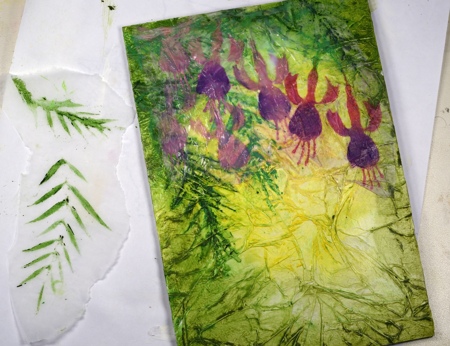
I stenciled some Fresh Breeze leaves with green gelatos on tissue paper and attached both tissue panels to the main panel with Gel Medium. The gelatos on tissue gave the flowers a background misty look that was exactly what I was after.
In other related and creative news, there is likely to be another lull here on the blog in the next few weeks. My daughter’s prom is in two weeks and the dress making countdown starts today! If I have a chance I will update you otherwise please understand that I am creating with tulle and silky fabric instead of paper and cardstock for the next little while.
Supplies:
Stamps: Truly Great (PB)
Creative Dies: Fuchsia, Fresh Breeze (PB)
Gelatos: Faber Castell
Paper Crafter Crayons: Faber Castell
Textural Accents: Gesso, Gel Medium, Glaze (Faber Castell)
Paper: Thick natural coloured cardboard, White 140lb smooth, Tissue paper, PB Mix & Match Periwinkle Paper


