
Stencilled breeze
Posted: January 27, 2017 Filed under: Brusho, CAS, Fresh Breeze | Tags: Brusho, CAS, Penny Black creative dies, Penny Black stamps 7 Comments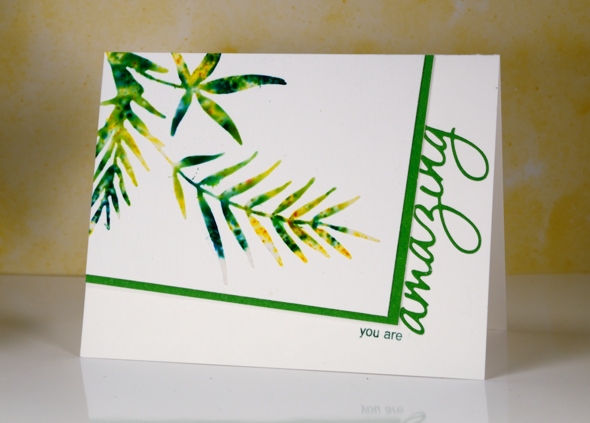
Earlier this week I posted a card made out of a leftover, the negative print from a stencil used for watercolouring. Today’s card is a positive print made through a stencil (not using the same stencil as the earlier card). I created the stencil for this card myself by die-cutting the shape from a piece of stencil plastic. You could use an old plastic folder as long as it is not too thick for your die cutting machine to handle. The die I used is ‘fresh breeze‘ from Penny Black. I taped my home made stencil to a piece of cold pressed watercolour paper and spread moulding paste over it, keeping the layer fairly thin with a palette knife. Next I sprinkled yellow and green brusho powder over the stencil then spritzed with water to activate the brusho. Too much water and it seeps under the stencil, not enough and the brusho doesn’t activate. Once the brusho appeared a little blurry I removed the stencil and let the panel dry for quite some time.
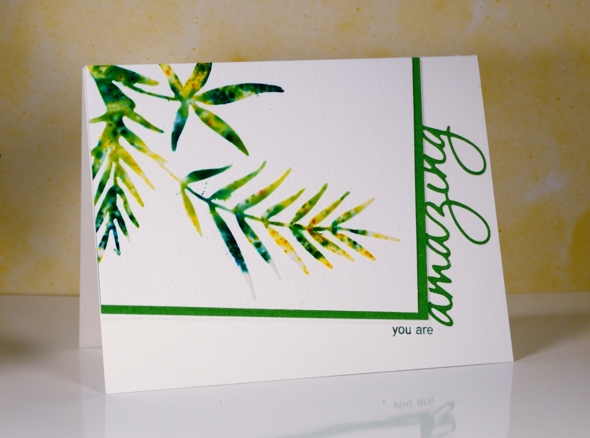
I chose the angled rectangle layout and messed it up by attaching the panel upside down on my card base. I had to cut it out of the cardbase and attach it to a new one so it is a tad bulky under the stencilled panel! I matted in green and trimmed off the top of the die cut word so it would appear to be attached to the mat. I inked just two words on a sentiment stamp so I could turn it into a phrase.
I’m going to add this one over at the Sweet Stampin’ Dies and Punches challenge. Thanks for dropping by.
Supplies:
Stamps: Heartfelt (PB)
Die: Fresh Breeze , OMG (PB)
Inks: Cottage ivy memento (Tsukineko)
Paint: Brusho (Colourcraft)
Paper: Canson 100% cotton cold pressed watercolour paper, green cardstock
Also: moulding paste
Summer Sun Collaboration with Faber Castell
Posted: June 12, 2014 Filed under: Fresh Breeze, Fuchsia, Gelatos, Mixed Media, Tutorial | Tags: Faber Castell gelatos, Faber Castell Paper Crafter Crayons, Faber Castell Textural Accents, Penny Black creative dies, Penny Black stamps, Tutorial 4 Comments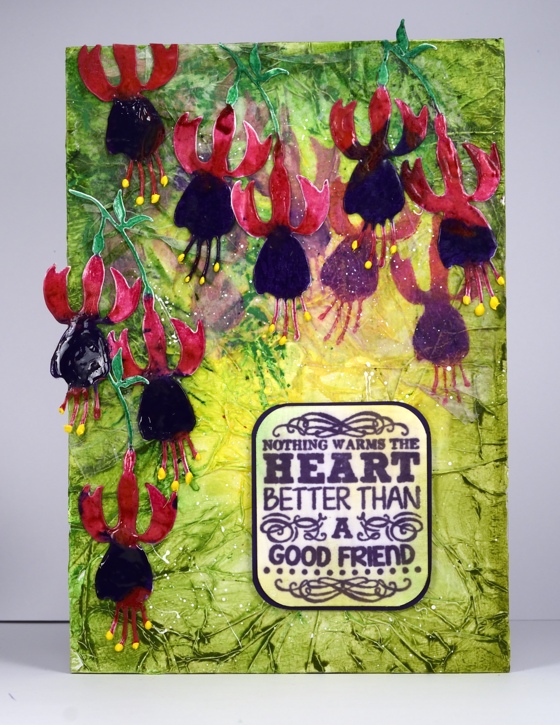
All this week there is a special collaboration occuring between Faber-Castell Design Memory Craft and Penny Black. There are projects on the PB blog using Paper Crafter Crayons and Double Scoop Gelatos AND you’ll find projects from the Faber-Castell Design Memory Craft designers on their blog featuring PB stamps. Visit both Penny Black and Faber Castell Memory Craft for details of giveaways.
.
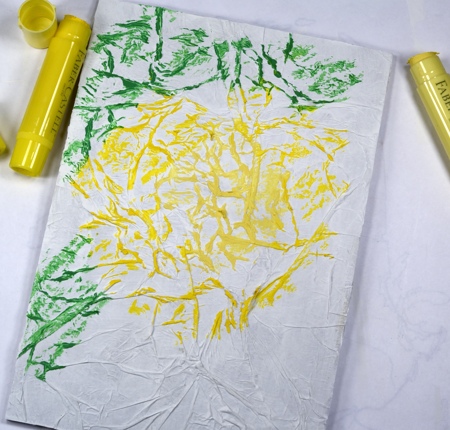
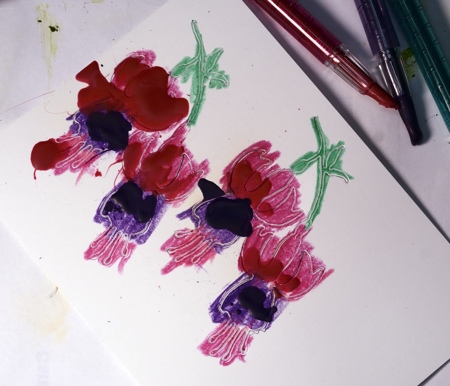
I decided to create a mixed media panel, a rare occurrence for me. I really enjoyed playing with the Textural Accents and the gorgeous colours in the Paper Crafter crayons and gelatos. (if you click on the tutorial pictures you will see more detail)
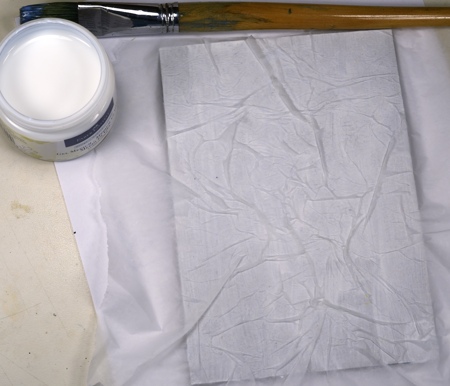
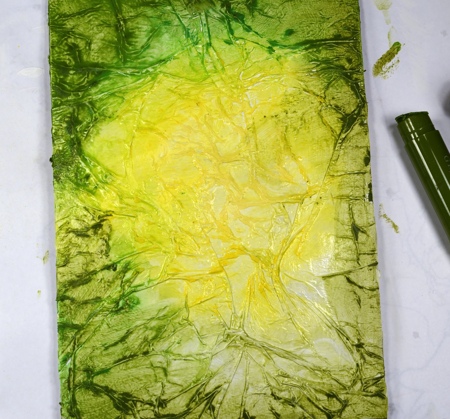
Next I spritzed with water and blended the colours with my fingers.
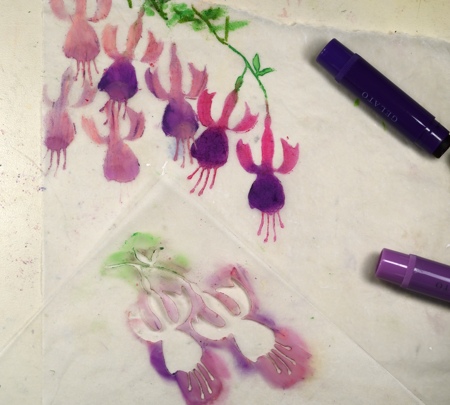
Using stencil plastic I created a stencil using the Fresh Breeze die. (I can’t find the packaging for the stencil plastic so I am not sure what brand but it was sold specifically for creating your own stencils. In order to cut it with a Big Kick I used a metal shim in the sandwich) I applied colour through the stencil with gelatos.
Next I spritzed with water and blended the greens with my fingers through stencil.
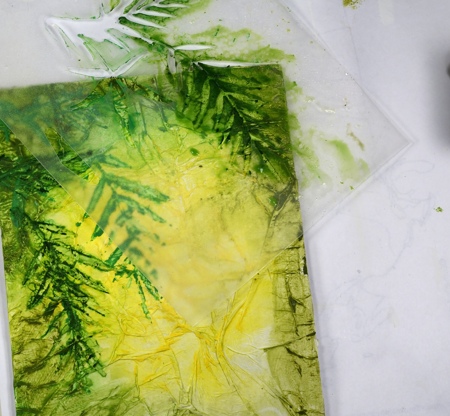
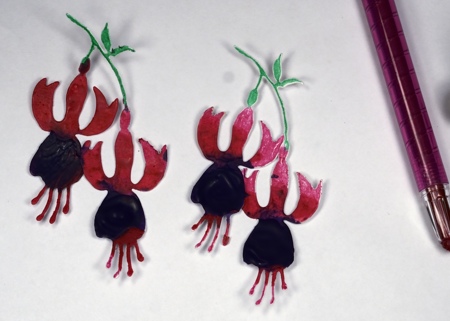
I created another stencil using the Fuchsia die and applied colour to tissue paper with lime, lavender, grape and guava gelatos, then blended with my fingers.
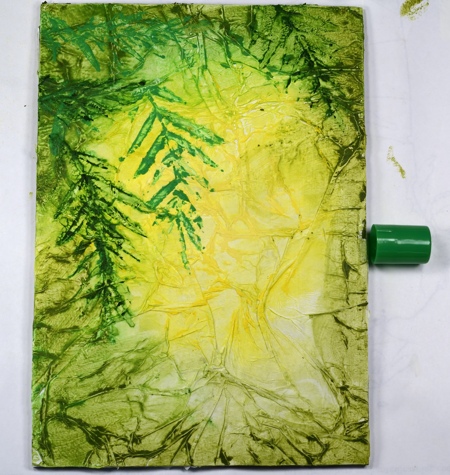
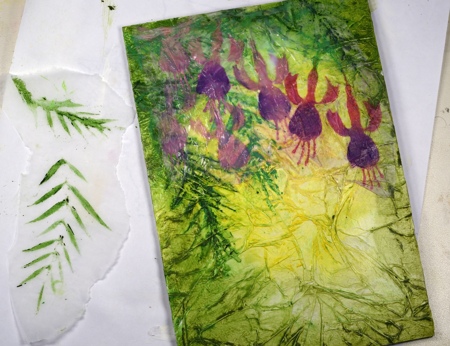
I stenciled some Fresh Breeze leaves with green gelatos on tissue paper and attached both tissue panels to the main panel with Gel Medium. The gelatos on tissue gave the flowers a background misty look that was exactly what I was after.
In other related and creative news, there is likely to be another lull here on the blog in the next few weeks. My daughter’s prom is in two weeks and the dress making countdown starts today! If I have a chance I will update you otherwise please understand that I am creating with tulle and silky fabric instead of paper and cardstock for the next little while.
Supplies:
Stamps: Truly Great (PB)
Creative Dies: Fuchsia, Fresh Breeze (PB)
Gelatos: Faber Castell
Paper Crafter Crayons: Faber Castell
Textural Accents: Gesso, Gel Medium, Glaze (Faber Castell)
Paper: Thick natural coloured cardboard, White 140lb smooth, Tissue paper, PB Mix & Match Periwinkle Paper


