
Tiny Towns under Alcohol Ink Skies
Posted: August 19, 2026 Filed under: Alcohol Ink, Dies, grafix, Penny Black, Sizzix, Spellbinders, Taylored Expressions, Tiny Tree | Tags: Alcohol Ink, grafix craft plastic, Penny Black creative dies, Penny Black stamps, sizzix embossing folder, Spellbinders, Taylored Expressions 4 Comments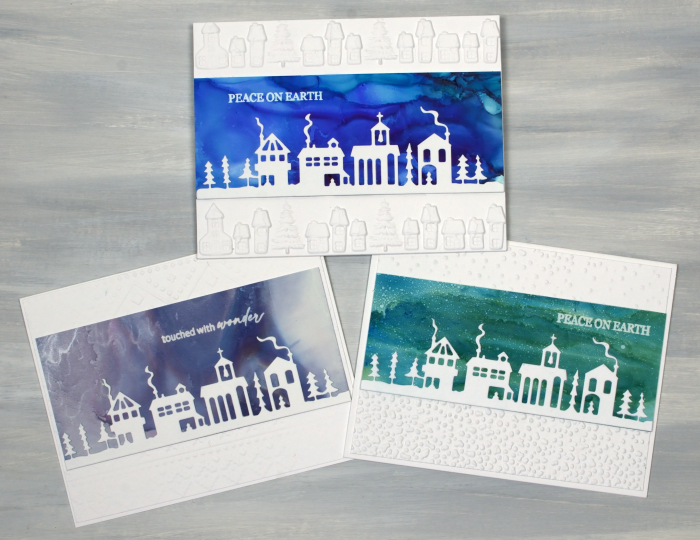
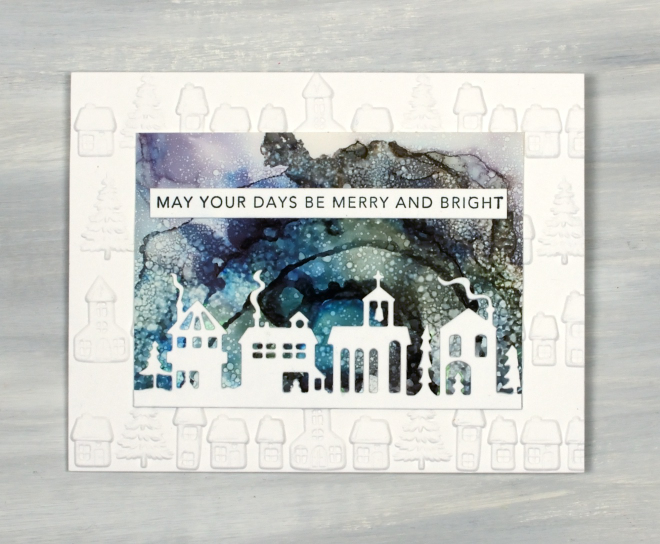
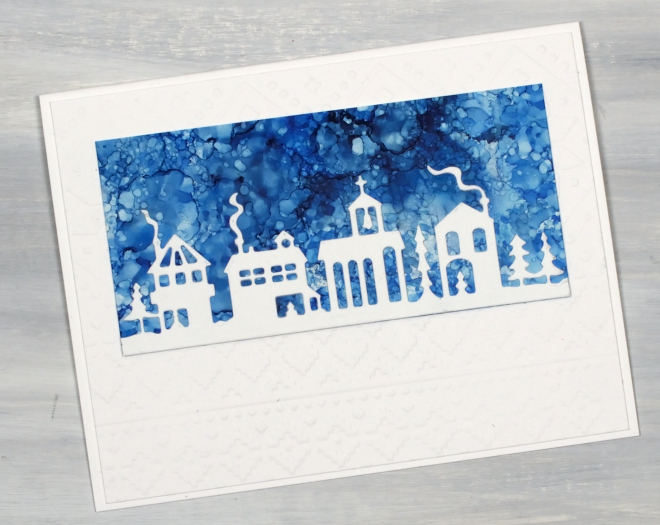
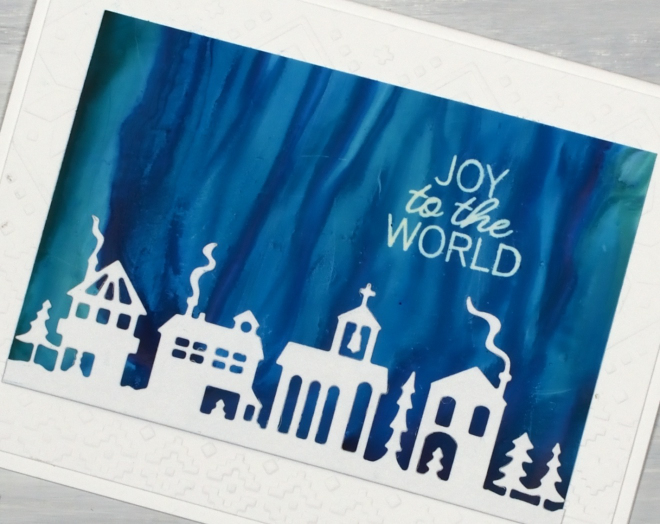
I do like the look of little houses and buildings against a bold or colourful sky. I’ve done the same thing numerous times with watercolour panels. The little town featured in these cards is the Penny Black ‘tiny town‘ die. Once again I have completed my cards with embossed panels and PB or Taylored Expressions sentiments.
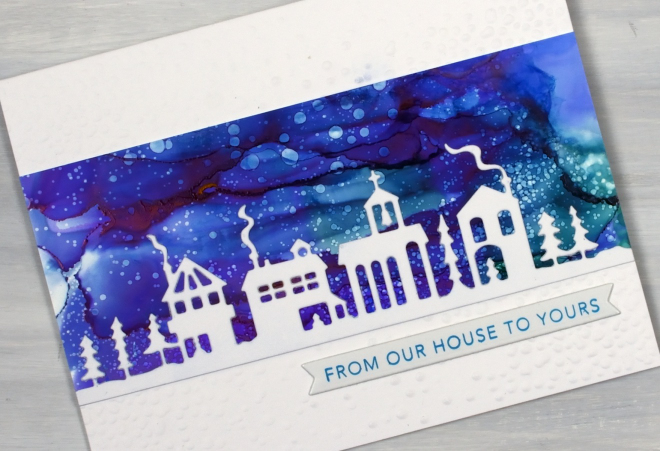
One thing you might notice is that some of the sentiments are stamped on the alcohol ink sky not on a strip of cardstock. After several alcohol ink sessions resulting in a stack of useful panels I remembered my alcohol lift ink. Lift ink does exactly as the name suggests, it lifts alcohol ink off the surface (in this case yupo or grafix craft plastic). Once lifted the ink needs to be wiped off the stamp and a few more applications made in exactly the same spot. It is also necessary to blot the stamped area with a tissue or cloth to remove any ink which has been diluted by the stamp pad. I was very happy with the results and you will see just how happy in a bunch of future cards.
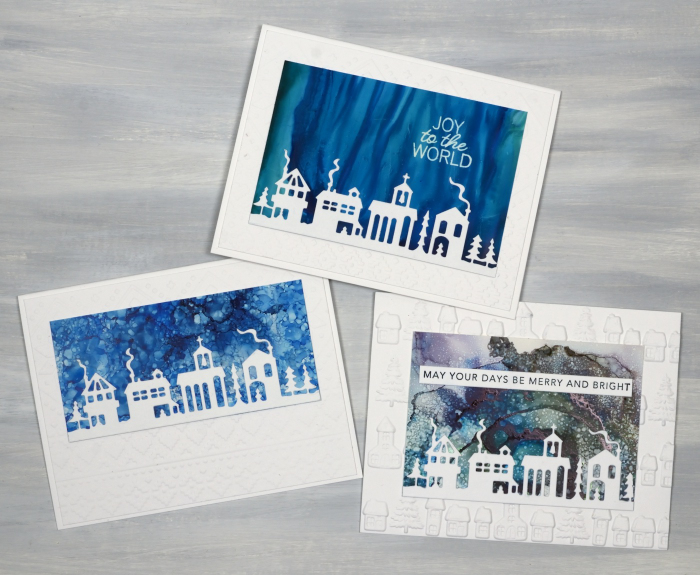
Once again I have created different alcohol ink patterns by tilting the panel to move the ink, blowing the ink with a hand pump or spritzing the ink with isopropyl alcohol to create the spotty or starry look.
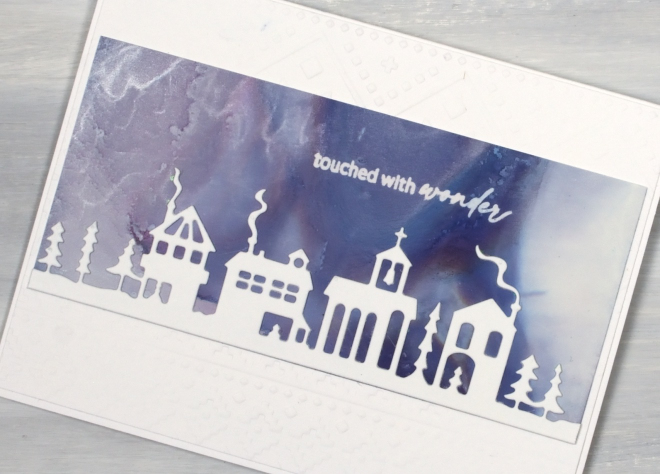
I used several different embossing folders to add snow, more little houses or the spellbinders “ski lodge” folder to the background. The little houses embossing folder is from Vaessen Creative and was found at the new craft supply store in Ottawa.
Thank you for the encouraging comments left on the recent alcohol ink blog posts. I am glad to be providing some inspiration to get your own inks out. If you haven’t seen the previous alcohol ink posts look here and here.
And stay tuned there are more little houses, trees, baubles and Bethlehem skies to come. Have a great day!
Stencilled Trees
Posted: October 29, 2015 Filed under: Nature's Beauty, Tiny Tree | Tags: Penny Black creative dies, Tsukineko Memento inks 6 Comments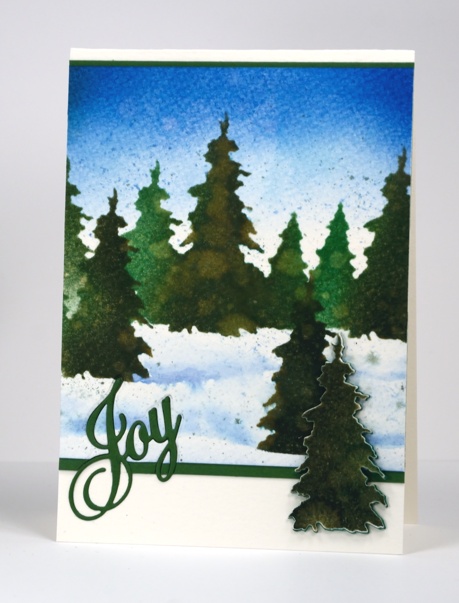
You know I have said before, ‘You can never have too many tree stamps!’ Well if you find yourself running short you can always make a few tree stencils to help you through that difficult time. I was happy to see some new tree dies in the latest release from Penny Black and decided to make my own stencil by die-cutting a row of trees using two different sized tree dies.
I used a piece of Plaid stencil plastic and cut a row of trees with the die from ‘Nature’s Beauty’ set and a smaller tree from the ‘Tiny Tree‘ set. I sponged a gradated sky with two blue inks then sponged two greens through the stencil. I was going to spritz the images quite generously to make the colours bleed together but I decided to stop after a couple of spritzes because the watermarks and texture from the paper already looked interesting. I diecut a single tree from the stencil plastic also so I could sponge isolated trees then painted the shadows of the snow drifts around them. The foreground tree was sponged and spritzed the same way then die cut and popped up on some die cut fun foam for added dimension.
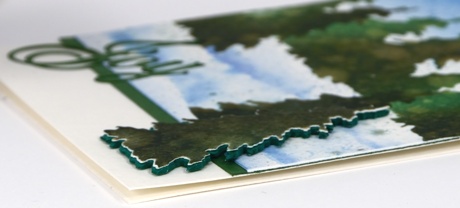
I decided to inlay the word Joy which was not a brilliant idea because I had already attached the thick watercolour paper to the green cardstock mat and die cutting an intricate word ended up being rather tricky.
Supplies:
Dies: Nature’s Beauty, Tiny Tree, Greetings (PB)
Inks: Memento Northern Pine, Cottage Ivy, Summer Sky, Danube Blue (Imagine Craft/Tsukineko)
Cardstock: Cold Pressed Canson, Green cardstock
Also: fun foam, Plaid stencil blank












