Eucalyptus & gold
Posted: December 3, 2025 Filed under: Airy, Dies, Penny Black, stocking stuffers | Tags: Penny Black creative dies, Penny Black stamps 5 Comments
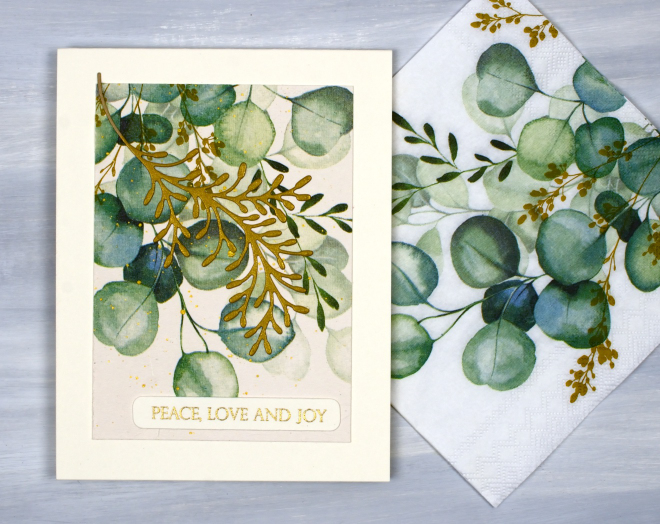
I thought this would be my last napkin/serviette related post for now but I forgot about a pack of dinner napkins I bought in the summer. So maybe one more!?
But onto today’s cards; you can see in the photo above that the eucalyptus themed napkins are printed on a white base but my cards are all cream tones. When I adhered the single layer of the napkin to cream cardstock, the background transformed into cream not white.
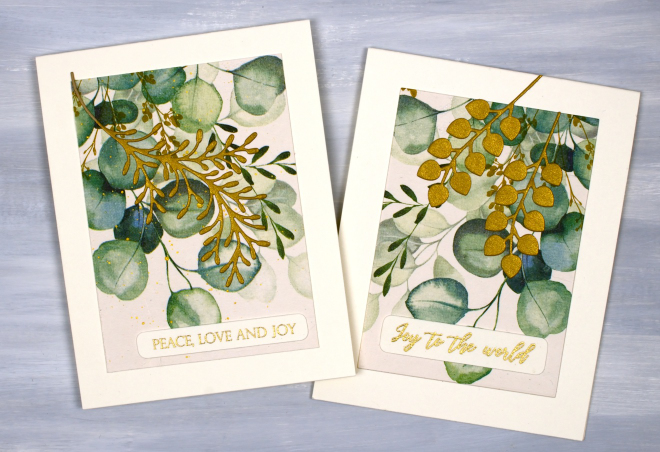
The napkins are not Christmas themed themselves but I chose to add gold foliage die-cuts, gold embossed greetings and even some gold splatter on the one below to turn them into Christmassy cards. I used the Penny Black dies, ‘stocking stuffers‘ and ‘airy’.
Shimmery Foliage
Posted: October 14, 2025 Filed under: Airy, Dies, Finetec paints, Leaflets, Leaves, Penny Black, Taylored Expressions | Tags: Fabriano Watercolour Paper, Finetec artist mica watercolour paint, Penny Black creative dies, Taylored Expressions 2 Comments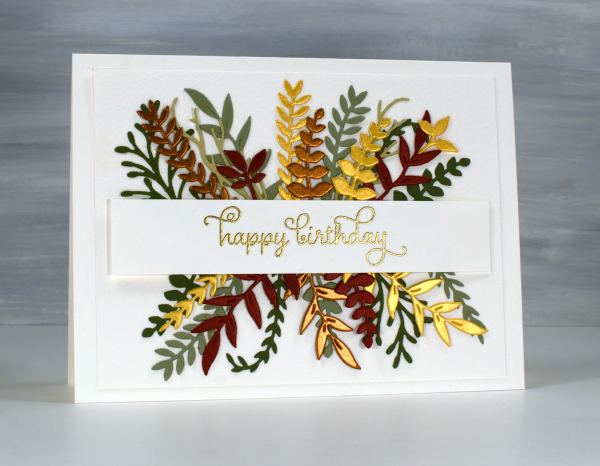
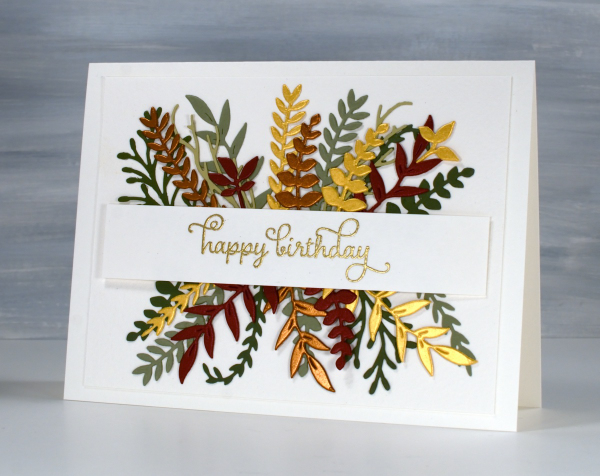
Recently a friend and I got together and worked on wreath style wedding cards. Mine is featured further down in this post. After my friend left I used some of the die-cut foliage leftovers to make her a birthday card. You can see a few matte green leafy branches plus more cut from gold, bronze and reddish shimmer cardstock. I arranged it all either side of a stamped and embossed banner. This sort of a card takes a while to arrange in a balanced way so once I had it looking good I took a photo so I would be able to glue it all down again in the same way.

All the die-cutting was done with Penny Black foliage dies from a variety of sets. The curly twirly birthday sentiment is from the Taylored Expressions set, ‘In & Out Birthday’ embossed in gold powder
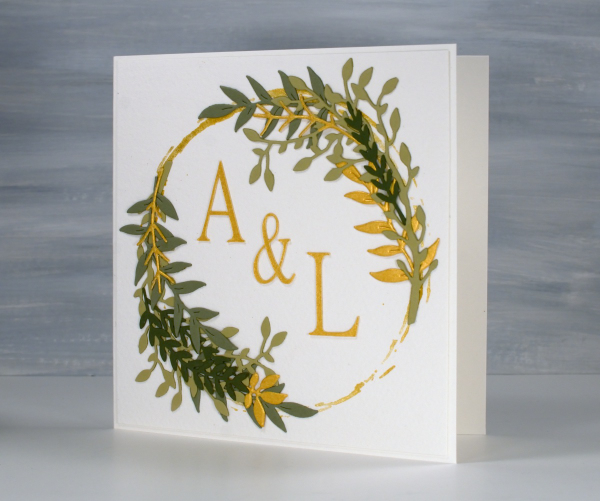
To make the wreath card I began by stamping a rough circle using gold watercolour paint on a jar lid. It was the lid of the lentil jar so yes, I had to wash it carefully before it was returned to the jar.
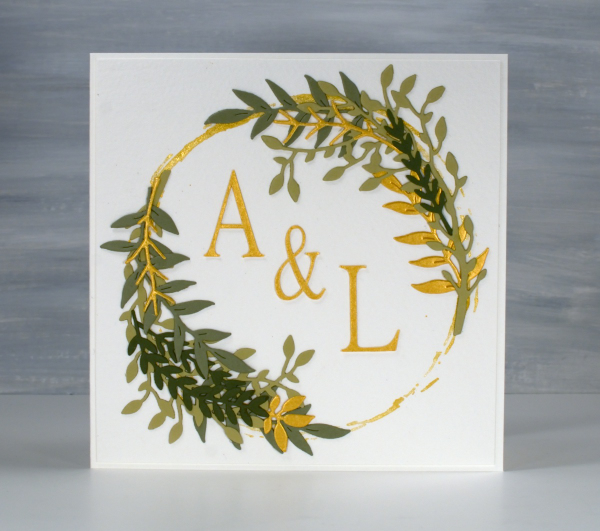
I arranged die-cut foliage around the gold circle not with perfect symmetry but I aimed for balance.
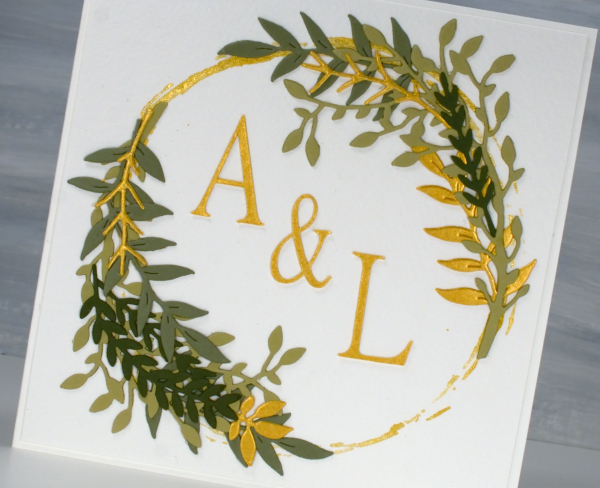
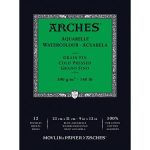
I cut the A, & and L on the cricut using the Linux Libertine Display G font. Both cards were made on cold pressed watercolour paper which has a nice creamy colour and soft texture.
Airy thank you
Posted: March 2, 2018 Filed under: Airy, Brusho, Foiling 5 Comments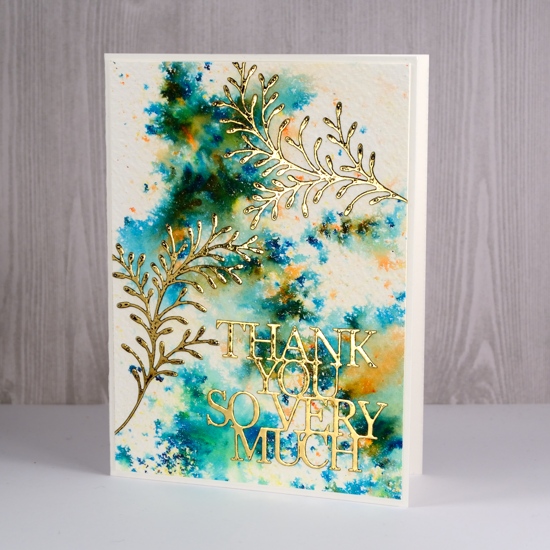
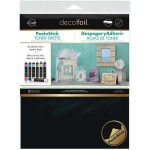
More sparkle for you today. I’m hoping to inspire you to ‘Sparkle With Us’, and what I mean by that is join in the challenge I’m hosting with The Foiled Fox; you can read about it on yesterday’s post. If you like to add a little sparkle here and there on your projects this challenge is for you. If your projects are seriously sparkly then this is also the challenge for you. I chose foil to add the sparkle on this project and I used peel n stick toner sheets to make some ‘ready to foil’ die cut elements. The Foiled Fox shared these sheets with me and they made adding foiled details so easy!
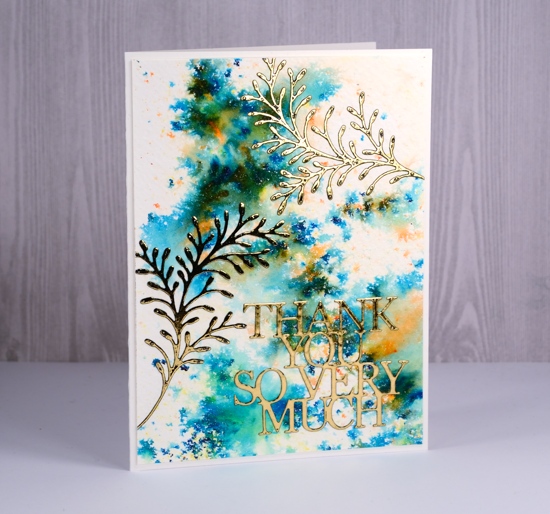
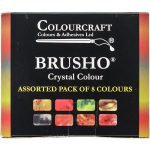
I started by making an abstract background panel with brusho. (Have I mentioned how much I love brusho?) This panel features sea green and olive green brusho but you can see turquoise and orange showed up also. I spritzed a large panel of cold pressed watercolour paper then sprinkled the brusho over it and let it spread. I did a bit of tilting and spritzing and left the panel to dry. As it was a large panel I ended up cutting it into four smaller panels to be used on separate projects. I used two new dies, ‘airy’ and ‘so many thanks’ to cut a couple of leafy branches and a sentiment from the peel n stick toner sheet then ran them through the minc with gold foil. You can make your own toner sheets with a laser printer but they are not sticky on the back so I felt spoiled using these convenient adhesive ones. I peeled off the backing and stuck them on my brusho panel. It is tricky to photograph foiled projects but I think you can see the shine!
Hope you can ‘Sparkle With Us‘ this month.
Supplies:
Dies: airy, so many thanks

Paper: cold pressed watercolour paper, thermoweb deco foil peel n stick toner sheets
Paints: sea green, olive green brusho

Also: gold foil, minc