Old gel print, new card
Posted: August 14, 2020 Filed under: carved flowers, Darkroom Door, gel press, majestic mountains | Tags: Darkroom Door stamps, gel printing 4 Comments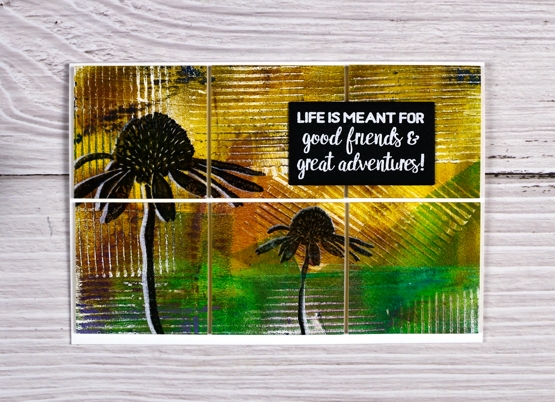
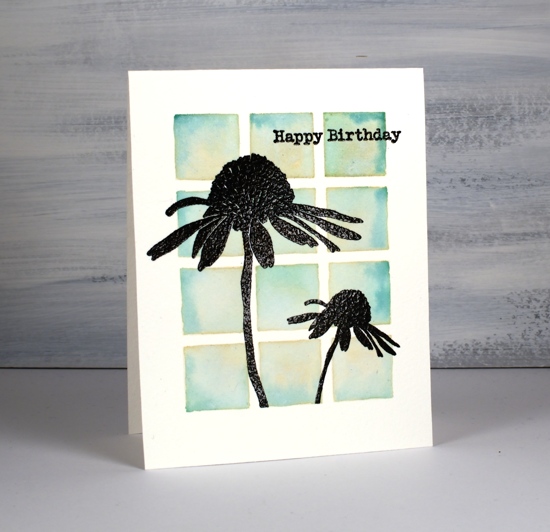
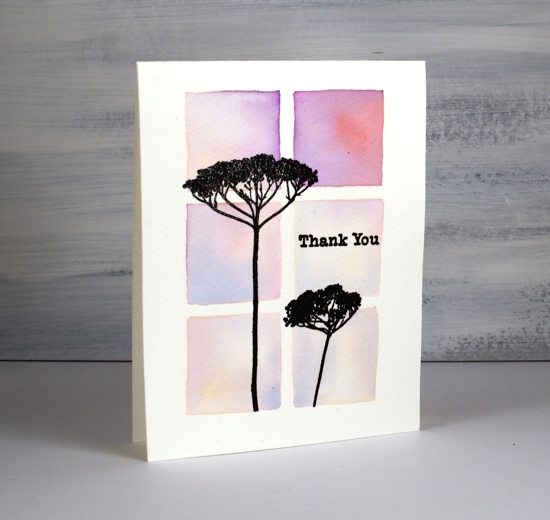
I am getting closer to doing some satisfying gel printing but this card was made from a previous gel printing session. You can probably tell the texture on this panel was from a piece of corrugated cardboard. So simple and effective.
There is definitely some leftover paint printed on this panel. Leftovers are a feature of gel printing I really like. I usually print and print without cleaning the plate so the leftovers, often on edges or corners appear in subsequent prints.
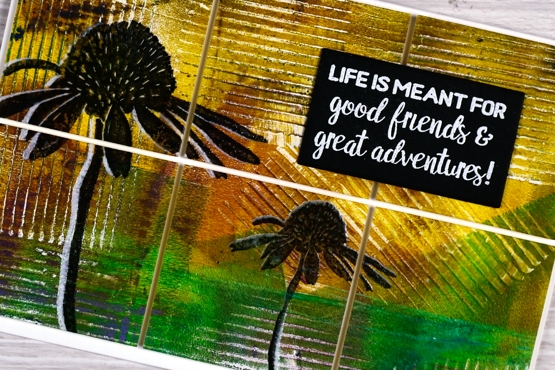
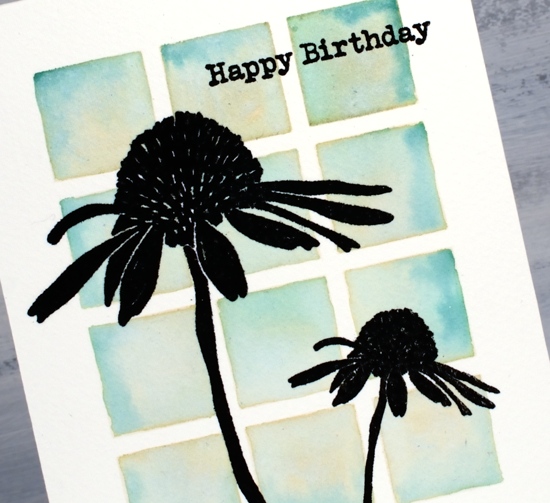
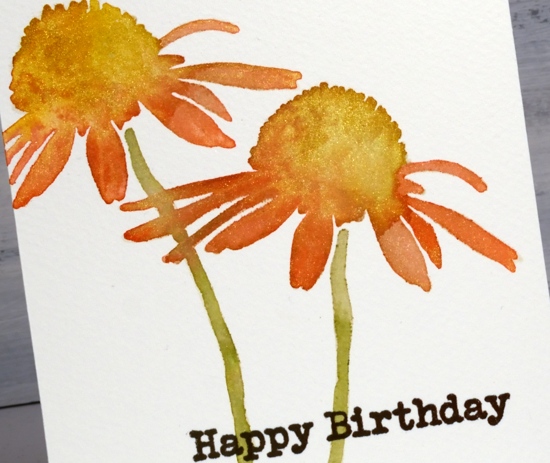
I stamped the large and small cone flowers from the Darkroom Door ‘carved flowers’ set first in white ink then offset in black before embossing in clear powder. White ink is very sticky so when I stamped on top of it the stamp lifted some of the white ink off. It was necessary to wipe the stamp each time and restamp in black to build up a solid black layer. After embossing I used the large six square grid die from Waffle Flower’s color combo set to cut my panel into squares. I popped them up on foam on a 6″x4.25″ card base.
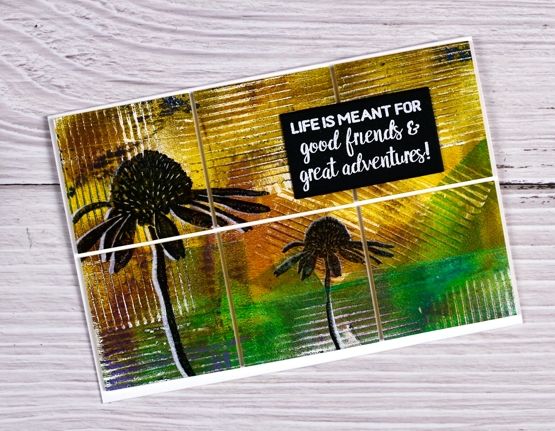
The sentiment is the DD ‘majestic mountains’ set and reminds me that not all adventures have to be in person or in the outdoors right now, although I am missing that. I am enjoying the adventure of creating with new and old friends through my online class. (yes maybe this is another shameless plug, but it’s true!) As I see what class members are creating I am inspired and encouraged to be ‘in class’ with friends even while I can’t be in class in person.
And I am sure new gel printing is imminent; I want to print fresh leaves and maybe petals from my garden so stay tuned.
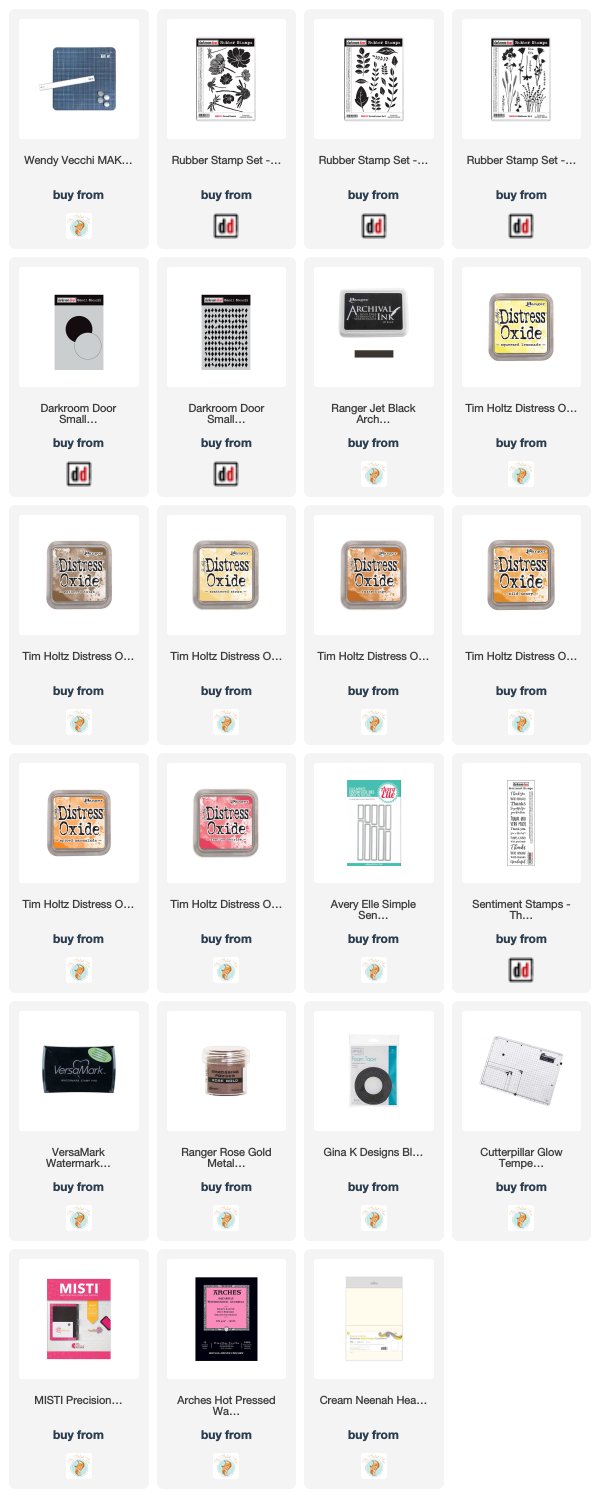
Supplies
Stencils & watercolour
Posted: January 20, 2020 Filed under: boxes, carved flowers, carved flowers, Darkroom Door, ferns, Stencils, Wildflowers Vol 1 | Tags: Darkroom Door stamps, liquid metals, Ranger Distress inks 7 Comments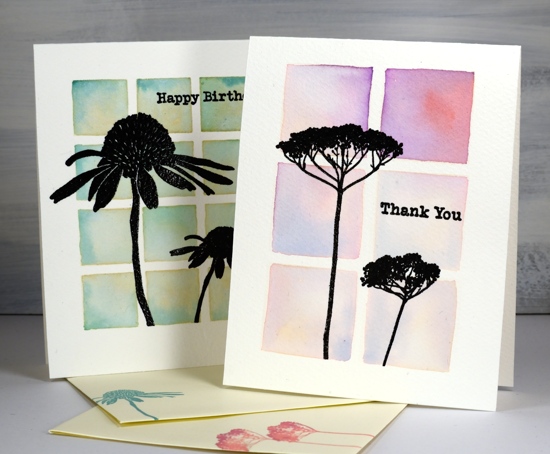
Some recent art from Kathy Racoosin inspired me to use my stencils a little differently. I used four stencils from Darkroom Door and my ever useful distress inks.
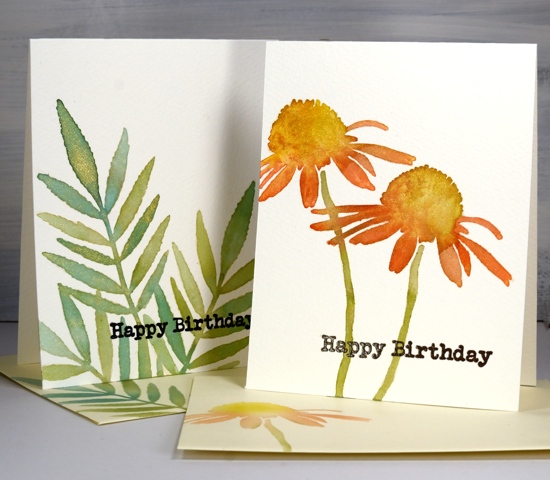
All these cards are one layer; I often attach a one layer panel to a card base and keep the layers minimal that way but this time I cut card bases from cold pressed watercolour paper and did all the stenciling and painting on directly on the card base. I taped the stencil to the card base using the grid on my glass mat to make sure the stencil sides and card sides were parallel. I used a large blending brush to transfer antique linen to the watercolour paper. Whatever ink you use through your stencil will lend some colour to the final images as it will mix with the ink painted on later.
On the twelve square background I painted peeled paint and pine needles ink using the blended antique linen as my guide. On the card below I used wilted violet, abandoned coral and blueprint sketch inks to fill the six blended squares.
After both cards had dried I used a stamp positioner to stamp the flowers in versafine clair nocturne ink. There is texture in the cold pressed watercolour bases so I stamped and restamped a few times. After stamping a couple of sentiments also from Darkroom Door I embossed all the stamping with clear powder. (I’ve listed and linked all the stamp sets and stencils at the end of this post.) I used one or two of the same distress inks to stamp matching envelopes.
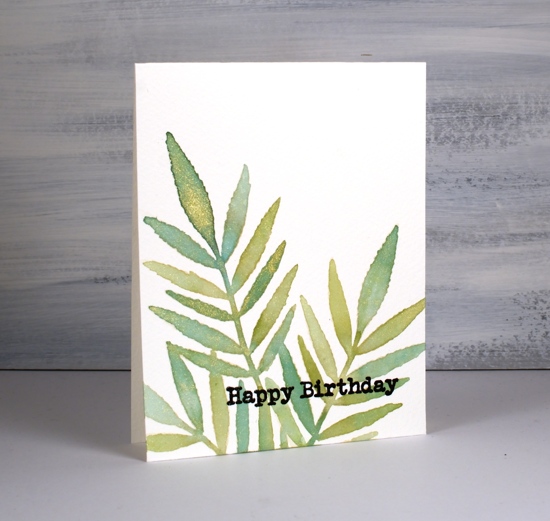
For the next two cards I used the same ‘blend then paint’ method. Once again I blended antique linen ink through the stencil then for the ferns painted a section at a time switching between cracked pistachio, peeled paint and pine needles inks.
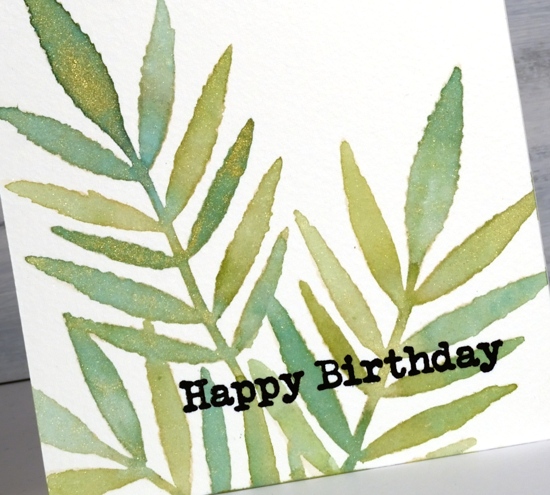
I smooshed the ink pads on my glass mat and added a little gold shimmer with a few drops of Ken Oliver’s ‘yellow gold’ liquid metals. The shimmer isn’t very obvious in the photos but in real life it adds a little pizazz!
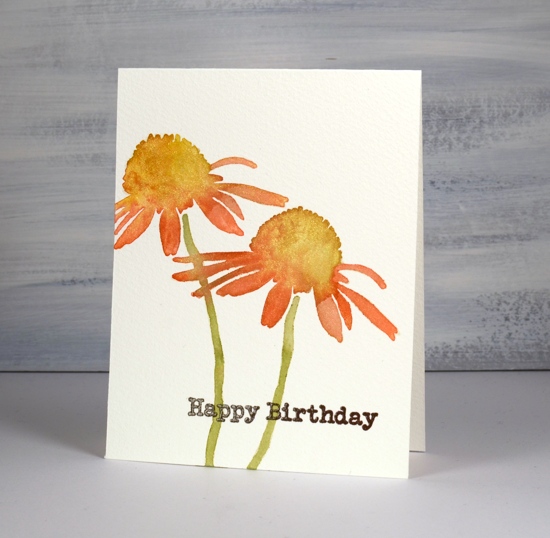
On the cone flowers I also added shimmer and used peeled paint for the stem, and fossilized amber with abandoned coral for the flower and petals.
Techniques like this make me take a second look at my stencils. I want to try it with a different base colour next time. Take a look at Kathy’s video to see her step by step technique.
Supplies
Carved flower sunset
Posted: May 14, 2019 Filed under: carved flowers, carved leaves, circle stencil, diamonds, Wildflowers Vol 2 | Tags: Darkroom Door stamps, distress oxide inks 3 Comments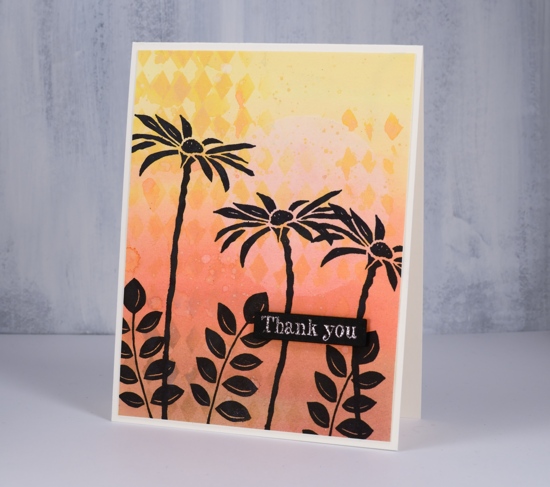
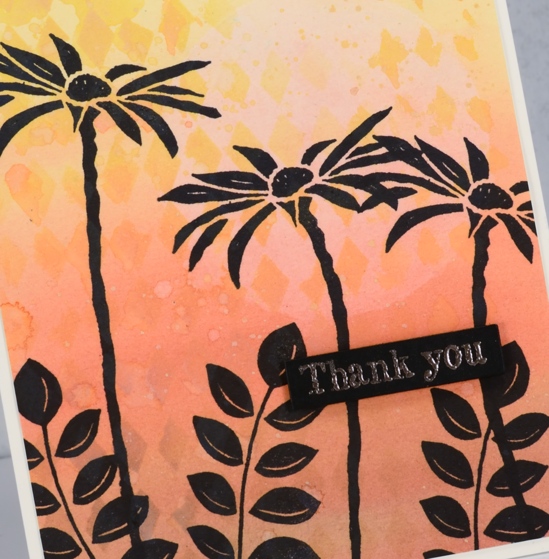
I tried out a few new products yesterday and ended up with these two cards featuring the Darkroom Door carved flower set. I coloured both cards with distress oxide inks. For this first one I smushed the oxide inks on my glass mat, added some water then painted a graduated wash going from yellow to brown. Oxide inks are designed to react with water so the diluted wash I painted on the card had a muted looked to it when it dried. I wanted to add a pale sun and some stenciled diamonds so I used my new ‘Wendy Vecchi Stay-tion’. It is a magnetic surface which is well suited to stenciling. There are four magnets to hold the stencil firmly over the paper while adding a medium through the stencil. I used it first to hold the DD circle stencil over the panel while I diluted the exposed circle with water and dabbed colour away with a paper towel. I then used the magnets and board to hold the diamond stencil while I sponged some oxide ink onto the background. I splattered some water over the panel then stamped the carved flowers and carved leaves in black archival ink.
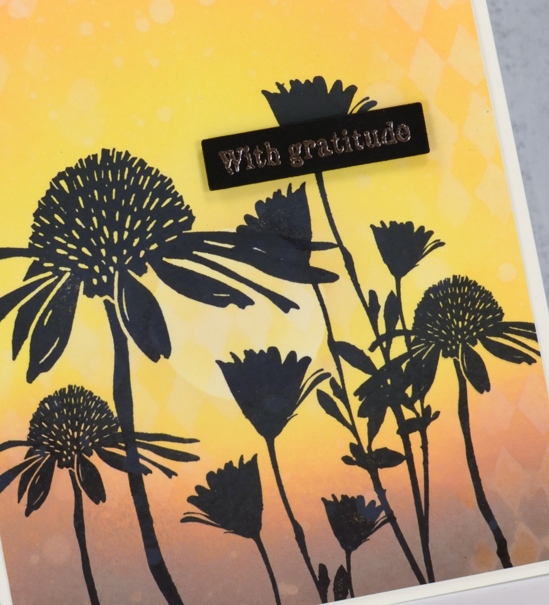
Instead of painting a wash with diluted oxide ink for the second card I blended oxide inks over the whole panel which I had added a circle mask to before I started. Once again I used the magnets and board to keep the panel in place while I blended the inks and while I dabbed out some colour through the diamond stencil. Even though the two cards look similar the techniques were a bit different; you can see the oxide ink applied with a blending brush is smoother than the painted panel. Oxides really do blend well. I used the make up blending brushes my children gave me for mothers’ day. They are not life changing but they did do a very good job 😉
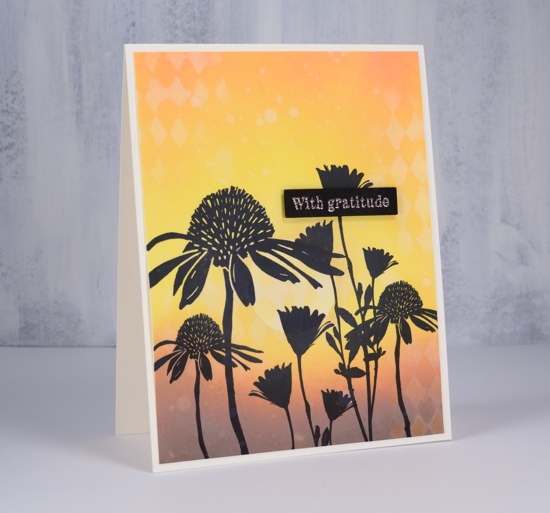
Once again I stamped carved flowers and wildflowers in jet black archival ink using the misti.
In keeping with the solid black flowers I chose to emboss sentiments on black cardstock in rose gold powder hoping it would look a bit coppery like the sunset. It did. The sentiments are from the DD ‘thank you’ sentiment strip stamped then cut out with the Avery Elle sentiment strip dies and popped up on black foam tape. The black tape is handy when the card base or element needing the tape is black or a dark colour.
It was my first time trying the Wendy Vecchi ‘stay-tion’ and I found it very useful. The magnets held the stencils and paper in place and it cleaned up easily. I am sure I will be using it often.
Don’t forget to check out the ‘Color Trio Challenge’ I am hosting with the Foiled Fox. I would love to see your three colour cards and give you the chance to win a shopping spree at the Foiled Fox store!
Supplies