
Gel Print Leaves video
Posted: August 28, 2020 Filed under: Darkroom Door, gel press, gelli plate, Nature Walk | Tags: Darkroom Door stamps, gel printing, Wendy Vecchi 18 Comments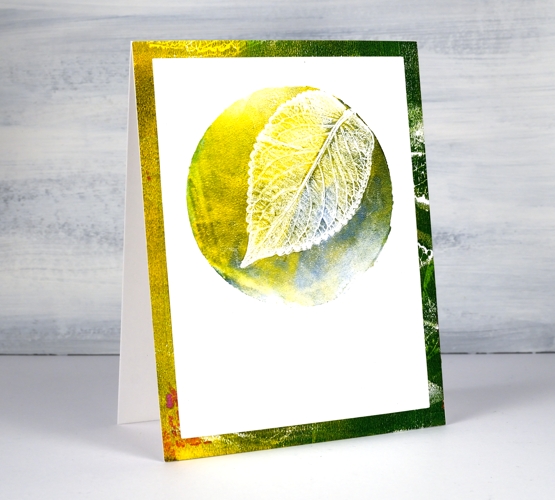
Last week I posted a card featuring gel printed leaves from herbs I grew. I tried to explain my process but a few of you wished for a video so I picked some more leaves and had some fun printing them.
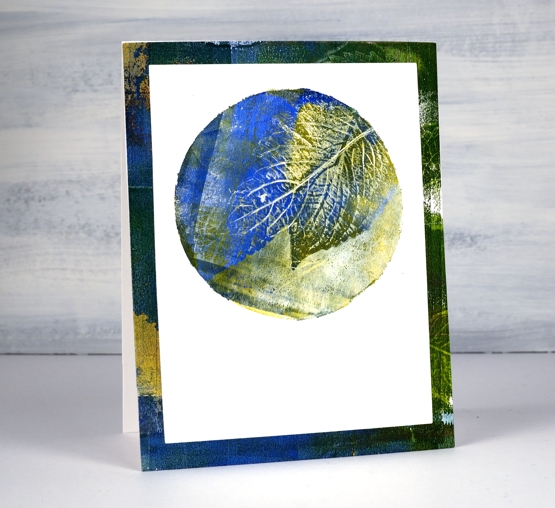
I used two different methods in the video, the leaf printed in yellow at the top of the page uses a two step method. The blue + green leaf above uses three steps and has one technique layered over the other technique.
I think the part of gel printing that gives me most inconsistent results is the way I apply ink. I’m getting better but I still get unwanted lines from the edge of the brayer. That wasn’t so evident on these prints as I was working on little gel plates called ‘petites’ from Gel Press.
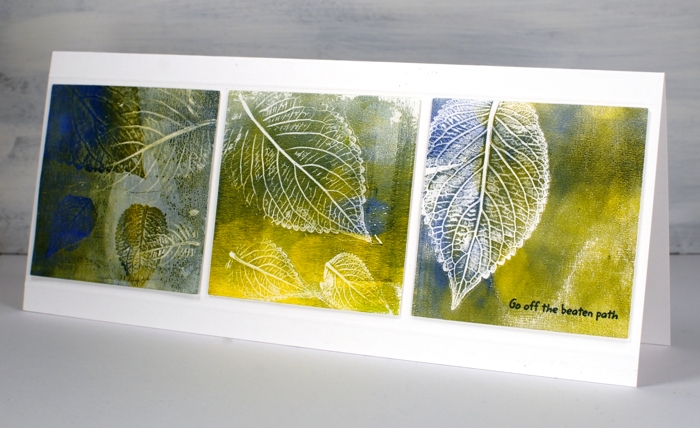
I did a bunch of prints for this video on the square and the circle ‘petite’ plates as shown on the top cards. For the ‘slimline’ card I used three of the square prints but die-cut them smaller so I could fit them side by side on a 8¾” x 3¾” card.
I hope you give this a try, it’s quite satisfying and addicting once you get going!

….And did I mention I now have an online class called COLOUR CLUES?…
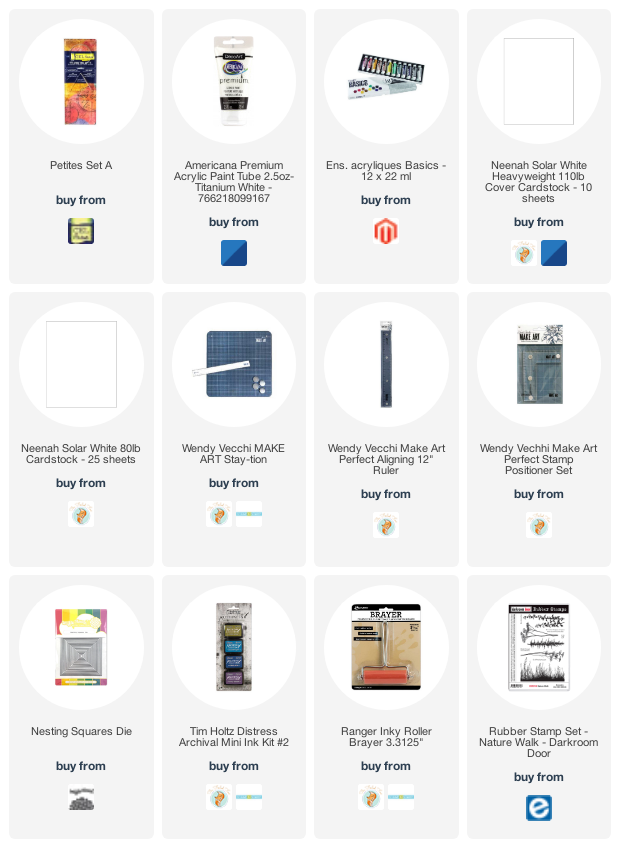
Supplies


Absolutely gorgeous!
Gorgeous. I love the 2 step process results. I must find my gelli plate – have no idea where I have stored it.
Thanks for the inspiration.
Its useful
Beautiful cards
Beautiful gelli printing Heather and love the two different looks and which both look great, and thank you for the video which explains the technique really well. x
Be Still My Heart…Gorgeous pulls and a Fabulous Video! I have never ‘hinged’ my paper before and can’t wait to use your technique. These are absolutely beautiful! ♥
It is very straightforward once you get going and is the exactly the same method with feathers. Have fun!
Thank you so much for your video, Heather! I didn’t wait and immediately tried this technique. I love the results!
I’m so glad you tried it and are happy with it. It is not so tricky once you see it done, its harder to describe it in words. I can’t wait to see what you made.
I follow the DT for Gelli Arts and am not always enamored of their gel printing projects, but I really love what you did in your video.
[…] did my first gel prints with feathers and I was thrilled with the detail in the prints. When I was gel printing with leaves a few months ago I did a few feather prints at the same time. It’s the same […]
[…] To gel print a leaf or feather I use a two step process. I apply paint to the gel plate; I used blues and greens and the large 12″x14″ gel plate. I lay the fern frond as flat as I could on the plate and then took a print; once again I used rice paper. The first pull picks up all the surrounding ink leaving a white empty frond shaped space in the middle. I carefully removed the fern which reveals the print of the frond still on the gel plate. I took a second pull, laying the paper down in the same place so it picked up all the detail of the fern. You can see a video of the same process in an earlier post. […]
It’s beautiful!
Awesome gel prints and cards!
Love the look of these prints, and liked how you used them in cards
just found your gorgeous leaf gelliprinting, shame the video is no longer available
Hi Bev,
I am very glad you found the leaf printing. It is so much fun!
My whole youtube channel was deleted but I have most of the videos saved on my computer. I hope to create a new video channel soon but have not had time to devote to the uploading, descriptions and other details related to a new channel.
that would be brilliant, your printing is so inspiring