
Fern fronds
Posted: May 27, 2011 Filed under: CAS, Wilderness Vol.2 13 Comments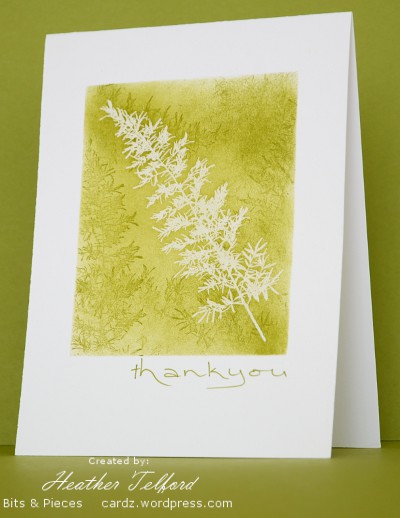
Here is another take on the fern frond. I have seen several lovely fern cards lately. Take a look at one by Godelieve here and one by Ali here.
I pulled out the old olive stamp pad for this one and used post-its to mask my rectangle. I embossed one fern in clear in the centre of my panel and then sponged all around it before adding few more ferns in old olive and artichoke. The “thankyou” was hand written.
Thanks for dropping by; I know my posts are a little sparse at present but I really appreciate your visits and your encouraging comments.
Supplies:
Stamps: Wilderness Vol.2 (Darkroom Door)
Inks: Old Olive, Always Artichoke, Versamark
Cardstock: Flourishes Classic White
A fern frond
Posted: May 23, 2011 Filed under: CAS, Wilderness Vol.2 7 Comments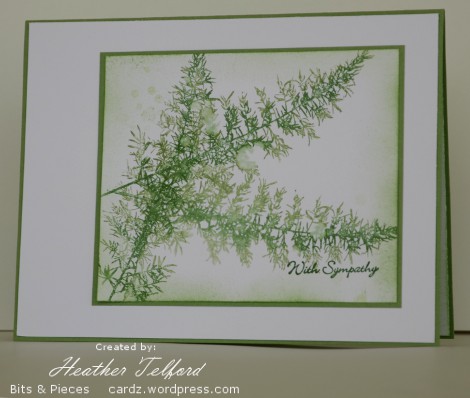
Sorry about the false start yesterday, I guess I hit publish instead of save!?
I am enjoying working my way through my new stamps from Darkroom Door. Most recently I played around with the fern stamp from Wilderness Vol 2.
To create the stamped panel I applied ink to the stamp with markers, both wild wasabi and garden green. I stamped the fern three times, misting both the stamp and the stamped panel. After sponging around the edges I added the sentiment. I tried various options for mounting the panel on the card before settling on a green mat, a large white mat and a green card base. Although I often make one or two layer cards an extra layer can sometimes complete the card.
Supplies:
Stamps: Wilderness Vol.2 (Darkroom Door), Teeny Tiny Messages(SU)
Inks: Wild Wasabi, Garden Green
Cardstock: Flourishes Classic White, Wild Wasabi
Less is More: Embossing
Posted: May 14, 2011 Filed under: CAS, Stamped Landscapes, Wilderness Vol.2 43 Comments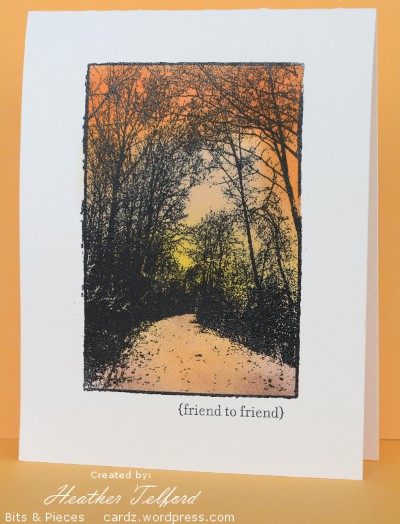
When I first began browsing the Darkroom Door site, I kept coming back to this stamp. Images of trees are a favorite of mine and this scene of a wooded path is the type of scene I try to create with tree stamps.
This week’s challenge at Less is More is to emboss; I chose to heat emboss the woodland scene in black, then add some colour by sponging. I didn’t know if the detail of so many fine interwoven branches would work without detail embossing powder but I am very pleased with the result. Before sponging I masked the edges of the image.
I am looking forward to trying other colour schemes and techniques with this beautiful stamp.
Supplies:
Stamps: Wilderness Vol.2 (Darkroom Door), Teeny Tiny Messages(SU)
Inks: Versamark, Apricot Appeal, Pumpkin Pie, Summer Sun
Cardstock: Flourishes Classic Ivory
Also: black e.p.
Less is More ‘Off Centre’
Posted: April 23, 2011 Filed under: Berry Branch, CAS 39 Comments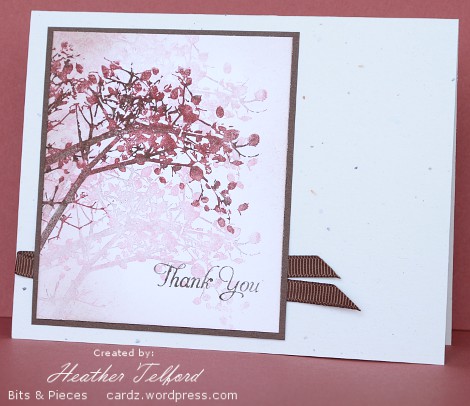
It has been a few weeks since I managed to play along with the Less is More challenge so it is nice to be involved again. Whether you play along or not the blog is an excellent source of inspiration with hundreds of entries every week. This week the challenge is to create an off centre layout. I really like assymmetrcial layouts so this asymmetrical branch stamp from Penny Black was the perfect choice for the challenge.
I inked the stamp with cherry cobbler and then inked the branches on the stamp with early espresso. By stamping once and then stamping again twice more without re-inking I created a shadowy effect. I added a little fold of riboon too as it needed something extra but not much more.
Supplies:
Stamps: Berry Branch (Penny Black), Taglines (Flourishes)
Inks: Cherry Cobbler, Early Espresso
Cardstock: SU Confetti White, Whisper White, Chocolate Chip
Also: Chocolate grosgrain ribbon
Misty Trees
Posted: April 22, 2011 Filed under: Ageless Adornment, Stamped Landscapes, Trees 7 Comments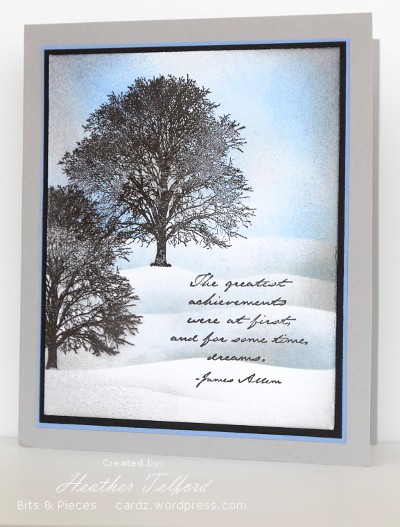
This is my second card using the beautiful tree set from Darkroom Door stamps. I know the snow has gone but I couldn’t resist a snow scene with my new trees. I created a slightly foggy scene by using grey and blue to sponge the snow and sky.
Supplies:
Stamps: Trees (Darkroom Door), Ageless Adornment (SU)
Inks: Basic Black, Going Gray, Brocade Blue
Cardstock: Flourishes Classic White, Going Gray, Brocade Blue, Basic Black
OLW 49: Green, Pink and Never Seen Ink
Posted: April 18, 2011 Filed under: Berry Branch 9 Comments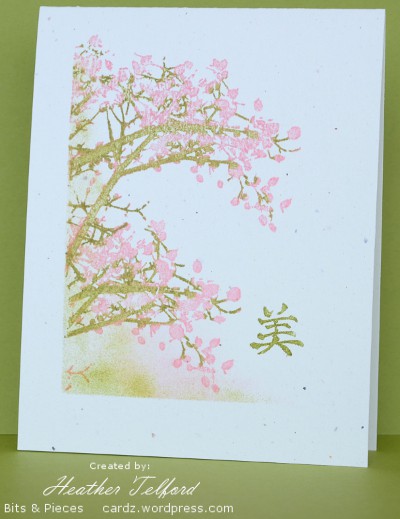
I haven’t had a chance to play along in any challenges lately as we have been very busy with violin related activities. Both my girls competed in the local Kiwanis Music Festival last week. On Saturday most of their ensemble came to our place to make truffles for a fundraiser. We rolled 2000 truffles in 2 hours and then they all left to play at a concert Saturday night. When Sunday afternoon arrived I took a little time to play with a new stamp from Penny Black. It was the perfect stamp to use with Pink and Green as Jennifer challenged in the One Layer Wednesday challenge this week.
I inked the whole stamp with Pretty in Pink then added Old Olive to the branches and twigs with a marker. I used a mask and sponging to create the bottom left corner. It shouldn’t be too long before I see blossoms like this on some of my trees.
Supplies:
Stamps: Berry Branch (Penny Black), Eastern Influences (SU)
Inks: Old Olive, Pretty in Pink
Cardstock: SU Confetti White
Through the Darkroom Door
Posted: April 12, 2011 Filed under: Darkroom Door, Stamped Landscapes, Trees 9 Comments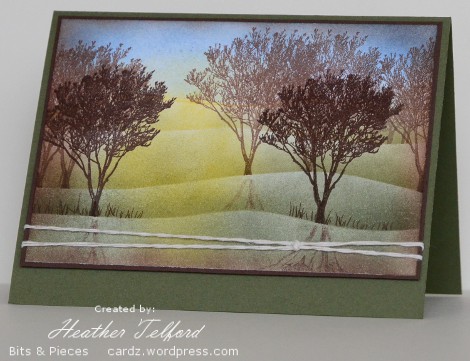
Browsing through the Clean and Simple gallery at Splitcoast one day I came across a beautiful card featuring some lovely floral stamps I had never seen before. I did a little searching and discovered a company selling very original and artistic stamps which I knew I just had to have. The company is Darkroom Door and is based in Australia. After some serious analysis I narrowed my first order down to three stamp sets and waited impatiently for them to arrive. It was after placing my order I noticed that Darkroom Door is five minutes away from where my brother lives. So I guess I know what I’ll be telling my family I’d like for Christmas!
The first set I cracked open was the tree set, hardly surprising for me. I decided to try a spring scene to match what I see outside these days. My daughter said it looked like an orchard so, an orchard it is, at sunrise with the mist rising and a golden tinge spreading across the hills. There are four trees in the set but I repeated only one for this card, using close to cocoa for the trees at the back and chocolate chip for the foreground.
Supplies:
Stamps: Trees (Darkroom Door)
Inks: Certainly Celery, Always Artichoke, Chocolate Chip, Close to Cocoa, Summer Sun, Bashful Blue
Cardstock: Flourishes Classic White, Always Artichoke, Chocolate Chip
Also: Natural Cotton twine
A little more texture
Posted: April 6, 2011 Filed under: CAS, Of the Earth 11 Comments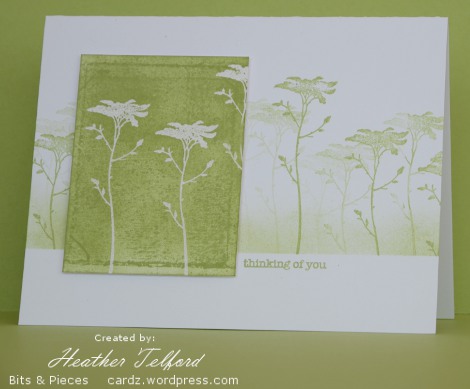
I haven’t had any time to stamp lately but I made this card a couple of weeks back when I was playing with the technique of laying the cardstock on the ink pad then rolling the brayer across it to pick up the texture of the fabric. The green panel with white flowers was done this way on a Certainly Celery ink pad after embossing the flowers in clear.
The background strip was made using one mask at the bottom. I stamped the flower repeatedly without re-inking the stamp then added a little sponging at the bottom.
I hope to be stamping again this weekend, especially as a stamp filled package arrived in the mail today!
Supplies:
Stamps: Of the Earth, Teensy Tiny Wishes
Inks: Certainly Celery, Versamark
Cardstock: Flourishes Classic White
Also: Clear e.p.
Casing the CAS (once more)
Posted: March 31, 2011 Filed under: CAS, Garden silhouettes 12 Comments
I delved into the CAS favorites thread at Splitcoast again for inspiration before making this card. I came across this lovely sponged panel card and wanted to create something just like it. I prefer Andrea’s beautiful scene with grasses to my silhouetted blossoms but I enjoyed creating something with a sponged panel over a sponged panel; most of my sponged cards lately have been one layer.
I masked the card base to create the horizontal panel, which I embossed in black then sponged in pretty in pink, almost amethyst and going gray. I then created a vertical image panel which I matted in black and popped up on the card base.
Supplies:
Stamps: Garden Silhouettes (SU), Taglines (Flourishes)
Inks: Versamark, Pretty in Pink, Almost Amethyst, Going Grey
Cardstock: Flourishes Classic White, Basic Black
Also: Black e.p.
OLW 46 Eggs
Posted: March 28, 2011 Filed under: Ageless Adornment, CAS 19 Comments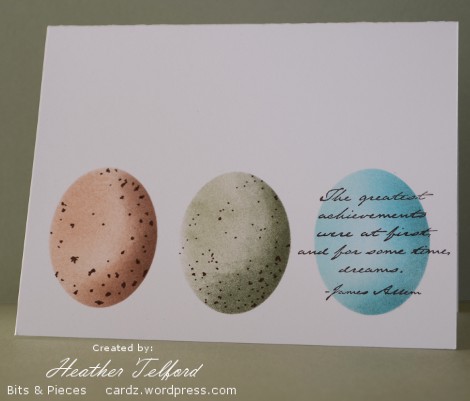
When I saw that Susan had picked eggs as the feature element for her One Layer Wednesday challenge this week, I knew I would have to think a little outside the box because I don’t own any egg stamps. I settled on cutting an oval mask so I could sponge or colour my eggs. My first thought was to cover them in designs which would make them look a bit like Ukrainian easter eggs but in the end I went for the natural look. I know eggs are not really oval shaped, but I decided it’s close enough. I sponged the eggs and added the flecks with a marker.
Supplies:
Stamps: Ageless Adornment
Inks: Caramel, Close to Cocoa, Mellow Moss, Always Artichoke, Tempting Turquoise, Going Gray, Chocolate Chip.
Cardstock: Flourishes classic white











 Heather Telford