
The Calendar Card
Posted: January 9, 2025 Filed under: Collage cards, simply perfect mix & match sentiments, Spellbinders | Tags: collage, Spellbinders 8 Comments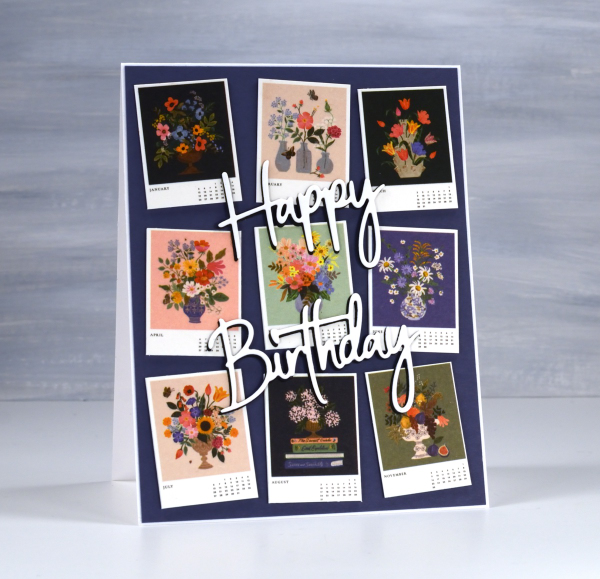
I’ve always liked the thumbnail page on a calendar. There’s something about seeing all the pictures in miniature which I find very cute. So when I bought a desktop calendar for a friend’s birthday I decided to remove the thumbnail page and create the card from the tiny month images.
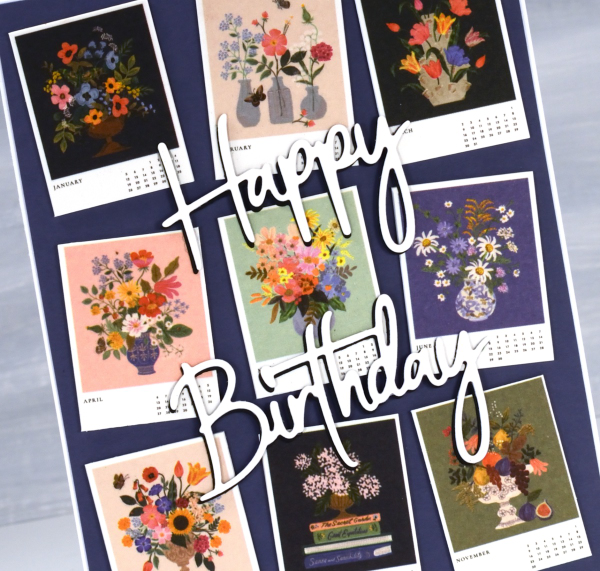
The calendar is made by the Rifle Paper company and the paintings are quite delightful.
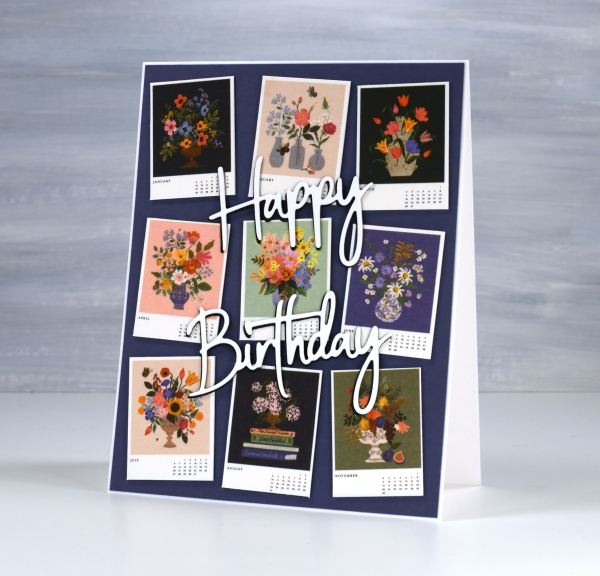
I stacked a white die-cut sentiment on a black one to help it stand out against the busy background. The dies are Spellbinders ‘simply perfect mix & match’ sentiment dies.
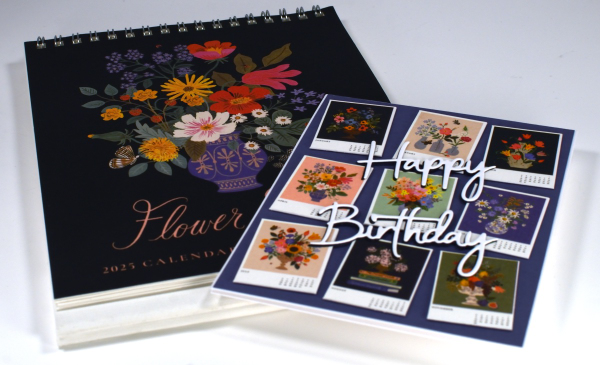
This gift has the added feature that if the recipient wishes, she can give me back the calendar pages as the months pass and I will turn them into cards for her to use. I enjoyed coming up with this card and idea and will be going through my calendar collection in the future to find both thumbnails and full pages I can turn into cards. In some ways I have come full circle; I made cards from calendars when I first started card making as a child.
Leaf & Stencil print – Video
Posted: July 16, 2024 Filed under: Darkroom Door, gel press, gelli plate, simply perfect mix & match sentiments, Tutorial | Tags: Darkroom Door stamps, gel press, gel printing, Spellbinders, video 6 Comments
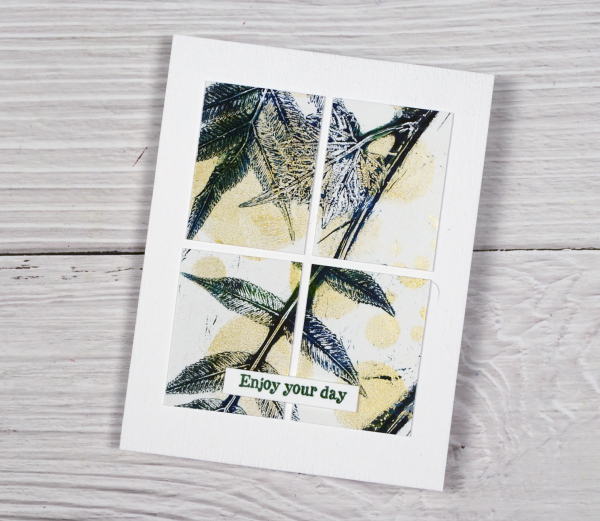
Last week I shared a leaf and lavender gel print video; in today’s video I have added some gold dots through the totally dotty stencil for some shimmer and extra interest. In the video you will see the gel printing process. I turned the printed panel into five cards and I have listed the added stamps or dies below each card photo. I have an in-person botanical gel printing class coming up on Saturday July 27th and there are a couple of spaces left if you’re interested.
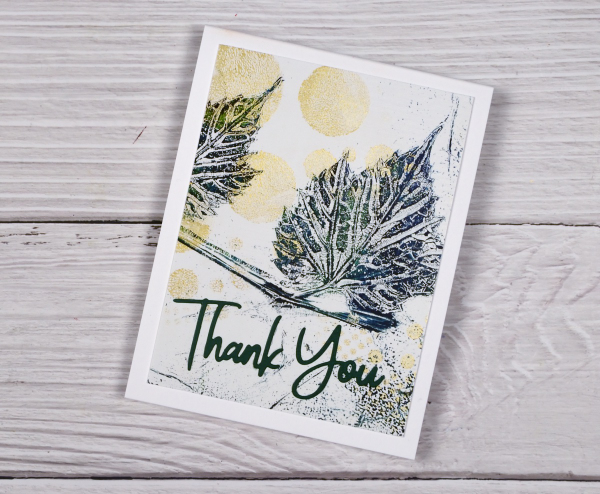
I added a die-cut sentiment in dark green to the panel above using the Spellbinders ‘simply perfect mix & match’ sentiment dies.
Even though I brayered blue, green and black paint very randomly on the plate, I like the way patches of one colour or another appear on the leaves.
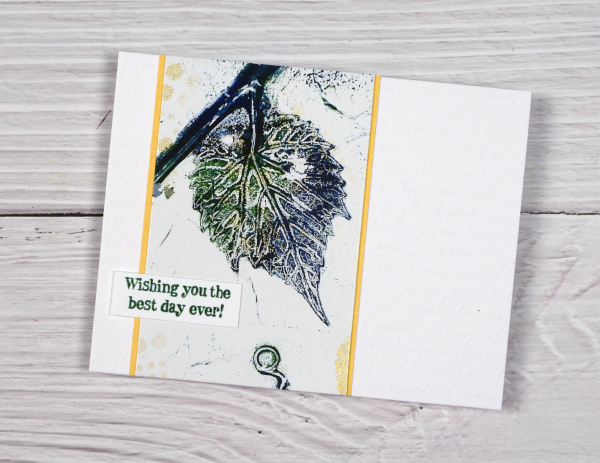
To create the card above I embossed a white panel using the Stampin’ Up embossing folder scripty, added a gold mat behind the gel printed panel and added a Darkroom Door sentiment from the ‘happy birthday’ sentiment strip.
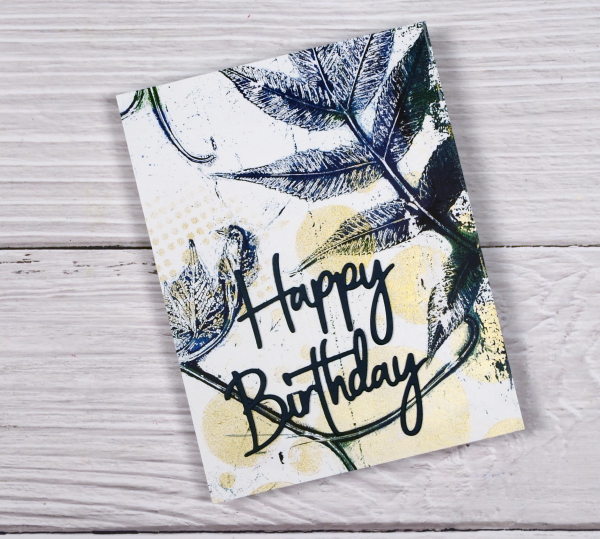
The panel above covers the whole card front and has a stacked green die-cut sentiment from the same Spellbinders set mentioned earlier. I stacked two layers for the sentiment to help it stand out from the stems on the gel print.
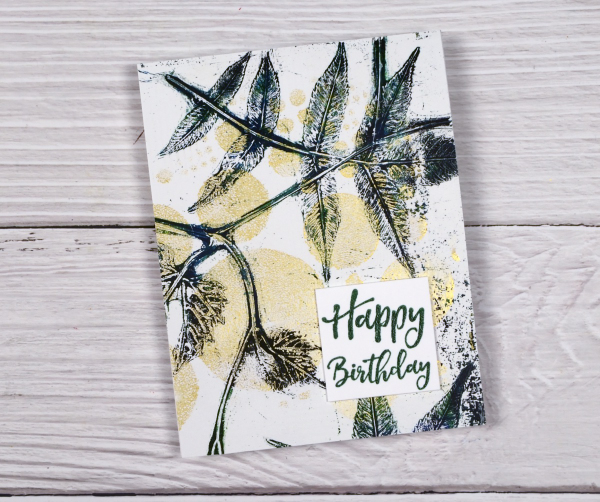
Another full card front panel above with a Darkroom Door sentiment. The gold looks shinier in real life but I think you can see some shimmer on both the card above and below.
You can cut your gel print panels to any size, sometimes cutting a large shape into smaller shapes is a good way to add interest to a layout. I’ve added another DD sentiment to the card above. I had fun printing the panel and working out how to get the most out of it for cards. I can give these away individually but I think I might keep them together as a gift set.


