
Peerless Watercolours and a video
Posted: October 10, 2016 Filed under: Grateful, Peerless watercolours | Tags: Peerless Transparent Watercolors, Penny Black stamps, WOW embossing powders 16 Comments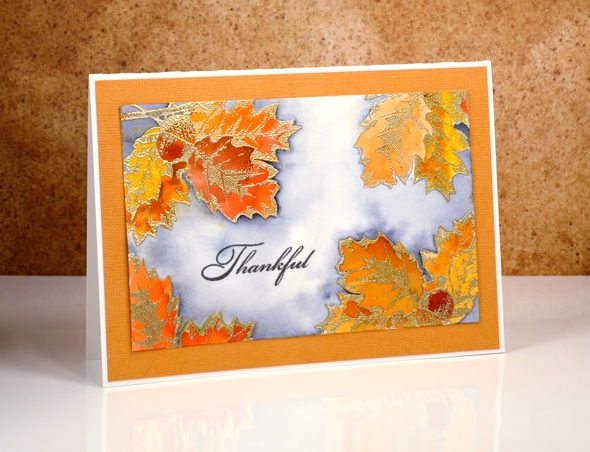
I have something new to share today, new to me that is. The Peerless paints have been around since 1885! Shauna from The Foiled Fox sent me the Peerless watercolour paints and they are beautiful. As the trees outside are turning stunning colours it seemed the perfect theme for my first peerless project. To read all the details about this card pop over to The Foiled Fox blog and read my guest post. Scroll down below to see how I set up a palette for my peerless paints.
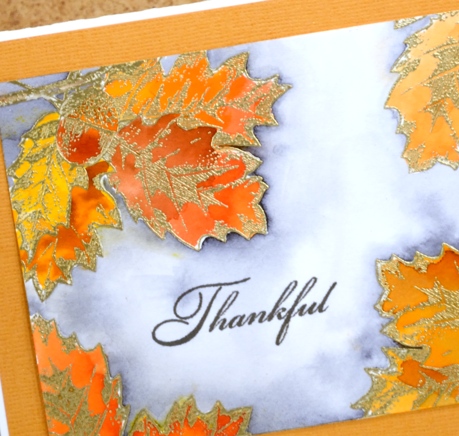
Peerless watercolours are embedded in dry sheets. You touch the dry paint with a wet brush to pick up colour. To see how I set up my paints so I could access all the colours on one fold out palette, watch the video below.
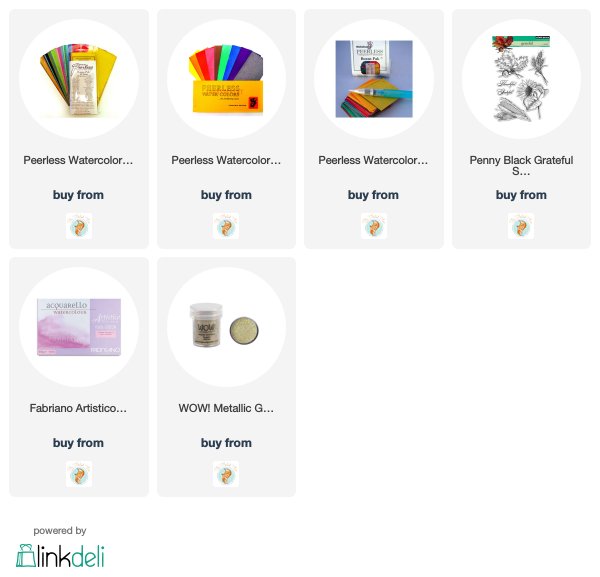
Supplies
Birch and Brusho
Posted: September 1, 2016 Filed under: Grateful, Nature's Gifts, Nature's Silhouettes, Woodland Beauty | Tags: Brusho, Penny Black stamps, Tsukineko Memento inks 15 Comments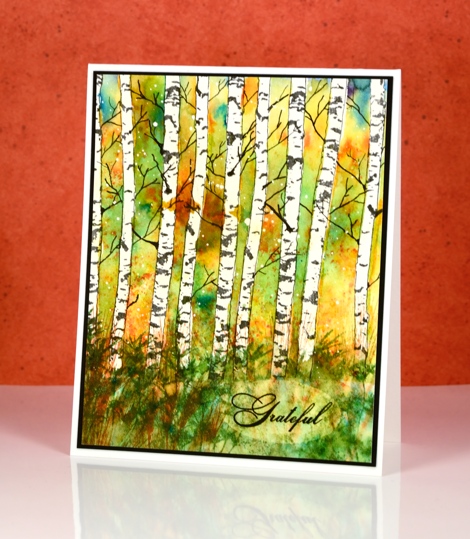
The tree stamp I have to share with you today is not technically a ‘tree’, it’s really a pair of trunks but it is oh, so versatile when creating trees for landscape scenes. I stamped it multiple times on this panel but you could just as easily stamp a single tree, a bent tree, or even some logs lying on the ground.
Before stamping I splattered a piece of watercolour paper with masking fluid, cut a hill shaped mask out of a post-it note and positioned it at the bottom of the panel. I stamped birch trees across the panel in versafine onyx black ink which is waterproof. To mask the trunks I painted masking fluid over all the trunks and let it dry. The next steps I did over a long period of time, not because I had to but because I wanted to let it dry naturally each time I added colour. With the trees and the ground masked I sprinkled a little leaf green and yellow brusho over the panel, spritzed it and let it dry. Later I came back and did it again but added some gamboge to the mix. I did this several times, always letting it dry in between. This allowed me to create patches of colour rather than the one big blend of green, orange and yellow I would have created if I had done it in one go.
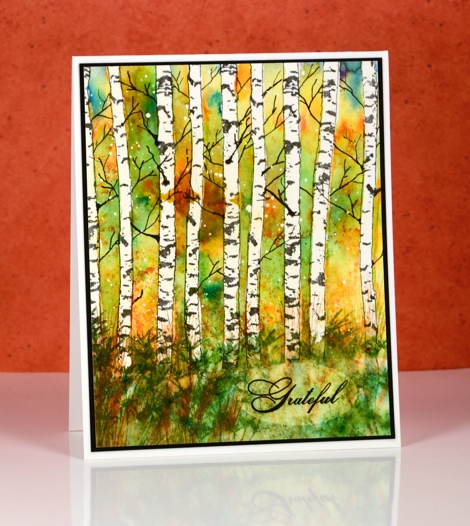
After all the panel dried I removed the masking fluid from the trees and added some brusho to the ground area. While it was still wet from spritzing I added a couple of grassy stamps with memento inks. The grasses blended into the damp paper. I waited until it was almost dry then stamped the same grasses again resulting in a bit more definition. To finish the scene I used some pigma micron pens to add thin twiggy branches between the trunks. Finally I removed the splattered masking fluid.
I wanted to add the sentiment without adding another layer but the colour of the grassy area was too dark. To lighten it I punched an oval out of frisket film then positioned the aperture piece over the watercolour panel so I could remove paint with a damp brush and a paper towel. The result was a lighter oval patch where I could stamp the one word sentiment in black.

The two birch trunks in the Nature’s Silhouette set are going to be so handy for adding birch trees to cards for any season. I’ve already tried it on a winter scene which I will share another day.
Supplies:
Stamps: Woodland Beauty, Nature’s Silhouettes, Grateful, Nature’s gifts (PB)
Paints: Leaf green, yellow & gamboge Brusho powders (Colourcraft)
Inks: Potter’s Clay, Cottage Ivy Memento ink (Tsukineko)
Cardstock: Moulin du Roy 100% cotton hot pressed watercolour paper
Also: masking fluid


