Brusho emboss resist
Posted: April 5, 2019 Filed under: a floral twist, Brusho, trees in bud | Tags: Brusho, Penny Black stamps 7 Comments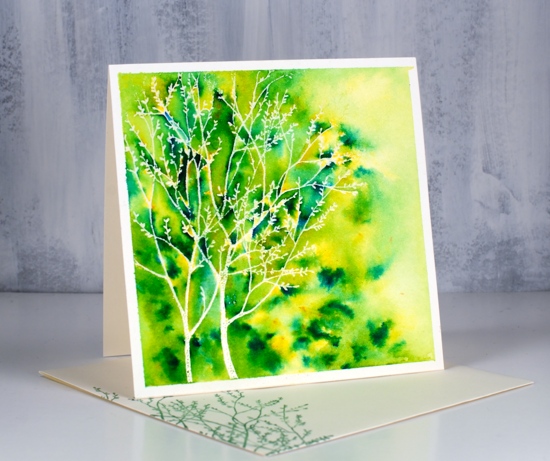
Emboss resist with brusho makes me happy for several reasons. You never know quite what you will get but it is almost always pretty and sometimes amazing. I recently used the technique in a class I taught and realised I hadn’t used it on the blog for a while. There are several ways to do emboss resist panels with brusho and I have two methods for you today. You can watch another technique I’ve done in a video for that you can find here.
A single brusho colour (same with colorburst, bister and nuvo shimmer) is usually made up of a mix of pigment crystals which combine to give you one colour when activated with water. If you don’t mix the powder and water thoroughly you can see all the different pigments that make up the colour. I often sprinkle brusho on a panel, spritz it and wait to see where different colours appear. Lime green is made up of a mix of yellow and blue, more yellow than most other greens. When I sprinkle it on a panel there will be plenty of yellow powder that will activate when I add water. When I spritz the water over the powder and don’t move the paint around it will dry in different coloured patches especially on an embossed panel because the embossing traps the powder and water.
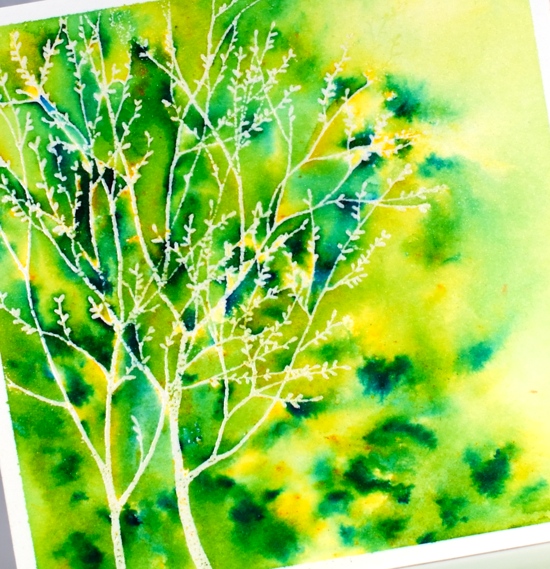
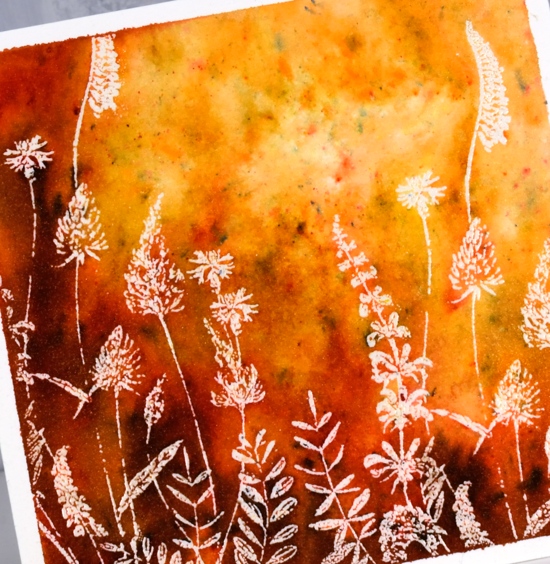
On this first panel I did what I have just described, I let the powders ‘fall where they may’ and did minimal blending with my paintbrush. I used only lime green brusho and sprinkled mainly where the embossing was then used the paintbrush a little to make sure paint filled every nook and cranny and to blend diluted colour to the right of the tree. The stamp is PB trees in bud embossed in clear powder on hot pressed watercolour paper. The stamp below is ‘a floral twist’ also from Penny Black.
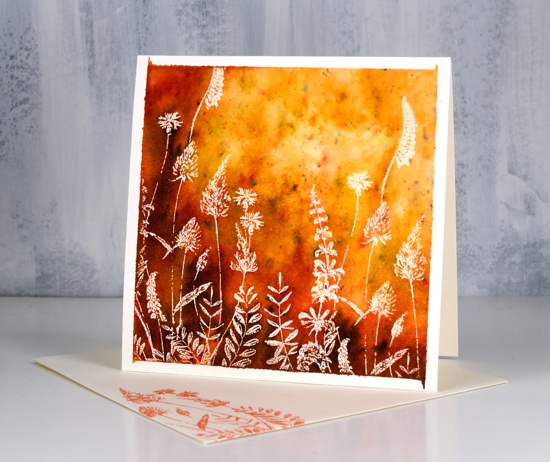
On this second panel I started by using the same technique as above but did not get as much colour variation or ‘trapped colour’ so I blended my first colour ‘sandstone’ with a paintbrush, dried the panel with a paper towel then sprinkled ‘terracotta’ brusho over the embossed area, spritzed with water and did some more blending with the paintbrush before adding just a little burnt sienna brusho. The overall effect is smoother blends but still some spots of different colours here and there.
The technique I show in the video is even more controlled where I sprinkle different colours of brusho in specific parts of an embossed image.
I wanted the white frame effect on today’s panels so I taped them down firmly with frog tape before doing any painting. A little colour leaked under the corners on the second panel but that didnt worry me. I attached the panels to cream card bases and stamped the same image on cream envelopes. I decided not to add sentiments on the front this time; I can always add one inside.
Supplies
Floral corners
Posted: February 22, 2019 Filed under: a floral twist, painter's vase, Penny Black | Tags: Penny Black stamps, Ranger Distress inks, Tsukineko Versafine inks 10 Comments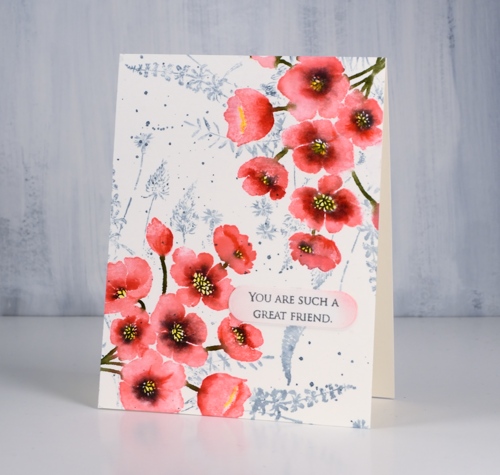
Today’s card features two new brushstroke stamps from Penny Black. The pink flowers in two corners of my panel are from a vase + flowers set called ‘painter’s vase’. I just used the flower stamp but there is a vase stamp I’ll use another day.
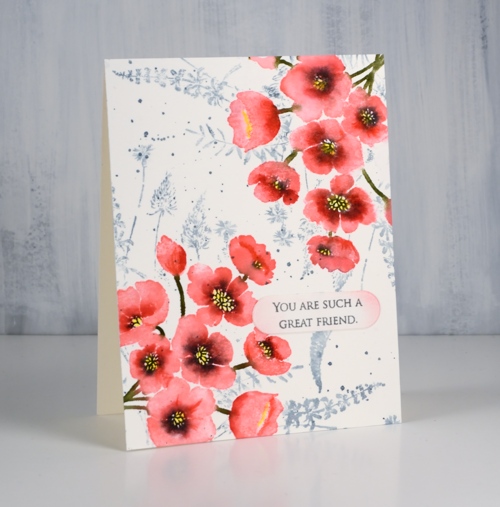
I used my stamp positioning tool (MISTI) and placed the flower stamp overlapping one corner of the hot pressed watercolour panel. I stamped the whole image in worn lipstick distress ink knowing the forest moss ink would be bold enough to cover the pink later. Without moving stamp or panel I inked centres and edges of the flowers with candied apple distress ink, stamped then blended the two pinks with water. I then added black soot ink to the flower centres, stamped and let the panel dry. I coloured in the flower centres with a sun yellow inktense pencil and shaded some of the flower centres and edges with poppy red. Then I flipped the panel 180° and repeated the whole process.
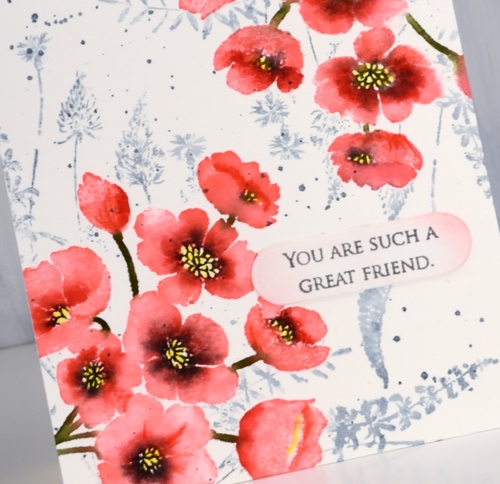
To add a background I had to mask the flowers so I stamped them on masking paper, cut them out and covered my completed corners while I stamped ‘a floral twist‘ stamp in weathered wood distress ink and added a few splatters too. All that was left was to add a sentiment; I decided on something small from ‘grateful sentiments’ on a little die cut label with the edges sponged in worn lipstick ink.
Thanks for dropping by today; it is great to be blogging with a bit of regularity again.
Supplies