Birthday tulips
Posted: June 15, 2020 Filed under: blooming bunch, Penny Black | Tags: Kuretake Zig clean color real brush markers, Penny Black stamps, Waffle Flower dies 6 Comments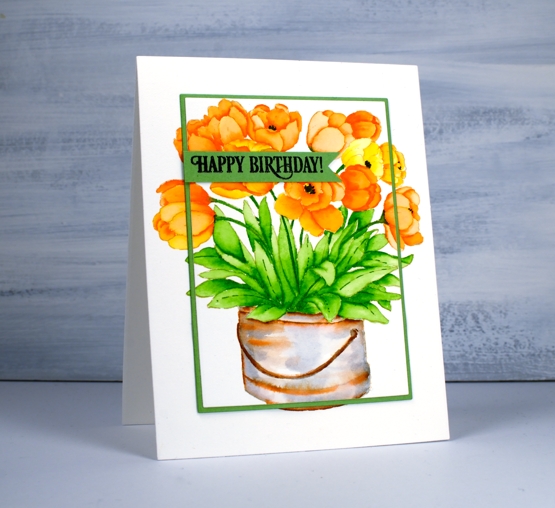
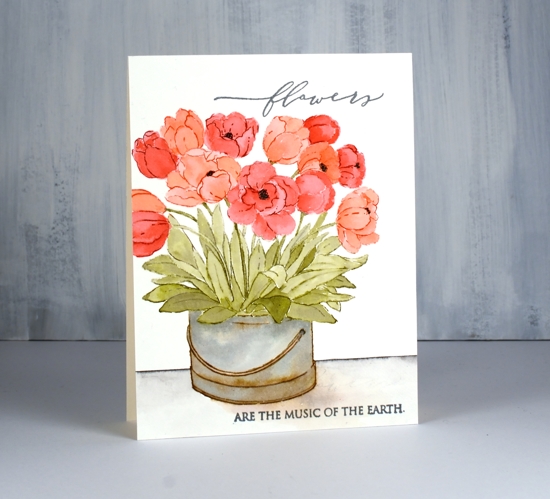
Are all your tulips gone? None of mine flowered this year, not even the faithful two that predated our move into this house! I have planted quite a few over the years but I believe they became squirrel lunches. These ones are coloured with zig clean colour real brush pens. I chose an orange and a yellow then coloured some in just orange, one just yellow and a few with a mix of the two pens. The whole image was first stamped in antique linen distress ink which is so good for no-line colouring.
Once again I really enjoyed painting the bucket to give it an aged look with a mix of grey and brown pens. I drew the black centres in after colouring.
To frame the tulips I used two dies, a smaller one from the Waffle Flower A2 layer dies to cut the stamped panel and the other from Waffle Flower additional A2 layers to cut a very narrow green ⅛” mat.
The sentiment is from PB ‘birthday humor’ set but I stamped only part of the phrase and cut it with a die from the PB ‘pocket full’ die set.
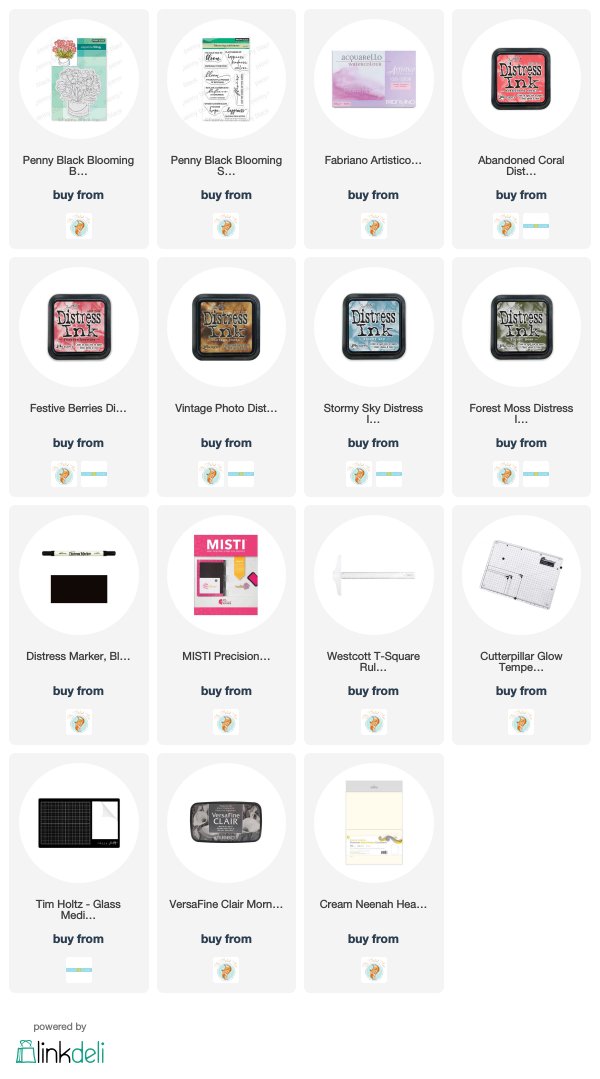
Supplies
Blooming Bunch
Posted: March 4, 2020 Filed under: blooming bunch, Penny Black | Tags: Fabriano Watercolour Paper, no-line watercolour, Penny Black stamps, Ranger Distress inks 5 Comments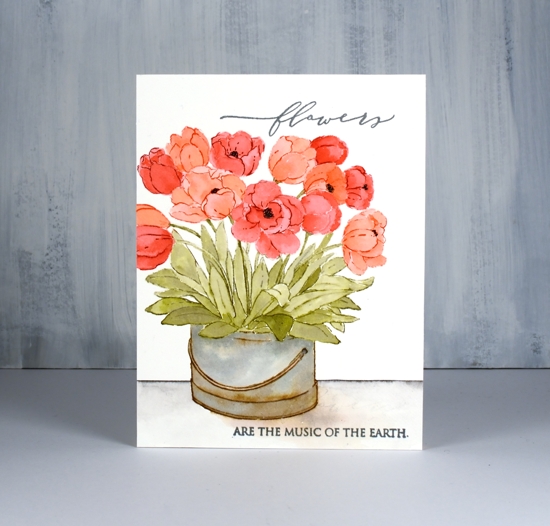
It’s time for a new release from Penny Black! This one’s called Secret Garden and it is full of gorgeous floral stamps and dies (and other cuteness). I will be sharing projects here on the blog in the coming weeks.
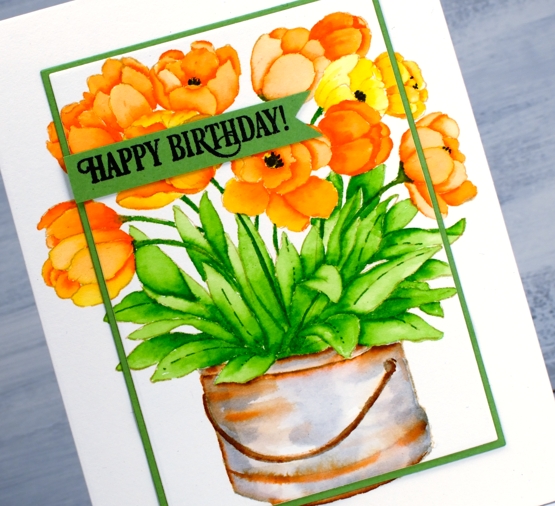
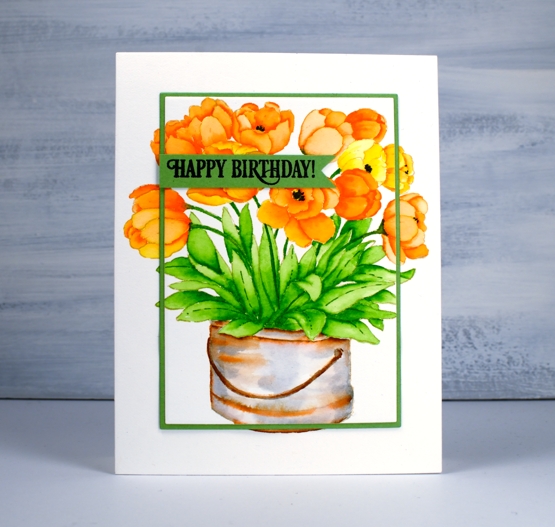
This lovely bucket of tulips turned out to be the perfect stamp for distress ink no-line watercolour. I inked the flowers one at a time in either festive berries or abandoned coral then blended ink from stamping along with a little extra from smooshing on my glass mat. I kept the panel (hot pressed watercolour paper) in the stamp positioner as I was painting my way through the flowers. I blended the stamped ink within each flower and added more ink towards the base of the petals. I tried to work on flowers that were not adjacent to each other so the inks didn’t run into each other. When all the flowers were done I inked some of the outlines again with a marker and re-stamped to add a bit of definition here and there.
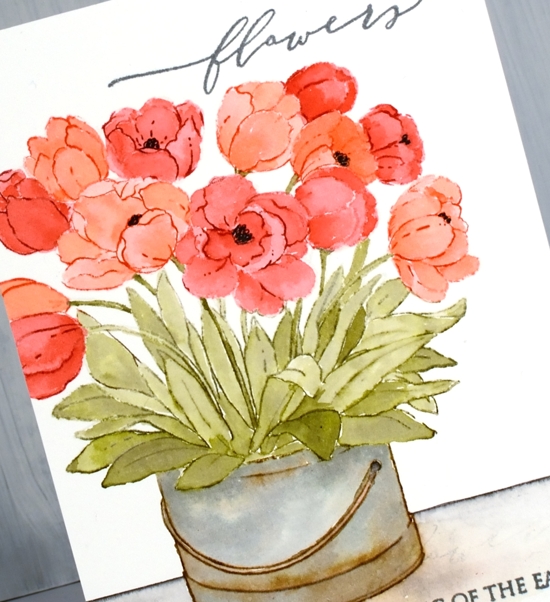
I used forest moss distress ink for the stems and leaves. Forest moss is quite a dark ink so I diluted it for some of the leaves and was able to get depth and shadows.
Painting the bucket was my favourite part of the process; it isn’t fiddly and the mix of vintage photo and stormy sky ink made it look old. To ground the image I ruled a line with a black soot marker then blended the ink downward and painted a shadow at the base of the bucket with some stormy sky ink and a tiny bit of abandoned coral ink. I finished the card with a sentiment from the new ‘blooming sentiments’ set. It is one sentiment but I did some masking in order to stamp the large word at the top and the rest of the text at the bottom of my card front in versafine clair versafine clair misty morning.
See you again soon with more from the PB ‘Secret Garden’.
Supplies