
Gelprinted Phlox
Posted: October 5, 2023 Filed under: gel press, Taylored Expressions | Tags: gel press, gel printing, Taylored Expressions 2 Comments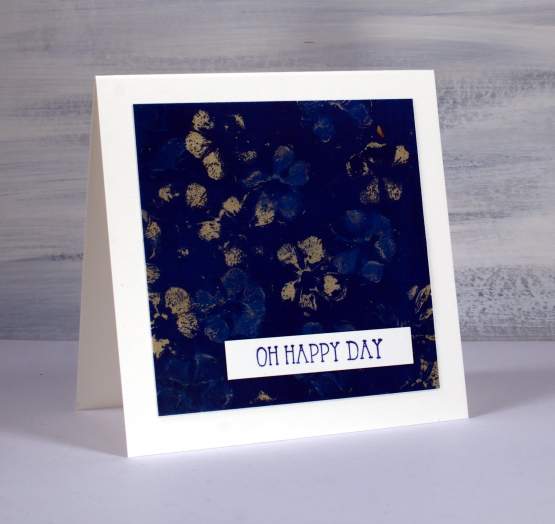
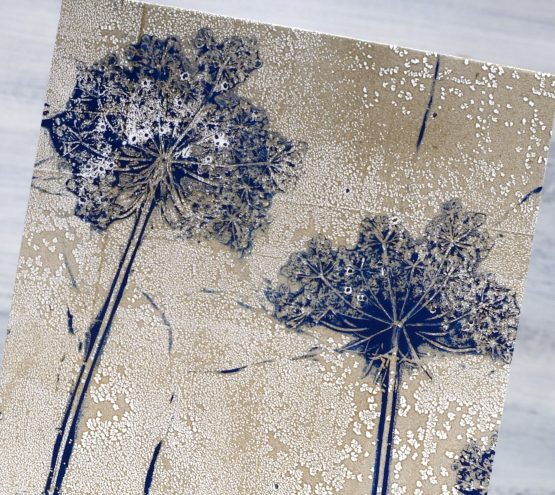
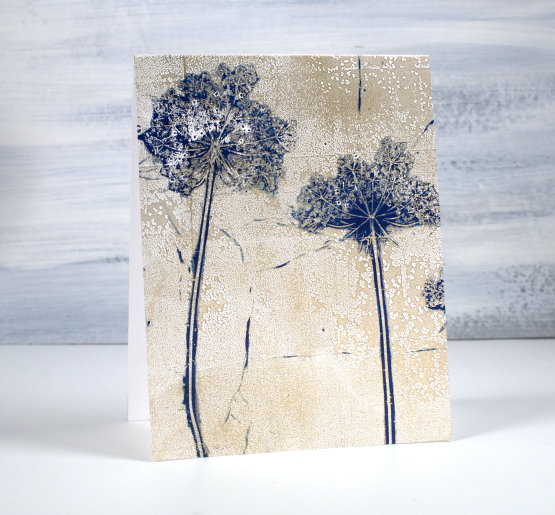
Yes, it’s another floral print from the gel plate. For this one I used phlox from my garden. I found that the phlox came apart quite easily so what I ended up doing was grabbing the little flowers that make up a whole flower head and stamping them individually. It took a little more time to press the flowers onto the plate one by one but the resulting print was very pretty.
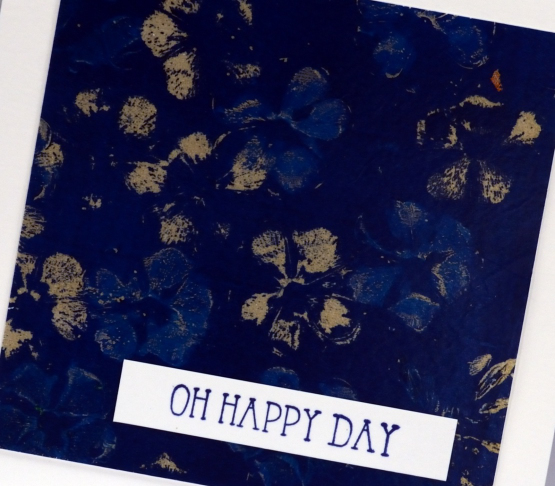
When you look closely you will see the flower prints are two different colours, tan and blue. I brayered dark blue paint on the plate then pressed the little phlox flowers into the paint. As I pressed a flower onto the plate it removed paint leaving an empty flower shaped space. If I immediately pressed the flower onto the plate again it left a blue print because the petals were already covered in paint and wouldn’t remove much more until I ‘stamped’ the paint off on scrap paper. I picked up the print with shimmery pale gold paint which shows through where the flowers removed more paint.
To see my technique for gel printing with flowers check out my recent youtube video.
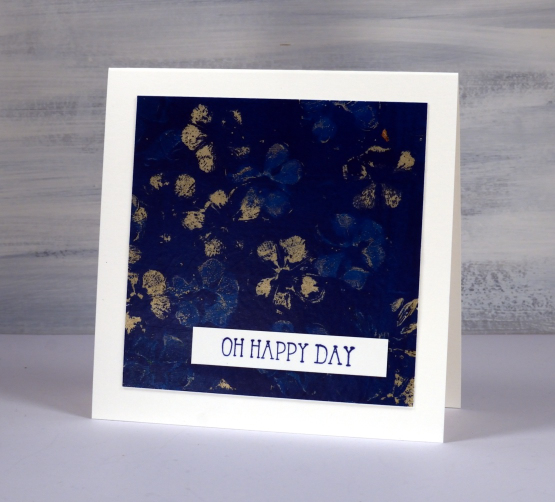
I used the print to make an anniversary card for a lovely couple celebrating their 55th wedding anniversary. Once again the sentiment from Taylored Expression stamped in versafine clair twilight ink said it all.
My blog features affiliate links to the following companies. If you buy through these links I receive a small commission at no extra cost to you.
Butterflies
Posted: October 3, 2023 Filed under: butterflies, Echidna Studios | Tags: Echidna Studios, Finetec artist mica watercolour paint, sennelier watercolours 2 Comments
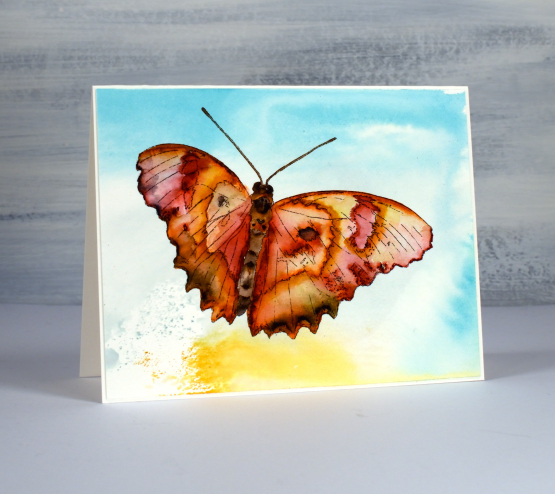
The two butterfly images featured on today’s cards are part of a digital set called ‘butterflies‘ from Echidna Studios. If you look closely at the butterfly above you can see a hint of shimmer in that centre blue section. Most of the paint is actually shimmery in real life I just couldn’t capture it on camera.

To get the shimmery look on the wings I painted with traditional watercolours first then painted over the top with finetec pearlescent watercolours.
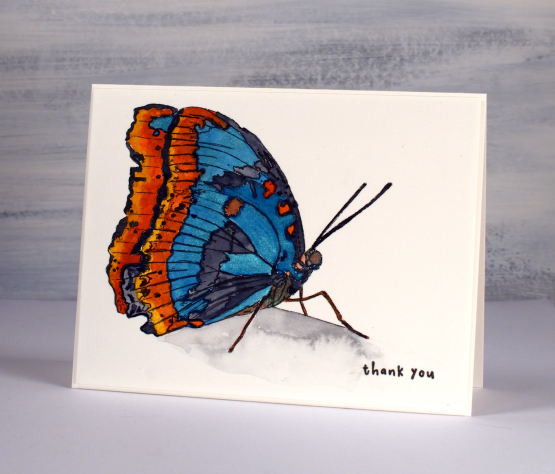
The stamp above has a line on it which suggests an edge to ground the butterfly; it’s clearly not in flight. I painted the area under the line with a pale grey paint then added water to spread and dilute the colour. You can see I added water to a dryer area; that’s why I got the cauliflower effect. I could have smoothed out the whole area but I occasionally like those kind of watermarks; they add interest. I completed the card with a teeny sentiment which balances the black outlines of the printed butterfly.
The second butterfly is in flight so I have nothing in the scene other than background colour. I printed the digital image with the laser printer on hot pressed watercolour paper then, before painting the butterfly I picked up some smooshed and diluted ink from my glass mat.

I feel like I have described my smoosh, spritz and swipe method many times but if you haven’t heard me mention it before here’s how it goes. I smoosh(press down) a distress ink pad on my glass mat to leave ink. In this case I used tumbled glass, scattered straw and weathered wood. I spritz the ink so it spreads and sometimes blends then I swipe my panel of watercolour paper through the ink. You never know what you’ll get. Sometimes I re-swipe to pick up a bit more ink.

After the abstract background was dry I used Sennelier watercolours to paint the butterfly. Painting a butterfly is trickier than I thought. In my mind the wings are full of blended colour but actually they are full of intricate patterns that don’t blend together. All that to say this is definitely not a botanically correct painting!
Today’s post features affiliate links to the The Foiled Fox. If you buy through these links I receive a small commission at no extra cost to you.
Gel Print Floral Card Combos – Video
Posted: October 2, 2023 Filed under: gel press, Tutorial | Tags: gel press, gel printing, Tutorial, video 2 Comments
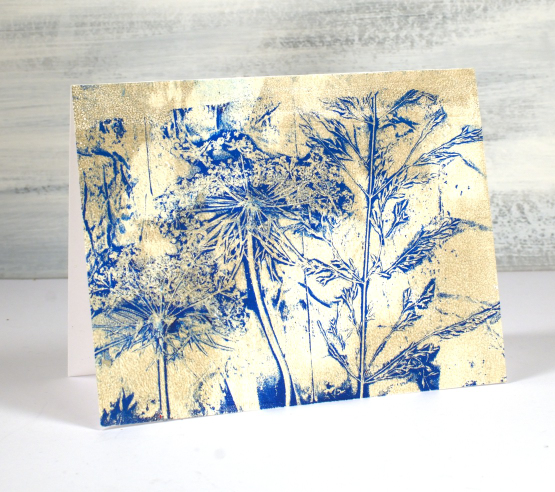
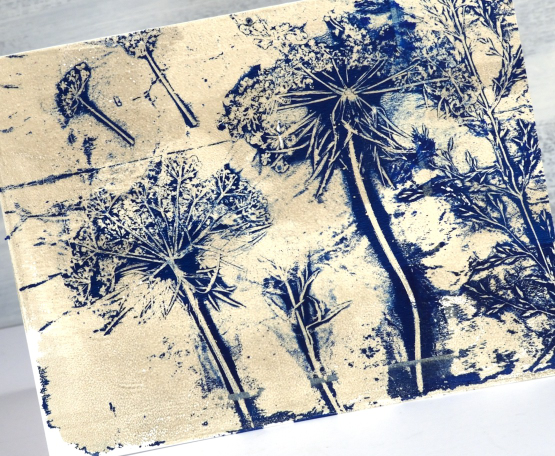
One of my favourite things to print on a gel plate is flowers. One of my favourite flowers to print is Queen Anne’s Lace. You might think, as I did, that Queen Anne’s Lace would be too fragile to print but it is surprisingly strong and the gel plate picks up all that delightful detail.
I don’t always print an envelope and card front in one go but it is a nice way to get a matching pair. I used a 9″x11″gel plate to easily fit both. I mention in the video that you can print the flowers over and over; the paint that clings to the flower head makes it sturdier rather than pulling it apart. The first few prints might leave some seeds on the gel plate and print but that just adds to the realism in my opinion.
Thank you to those of you who subscribed to my youtube channel last week. I am slowly building my community of subscribers again after losing my first channel. There are some of my early gel printing videos on the new channel marked with a ‘from the archives’ label and there is a gel printing playlist if you want to binge the lot.
If you don’t have a gel plate large enough to pick up a card front and envelope in one print you could always do two prints one after the other keeping your paint colours the same.
Below are a few more card and envelope combos I’ve printed using this same technique with a sticker to mask a space larger enough for the address.

You can see on this card featuring Queen Anne’s Lace and grasses that the print does not reach to the top of the card front. I guess I didn’t press down evenly when taking the print.
Of course you can make co-ordinating card and envelope prints using any pattern; it doesn’t have to be plants but when I have plants, not snow in the yard I like to choose plants. I’ve also used stencils.

I hope you give this technique a try; it makes an eye catching bit of mail to send. Make sure you use removable stickers to mask your address box; you can probably guess why I mention that!
If you are new to gel printing check out my online course Gel Print Journey to learn all the basics and try all sorts of patterns and combos.


