
Watermarked
Posted: July 6, 2010 Filed under: Of the Earth Leave a comment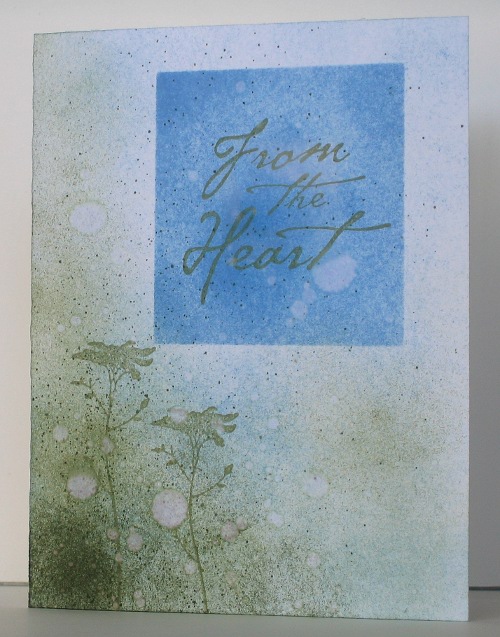
This card came together by accident. I had stamped a small square image and embossed it so I could sponge in some colour after the embossing. Once I had done that I decided to mask an area on the card base to make a frame; that is the blue square you see on the card. When I positioned the square image on the blue sponged area it did not look any good so I just started experimenting, adding sponging all over the card. I added some artichoke sponging and some ink splatters and it began to look like I could make something out of it. I added the flowers and then did some spattering with water which disperses the ink creating little watermarks. The watermarks are my favourite part of the card. I added a sentiment and ended up quite happy with the card which was nothing like what I had imagined. If you click on the image you can see the watermark effect more clearly.
Thanks for dropping by, I am enjoying having time to stamp and browse other people’s blogs again.
Supplies:
Stamps: Of the Earth, All Year Cheer
Inks: Bashful Blue, Always Artichoke
Cardstock: Flourishes Classic White
Sponged and speckled
Posted: July 5, 2010 Filed under: Extreme Elements 5 Comments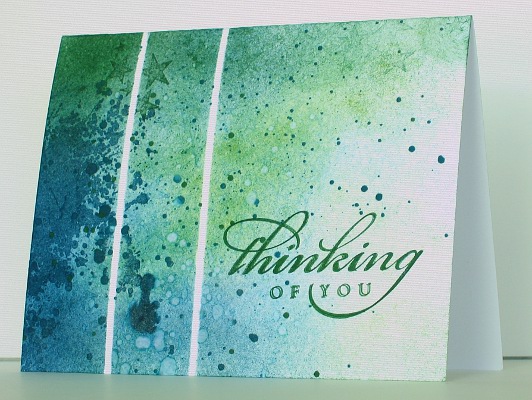
This is yet another take on the masked and sponged background. I chose the colours of water and the splodge from Extreme Elements as my main focus. There are some faint stars in there as well. As I have ink refills for some of the colours I was using I dipped a small paint brush in the ink and flicked it randomly over the design. I then flicked some water and finally positioned the sentiment.
Supplies:
Stamps: All Year Cheer, Extreme Elements
Inks: Not quite Navy, Garden Green, Certainly Celery
Cardstock: Flourishes Classic white
Shabby flourish
Posted: July 4, 2010 Filed under: Baroque Motifs, CAS 1 Comment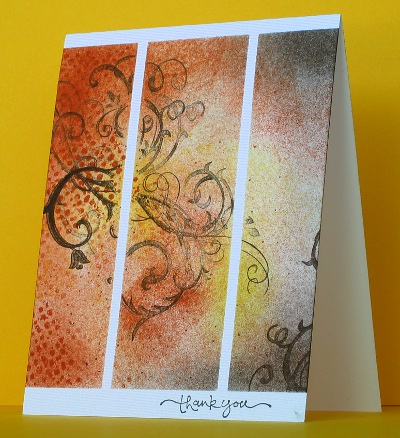
Inspiration can come from just about anywhere. This time it came from the backdrop of a concert I was watching last night. The overall colour scheme was antique browns and the flourishes extended across the backdrop as the song progressed. My aim was to produce something with the shabby antique look. I have also enjoyed viewing Susan’s One Layer Wednesday challenges over at Simplicity although I haven’t had a chance to participate yet. The outcome was a one layer, shabby card with some masking as well.
To create this card I cut thin strips from the sticky end of a post-it note and laid them on the card before placing more post-it notes on the top and bottom. I built up the colours by sponging Chocolate chip, Really Rust and Summer sun ink. For a little texture I used the dotted stamp from Extreme Elemnts. I also added tiny dots with markers and stamped the flourish several times to complete the card.
Supplies:
Stamps: Baroque Motifs, Extreme Elements, Short and Sweet
Inks: Chocolate Chip, Really Rust, Summer Sun
Cardstock: Flourishes Classic white
Cuttlebug music thankyou
Posted: June 29, 2010 Filed under: Cuttlebug, Upsy Daisy 1 Comment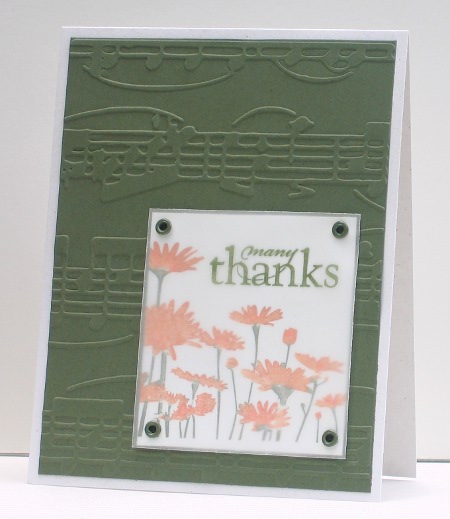
As I have mentioned before my daughters are violinists, so I am always on the lookout for nice musical stamps or images. I have had this embossing folder for a while but I think this is the first time I have used it. My 15 year old is moving to a new teacher after 10 years with our current teacher. We prepared sushi as a gift for her and gave her this card when we attended the final lesson.
The daisy image was completed using markers directly on the stamp. I stamped the “Many Thanks” stamp on the vellum overlay, which unfortunately makes my picture look really out of focus.
Supplies:
Stamps: Upsy Daisy, All Year Cheer
Inks: Old Olive, Pumpkin Pie, Only Orange
Cardstock: Old Olive, Vellum, Whisper White, Confetti White
Also: Artichoke eyelets, Allegro cuttlebug embossing folder
Natural Thanks
Posted: June 28, 2010 Filed under: With Gratitude Leave a comment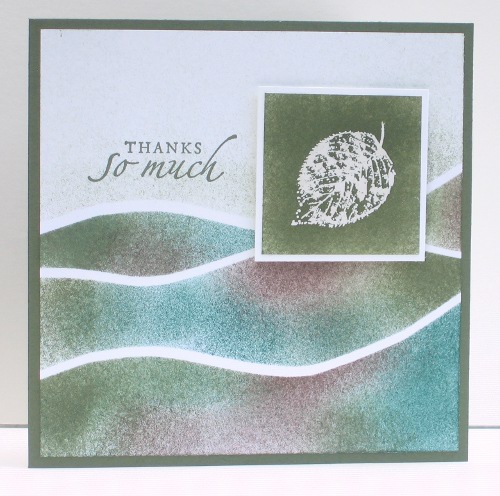
I repeated the layout I used in my previous card and just changed the colour scheme and the stamped image. As I wanted a white leaf on artichoke, I embossed it in white and then sponged over and around it before cutting it out. This year my children have been involved in an Outdoor education program at a campsite out of town. This was the thank you card for the owners of the campsite. The method was the same as my So Glad card and the inspiration, Joan’s gorgeous card.
Supplies:
Stamps: With Gratitude, Sincere Salutations
Inks: Chocolate Chip, Always Artichoke, Handsome Hunter
Cardstock: Always Artichoke, Whisper White
Also: White embossing powder
So Glad
Posted: June 27, 2010 Filed under: Of the Earth 3 Comments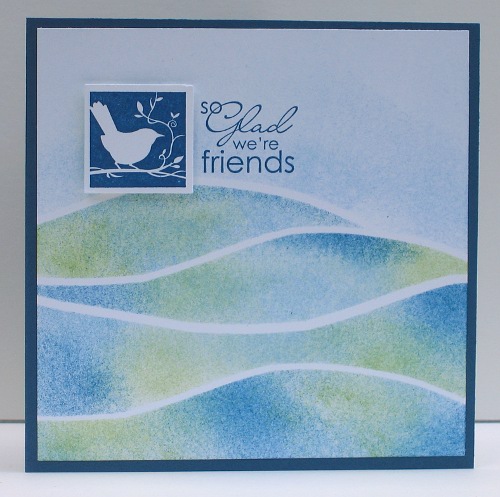
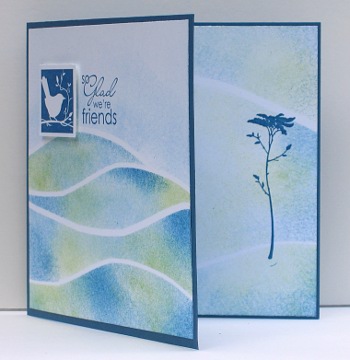
I am so glad to have a card to post after such a long time. I needed a birthday card for a close friend of mine plus a couple of thank you cards so I devoted most of Sunday afternoon last weekend to the task. This card was inspired by the fabulous card I saw on Joan Bardee’s blog Paperlicous. As soon as I saw it I knew I had to make one just like it. I cut a curve across a piece of paper to use as a mask, holding it in place to sponge before positioning the other half of the paper just above where I had sponged to create the white unsponged strip. I also did a similar thing inside the card. The little bird image is punched out and popped up.
Supplies:
Stamps: Of the Earth, Best Yet
Inks: Bashful Blue, Certainly Celery, Not Quite Navy
Cardstock: Not quite Navy, Whisper White
Watercolor Grasses
Posted: May 2, 2010 Filed under: Inspired by Nature 5 CommentsWeeks ago I believe I said I had one more of my watercolor cards to share. Here it is at last. Sad to say but I have not made a card in quite a while. The stamps are calling to me, though, quite clearly.
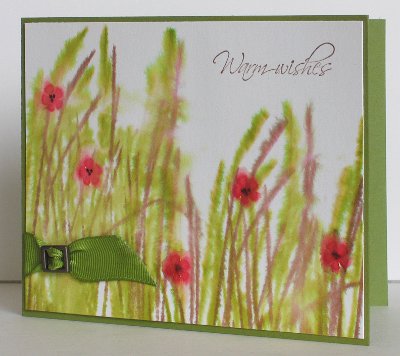
For this card, if I remember correctly, I sponged the paper and the stamped the grasses straight onto the wet watercolor paper. I stamped the same stamp in old olive and close to cocoa, but what was interesting was the way the old olive separated into green and yellow pigments giving me three colors. I then added little red flowers and drew black centres in them.
Supplies:
Stamps: Inspired by Nature, Itty Bitty Buds, Hugs and Wishes
Inks: Old Olive, Close to Cocoa, Real Red
Cardstock: Old Olive, Watercolor paper
Also: Olive Grosgrain ribbon, Hodgepodge hardware buckle
Dissolving blossoms
Posted: April 3, 2010 Filed under: Garden silhouettes, Uncategorized 3 Comments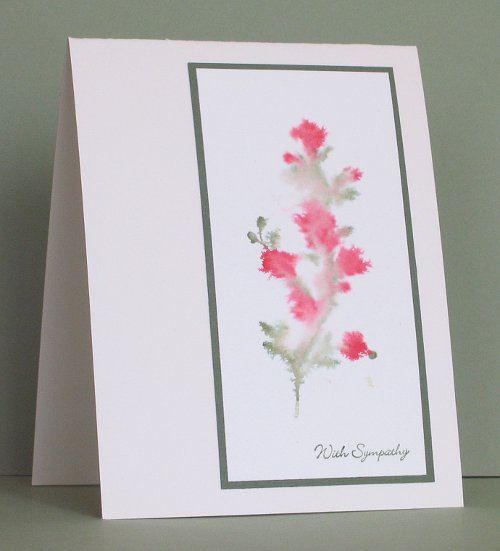
Yes, it is another watery coloured image! (It definitely looks better if you click on it to see it full size)You can see I had fun with this technique. There is only one more after this one, then I will try and move onto other techniques, I think.
Once again I wet the watercolor paper then inked the stamp with markers before stamping it on the wet paper. There is quite a lot of blurring in this image but I still like the contrast of the sharper leaf tips with the dissolving flowers.
Supplies:
Stamps: Garden Silhouettes, Teeny Tiny Wishes
Inks: Real Red and Always Artichoke Markers
Cardstock: Flourishes Classic White, Always Artichoke
Watercolour split
Posted: March 28, 2010 Filed under: Inspired by Nature 1 Comment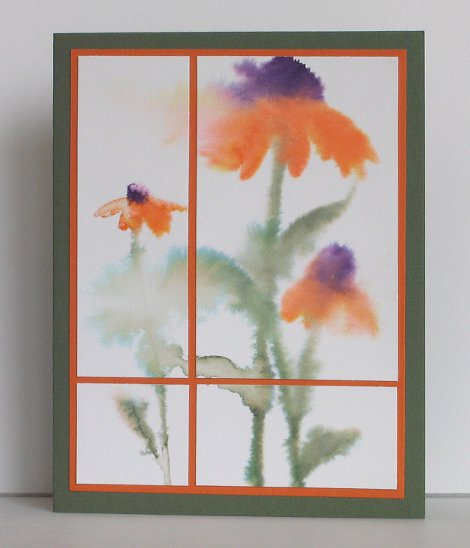
As you can see I am still on the watercolor kick. I know some might think the blurring and blending is a little over done here but I like the way some of the petals and leaves float away into nothing. To create this effect I inked up the stamp with Stampin’ Up markers and sponged the watercolor paper all over before stamping. Then I stepped back and watched the magic. Where the ink pooled in an unattractive way I soaked it up with paper towel.
Finishing the card was harder than creating the image. I started by making rough edges around the image but then cut them off again. I didn’t really want to stick any panels over the image but wanted to break up the layout a little so splitting it seemed to be the only solution. (well the only one that came to me) I think this works because the focus moves from one flower over to the two flowers.
Supplies:
Stamps: Inspired by Nature
Inks: Pumpkin Pie, Always Artichoke, Elegant Eggplant
Cardstock: Acquarello Watercolor Paper, Pumpkin Patch, Always Artichoke
Watercolored poppies
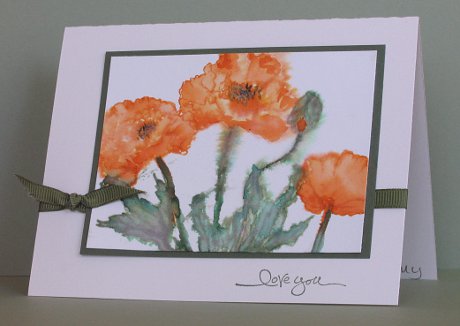
Posted: March 26, 2010 Filed under: Poppy Patch 2 CommentsAs I have been having fun doing some watercolor painting lately, I was keen to try some of the techniques with stamps. I love watercolor paintings of poppies so the beautiful Flourishes poppy stamps were the perfect place to start.
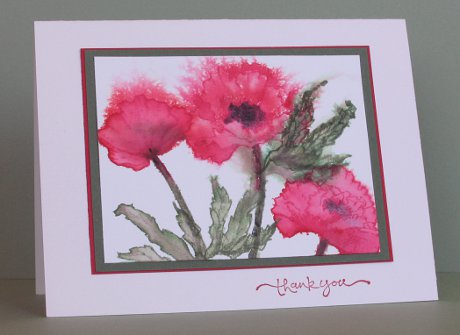
Getting the effect I was after took some trial and error. The Stampin Up inks dry very quickly so I could not stamp them and then use an Aqua Painter to spread and blend the ink. I found that the best technique was to stamp, then “paint” some ink into the leaves and flowers and then mist the whole image with water in order to get the inks to blend and run a little more. I did this several times before I was happy with the results. The leaves are stamped in Always Artichoke but I used Garden Green ink along with the Artichoke when painting. The images are stamped onto watercolor paper.
Supplies:
Stamps: Poppy Patch (Flourishes), Short and Sweet
Inks: Real Red, Pumpkin Pie, Always Artichoke Garden Green, Basic Black
Cardstock: Acquarello Watercolor Paper, Real Red, Always Artichoke, Flourishes Classic Ivory Cardstock
Also: Artichoke grosgrain ribbon











 Heather Telford