
Peaceful Blossoms
Posted: August 17, 2008 Filed under: Garden silhouettes 4 Comments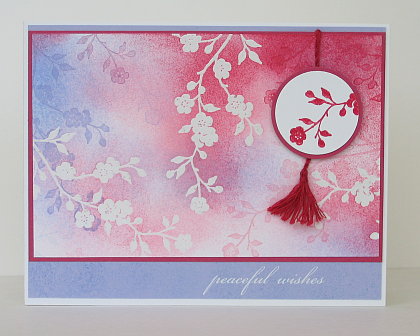
I’ve been wanting to participate in one of Sharon’s Stamp Simply challenges again so I was pleased when I read what this week’ challenge was. I had planned to try remaking a favourite card of mine anyway. Sharon’s challenge is to choose one of your own cards and then use it as your inspiration for a new card. You can change as little or as much as you like.
The card I chose was this one:
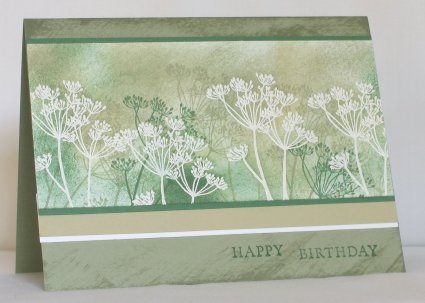
I love this set and have enjoyed using it lately to create some cards with a Chinese style. I decided to use the same technique and stamp set but change colours and layout. When I had settled on the size of the image panel and the mattes, it still need something so I created the little tassel which is a design element I often saw when in China.
I stamped the white blossoms in versamark first and embossed them with clear e.p. Then I sponged in Rose Red, Pretty in Pink, Bashful Blue and Almost Amethyst. Over the top of the sponging I stamped pale versions of the blossoms, stamping off on paper first so the colour was not at full strength. To make the medallion I stamped the blossom in versamark and then Rose Red so I could emboss it with clear e.p. The tassel is made from embroidery thread. The sentiment is a Cherished Memories rub-on.
Supplies:
Stamps:Garden Silhouettes
Inks: Rose Red, Pretty in Pink, Bashful Blue, Almost Amethyst
Cardstock: Rose Red, Whisper White, Almost Amethyst
Also: Clear embossing powder, circle punches, embroidery thread
Caramel Art
Posted: August 16, 2008 Filed under: My Kid's cards Leave a comment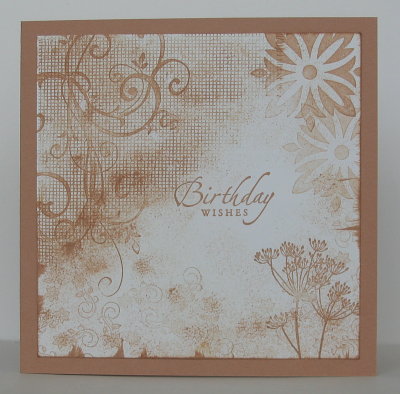
My daughter L14 made this card. Her inspiration came from the artwork on a cd insert. Her aim was to blend different images into one design, creating a style which you do see around the place a lot a present. I think she did a great job.
Supplies:
Stamps: Baroque motifs, Garden silhouettes, Canvas, Sincere salutations, Boho backgrounds
Inks: Creamy Caramel
Cardstock: Whisper white, Creamy Caramel
Late summer flowers
Posted: August 14, 2008 Filed under: Uncategorized Leave a comment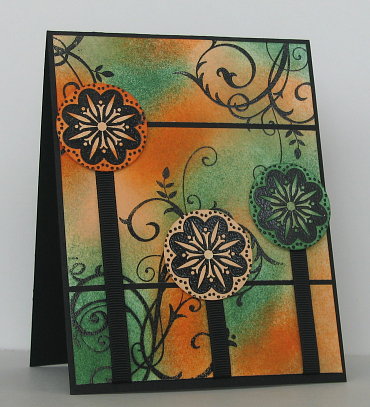
When I was arranging all the elements on this card it was oriented the other way, landscape not portrait, and I was trying to decide whether the ribbon was needed or not. My older daughter suggested turning it around and making stems from the bits of ribbon. It was exactly the right thing to do. The flourishes became tendrils, something like the tendrils of a weed which is taking over in my garden at present.
To make the card I embossed the flourishes with black e.p before sponging in garden green, pumpkin pie and apricot appeal. It was then that I decided to cut the image into three panels. Then I embossed three flower images and punched them out with the 1 3/8’punch and sponged them. The flowers are raised on Stampin’ dimensionals.
Supplies:
Stamps: Baroque motifs
Inks: Garden Green, Pumpkin Pie, Apricot Appeal, Versamark
Cardstock: Whisper white, Basic black
Also: Black grosgrain ribbon, black e.p.
Blue Butterfly
Posted: August 13, 2008 Filed under: Uncategorized Leave a comment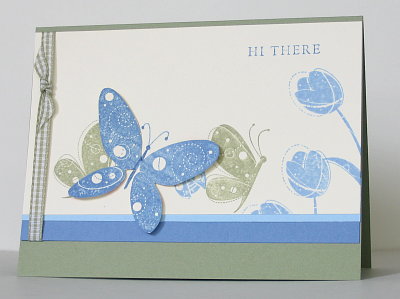
I am enjoying watching swimming finals and semi-finals as I post this card. It is amazing to think we were in Beijing just over a month ago! I chose some cooler colours for this card, colours which seem summery to me, and then left plenty of blank space on the vanilla cardstock. It is a very simple design and the only fiddly bit was cutting out the butterfly, which I attached with a glue dot.
Supplies:
Stamps: Garden Whimsy, Fundamental Phrases
Inks: Mellow Moss, Bashful Blue, Brocade Blue
Cardstock: Mellow Moss, Bashful Blue, Brocade Blue, Very Vanilla
Also: Moss gingham ribbon
Swirls of fall colours
Posted: August 12, 2008 Filed under: Uncategorized Leave a comment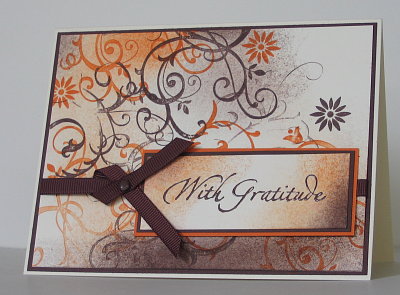
It seems wrong to be stamping in fall colours when we are in the middle of summer, but I know fall will be here before we know it. ( I have a card in soft summer colours for tomorrow, though) I took all the cards featuring retired cardstock, stamps or accessories down from my display board on the weekend and once again it looks very empty. Today I ordered a few sets from the new catalogue so when they arrive I will have some totally new designs to share. Until then, I will be looking for fresh inspiration using my old sets.
When making the card above I started out with the flourish embossed in gold but I wasn’t happy with it. Wnen I started arranging things without the gold it came together. I inked the flourish unevenly, leaving some patches entirely uninked. After stamping it a couple of times in both chocolate chip and pumpkin pie I added some sponging and the flowers. Once again I did not have the right coloured brad so I pressed a silver one into the Close to Cocoa Craft pad and then embossed with clear e.p.
Supplies:
Stamps:With Gratitude, Baroque motifs
Inks: Chocolate Chip, Pumpkin Pie, Close to Cocoa craft ink
Cardstock: Very Vanilla, Chocolate Chip, Pumpkin Pie
Also: Chocolate grosgrain ribbon, brad, clear e.p.
Shadows
Posted: August 10, 2008 Filed under: Baroque Motifs, Garden silhouettes, My Kid's cards Leave a comment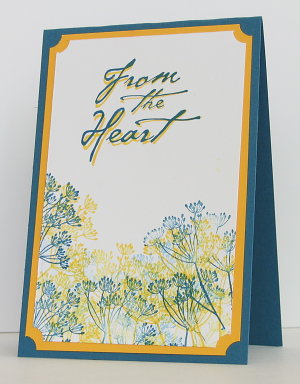
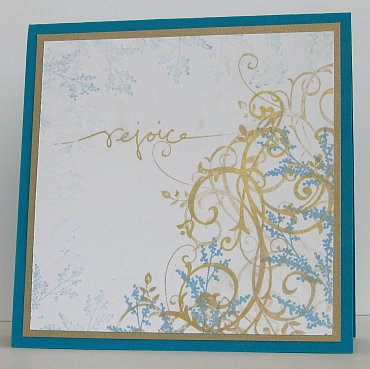
Here are the other two cards that A12 made recently. I think both turned out beautifully. She did an expert job on the shadowing of the sentiment in the card above and created a nice faded motif on the card below.
Supplies:
Stamps:Garden Silhouettes, All Year Cheer, Baroque Motifs, Graceful Words
Inks: Not quite Navy,Taken with Teal, Gold, Summer Sun
Cardstock: Not quite Navy, Taken with Teal, Summer Sun, Whisper White, Natural White, Brushed Gold
Pink Simplicity
Posted: August 8, 2008 Filed under: My Kid's cards Leave a commentWhile I have not had a chance to make any more cards my daughters have, so I will post a few created by A12. L14 made a card with the Great Wall on it for a friend from the China trip but unfortunately I didn’t get it photographed before it was given. A12’s cards have been made to go in the stash. The pink one below is a simple but very pretty design using one set and one colour with white.
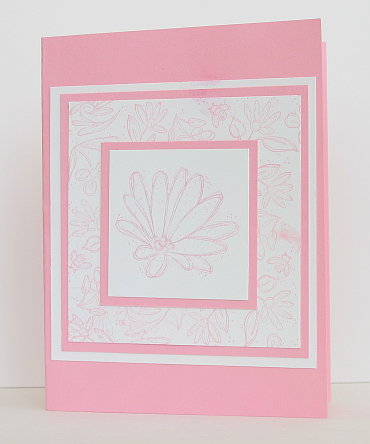
Supplies:
Stamps: In Full Bloom
Inks: Pretty in Pink
Cardstock: Whisper White, Pretty in Pink
Thoughts of China
Posted: July 28, 2008 Filed under: Garden silhouettes, Stamped Landscapes 1 Comment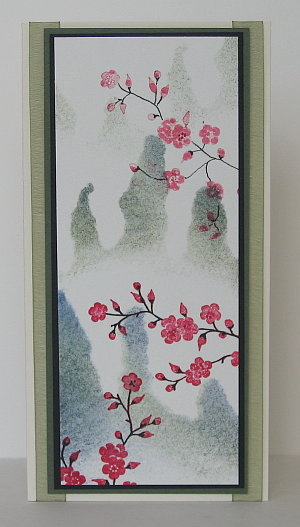 It has been over a month since I had anything to share here on my card blog. There is a reason. My girls and I have been to China and back. I intended to write a short post before I left explaining why and where we were going but with all the preparations I ran out of time. If you are interested you can read about our trip on my family blog. While I was away I was on the lookout for cards or even stamps made with Chinese motives and artwork, but I did not see much. I did buy my younger daughter a marble stamp with her name written in Chinese characters, but I didn’t think of buying myself one to stamp on my cards!
One of the places we visited was Huangshan or Yellow Mountain. It was enveloped in fog the day we climbed but the following day as we walked through an art gallery I saw many impressions of what we had missed. There were the somewhat familiar images of mountains and blossoms with whispy clouds around the slopes. That is what I have tried to recreate in these cards. In the gallery there was a series of four paintings showing a misty mountain side with branches of flowers in the foreground. Each one represented a different season.
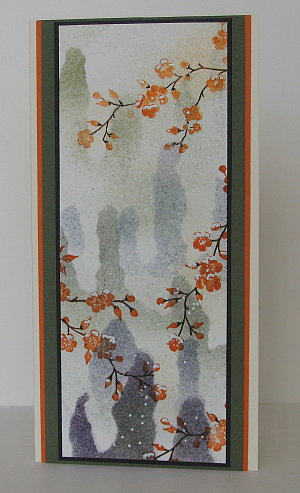 To create my two cards I tore the mountain shapes out of a piece of card and used the negative piece as a stencil. I sponged in Night of Navy, Always Artichoke and Basic Black. Then I stamped the blossom stamp from Garden silhouettes in Rose Red on one card and Pumpkin Pie on the other. To create some variation in the blossoms I blended with a blender pen and highlighted with a marker. I used a black marker to trace over the stems. On the orange blossom card I wanted to create a light dusting of snow so I added dots and sprinkles of snow on the blossoms with an embossing marker and then used white embossing powder. The pink blossom card is mounted on black then artichoke and finally over two pieces of olive organza ribbon. The orange blossom card is mounted on black , artichoke and pumpkin pie.
Supplies:
Stamps:Garden Silhouettes
Inks: Always Artichoke, Night of Navy, Basic Black, Rose Red, Pumpkin Pie
Cardstock: Watercolour paper, Very Vanilla, Always Artichoke, Basic Black, Pumpkin Pie
Also: Olive organza ribbon, white embossing powder
Brocade gift set (cont.)
Posted: June 24, 2008 Filed under: Cuttlebug, Designer Paper 1 CommentI did not get back to the gifts for my friend’s birthday until Friday night and then gave it all to her on Saturday without getting good photos of everything. If I get a chance I will try and take some photos of the rest of the gifts. I do have photos of two more cards which were part of a box of greeting cards. I managed to find a nice woven box to put everything in. (You wouldn’t know that the photos from the last post and these ones show cards from the same set as I have very warm yellow light in the first ones and cold grey light in these.)
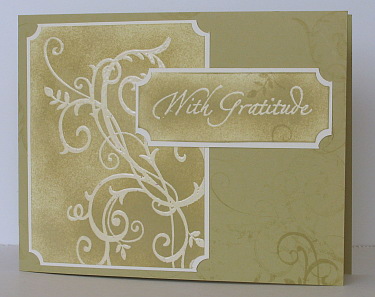
The card above features a clear embossed flourish on vanilla cardstock with river rock sponging over the top. To give the background some depth I stamped the flourish lightly and unevenly in river rock and did a little sponging as well.
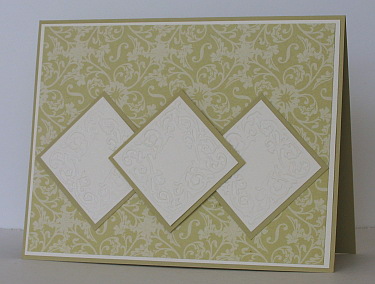
You can’t see them very well but the three squares on the card above were embossed with the cuttlebug using one of the formal squares folders. The design co-ordinated so well with the background designer paper that I didn’t add anything else.
Supplies:
Stamps:With Gratitude, Baroque motifs
Inks: River Rock, versmark
Cardstock: Very Vanilla, River Rock
Also: Brocade Backgrounds designer paper, formal squares embossing folder
Brocade gift set
Posted: June 15, 2008 Filed under: Designer Paper 1 Comment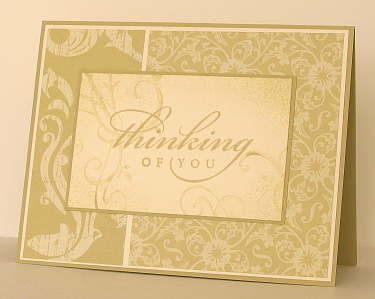
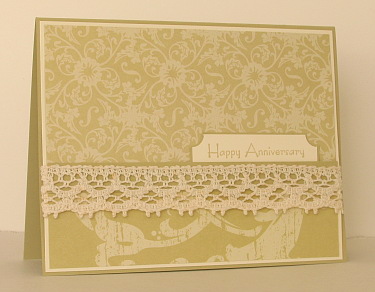
A dear friend of mine has a birthday next weekend, so I am working on some co-ordinating gifts. These two cards will be part of a box of cards with different greetings. I haven’t worked out exactly what the other gifts will be, other than one will definitely involve chocolate. I took my inspiration from some of the colours of her house and her love of old things. As you can see these two cards have minimal stamping, the design is in the co-ordinating papers. I will post some more during the week as I get them made.
Supplies:
Stamps: All Year Cheer, Baroque motifs, Hugs & Wishes
Inks: River Rock
Cardstock: Very Vanilla, River Rock
Also: Brocade Backgrounds, Lace











 Heather Telford