
Floral Background
Posted: May 1, 2019 Filed under: floral background, hand written thanks dies, The Stamp Market | Tags: Ranger Distress stains, The Stamp Market 6 Comments
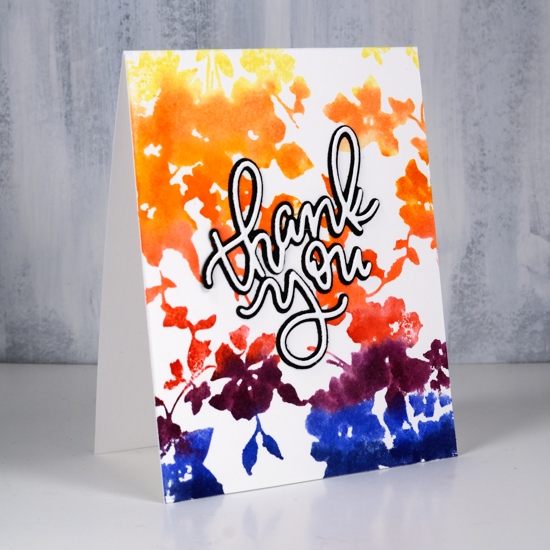
I don’t know how many of you follow Laura Bassen’s blog or youtube channel but if you do you will know where today’s inspiration came from. Nine times out of ten you will find her blending, stamping, painting or piecing a rainbow on her cards. I rarely include the whole spectrum on my cards; I’ll blend from pink to blue or blue to green or yellow to pink but not too many rainbows. I decided this full background stamp from The Stamp Market was a good place to start.

I embossed the whole design on hot pressed watercolour paper using my misti and a sticky grid. Sticky grids are so useful with a large stamp and panel. The grid kept the watercolour paper in place while I stamped with versamark three times. The stamp is large and detailed so I wanted to make sure I got a really good impression, hence the three applications of versamark. I embossed in clear then taped the panel to my glass mat and swiped distress stains across the panel in rainbow order, light to darkest. I still have quite a few distress stain daubers so I used them but you could paint distress stain or reinker across your panel with a paint brush instead of using daubers. I spritzed the panel after I’d applied all the colours and used a paintbrush to blend between colours in a few places. I decided not to dry it with a heat tool because I didn’t want to push any of the stain around the panel, instead I let it air dry and polished stain off the embossing later with a paper towel.
While I had the stamp and stains out I did the negative of the first card and swiped the stains across the stamp before spritzing a little water to start the blending process. I used the MISTI to press the stamp down on my hot pressed watercolour paper and could see through the transparent stamp where the blending was happening.

Another technique I haven’t used before is the layered shadow die sentiment. I haven’t had any shadow dies but the Foiled Fox sent me this one and I did a black on white and a white on black to make the sentiments stand out on both colourful backgrounds. I added double sided adhesive sheets to both black and white cardstocks before die cutting to make it easier to attach the sentiments to the cards.
Hope you are having a colourful day!
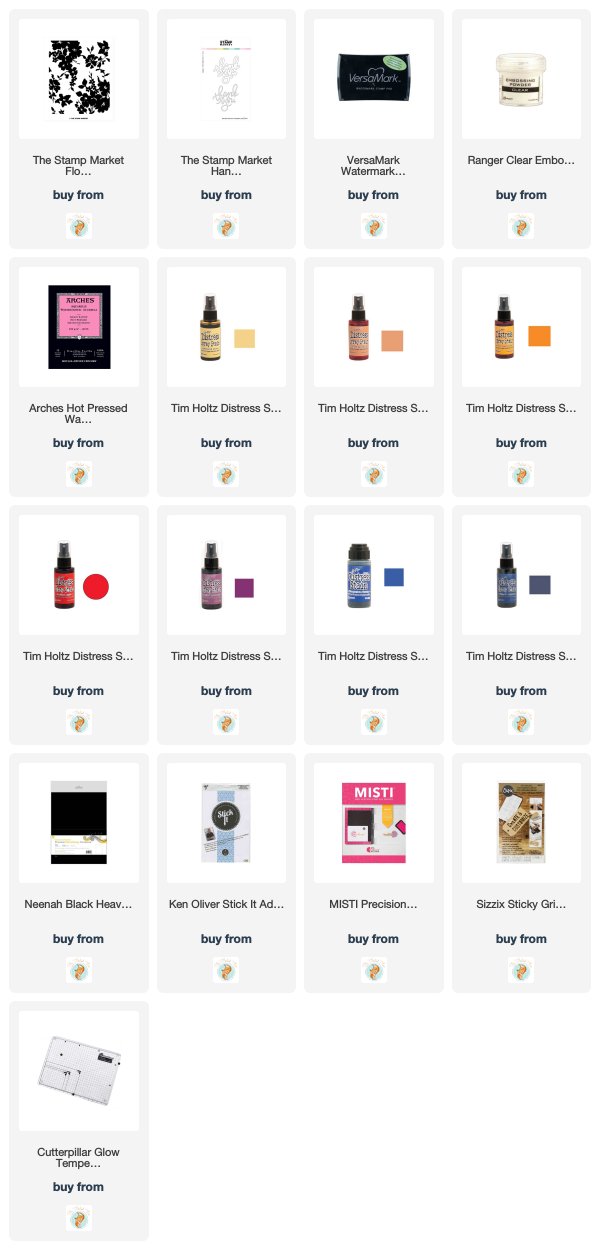
Supplies


Gorgeous! I think I need to channel my inner Laura as well…
Two fabulous cards and the colours are amazing Heather. I love the clear embossing with the coloured background on the first, and then the inks used for the stamping on the second, and the sentiment with the black shadow looks great over the top. x
Wow, two very different looks here Heather. I prefer the first one, the embossed flowers with the rainbow coloured background. I think that it’s easier to recognise the rainbow effect on this one than with the rainbow flowers. That is a good tip to put adhesive on the back of the card before die cutting script, or any fiddly design. Thanks for that.
Lovely. You are always so inspiring. Thanks to Foiled Fox too!
Really very striking color blend! Pretty stamp too. I went looking for that sticky grid a few months ago, and it was sold out everywhere! I need to do a second search. Hopefully it is back in stock.
[…] wanting to ink up the lovely floral background from The Stamp Market again ever since I gave it the rainbow treatment. With the stamp in the MISTI I stamped first with Catherine Pooler shea butter ink on hot pressed […]