Celebrate by stamping a simple postcard
Posted: December 2, 2008 Filed under: Lovely as a Tree 14 CommentsStamp Simply Celebrates got off to a fabulous start on Monday morning over at No Time To Stamp. Sharon is giving away some candy and Janine has a Cookie Recipe exchange on her blog with candy as well. Today the fun continues with Becky, Sharon and Darlene.
Becky at Hemidemisemiquaver Design – has a beautiful Featured Project showing us some of her over-the-top Gift Packaging Ideas. She also has some BLOG CANDY to share.
Sharon, our fabulous hostess at No Time To Stamp? – has more BLOG CANDY today, so pop over there.
Darlene at Dar’s Crafty Creations is hosting a fun Challenge today, where I am participating as a guest designer. The challenge is to keep the card light and the postage low by making a Christmas postcard. Make sure you drop in at Darlene’s to see her great ideas and those of her guest designers also.
Janine Orchard’s sample found HERE
Dee Jackson’s sample found HERE
Leslie Miller – HERE
LeAnne Pugliese – HERE
The festivities last for 12 days so any time you want to see what is happening next there is a PARTY CENTRAL post on Sharon’s blog with all the details. Just look way up the top above her banner and you will see it.
Anyone can play ANY of the challenges by ANY of the hostesses during our 12 days of Stamp Simply Celebrates!!! You DO NOT have to have a Blog to play — uploading your project to SCS (Splitcoaststampers.com) is not only permissible, but HIGHLY ENCOURAGED. When doing so, use the KEYWORD SSC08. Thanks!
Here is my postcard for Darlene’s Challenge:

After fiddling around with a few stamps I decided to try making a traditional postcard scene. This one is inspired by a picture in a book I am reading my son at the moment. I stamped the trees first and then embossed in clear. I then used a versmarker to draw some snow on the branches and embossed in white. I masked my snow with a piece of paper, spotted the stars with the versamarker and embossed in white, before brayering over. I’m not sure whether it was the paper or my technique but I didn’t get good coverage with the brayer so I did some sponging on the sky as well. Finally I added the little moon and a little sponged shadowing on the snow.
Supplies:
Stamps: Lovely as a Tree
Inks: Night of Navy, Pretty in Pink, Pale Plum, Perfect Plum, Basic Black Versamark.
Cardstock: White
Also: Clear and white e.p., Brayer, sponges
Double trouble
Posted: November 30, 2008 Filed under: Snow Swirled 2 Comments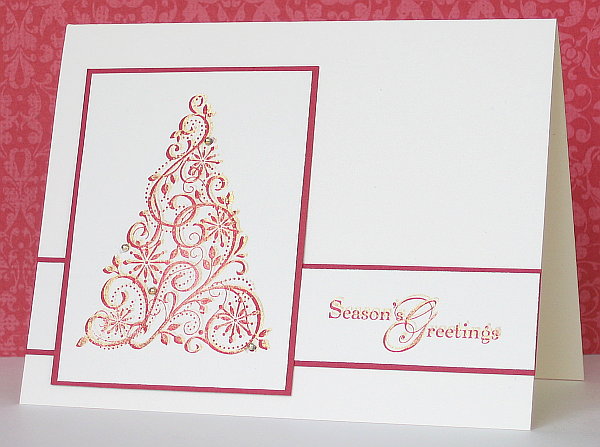
This is a fairly simple card but not at all simple to photograph. It looks out of focus because I have stamped two of each stamp, the gold slightly offset from the red. In real life the gold is more prominent and you can see four little gold ball stickies too. The card is vanilla, but again, its hard to tell. I used my stamp-a-ma-jig for the tree and the sentiment rather than trying to eyeball it, like I usually do.
Don’t forget to check in at No Time To Stamp tomorrow for the beginning of the celebrations there. I will be back tomorrow to take part in the festivities.
Supplies:
Stamps: Snow Swirled,
Inks: Encore Gold, Riding Hood Red
Cardstock: Riding Hood Red, Very Vanilla
Also: Gold Rhinestone Stickers from Michaels
Elsewhere
Posted: November 28, 2008 Filed under: Snow Swirled 4 CommentsMy time has been spent elsewhere in the last week. On Tuesday I had a table at the craft sale where my husband works. When I first heard about it I was very keen, then we heard that I couldn’t be the seller, my husband would have to do it as I wasn’t an employee. We put off making a decision as we were both very busy and then finally decided we couldn’t fit it in. When Andrew informed the organizer, who had visited my blog, she encouraged us to change our minds. Well to cut this long story short, my sweet husband did end up selling cards and candles for me. I had quite a few late nights getting everything ready. It was not so much the making of items, rather the packaging and stamping my name and the Stampin’ Up angel policy stamp on everything that took my time!
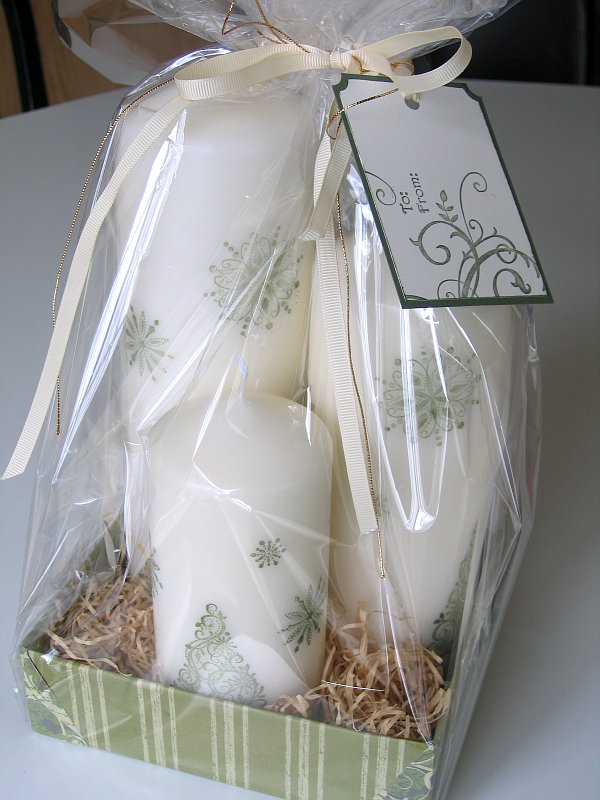
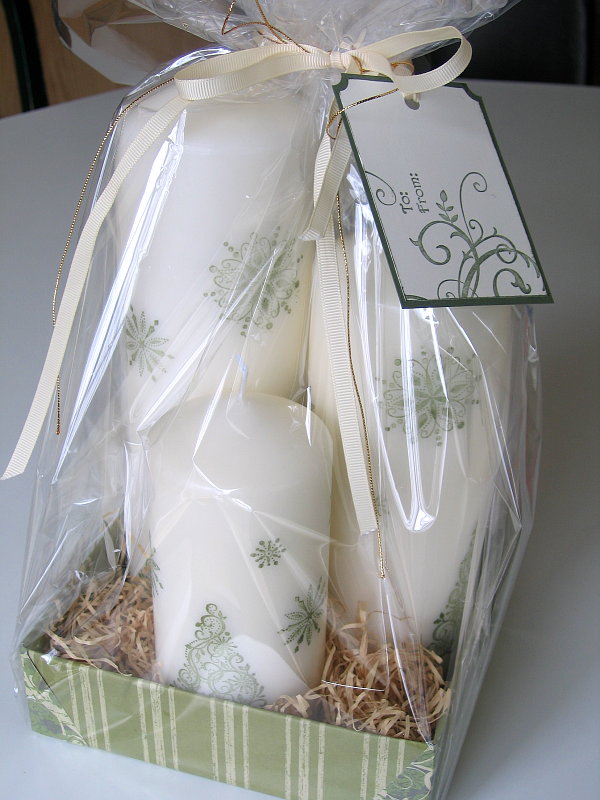
Here are two sets of candles I sold. I took a picture of the red set before packaging it so you could see the candles a little better. I also had some individual candles with matching tags.
I had many single cards as well as bagged and boxed sets of cards. I did some very quick tags sets which all sold, making me wish I’d done more! Andrew came home and told me the kind comments he could recall which was nice. I really would have loved to have been there. He also gave away a few of my new business cards which he had designed and printed for me the night before. All in all it was a success, but I think I need a bit more lead time next time! 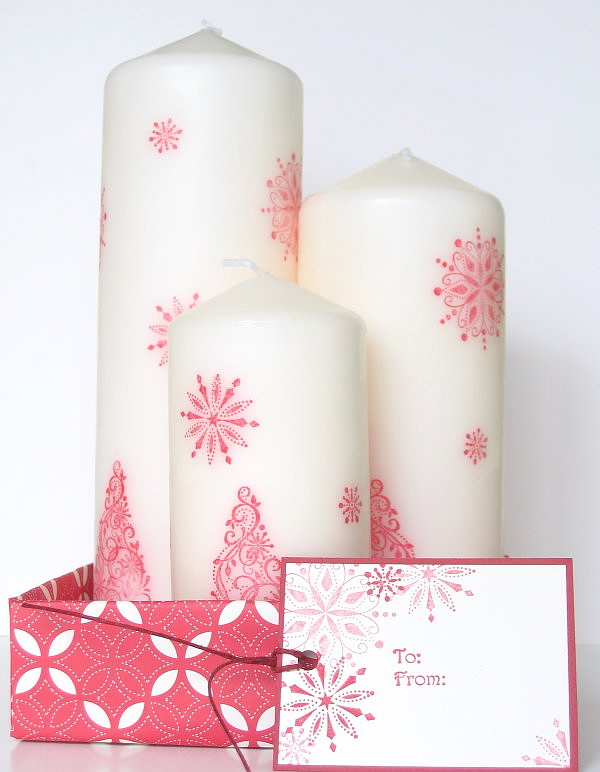
Elsewhere in the world of stamping blogs, my friend Sharon at No Time to Stamp has reached a momentous milestone. The host of the weekly Stamp Simply challenges and stamping designer extraordinaire has reached 1,000,000 hits on her inspiring blog. She has a wonderful ten day celebration planned to start on December 1st to thank all her visitors. Make sure you check her blog for details. I am privileged to be taking part in the festivities as one of 18 bloggers who will be offering all sorts of Christmas projects, challenges and blog candy to help you with your Christmas preparations.
See you soon.
Gold swirled
Posted: November 22, 2008 Filed under: Snow Swirled 1 Comment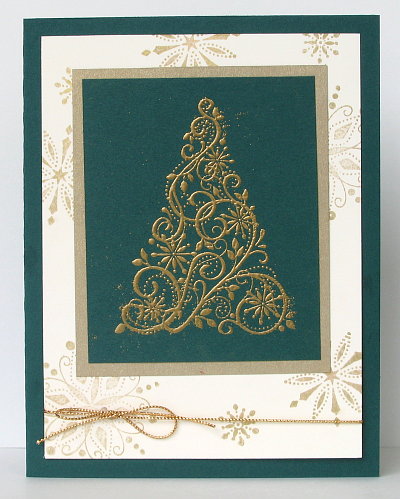
I’m glad my daughters managed to stamp something this week because I have not had much time at my craft table. I did manage to get a bit done last night but nothing is photographed yet. This card was done by my older daughter and her friend earlier in the week. I keep telling them to make two when they design together, but they only do one!
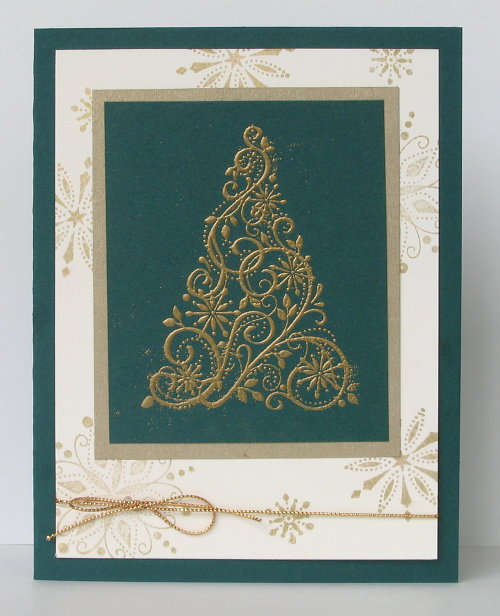
Snow Swirled is definitely the Christmas favourite around here this year. L14 embossed the tree in gold and stamped the background images in gold ink, simple but very pretty all the same.
Supplies:
Stamps: Snow Swirled,
Inks: Encore Gold, Versamark
Cardstock: Handsome Hunter, Brushed Gold, Very Vanilla
Also: Gold cord, gold e.p.
Candy cane colours
Posted: November 18, 2008 Filed under: Snow Swirled 3 Comments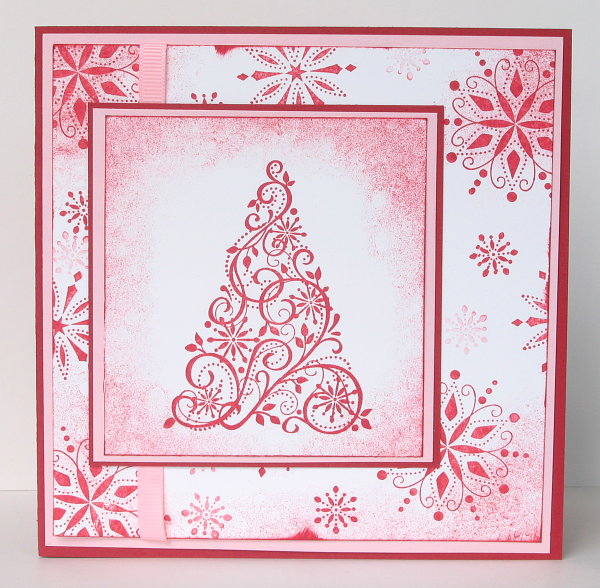
Isn’t this pretty, it reminds me of candy canes. My younger daughter made this one the other day, which is great because I’m not getting anything new made at present. Instead of cardmaking, we have been gingerbread baking. All three of my children are entering a gingerbread contest and they are all working with friends on different designs. The last two nights have been spent mixing, cutting and baking the pieces. My dining room table is covered in large and small pieces of gingerbread for the dollhouse, the church and the village!
Supplies:
Stamps: Snow Swirled,
Inks: Riding Hood Red
Cardstock: Riding Hood Red, Pirouette Pink, Whisper White
Also: Pink grosgrain ribbon
Christmas card event
Posted: November 18, 2008 Filed under: Home for Christmas, Uncategorized 1 Comment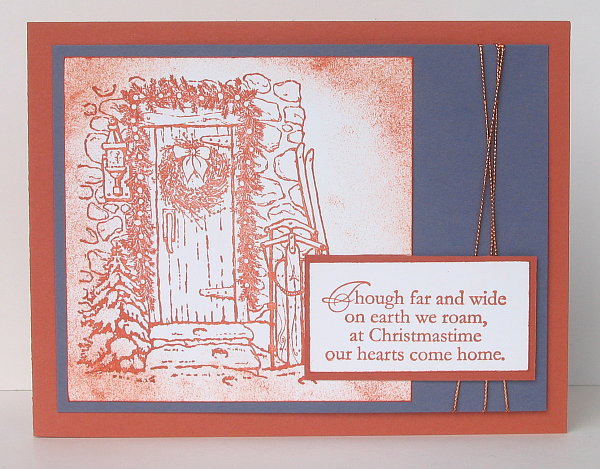
I haven’t had anything new to post over the last few days as my time was taken up getting ready for a Christmas card making evening at my church. This is the second year I have organized the event, ably assisted by my girls and a friend on the night. Everyone made four cards including the one above that my daughter A12 designed and demonstrated. The others are already on the blog here, here and here.
I also set up a tag making table where people could go whenever they had a few minutes between cards.
Supplies:
Stamps: Home for Christmas
Inks: Really Rust
Cardstock: Really Rust, Whisper White, Vintage Violet
Also: Gold cord
Moonlit Skate
Posted: November 12, 2008 Filed under: Lovely as a Tree, Stamped Landscapes, WInter Post 3 Comments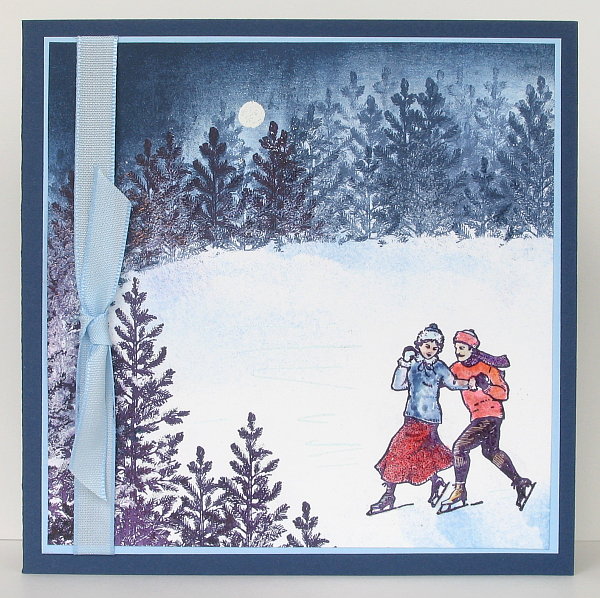
My inspiration for this card was a similar card my daughter and a friend of hers designed. When I bought the Winter Post set, I wasn’t sure what to do with the skaters but their idea of a tree lined skating rink definitely appealed to me. I wonder how long before it begins to look like this outside?
To begin I tore a piece of paper to be about the size of the rink which I used to mask the space while I stamped the trees. I stamped the small trees, which are just the top of the tree from Lovely as a Tree, with Night of Navy and versamark. The larger trees in the front I stamped in Basic Black and versamark, then I embossed them all with clear embossing powder. To fill in the forest I stamped the tree over and over in Night of Navy creating some dark and some lighter trees. I stamped the skaters in black and then coloured with some Stamping markers and some watercolour pencils. It is hard to see but there are some skate marks embossed with iridescent ice. The sponging on the ice is Bashful Blue. The moon was an afterthought, embossed with white e.p. The sky was brayered with Brocade Blue, Navy and a little Black.
I realise that a picture or two of the process would be more helpful than all my description here but I just haven’t had time lately to do a tutorial. Some time soon I hope. Thanks so much for dropping in.
Supplies:
Stamps: Lovely as a Tree, Winter Post
Inks: Night of Navy, Brocade Blue, Bashful Blue, Basic Black Versamark.
Cardstock: Whisper White, Bashful Blue, Night of Navy
Also: Clear and white e.p., watercolour pencils, Stamping markers, Blue Taffeta ribbon, Brayer
‘A’ card and gift bag
Posted: November 10, 2008 Filed under: Designer Paper, Gifts 1 Comment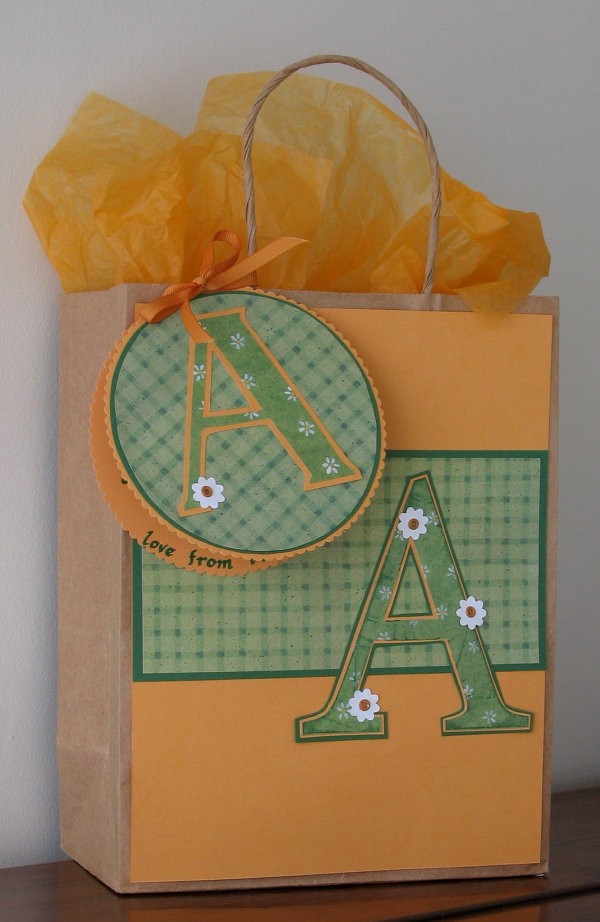
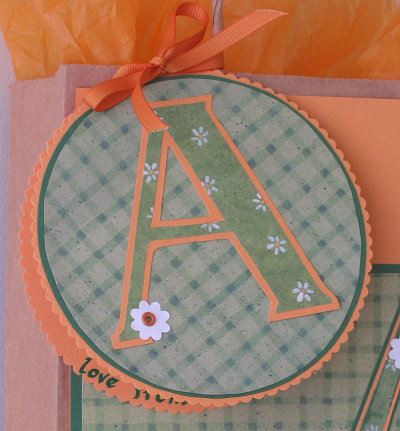
On the weekend we helped a very sweet little girl celebrate her 1st birthday. Inside this bag was a dress from my favourite clothing store, La Cache, which is closing down. I took the colours for the bag and card from the dress which is green, yellow and burgandy. I don’t own any nifty Nestabilities or circle cutters so don’t look too closely at the circle traced from a cd! The golden colour is Marigold Morning and the green, Garden Green. Both patterned papers are from a slab bought long ago at Michaels. The ‘A’ on the bag is stamped with the large monogram ‘A’ from Stampin’ Up. I inked the edges of the stamp in green and then stamped it on the floral paper to get a outline to cut out. The ‘A’ on the card was hand drawn. The little flowers are punched out with the Boho Blossoms punch.
Supplies:
Stamps: A Monogram stamp
Inks: Garden Green
Cardstock: Marigold Morning, Garden Green, Papers from a Michaels Slab
Also: Mustard grosgrain ribbon, Boho Blossoms punch, mustard eyelets
Gold on gold
Posted: November 9, 2008 Filed under: Ageless Adornment Leave a comment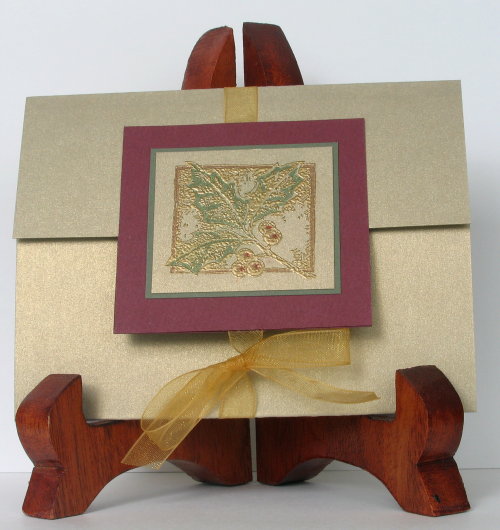
So much for the challenge I gave myself. I did make two fast and simple cards, this is the second. I also made two time consuming ones! The second night I sat down to make a quick card while my daughter was trying to finish an assignment so I just kept on stamping and giving her feedback when she asked for it. It took her quite a while to finish her work so I finished the both the quick and the slow cards. I am happy that I did fit in the card making during the week as I have had very little time this weekend.
Back to the gold on gold. After making the silver on silver card I decided to try gold on gold. It is pretty but not quite as eye-catching as the silver. I used a Handsome hunter marker and a red marker to colour over the embossing and then matted in Artichoke and Burgandy because that is what the markers looked like on the brushed gold cardstock. To tie the card closed I attached ribbon behind the top of the burgandy matte and brought it around the card to tie with the ribbon attached at the bottom of the burgandy matte.
Supplies:
Stamps: Ageless Adornment
Inks: Versamark
Cardstock: Baroque Burgandy, Always Artichoke, Brushed Gold
Also: Gold organza ribbon, gold e.p., Real Red marker, Handsome Hunter marker
Sunrise or Sunset?
Posted: November 7, 2008 Filed under: Lovely as a Tree, Stamped Landscapes 3 Comments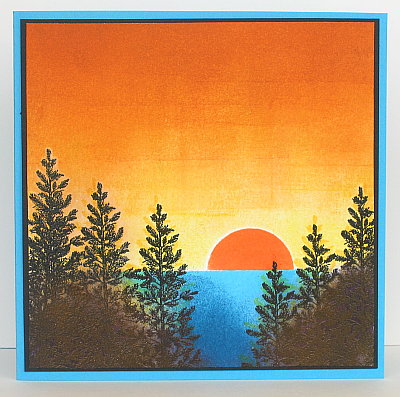
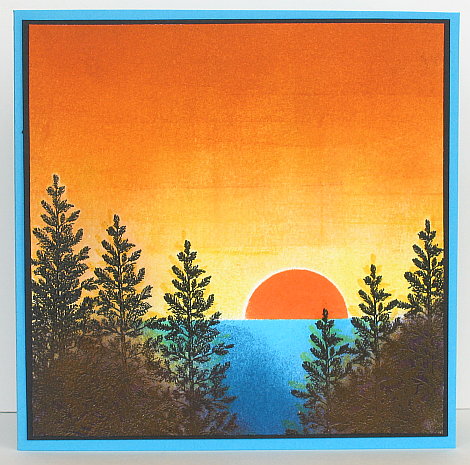
Remember I set my self a “keep it simple, cards in less than half an hour challenge”? Well I did make a card in less than half an hour and then sat for quite a bit longer making this one. I am not entirely happy with it but I learnt a few things as I was making it, which should help make my next attempt better. There is more definition in the trees in the left and right hand corners in real life, but I didn’t capture it with the camera. That is one area where I should be able to improve the sponging by taking it a bit slower and building it up only to the point where you can still see the tree outlines. It looks brown in the picture but it is actually black. But that is enough excuses!
It was really a trial and error process creating this scene, I stamped the trees in yellow first and then versamark/black a little offset. This was an attempt to get the look of light coming through the trees. It looked odd so I decided to brayer it instead. I started with Summer Sun , then Apricot Appeal and finally Pumpkin Pie at the top. The only other time I had tried using my brayer on a card I had ended up with lines and patches, but I have been reading Michelle Zindorf“s tutorials ( can you tell!?!) and she said plenty of ink, over and over. I used a piece of paper to mask the lake area and a punched out circle for the sun. Originally the sun was pale yellow and looked almost white. Even though this is often what the sun looks like when it is rising it didn’t look right so I masked the sky and sea and sponged the sun in orange, the colour I’ve occasionally seen at sunset. The lake is sponged in Turquoise and Not quite Navy.
Supplies:
Stamps: Lovely as a Tree
Inks: Summer Sun, Apricot Appeal, Pumpkin Pie, Only Orange, Tempting Turquoise, Not quite Navy, Versamark.
Cardstock: Whisper White, Tempting Turquoise, Basic black
Also: Circle Punch, Brayer