
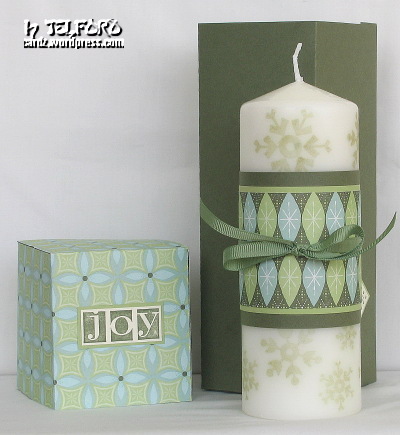
Box & candle
Posted: December 16, 2007 Filed under: Designer Paper, Perfect Presentation, Rollers 5 CommentsWeeks ago I saw this box at No Time to Stamp and decided it would be my December Stampers’ Club project. I also wanted to stamp some candles so I came up with a candle in a gift box for everyone to make.
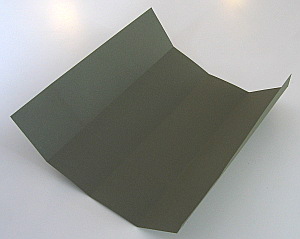
To make the box I used a 12×12 sheet of cardstock and a 12×12 piece of designer paper for the lid. I scored the cardstock 2 3/4″ from the bottom and then turned it and scored it at 2 3/4″ intervals across the opposite way making 4 panels with a narrow strip left over.
I cut the corner piece out where the narrow strip was and then cut up the four parallel score lines to the 2 3/4″ line.
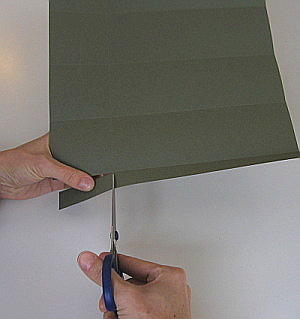

After that it is quite straight forward to stick it together.

The lid follows exactly the same procedure except that you score 2 7/8″ from the bottom and across the piece at 2 7/8″ intervals leaving you a smaller flap to stick the lid together.

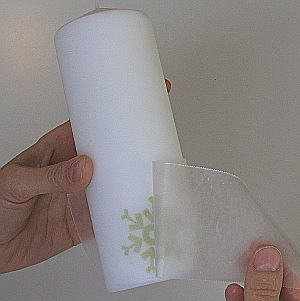
To decorate the candle stamp the image you want to use on tissue paper the same colour as your candle. Then cut out the image you have stamped.

Position the image on the candle and wrap a piece of waxed paper over it, holding either end of the waxed paper on firmly on the other side of the candle.

Holding the wax paper firmly heat the area of the stamped image with a heat tool. It doesn’t need to be heated for long, just long enough to see the wax over the image glisten as it melts into the tissue paper. Peel off the wax paper and repeat for another image on a different section of the candle.
I finished the candle off with two strips of cardstock, a piece of co-ordinating designer paper and a ribbon.
Supplies:
Stamps: Perfect Presentation, Bold Snowflakes roller
Inks: Always Artichoke, Mellow Moss
Cardstock: Always Artichoke, Mellow Moss, Very Vanilla, Wintergreen Designer paper
Also: Candle (IKEA), square punches, Spring Moss grosgrain ribbon, Olive organza ribbon (retired)
Tags and wrapping paper
Posted: November 30, 2007 Filed under: Perfect Presentation, Snowflake Spot, Wondrous Gift 1 Comment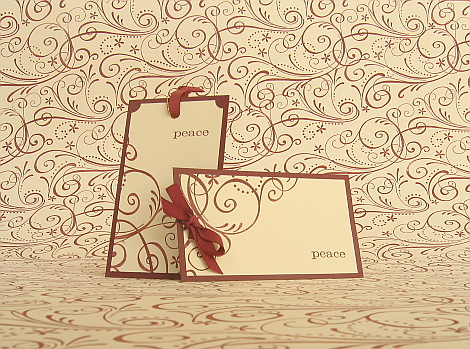
At the November stampers’ club we made tags and matching wrapping paper. The burgandy and cream above was my favourite and was definitely the easier of the two so that’s the one I will be reproducing to wrap my gifts this year. I bought the roll of paper from IKEA as it is $5 for 40 metres. It isn’t pure white but I can live with that. All I did for the tag and wrap above was use the So Swirly jumbo roller and burgandy cartridge to first roll the corner of my tag and then roll diagonally across my wrapping paper. I also used just the word Peace from the Perfect Presentation set, the ticket corner punch and some burgandy ribbon.
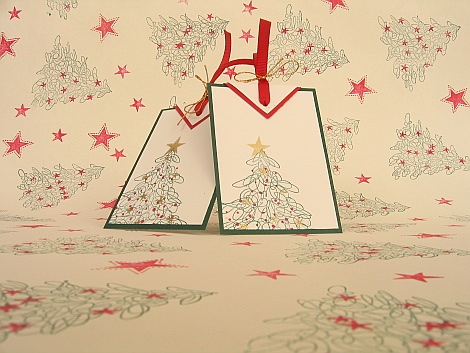
This tag and paper took a little more time as you need to stamp each tree and each star individually. To make the top of the tag I punched a 1¼” square out of white card which I had already scored, lining up the corners of the square with my scoring. Then I did the same with the 13/8″ punch and the red card. I folded them over the top of the tag and then hammered my way through six layers of cardstock with my hole punch. The little dots on the tree are the made using the snow from Snowflake Spot.
Supplies:
Stamps: Wondrous Gift, Perfect Presentation, Snowflake Spot, So Swirly roller
Inks: Handsome Hunter, Real Red, Gold
Cardstock: Handsome Hunter, Real Red, Whisper White, Brushed Gold
Also: Red grosgrain ribbon, gold cord, square punches
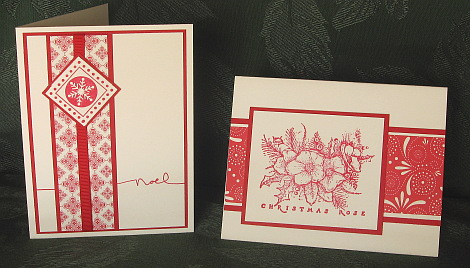
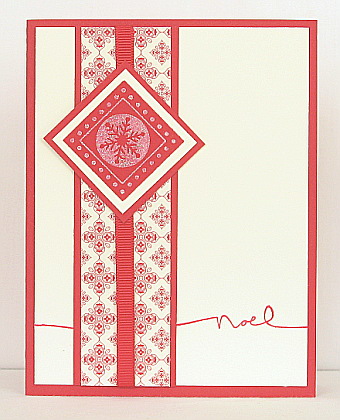
Scandinavian snowflake
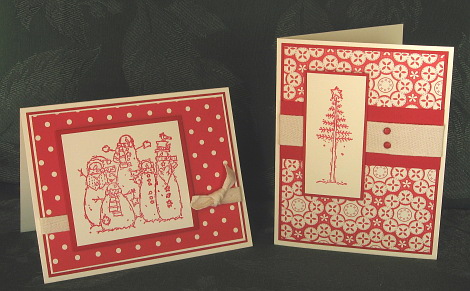
Posted: October 16, 2007 Filed under: Perfect Presentation Leave a commentWhen I opened my pack of Cerise designer paper from SU I immediately thought of the Scandinavian sweaters with intricate patterns. Hence the title of the post. I stamped the snowflake from Perfect Presentation in white craft and then embossed it with irridescent ice e.p. The idea for the layout came from Laurie’s card here.
Supplies:
Stamps: Perfect Presentation, Many Merry Messages
Inks: Real Red, White Craft
Cardstock: Real Red, Very Vanilla, Cerise d.p..
Also: Irridescent e.p., red grosgrain ribbon


